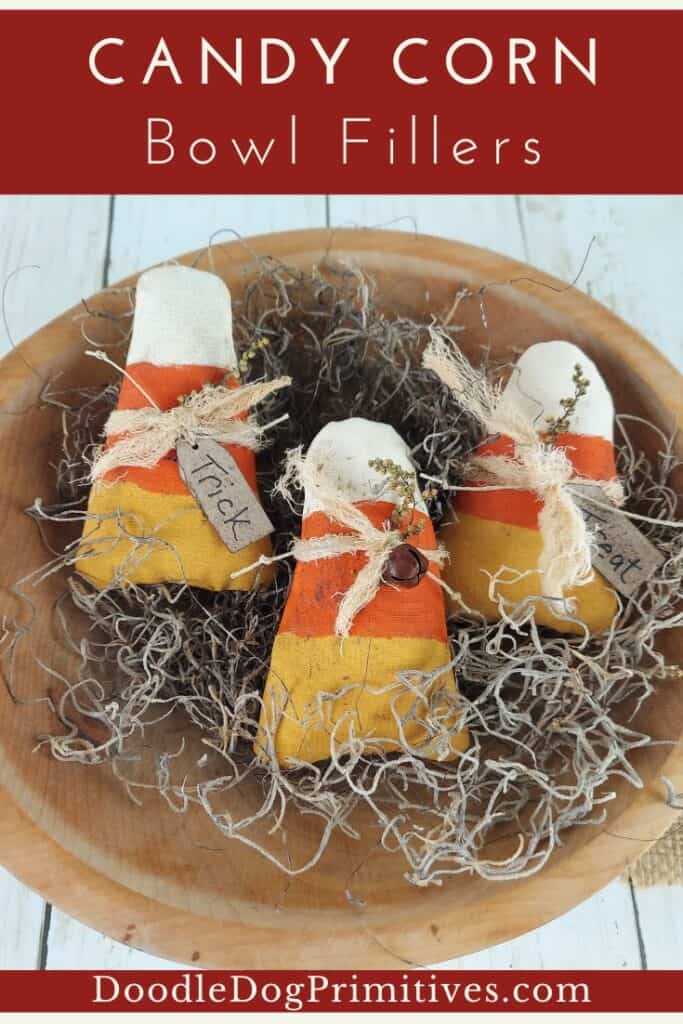
I love making primitive fall decor! In this craft tutorial, I will make some painted fabric candy corn bowl fillers. Painting fabric might sound difficult, but it is really very easy!
Watch the Video Tutorial:
This post may contain affiliate links for your convenience, which means if you make a purchase after clicking a link I will earn a small commission but it won’t cost you a penny more. For more information, please visit our Privacy Policy.
Make the Fall Bowl Fillers:
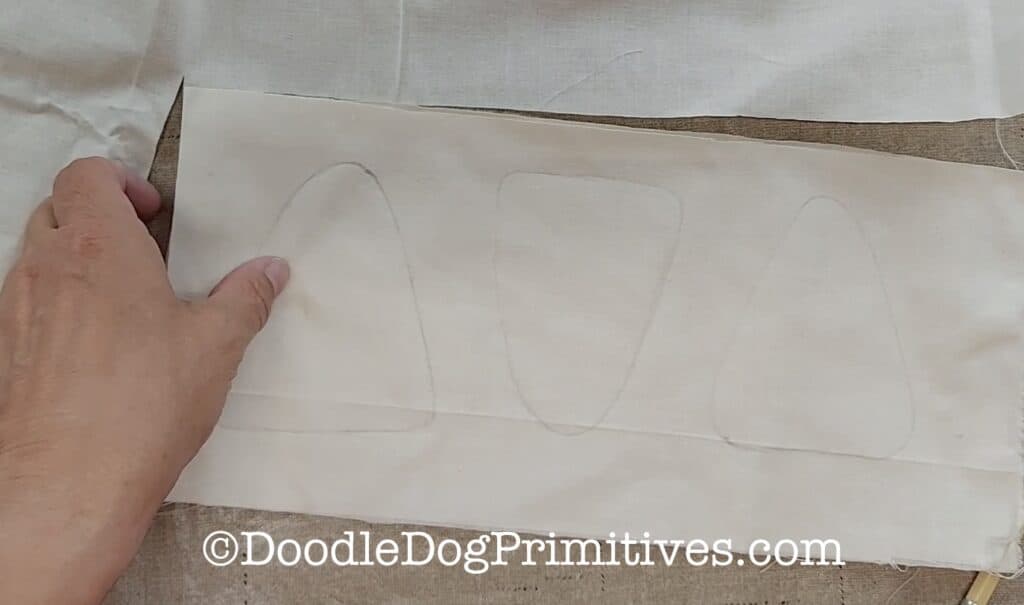
I used cotton muslin fabric for the bowl fillers. Any white or cream cotton fabric should work. On the fabric, draw a triangle with the corners curved (candy corn shape). Cut the fabric around the drawn lines, leaving at least 1/4″ on all sides. Cut another piece of muslin the same size. Layer the two pieces together with the drawing on the top.
Sew along the drawn line, leaving an opening at the bottom for turning. Trim around the stitching with pinking shears, leaving about 1/4″ extra fabric all around. Turn the bowl fillers right sides out.

Stuff the candy corn bowl fillers with a stuffing of your choice and hand sew the opening closed.
Paint the Candy Corn Bowl Fillers:
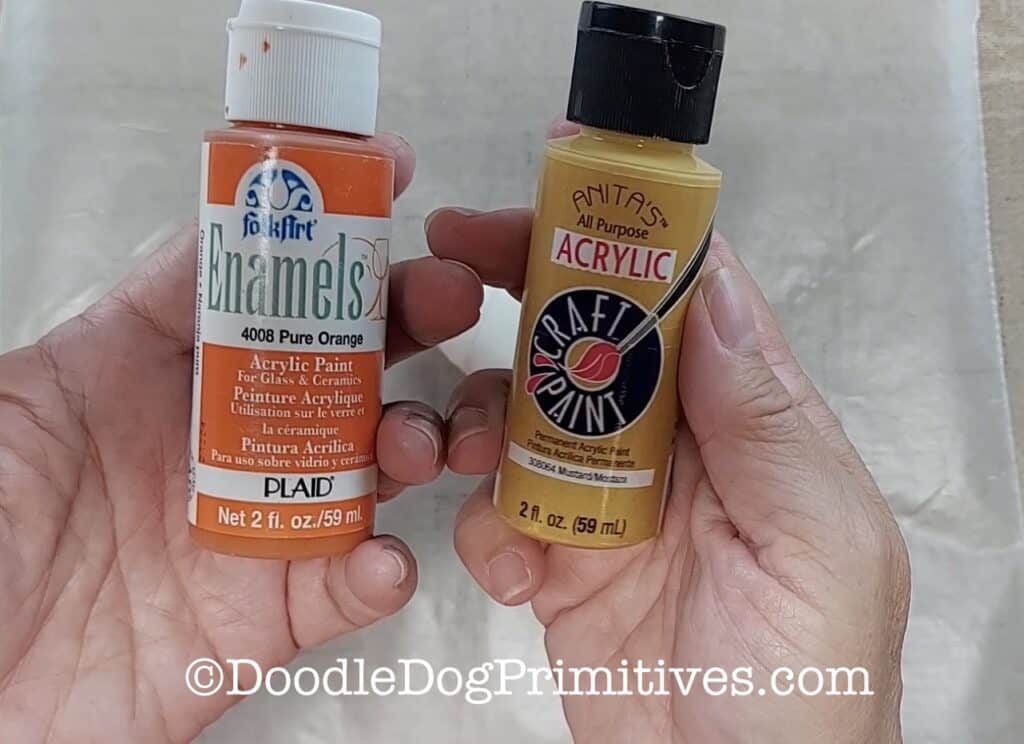
Use a pencil to draw two lines on the bowl fillers dividing it into thirds. Use craft paint to paint each third with a color of your choice. I used a mustard paint for the bottom, orange for the middle, and cream for the top.
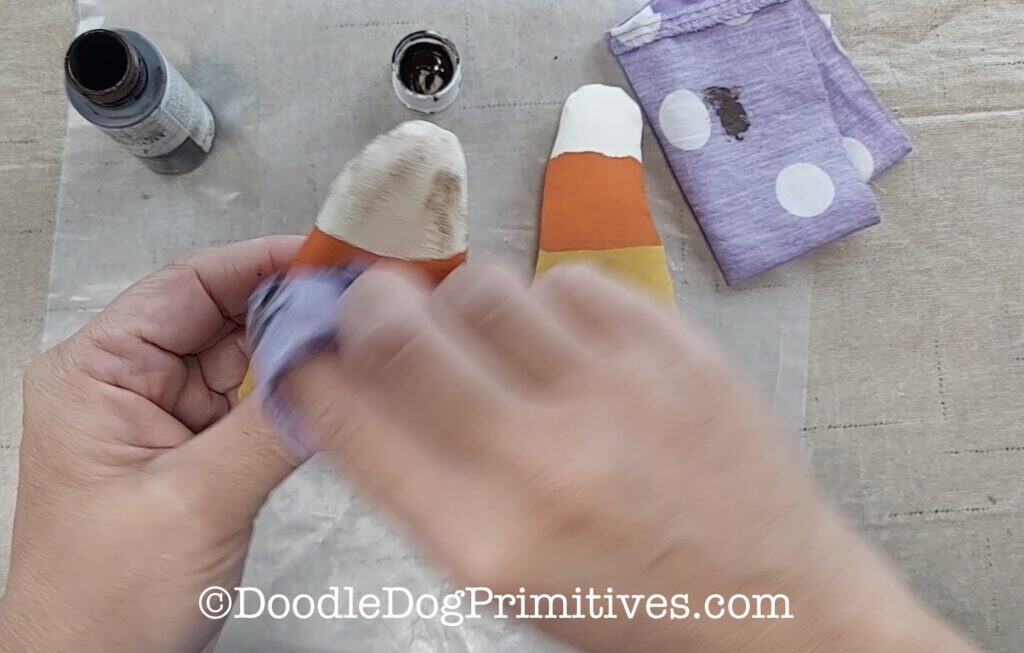
After the paint was dry, you can add some grunge to the candy corn if desired. I used an antiquing wax for this. It is easy to get too much so I put a little on a rag and then dabbed most of it off onto another rag before smearing it on the candy corn. I would recommend testing this process on something else first so you don’t get too much wax. It is much easier to add more than to take it back off!
Once the wax is dry, you can decorate the bowl fillers. I added strips of coffee dyed cheesecloth, some hang tags, and a bell along with some sweet annie to each.
Pin this Fall Craft Tutorial: