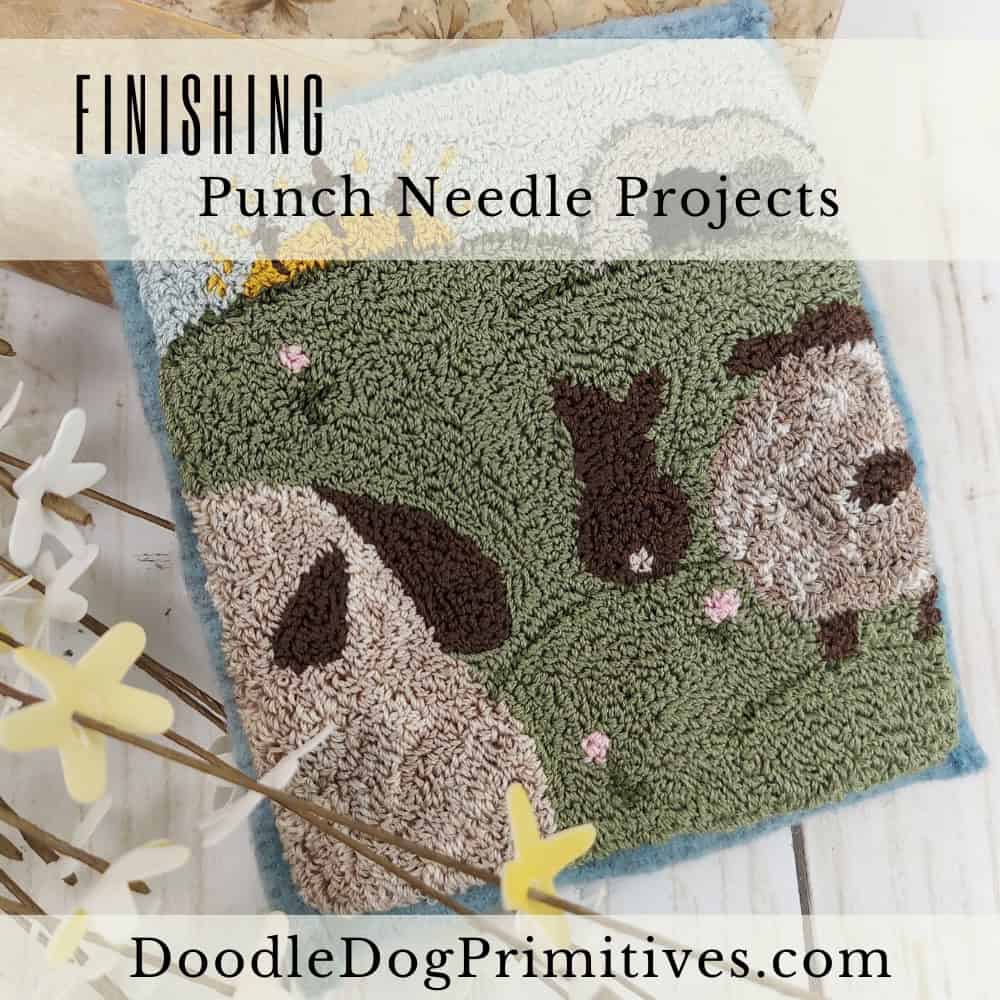
In this post, I am going to finish a punch needle project with a wool backing. In addition to the backing, the wool will also provide a border around the punch needle design. After this finish, I will use this punch needle finished project as a small table mat.
Watch the Video:
Add Wool Backing:
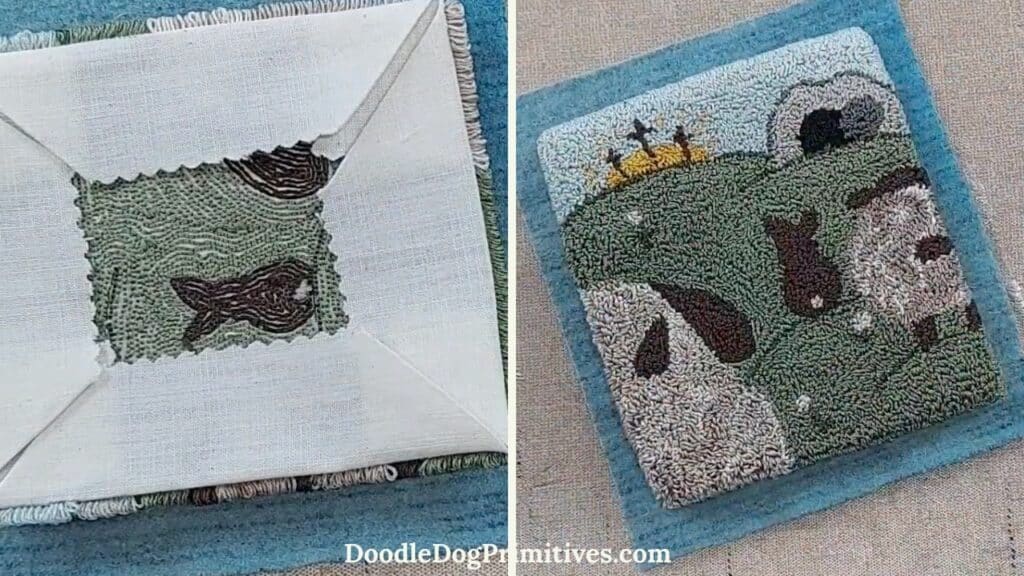
Trim the empty weavers cloth to around a one inch border around the punched project. Press the empty weavers cloth to the back of the punch needle project. When you look at the project from the front, you shouldn’t be able to see any empty weavers cloth.
For the backing, choose a felted wool that looks good with the punch needle project. I chose a blue felted wool.
Cut a piece of felted wool one inch wider and one inch longer than the finished punch needle project.

Use an iron to press the top and bottom edges of the wool under 1/4″. You can use a pressing cloth to protect the wool and iron.
Cut out a 1/4″ square from each corner so you can press the sides of the wool under 1/4″ also.
You can use pins or clips to hold the wool in place if needed. Place the punch needle project in the center of the wool.
Use a thread that matches the felted wool. Stitch the punch needle project to the wool. Catch the edge of the wool, and the edge of the fold of the weavers cloth in your stitches. On the back of the wool, make tiny stitches so you don’t have big pieces of thread showing. When you come back to the front, angle the needle to keep moving down the side of the project.
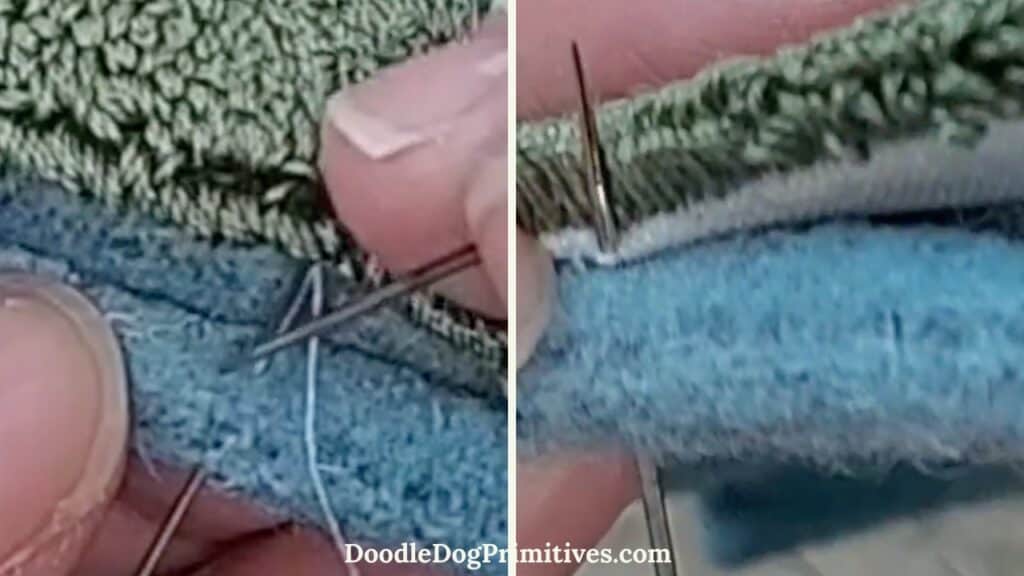
Keep sewing all the way around.
You might also like our other punch needle tutorials.
Pin this Punch Needle Tutorial:
