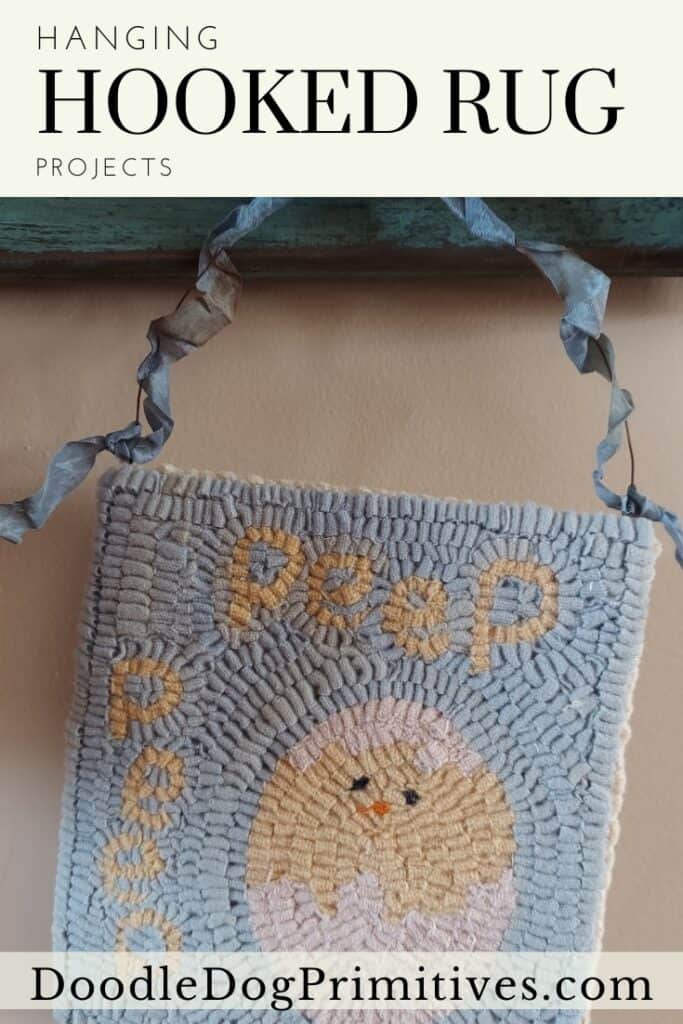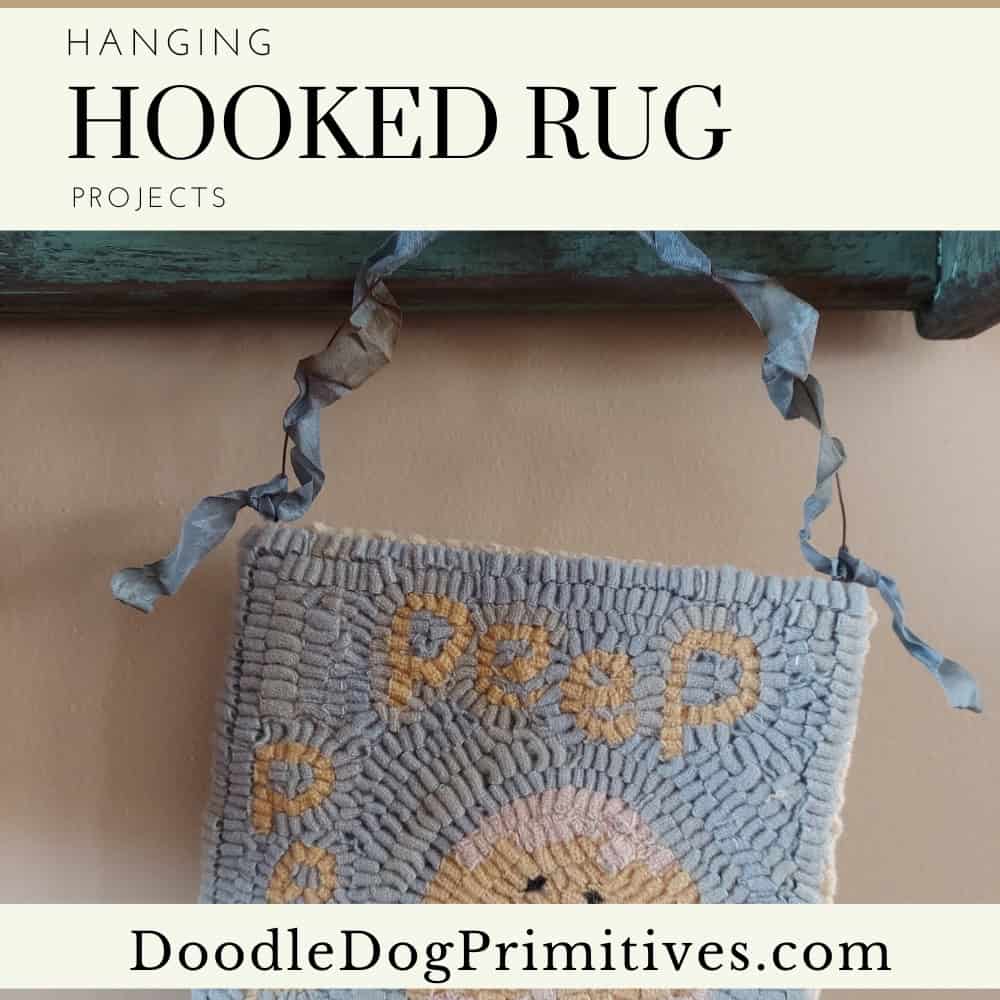
In this rug hooking tutorial, I will add a wool backing to a small hooked rug project and add a hanger so the project can easily be displayed. I completed this tutorial using a spring hooked rug pattern, but any small sized rug hooking pattern would work!
Watch the Video Tutorial:
This post may contain affiliate links for your convenience, which means if you make a purchase after clicking a link I will earn a small commission but it won’t cost you a penny more. For more information, please visit our Privacy Policy.
Add a Back to the Hooked Rug:
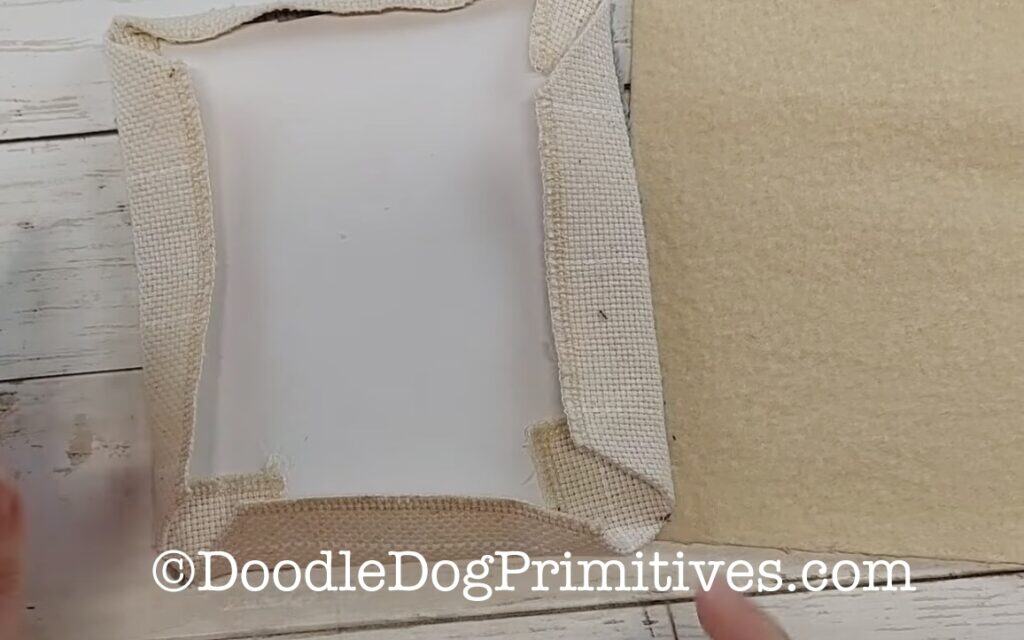
Cut a piece of lightweight cardboard or very sturdy interfacing about 1/2″ narrower and shorter than the finished hooked rug.
After steam pressing the hooked rug, add a felted wool backing to the project in the same way I did in this hooked rug pillow project. Before sewing, insert the cut cardboard underneath the folded over foundation fabric.

Add the Hanger to the Hooked Rug:
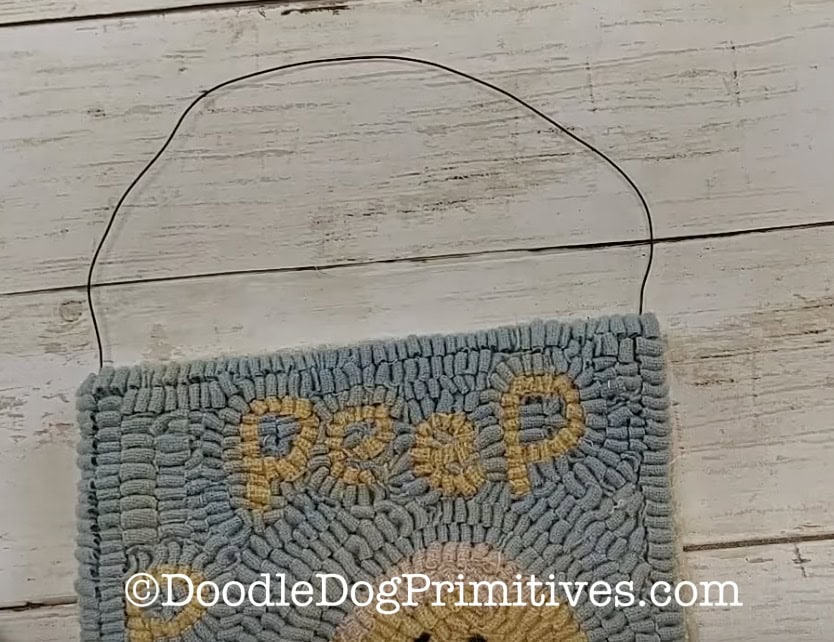
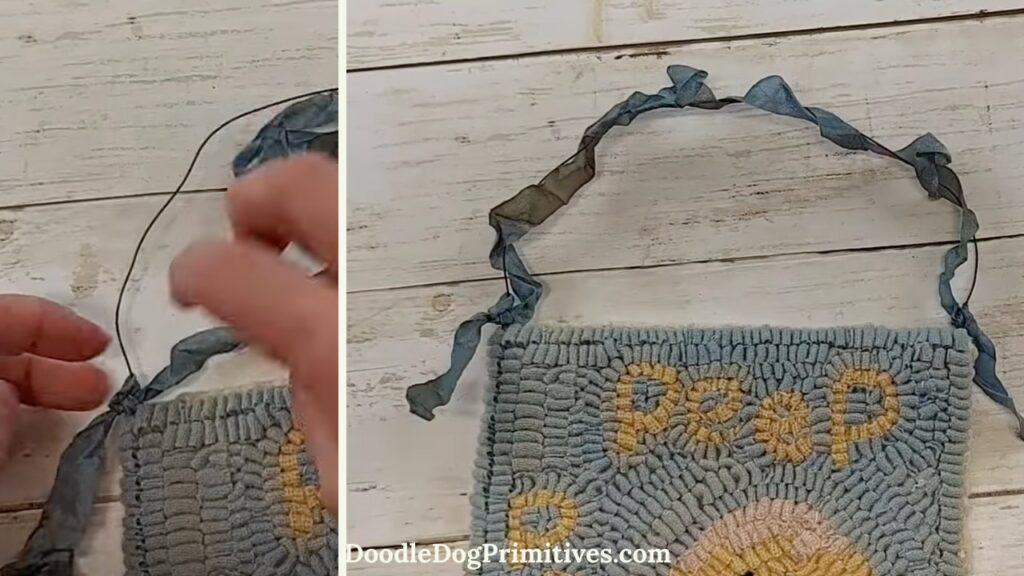
Decide how tall of a hanger you want. Cut a piece of wire (I used pre-rusted wire) long enough for the hanger plus a little bit extra for poking into the wool.
Poke one end of the wire into the top corner of the wool backing and fold the wire over to hold it in place. Repeat with the other end of the wire on the other top corner. You could stop there if you like that look.
For this project, I decided to take it one step further with some crinkly ribbon. I tied the crinkly ribbon onto the wire on one side of the project, leaving a couple of inches of ribbon hanging.
I then wrapped the ribbon loosely around and around the wire. I then tied the other end of the ribbon onto the wire.
Be sure to check out our other rug hooking tutorials.
Pin this Rug Hooking Tutorial: