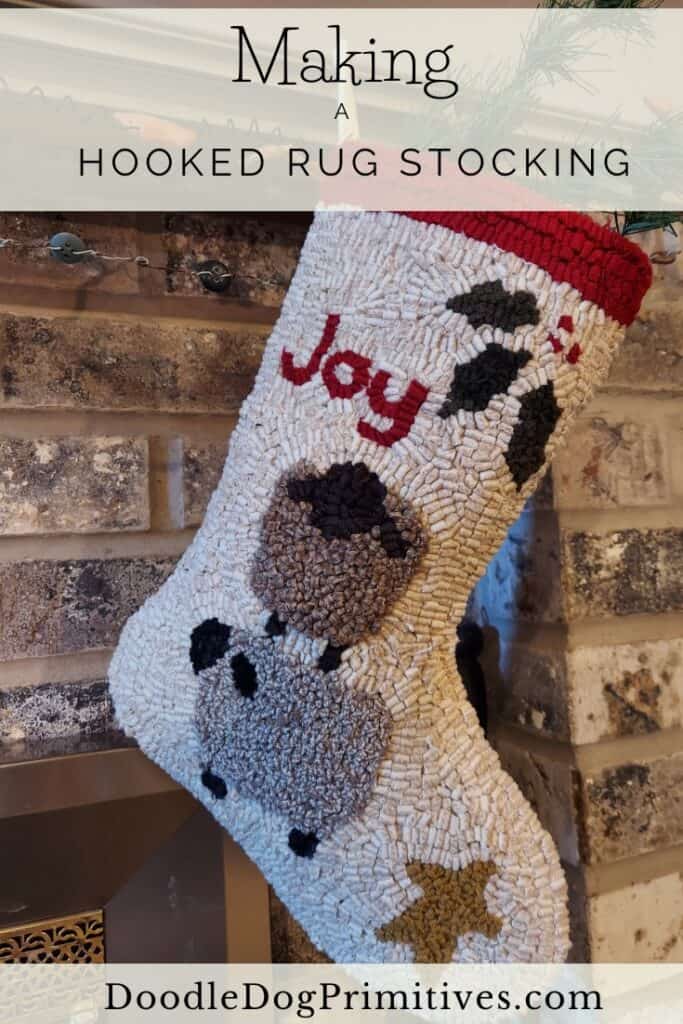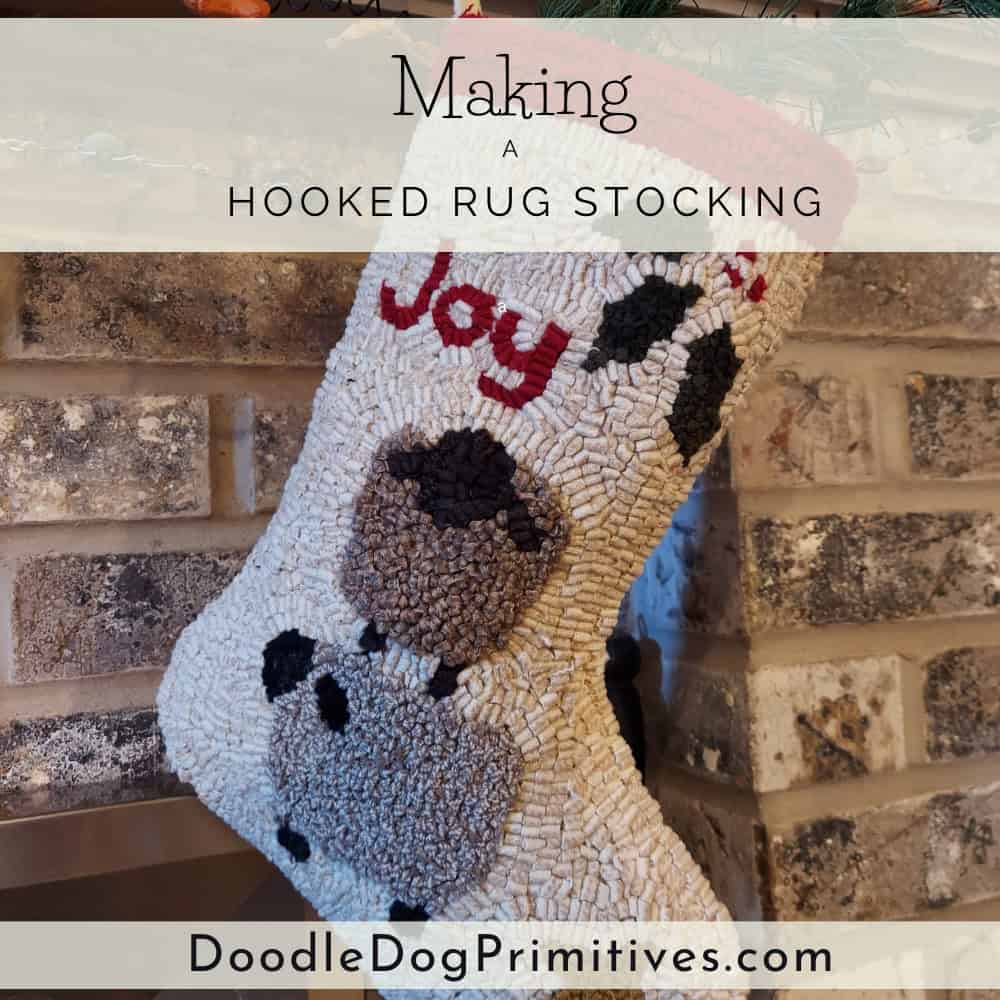
In this rug hooking tutorial, I am going to make a hooked rug Christmas stocking with a wool backing and cotton fabric lining. I decided to add the lining to give the stocking a little extra protection on the inside in case I decide to stuff it with goodies for someone nice!
Watch the Video:
This post may contain affiliate links for your convenience, which means if you make a purchase after clicking a link I will earn a small commission but it won’t cost you a penny more. For more information, please visit our Privacy Policy.
Preparing the Hooked Rug:
I prefer making hooked projects that I am going to make into something with monks cloth. It is softer than other foundation fabrics and easier to manipulate.
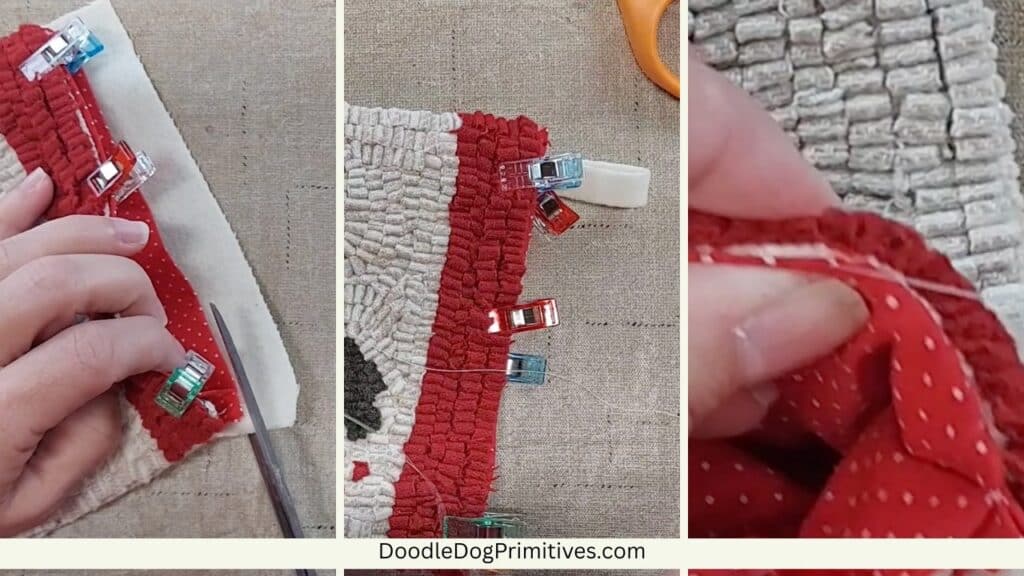
I used this pattern for making the stocking. After hooking the stocking, steam press it and let it completely dry. Serge all the way around the edge of the hooking, leaving 3/4-1″ of a border of the foundation fabric.
On the inside corners of the stocking, clip the foundation fabric up to the hooking – but not into the hooking. This will make it easier to turn the empty foundation fabric to the back of the project. Coat both sides of the cuts with some fray check to keep the foundation fabric from raveling. Let that completely dry.

Press the empty foundation fabric to the back of the stocking. Be careful to keep your iron out of the fray check! Steam pressing will keep the seam allowance pressed to the back a little bit better. If desired, you can baste this down to the back.
Preparing the Stocking Lining:
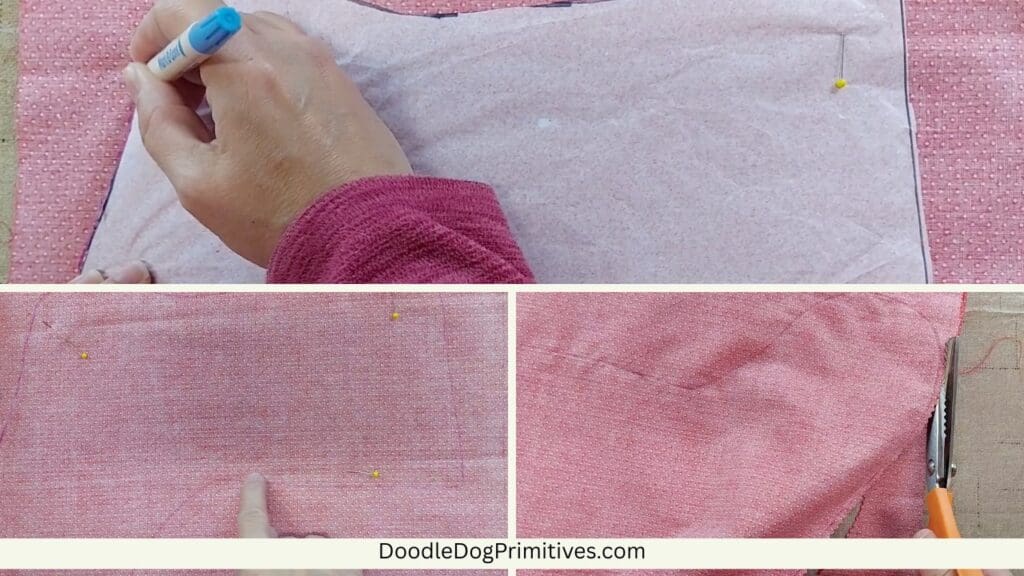
I used a quilting cotton fabric for my lining. Fold the fabric in half, right sides together.
Use the outline of the stocking pattern for the lining pattern. Pin the pattern onto the fabric and trace around the outside of the stocking. This will be the sewing line. Remove the pattern, pin the fabric together inside the sewing line and stitch just slightly inside the line on the sides and bottom of the stocking, leaving the top open.
Trim the seam allowance to 1/4″ on the sides and bottom and leave around 1/2″ seam allowance at the top.
At the top of the stocking, press the 1/2″ seam allowance on each side towards the outside (which is still the wrong side of the fabric). Set this aside for now.
Assemble the Stocking:
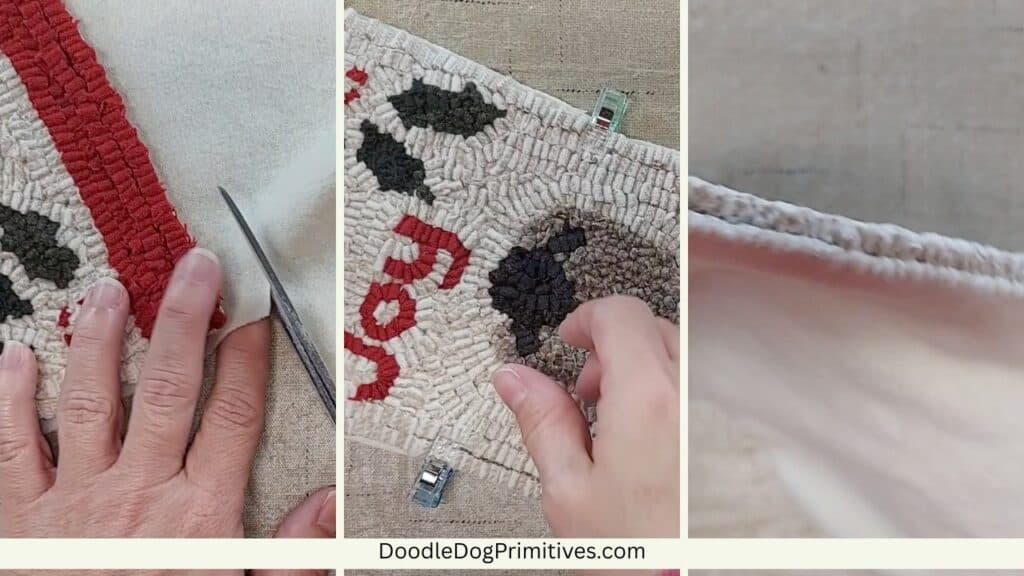
For the stocking backing, lay the finished hooked rug on top of a piece of felted wool. Angle your scissors to cut a backing piece just slightly larger than the stocking. At the top of the stocking, cut the backing 1/2″ longer than the hooked stocking.
Clip the wool backing to the stocking, wrong sides together. Using a thread to match the backing, whipstitch the backing to the hooked rug, catching the wool and the folded over foundation fabric – don’t catch the hooked loops. Leave the top of the stocking open.
As you stitch, the wool backing will fold over and cover up the edge of the foundation fabric.
Put the stocking lining inside the stocking.
Match the seams and clip the lining to the front of the stocking. Cut off the excess backing wool fabric even with the lining fabric.
You can add a hang tag between the back lining and stocking backing. Clip the stocking lining to the stocking backing.
Blind stitch all the way around the top of the stocking, attaching the lining to the stocking.
Be sure to check out our other rug hooking tutorials.
Pin this Rug Hooking Tutorial: