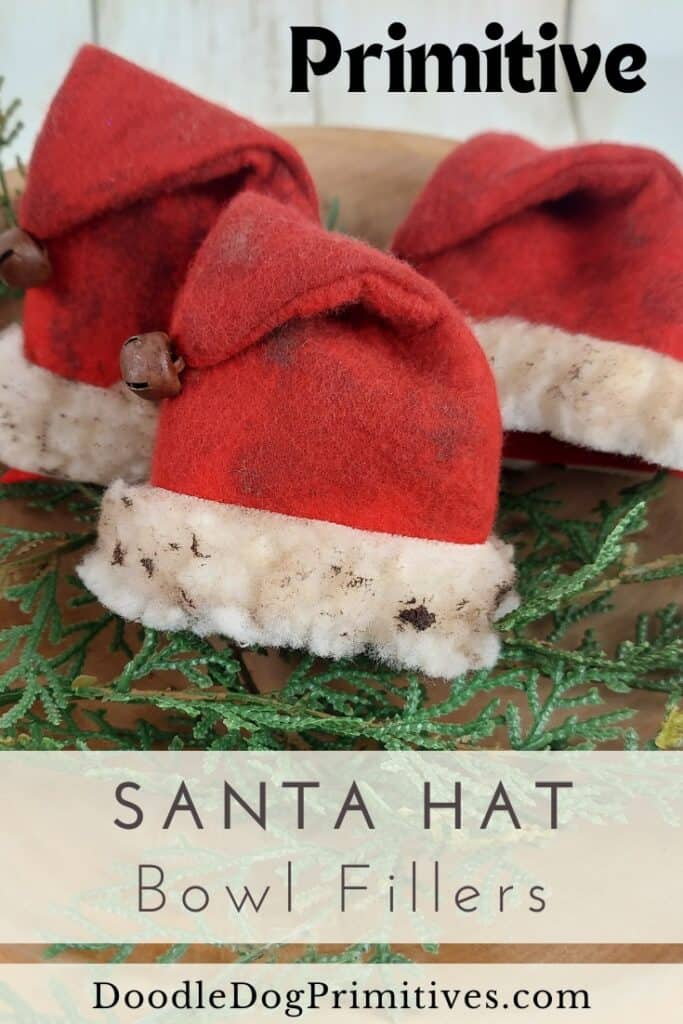
In this craft tutorial, I am going to make some primitive Santa hat bowl fillers. These are perfect for placing in a bowl at Christmas time or using as a shelf sitter. Either way, these grungy Santa hats are sure to bring you lots of holiday joy!
Watch the Tutorial:
This post may contain affiliate links for your convenience, which means if you make a purchase after clicking a link I will earn a small commission but it won’t cost you a penny more. For more information, please visit our Privacy Policy.
Making the Santa Hat:
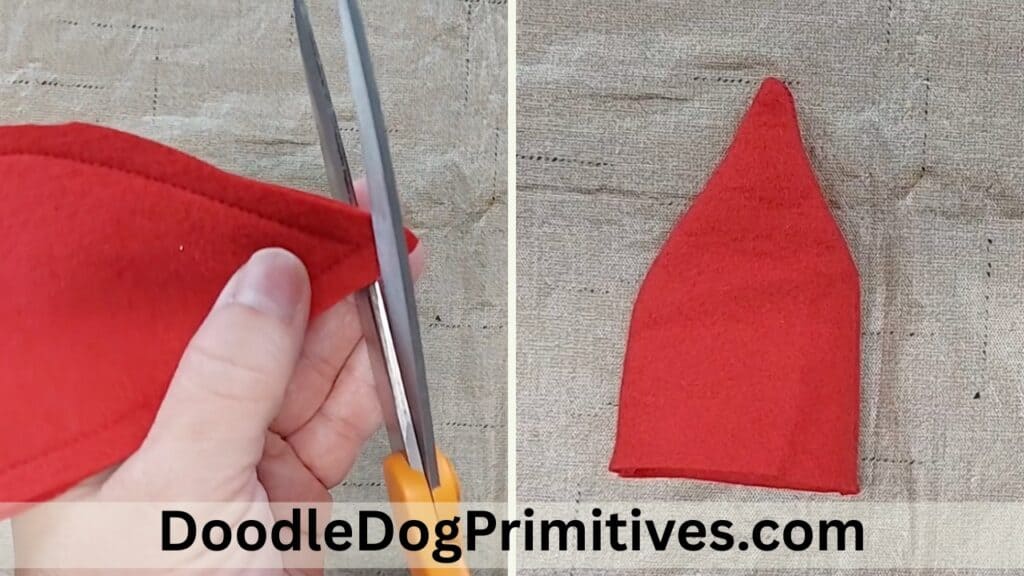
From red felt, cut 2 of the Santa hat shapes for each hat bowl filler you wish to make using this free pattern. One will be for the hat front and one for the back of the hat. Felt works great for this project because it will stand up well without having to stuff the hats.
Pin the two pieces right sides together and sew along the two long curved edges, (1/4″ seam) leaving the straight edge open. Trim the felt at the top corner close to the seam, but not through the seam. Turn the hat right side out. If needed, you can trim back the inside seams at the bottom of the hat.
Adding the Fur Trim:
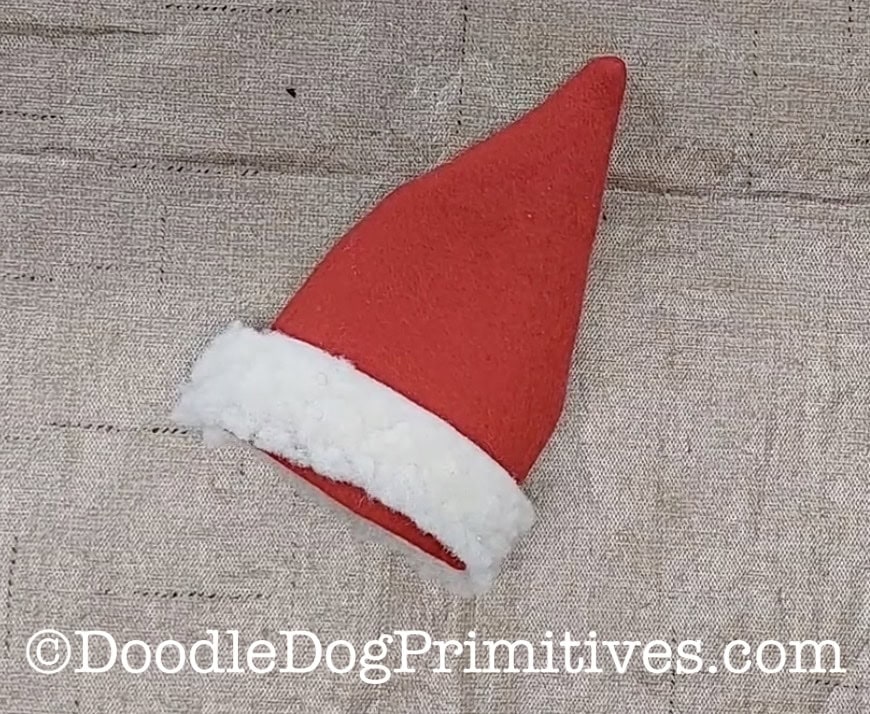
For the Santa hat trim, you could use some cotton batting or fake fur. I used some fake fur that I had once used to make a lamb costume because I had leftovers of it on hand. Cut a strip of the hat trim 3/4″ wide and long enough to go all the way around the bottom of the hat.
Attach the fur trim to the hat using craft glue, placing the two ends at the middle of the back of the hat.
Grunge the Santa Hat:
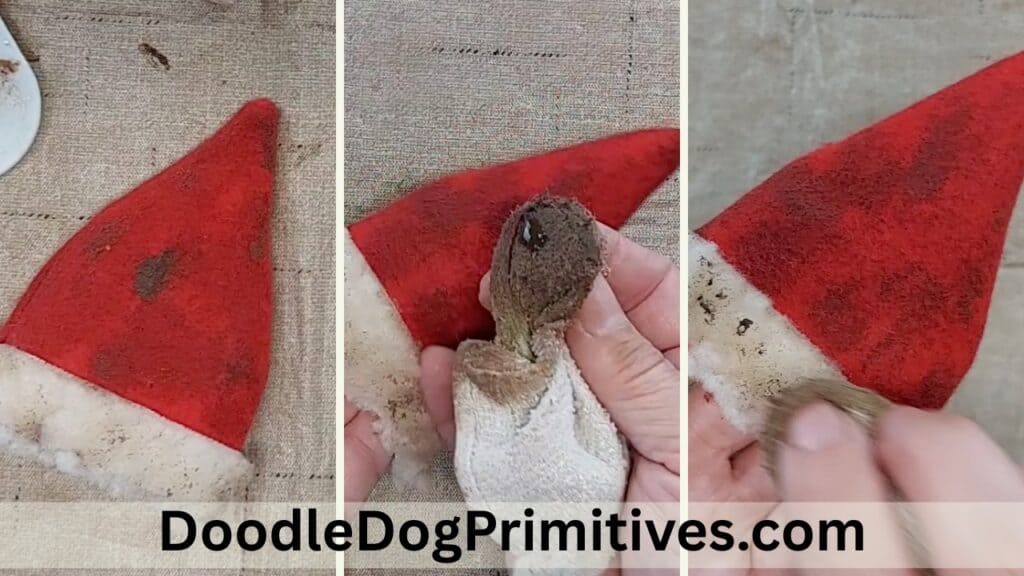
After the glue dries, it’s time to make the Santa hat look old. You can use whatever type of grunge product you like to use. I happened to have some Folk Art home decor antiquing wax on hand so I used that.
Whatever you use, try it out on some felt scraps first to see how it is going to work.
I watered the wax down (it is a water based product) and rubbed it all over the hat first and then I smudged more over in spots. After it was dry, I decided the fur needed just a bit more grunge so I lightly touched some wax onto the fur in places.
Finishing the Hat:
Once the hat is good and primitive, it is time to add a rusty bell. My bell was about 3/8″ in diameter. Using a needle and thread, sew the bell onto the top of the hat and then fold the top of the hat over and sew down.
Be sure to check out our other craft tutorials.
Pin this Primitive Craft Tutorial: