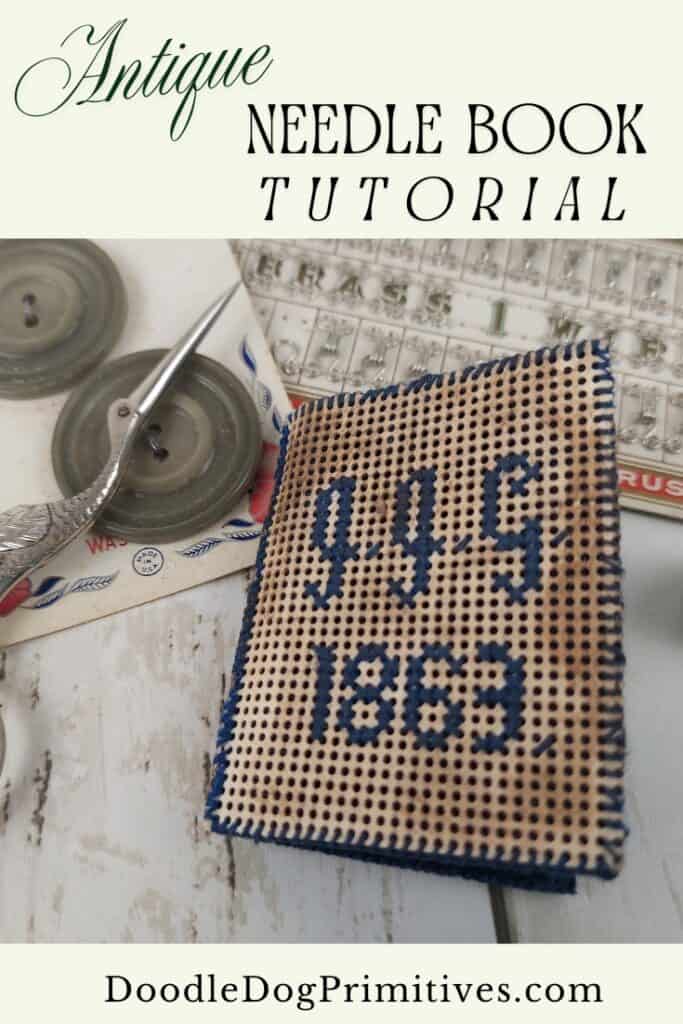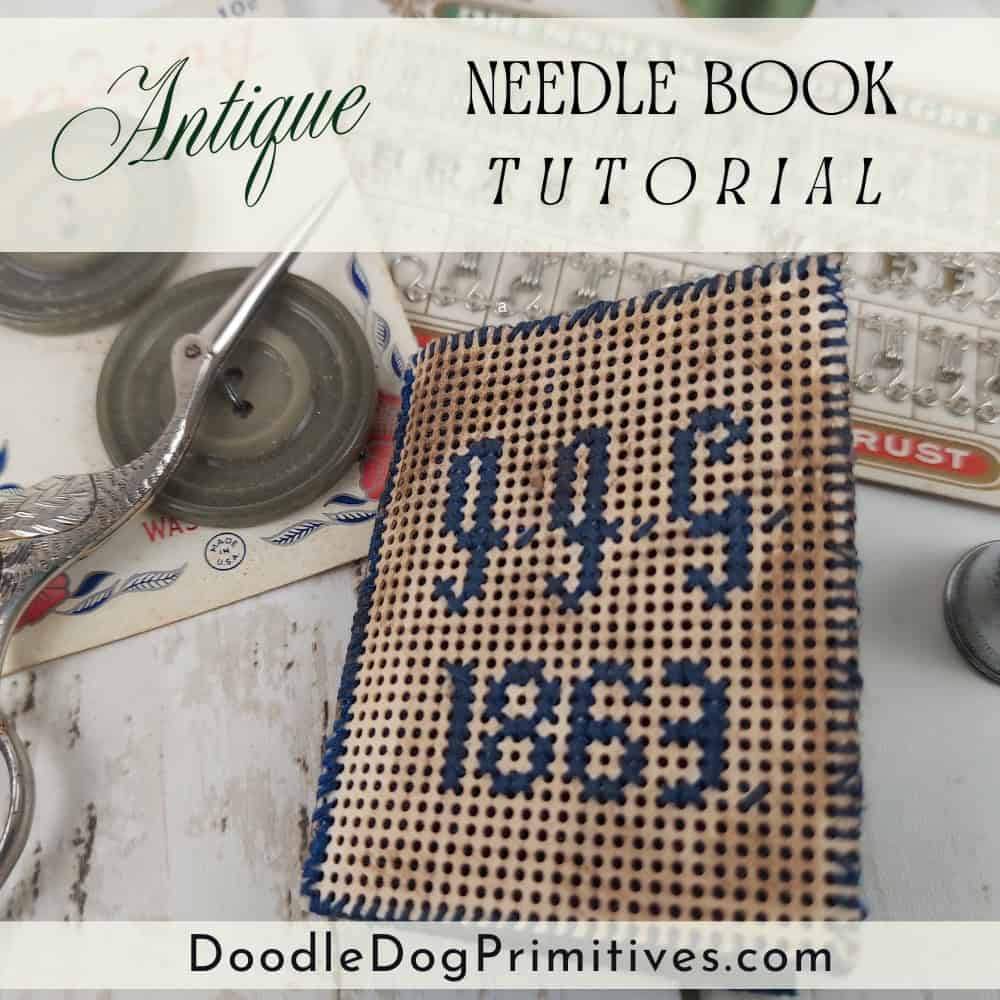
My mom has an adorable antique Victorian needle book. The cover of the needle book is made from perforated paper, which was popular for embroidery in the Victorian era. I happen to have several pieces of perforated paper in my stash, so I decided to reproduce a needle book for myself.
Watch the Video:
This post may contain affiliate links for your convenience, which means if you make a purchase after clicking a link I will earn a small commission but it won’t cost you a penny more. For more information, please visit our Privacy Policy.
Making an Antique Needle Book:
Stitching the Perforated Paper:
My first step was to measure the antique needle book and cut two pieces of perforated paper the same size as the covers of the book – 2-1/2″ x 2″.
The antique needle book’s paper has more holes per inch than my perforated paper, so my stitching will be slightly larger, but I can still get a similar look.
I chose some blue and yellow embroidery floss. On this perforated project, they used cross stitches to make the design so that is also what I did, using 3 strands of floss.
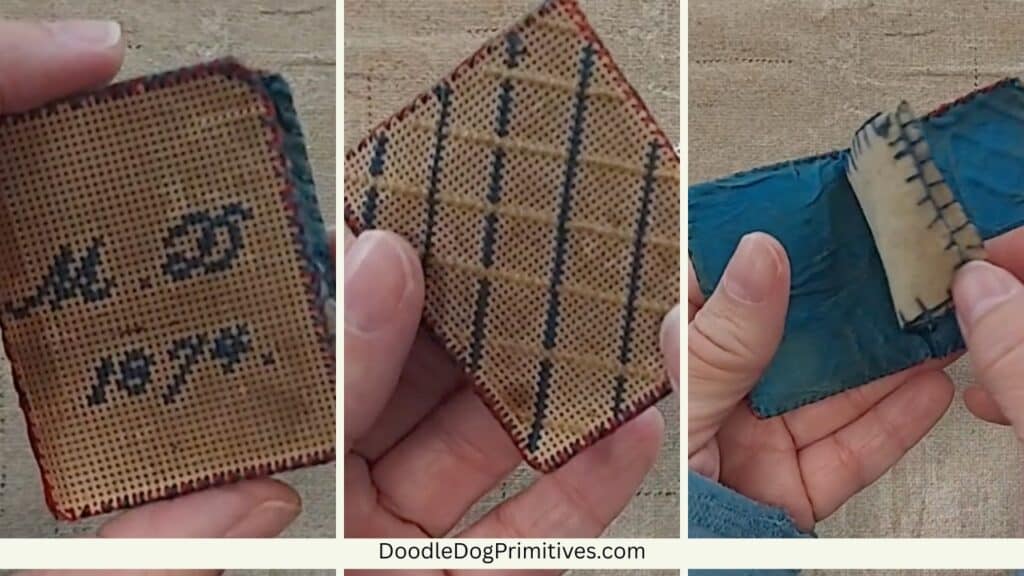
The back of the book has lines sewn all the way across at an angle with blue x’s and lines perpendicular to those lines with yellow x’s.
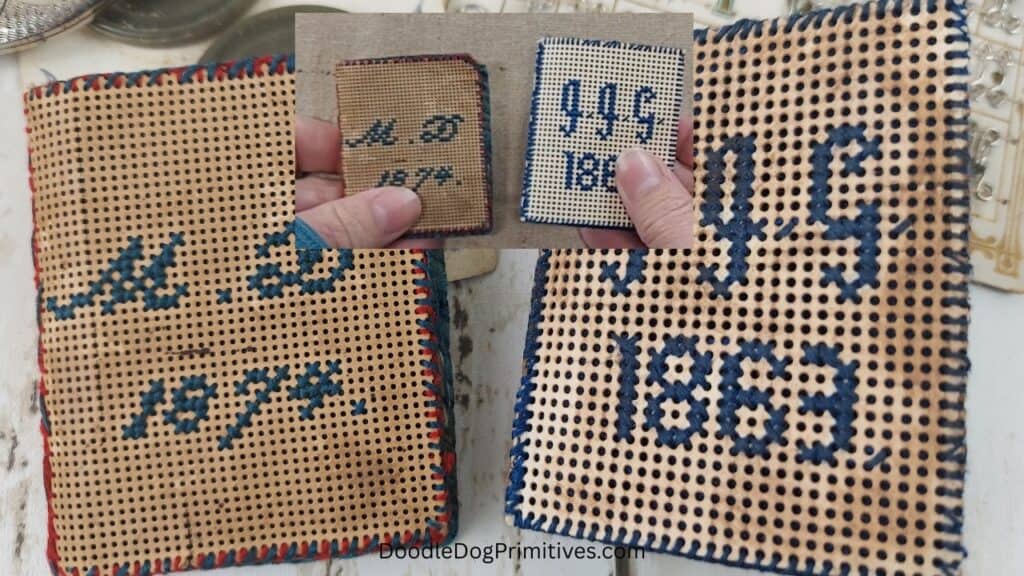
The front of the needle book has initials and a date. I decided to make my needle book more personalized, so I found an ancestor from the 1800s and used her initials and a date that would have been appropriate based on her birth year. I used graph paper to draw out the letters and then stitched them onto the perforated paper using x’s and just a single diagonal for the periods.
Making the Needle Holder:
The needle holder on the antique book feels like wool fabric, so I measured and cut 2 pieces of wool the same size – 3-1/4″ x 2″.
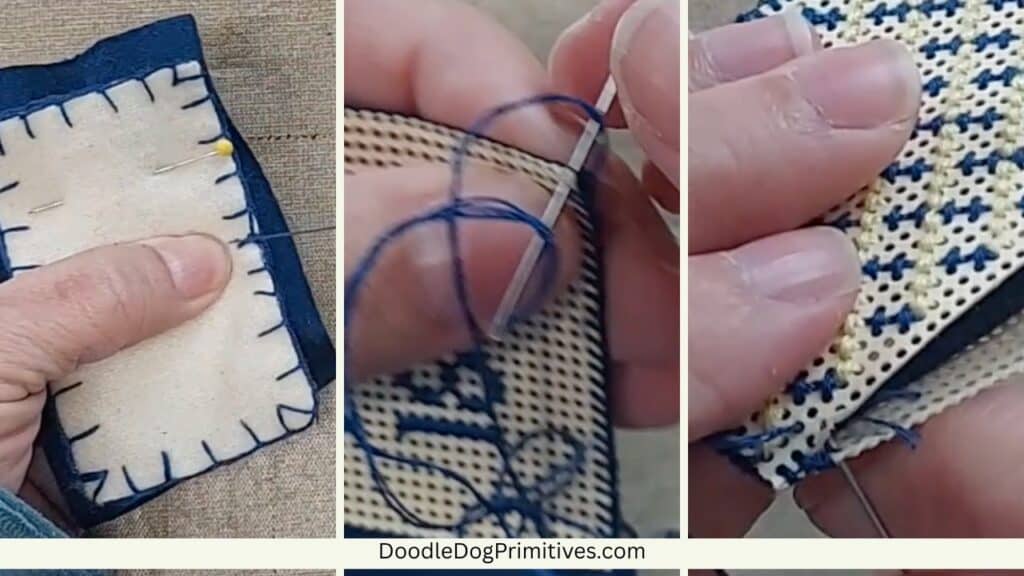
Using 3 strands of floss, I did a blanket stitch all the way around each of the wool pieces.
The inside cover of the antique needle book feels like a satin fabric. I didn’t have a satin piece, but I did have a pretty blue velvet fabric. A bonus of the velvet is that it doesn’t ravel so I didn’t have to worry about turning it under as I stitched it together.
I cut a piece of velvet for the book lining and stitched the two needle pages down the middle to the middle of the front of the velvet.
Stitching through the holes on the perforated paper, I then whip stitched the cover pieces to the back side of the velvet. I only stitched around the edge of the velvet – not down the middle where the front and back covers come together.
Finally, I folded the book in half and stitched the front and back cover together through the holes in the perforated paper, doing a whip stitch.
My needle case ended up being a lot thicker than the original. It also looks way too new!
Antiquing the Needle Case:
There is nothing I can do about the thickness at this point, my wool was just a lot thicker than their wool.
I can, however, make the needle case look old!
I took some Folk Art Home Decor Antique Wax, watered it down, and rubbed it all over the inside and outside of the book – including on the fabric parts.
Pin this Primitive Craft Tutorial: