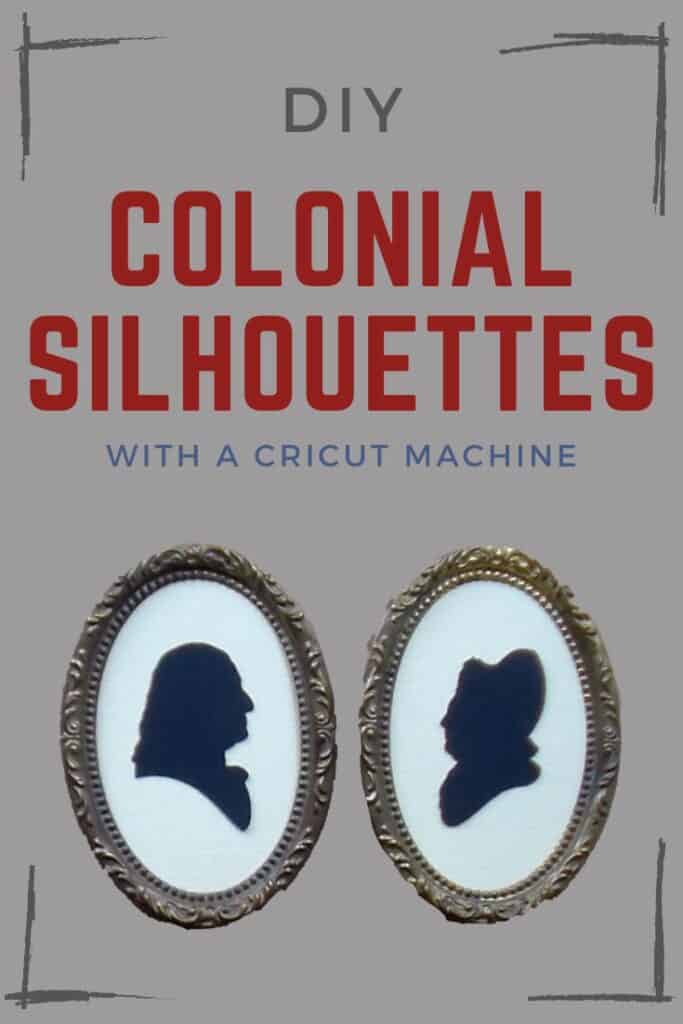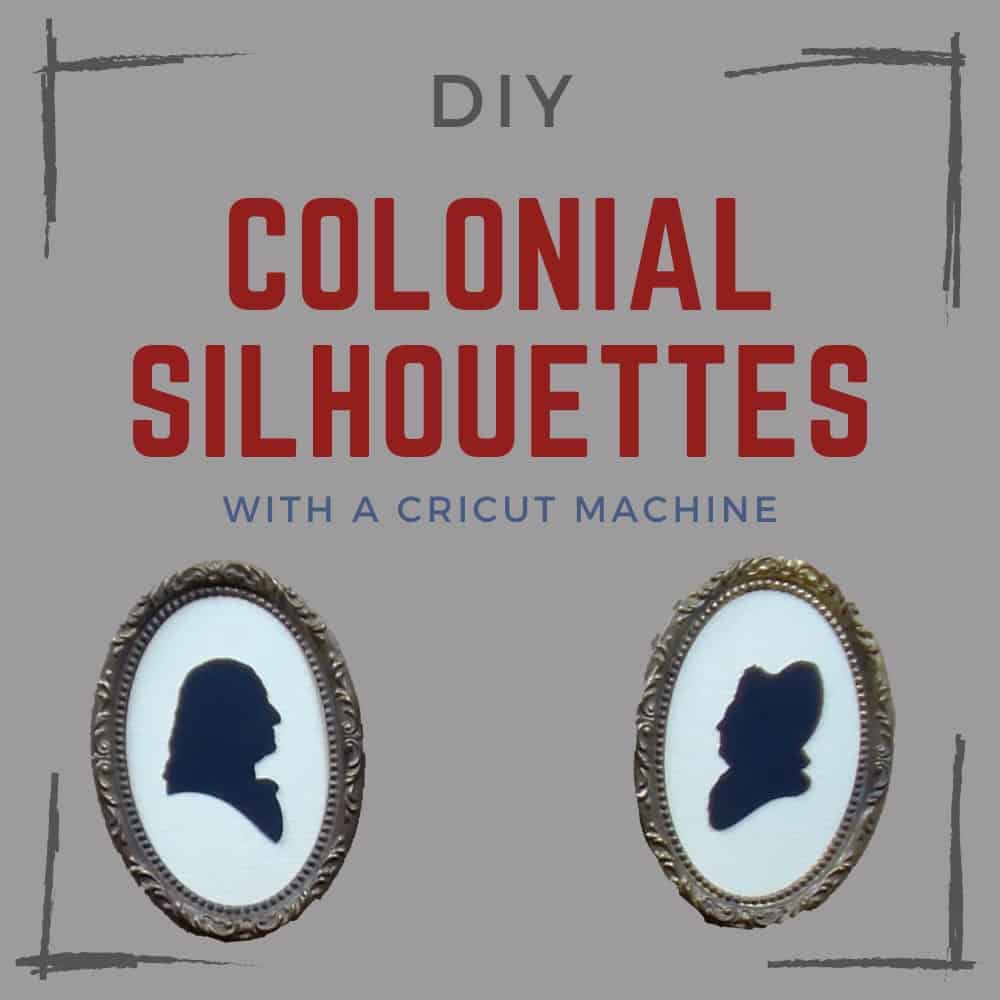
Join me to learn how to make these colonial style silhouette portraits using the Cricut machine.
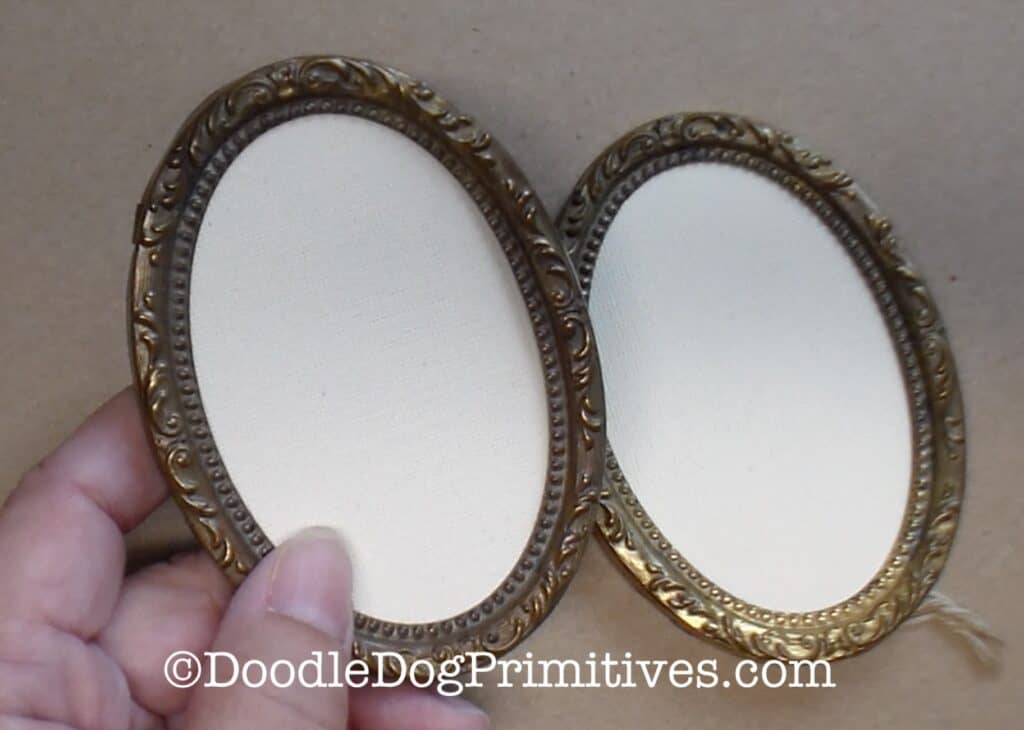
My mom found these small oval antique picture frames at an antique store
and she wanted to add some colonial style silhouettes to them.
I was super excited about this because I knew I could make some silhouettes for her with my Cricut machine.
This post may contain affiliate links for your convenience, which means if you make a purchase after clicking a link I will earn a small commission but it won’t cost you a penny more. For more information, please visit our Privacy Policy.
Supplies to make Colonial Silhouette Portraits:
- Small Picture Frames
- Black Cardstock
- Ruler
- Glue Stick
- Cricut Machine – I used the Cricut Maker
Watch the Video:
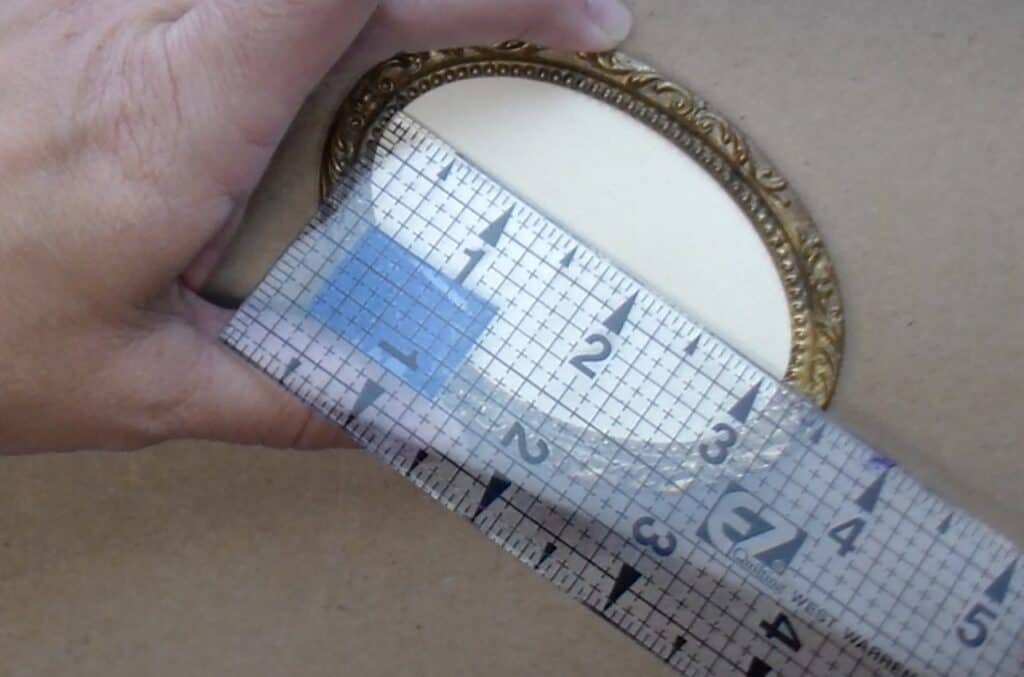
Measure the Picture Frame:
First, measure the front opening on the picture frame.
You will use this measurement later to determine how big to make the silhouette cut outs.
These picture frames measured about two inches wide and a little over three inches tall.
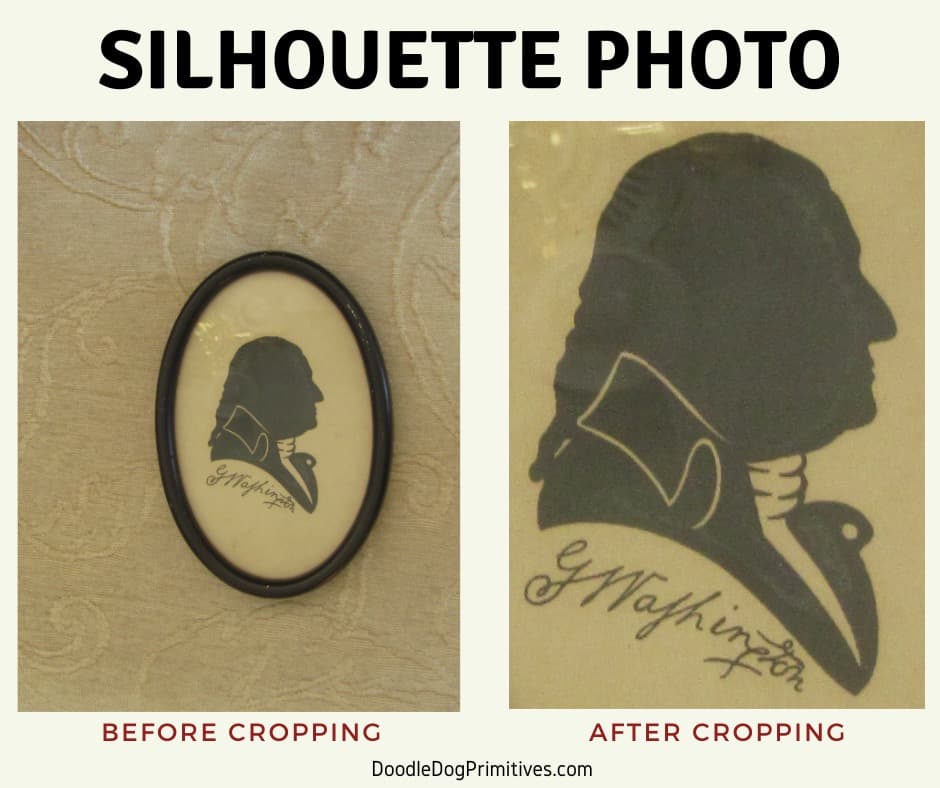
Crop the Silhouettes:
Most of the work of formatting the silhouettes for cutting with the Cricut machine
will be done inside of the Cricut Design Space program.
Before you get started, choose a silhouette you like from free clipart on the internet.
A good image search to do try is “free colonial silhouette”.
Save the file and crop it so all of the extra stuff around the silhouette is gone.
Format the Silhouette Portrait:
Open the Cricut Design Space program.
Choose New Project and then click Upload.
Upload the cropped silhouette photo into Design Space.
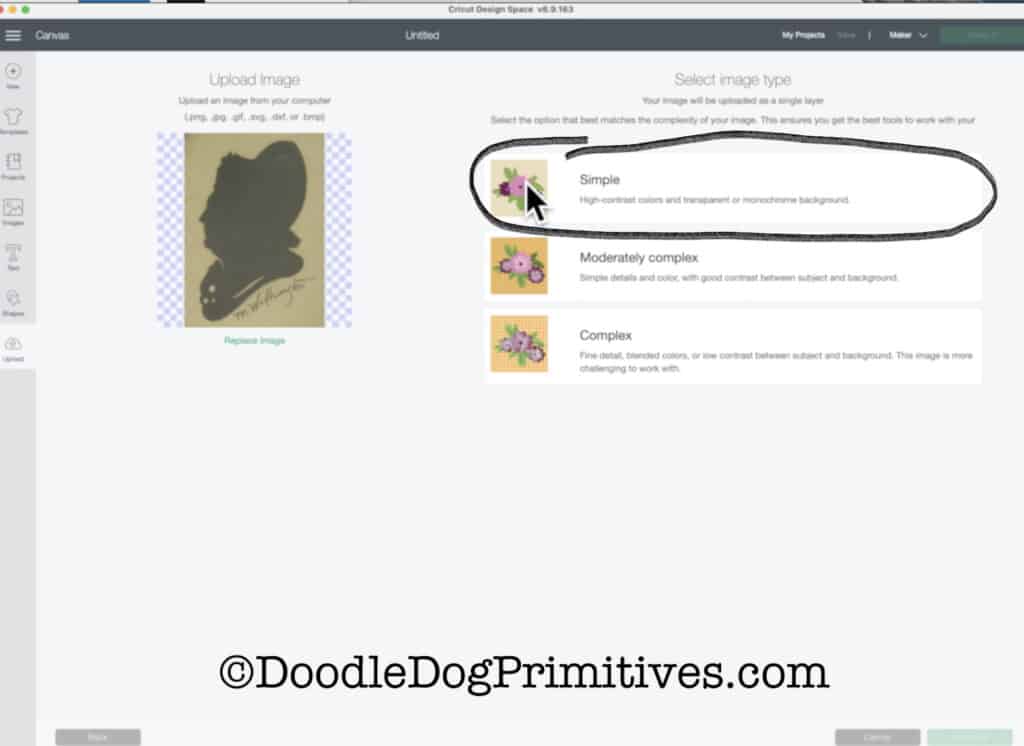
When asked to select image type, choose ‘Simple’ and then Continue.
Use the select and eraser tools to get rid of everything that isn’t the silhouette.
Most of this can be done by selecting the select tool and clicking on the areas that aren’t silhouettes.
You might have to touch it up with the eraser tool.
This is a perfect example of a picture being worth a thousand words
– watch the video above if you need clarification.
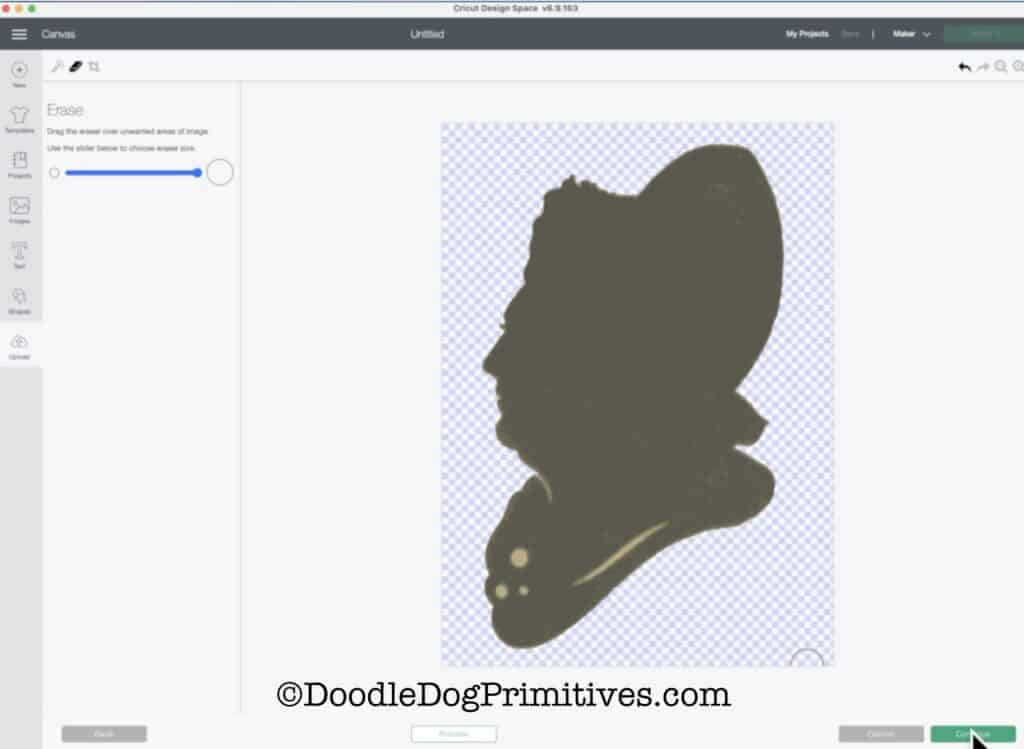
Once you have all of the extra removed, click Continue.
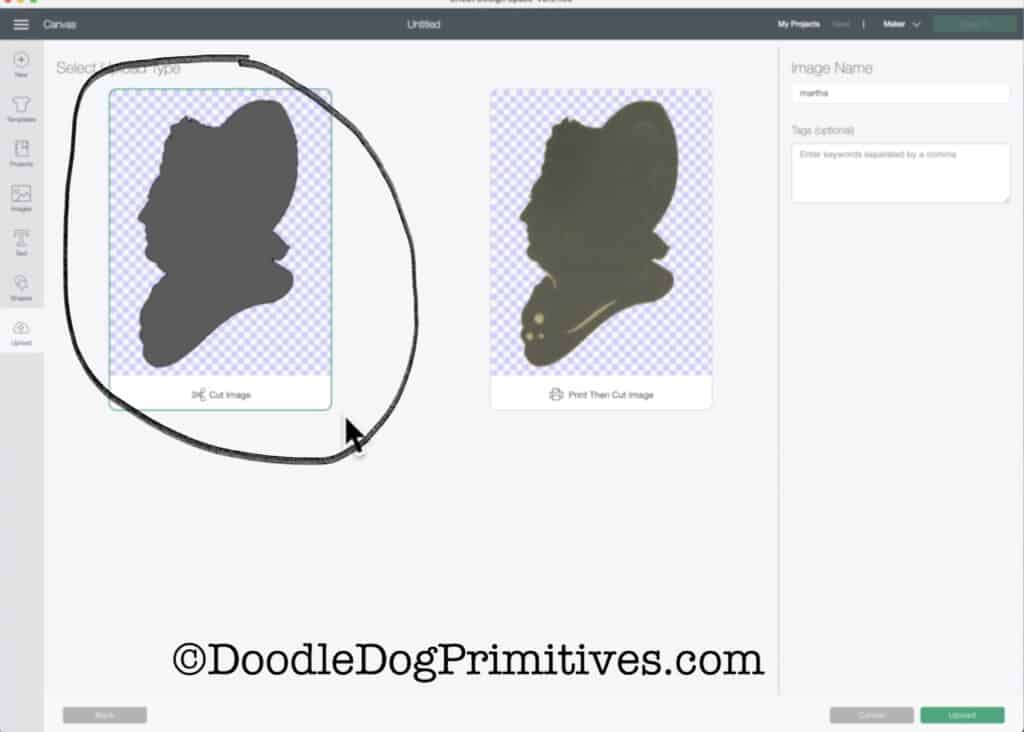
On the next screen, choose ‘Cut Image’ and then click Upload.
On the next screen, the image will appear under Recent Uploads.
Select the image and then click Insert Image.
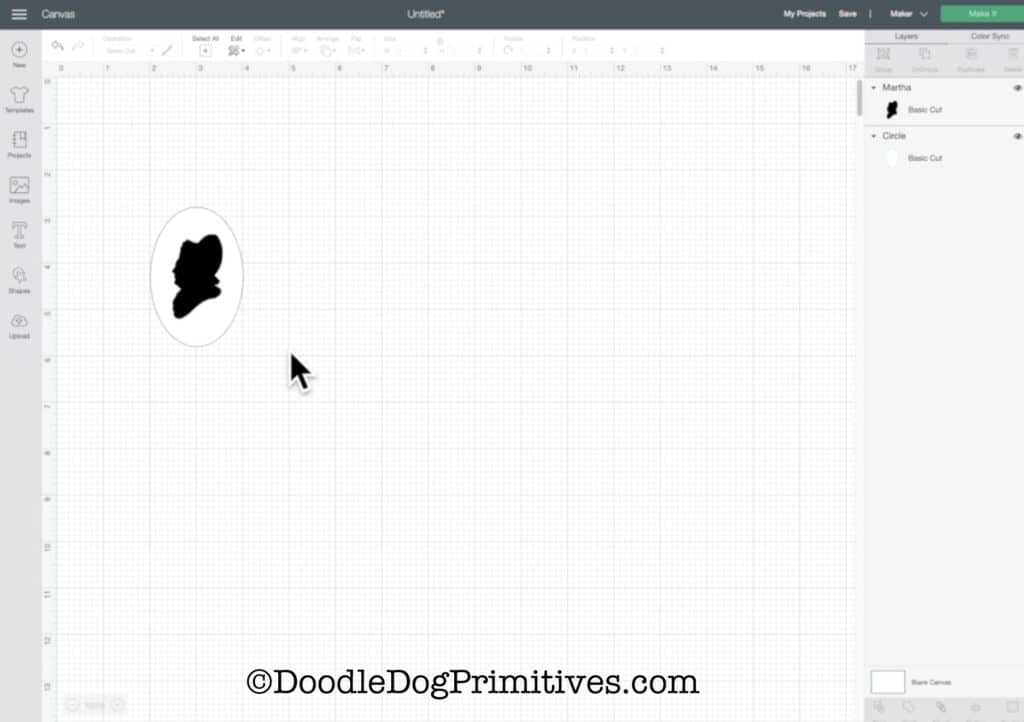
Now, you will have the silhouette inside Design Space.
Use the Shapes to create a shape the same size as your picture frame opening.
I made an oval that is 2″ x 3″.
Change the oval color to white and move the oval to the back so you can see the silhouette on top of the oval.

Position the silhouette on top of the oval and re-size the silhouette to a size that you like.
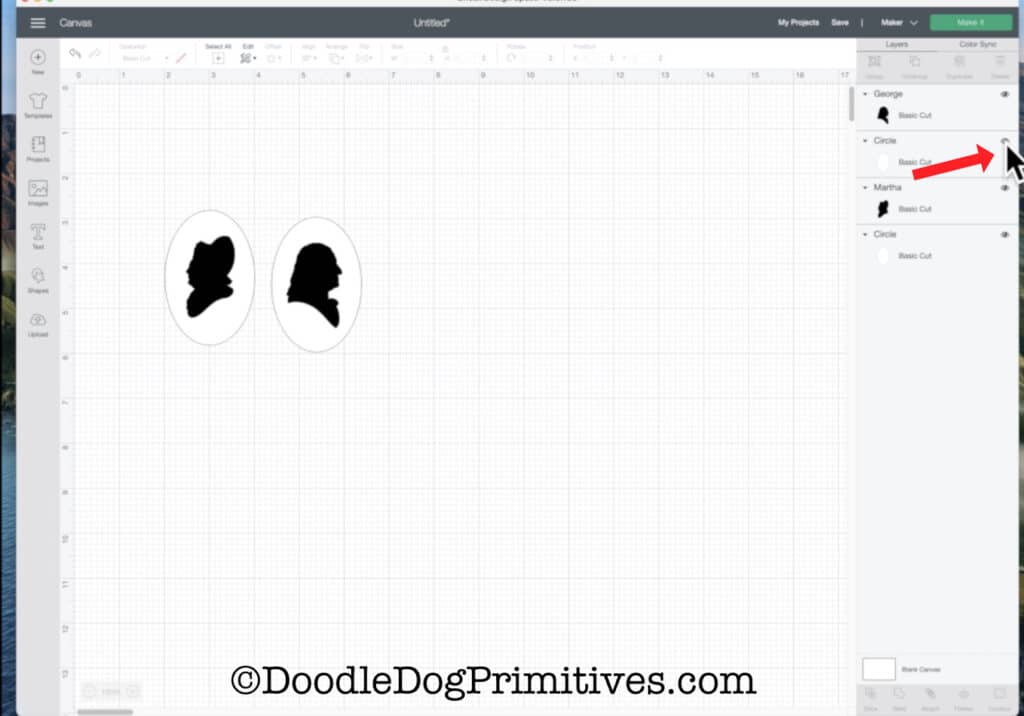
If you are making multiple silhouettes, repeat the steps above to upload another image to the project.
When you have all of the silhouettes formatted, click on the eye icon next to each shape so they won’t be cut.
Cut the Colonial Silhouettes:
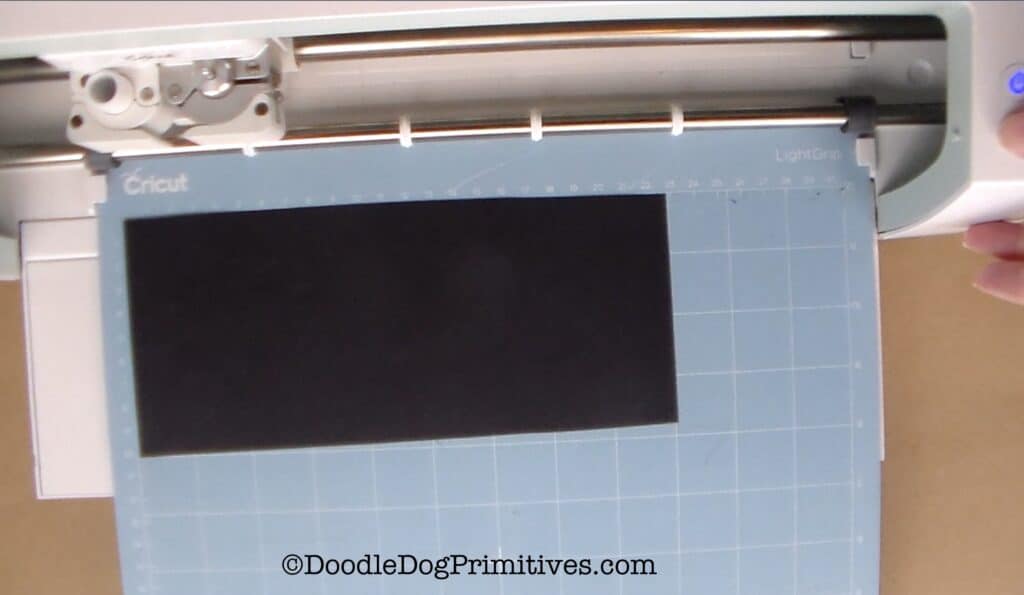
Click on the Make It button in Design Space and follow the prompts.
Load your mat with black cardstock paper.
Let the Cricut machine do its magic!
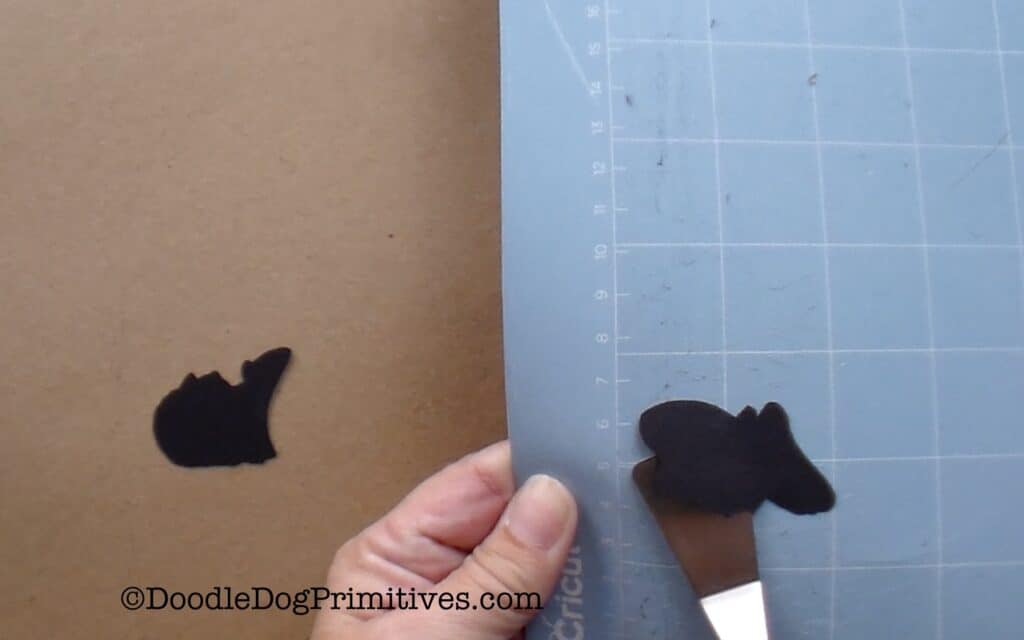
When the cutting is complete, unload the mat and peel off the excess paper.
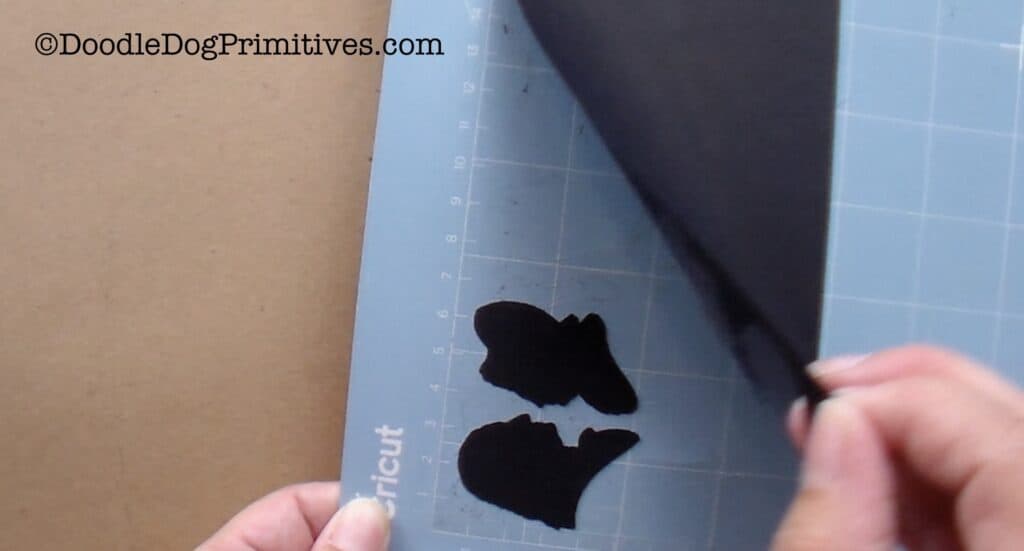
Use the Cricut spatula to gently lift the silhouettes off the sticky mat.
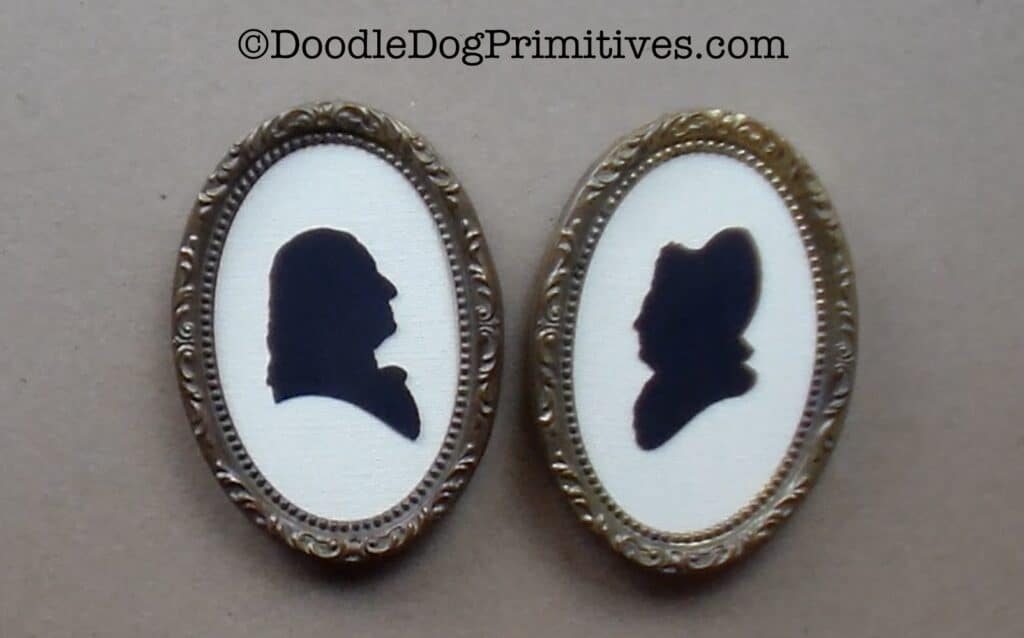
Place the colonial silhouette portraits inside the picture frames.
Use a glue stick to attach the silhouettes to the picture frame matte.
I hope you enjoyed this tutorial showing you how to create your own colonial silhouette portraits!
Blessings~
Amy
Pin this Colonial silhouette portrait Tutorial: