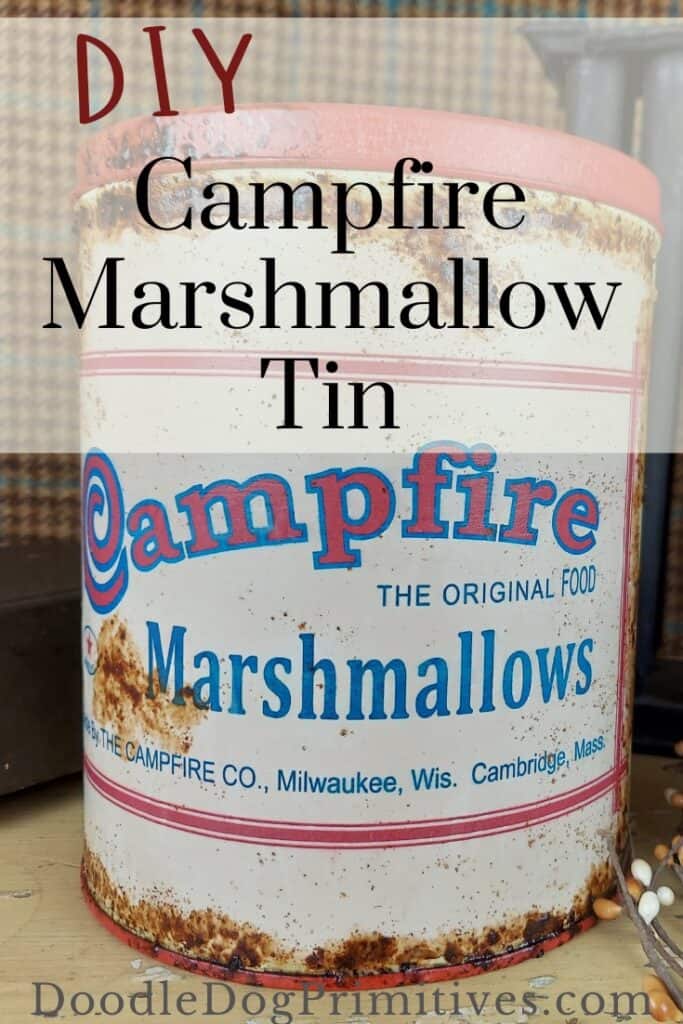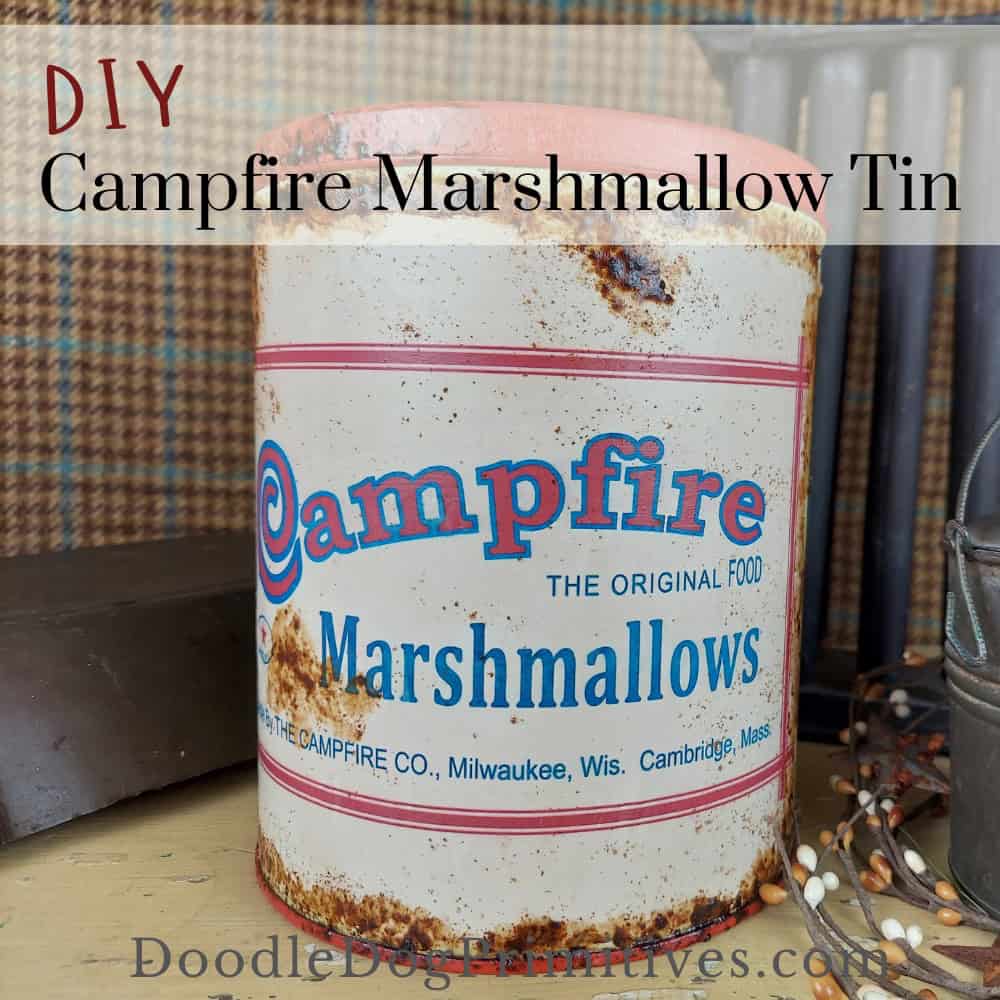
I really like the look of antique Campfire marshmallow tins but in our area, they are hard to find and usually pretty pricey. So, I decided to make my own reproduction campfire marshmallow tin.
Watch the Video:
This post may contain affiliate links for your convenience, which means if you make a purchase after clicking a link I will earn a small commission but it won’t cost you a penny more. For more information, please visit our Privacy Policy.
Making the Marshmallow Tin:
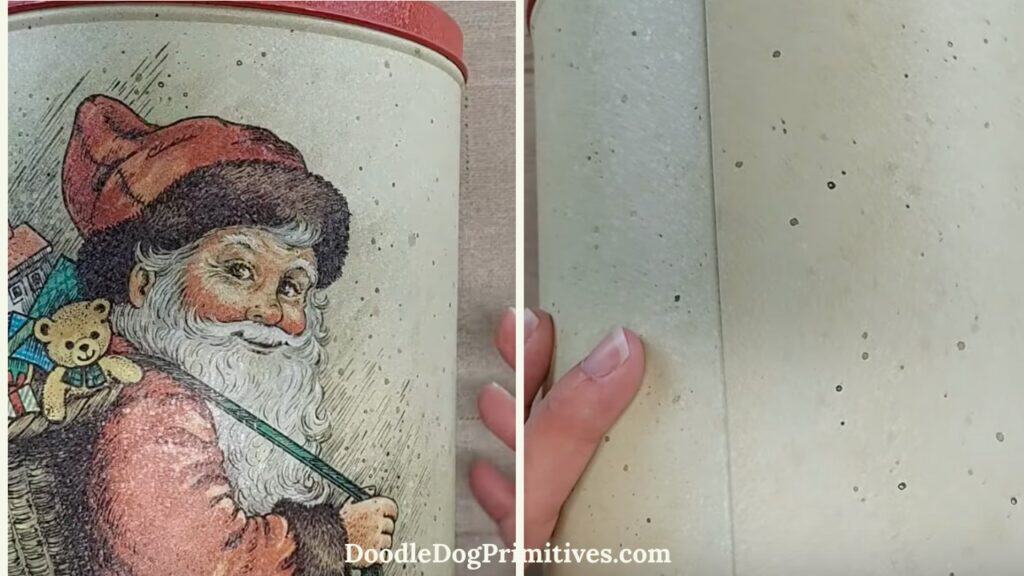
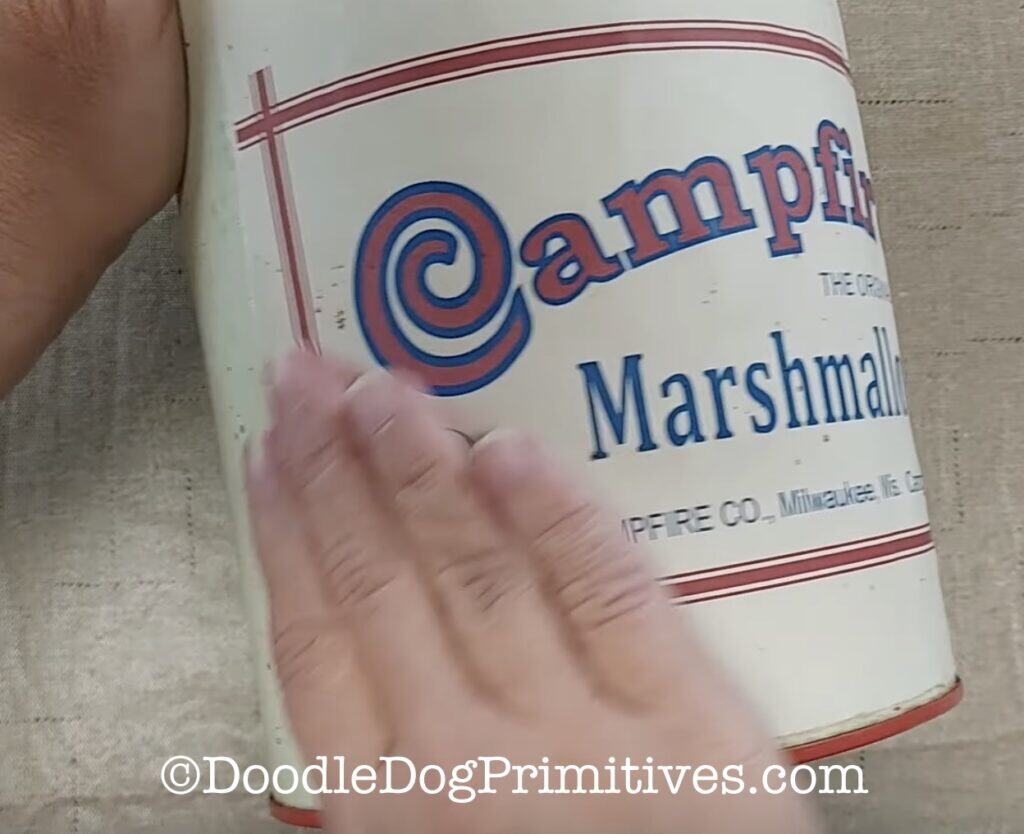
The Campfire marshmallow tins came in lots of different shapes and sizes. I found a tall, skinny tin that had a red lid the same color as the red in the Campfire logo. It also has a pretty neutral background that I am going to keep. I will just cover up the Santa. If your tin isn’t the right colors, you can spray paint the tin before getting started.
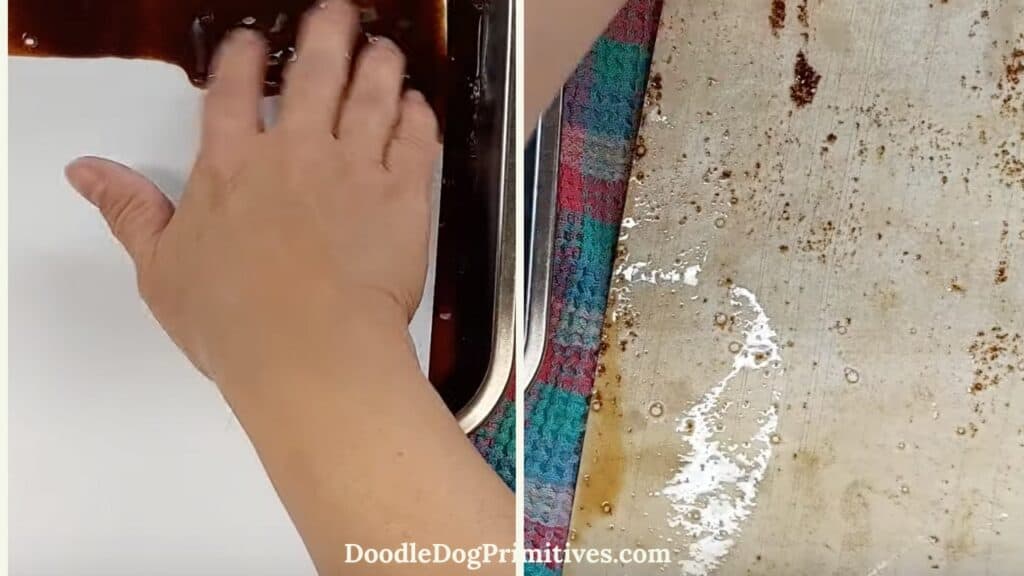
I mixed one tablespoon of instant coffee with one half cup of hot water and then added around one teaspoon of cinnamon. I poured this mixture into a flat pan and pulled a piece of printer paper through the coffee mixture. After the paper was completely covered with the coffee mixture, I set it aside to dry completely.
After the paper was dry, I pressed the paper with my iron using a pressing cloth so I didn’t get any coffee or cinnamon on my iron.
I also brushed off the excess cinnamon from the paper before running it through the printer.
I purchased a digital Campfire Marshmallow logo file, and printed the png file on my antiqued paper at a size to fit my tin. When I printed it, I chose best quality printing on the Media and Quality print screen.
I didn’t want the edges of the label to be crisp, so I measured and folded and then tore the label to the correct size for fitting on the tin.
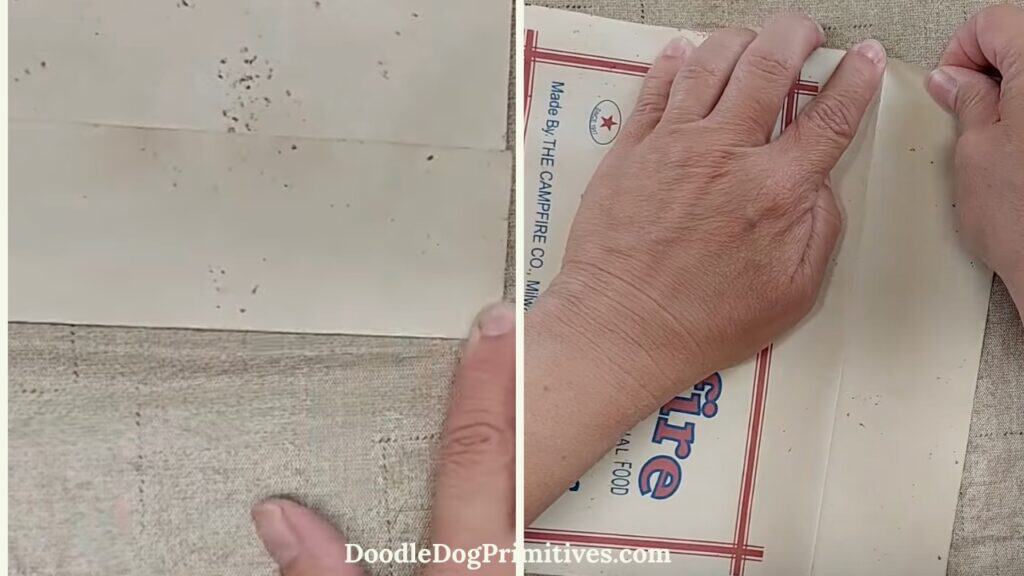
Next, I applied ModPodge to the back of the label and applied the label to the front of the tin.
Grunge the Marshmallow Tin:
To seal the label, I applied more ModPodge to completely cover the front of the label. While the Mod Podge was still wet, I used my fingers to sprinkled some cinnamon over the wet label and let it dry.
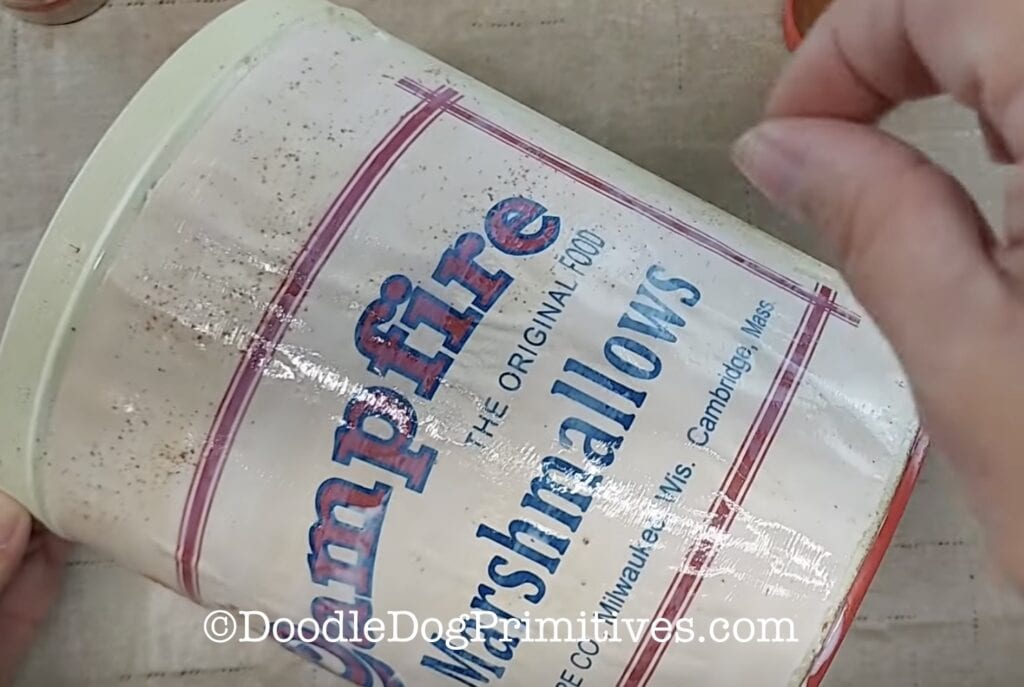
Depending on the color of your tin, you can use the Mod Podge and cinnamon on the whole tin. Mine didn’t need that since it already looks aged on the back.
After the tin was completely dry, I poured out some instant coffee and crumbled it with my fingers until it was very small granules.
Then I used a small paint brush to paint Mod Podge in areas I want the tin to have ‘rust’. I sprinkled the fine instant coffee over the wet Mod Podge. With the paintbrush, I dabbed more Mod Podge over the top of the coffee. This caused the instant coffee to ‘melt’ into the finish.
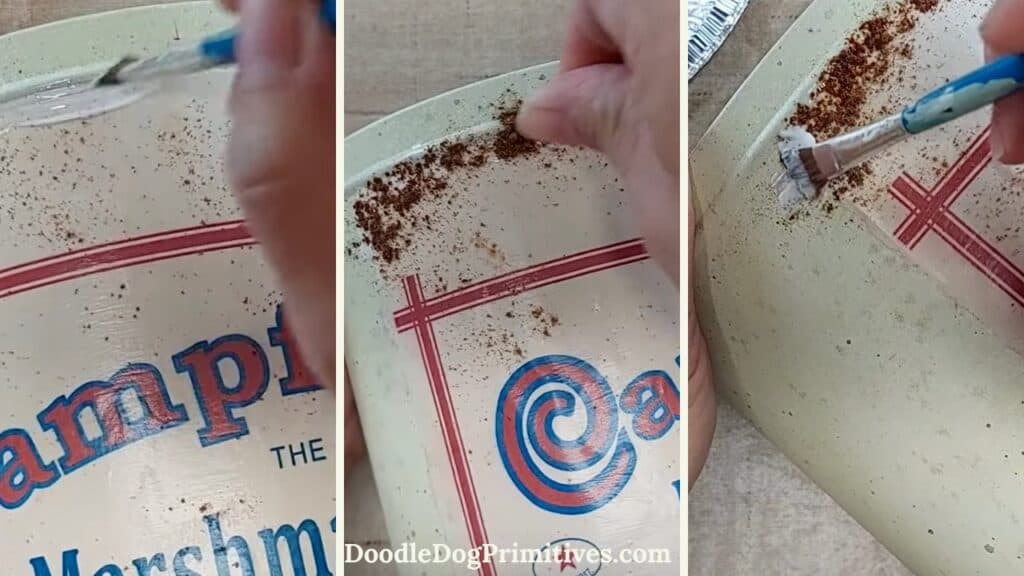
I repeated this process in each area that I wanted the tin to look rusty and then allowed everything to dry. I even added a little bit of rust to the lid!
You might also enjoy our other primitive craft tutorials.
Be sure to Pin this Primitive Craft Tutorial: