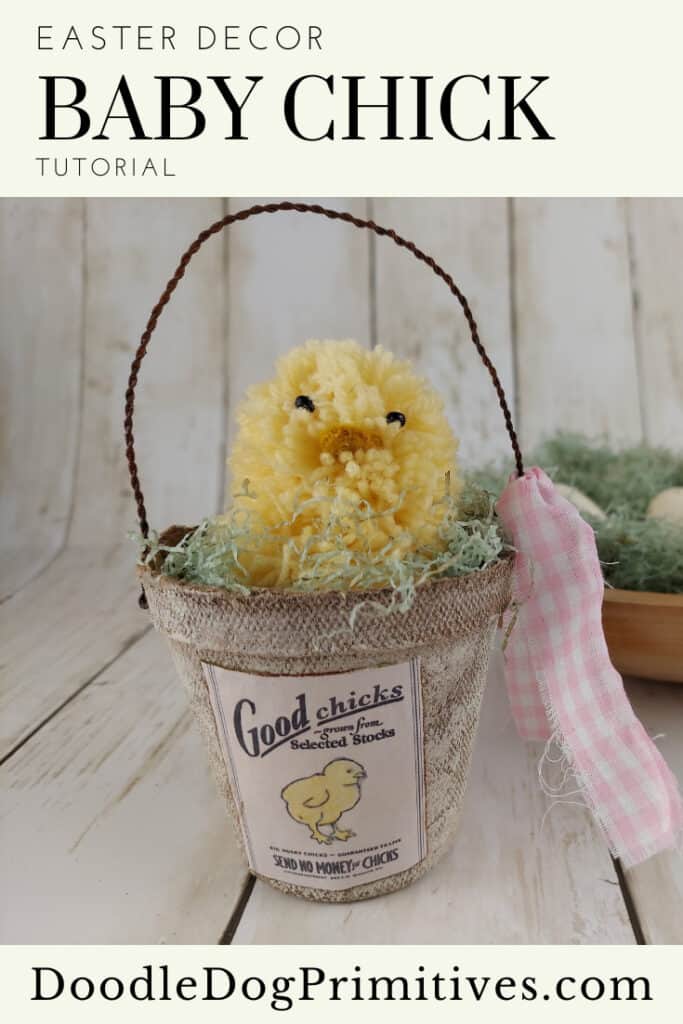
I made this adorable Easter Chick basket with a peat pot and some vintage yellow yarn! Watch the video or read the tutorial below to make your own Chick in a Basket for your Easter decor.
Watch the Craft Video:
This post may contain affiliate links for your convenience, which means if you make a purchase after clicking a link I will earn a small commission but it won’t cost you a penny more. For more information, please visit our Privacy Policy.
The Peat Pot:
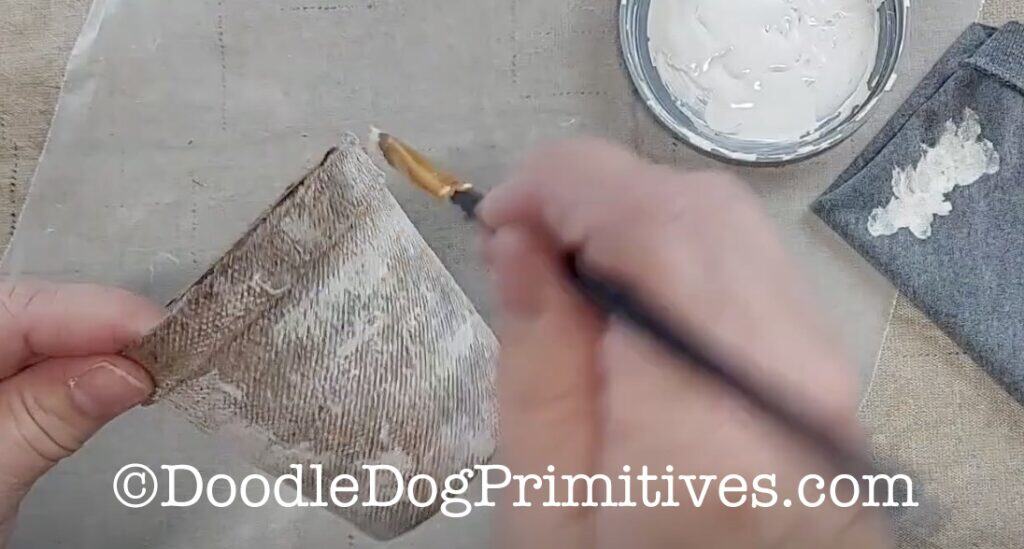
I started with a small peat pot, about 3″ tall and I used a dry brush to paint a light coat of cream paint onto the outside of the pot. Each time I got more paint on the brush, I dabbed it off onto a rag so I wouldn’t get too much paint on the pot.
After the paint was dry, I printed out the antiqued version of this chick poster, resized to fit the peat pot.
I tore the poster out and grunged the edges and colored the chick yellow with some watercolor pencils. I then used ModPodge to attach the label to the peat pot.
I added a handle of pre-twisted rusty wire by poking holes in the peat pot on the sides. Be careful. It is easy to tear the peat pot too much!
The Chick:
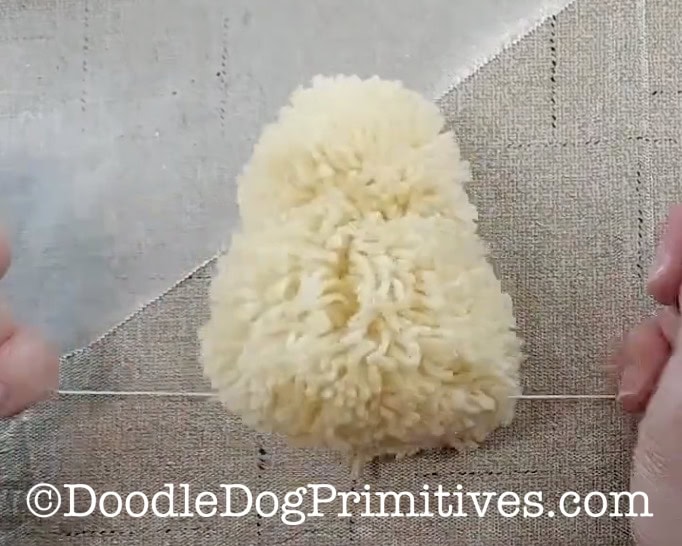
I had some vintage light yellow wool yarn that I used to make a 2″ pom pom and a 1-3/4″ pom pom using my pom pom makers. They don’t have to be made with vintage wool yarn. That is just what I had. And I like to use the craft supplies I have!
Using the strings used to tie the smaller pom pom together, I tied the two pom poms together.
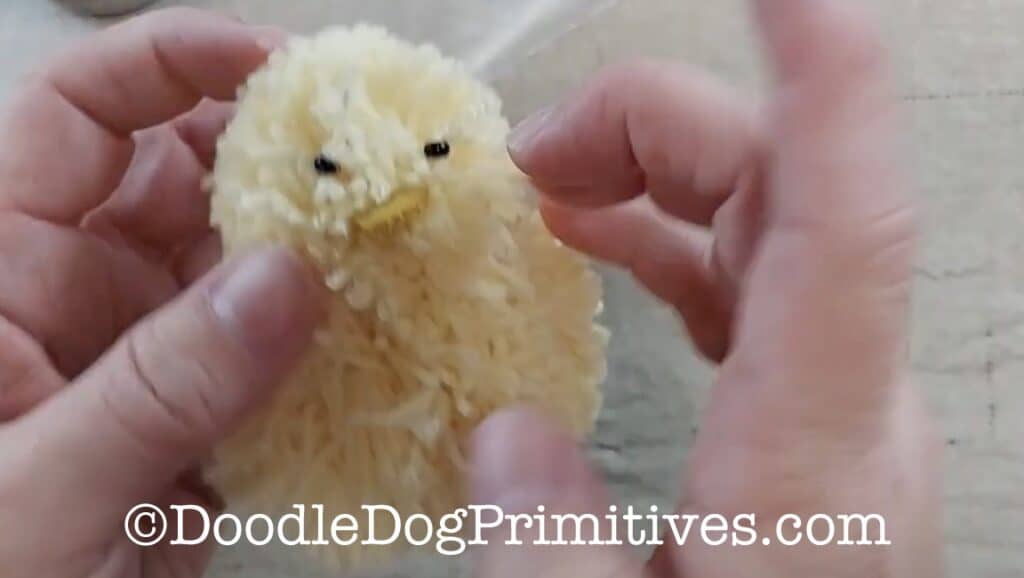
I cut a triangle shaped beak from felted wool (You could also use felt) and glued it and some beads for eyes onto the smaller of the two pompoms.
Finish the Easter Basket:
To finish the chick Easter basket, I added the chick and a little bit of Easter grass to the basket. I tied a torn strip of pink check fabric onto one side of the handle.
You might like our other craft tutorials.
Pin this Spring Craft Tutorial: