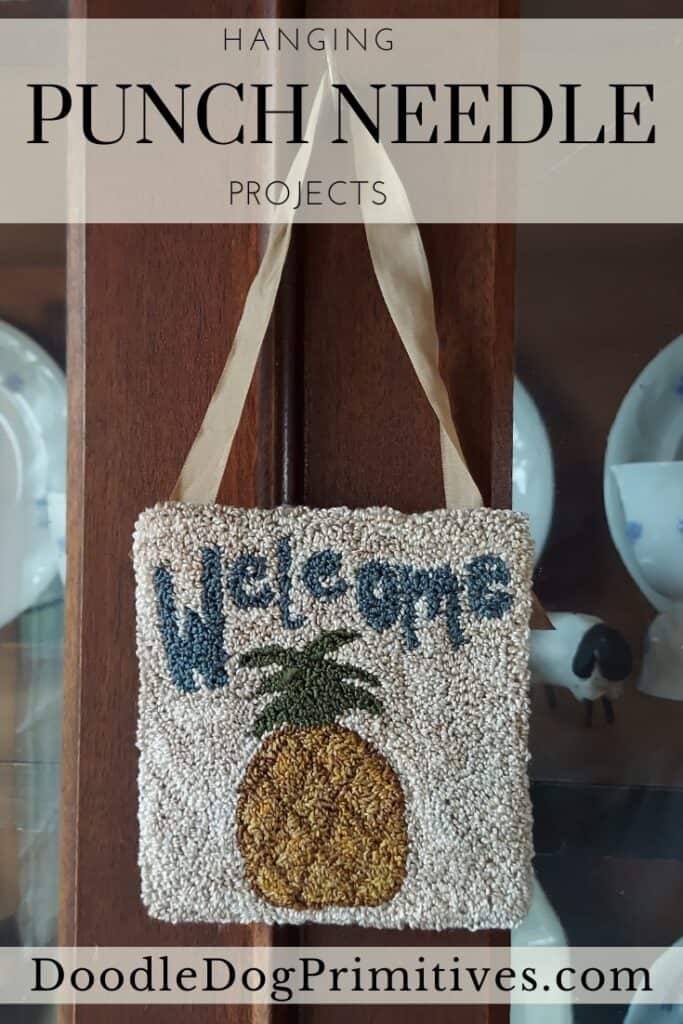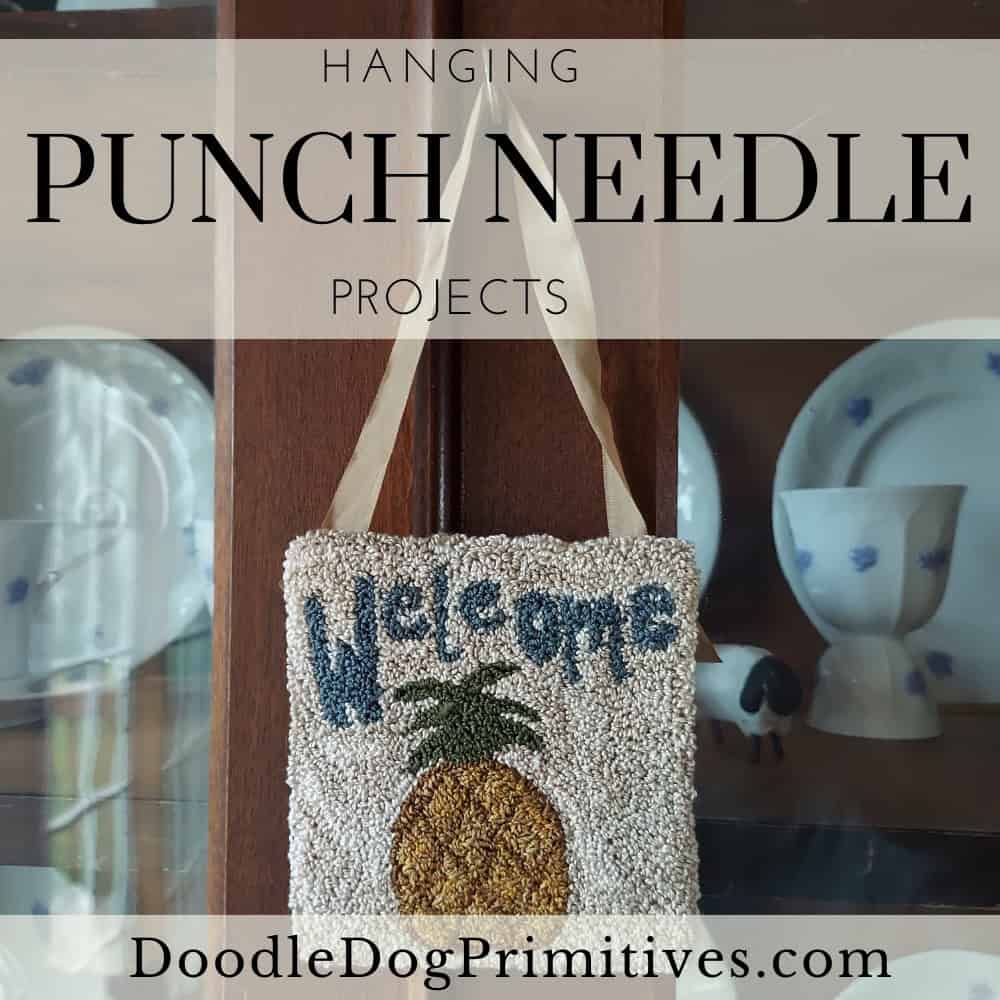
I have many punch needle projects that I have finished punching but I haven’t completed them to be displayed. In this post, I will show you how I added a wool backing and a crinkly ribbon so I could make a hanging punch needle. It is the perfect size to hang on a furniture knob or skeleton key!
Watch the Video:
This post may contain affiliate links for your convenience, which means if you make a purchase after clicking a link I will earn a small commission but it won’t cost you a penny more. For more information, please visit our Privacy Policy.
Add a Wool Backing:
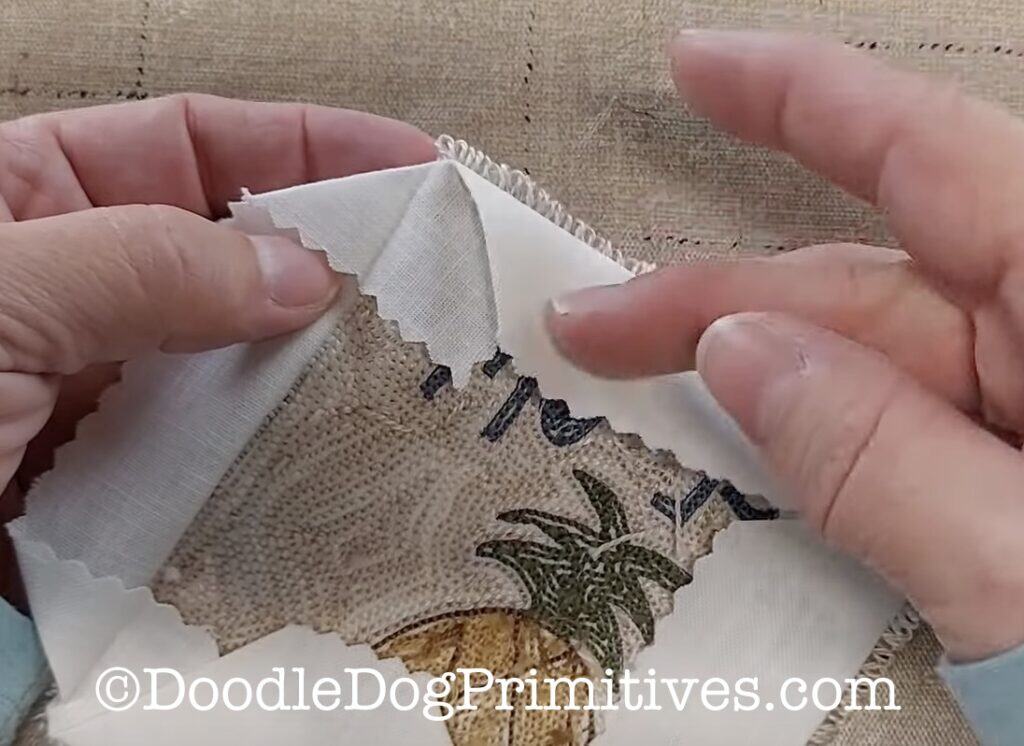
First, press the empty weavers cloth to the back of the project. On a square piece, press the corners down first and then the sides.
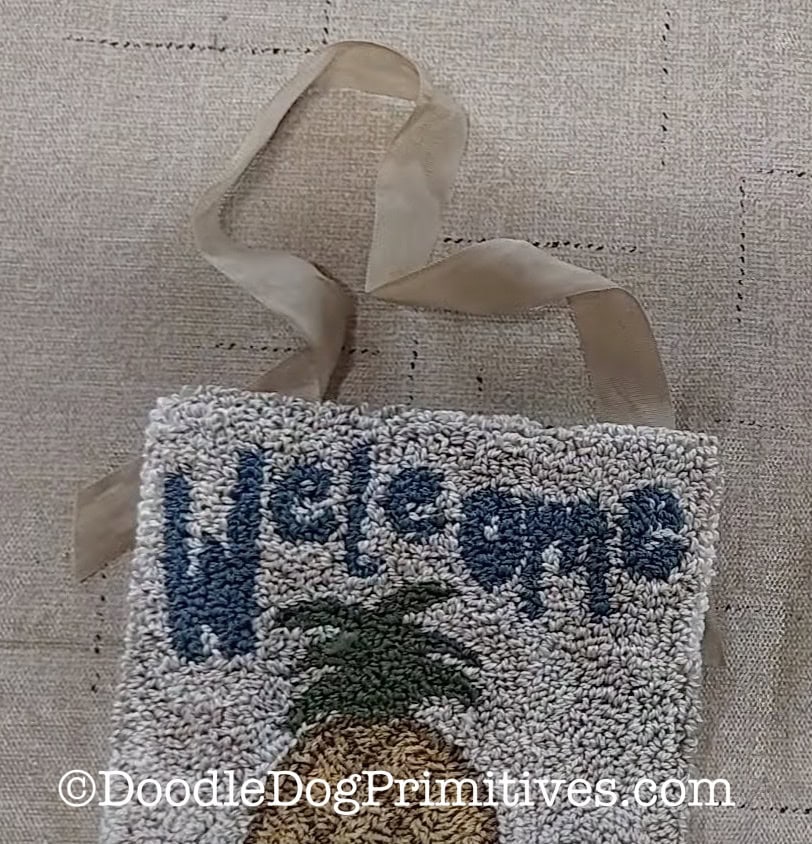
This pineapple punch needle pattern has a light colored background, so I chose to use a cream felted wool for the backing.
Place the punch needle project on top of the felted wool and use that as a template for cutting the backing. I like to angle my scissors slightly so the backing is just a tiny bit larger than the punched piece. You might have to trim off some excess wool as you are sewing, but that’s better than not having a big enough piece!

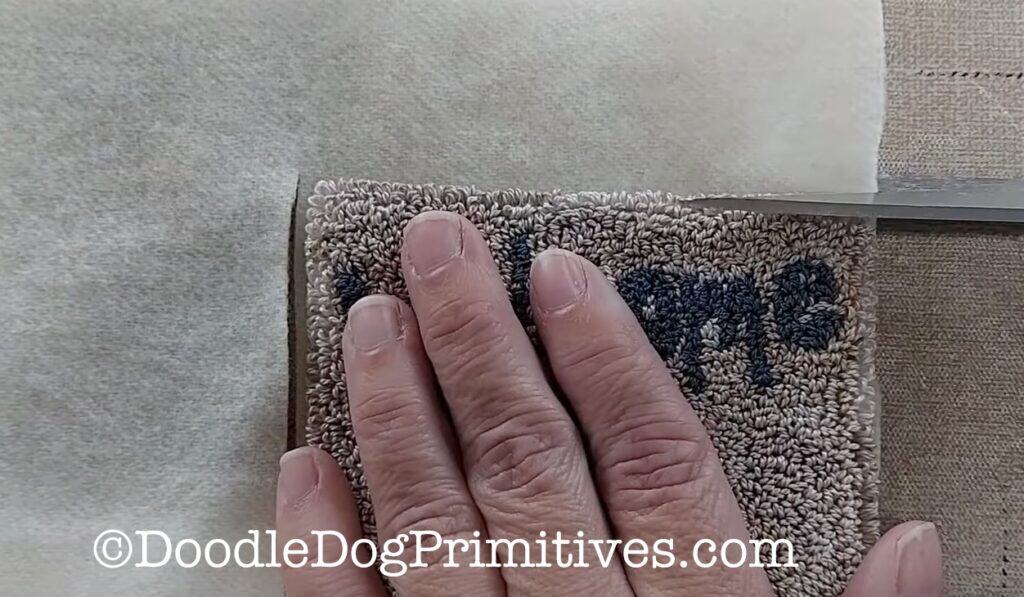
Use a thread that matches the backing fabric. Start the needle and thread under the folded over weavers cloth so the knot will be on the inside. Bring the needle out right at the fold of the weavers cloth.
Hold back the punched loops and sew a whip stitch all the way around the piece, catching the edge of the folded weavers cloth and the edge of the felted wool. As you stitch, the wool folds over the weavers cloth to hide it.
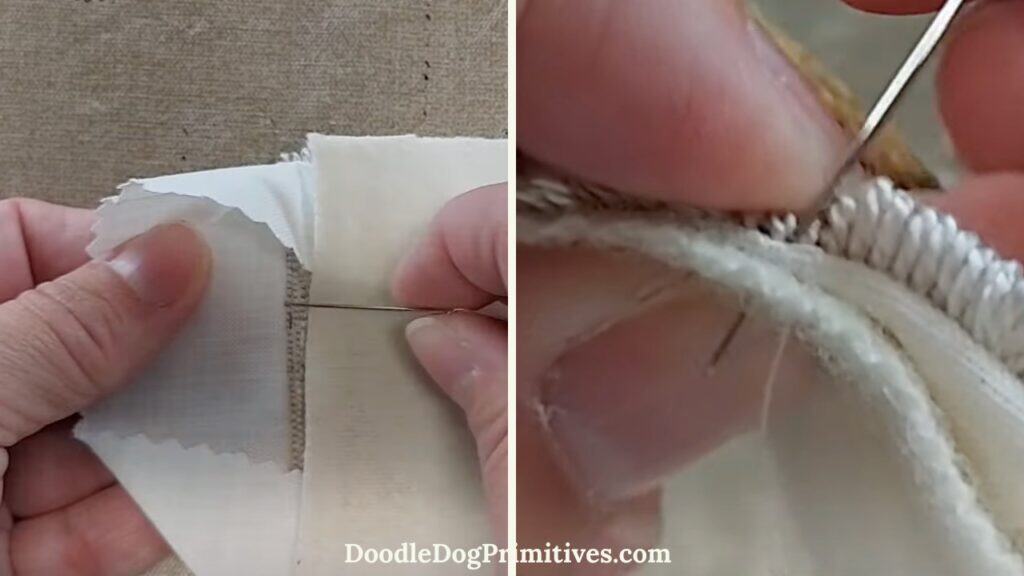
When you get to the corners, you will have to do a few extra stitches to help the corner of the wool lay flat.
If your project is very big, you can add a piece of cardboard to the inside (between the backing and punched project) before you sew the last side. This will keep the punch needle project from being floppy.
Add a Ribbon to Hang Punch Needle Project:
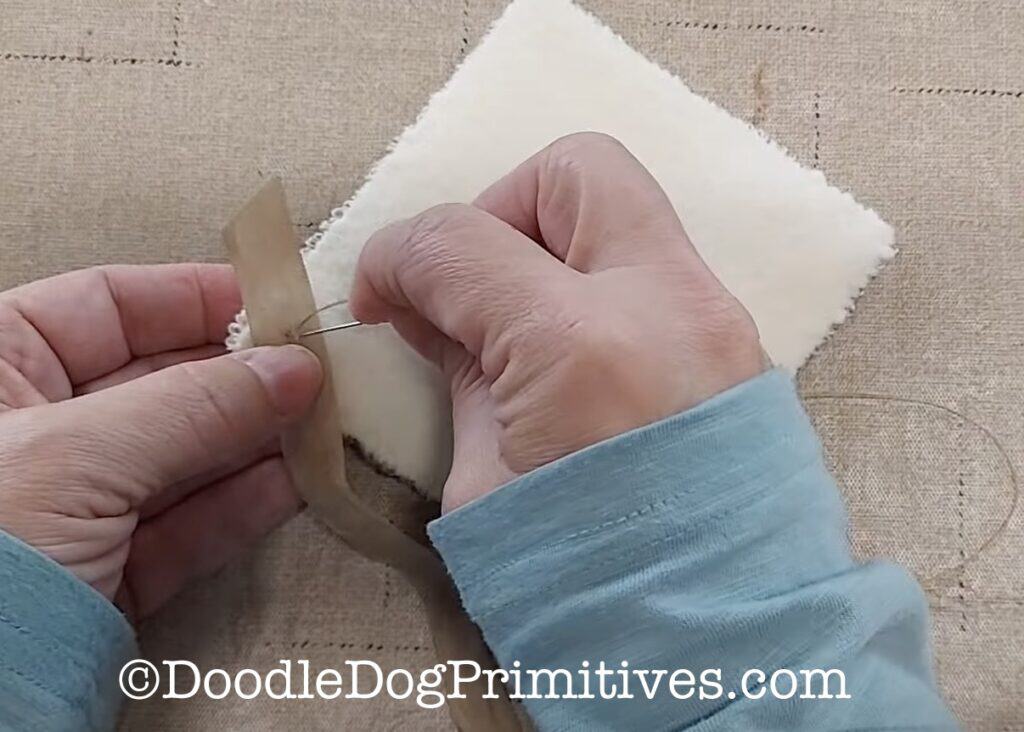
I used a crinkly ribbon made from vintage seam binding for my hanger. You could also use ribbon, yarn, jute, a strip of fabric, etc.
Cut it to your desired length. I cut mine about 13″. Use a thread to match the ribbon. You can sew the ribbon to the front of the project or to the back. I have done both ways.

In this bird fraktur project, I sewed the ribbon to the front of the punch needle project and added some vintage buttons.
With this Pineapple Welcome punch needle project, the letters are too high to attach the ribbon onto the front. So, I am going to attach the ribbon to the back. I decided to sew it at a little bit of an angle so the edges of the ribbon show from behind. I lightly tacked the ribbon to the wool.
Be sure to check out our other punch needle tutorials.
Pin this Punch Needle Tutorial: