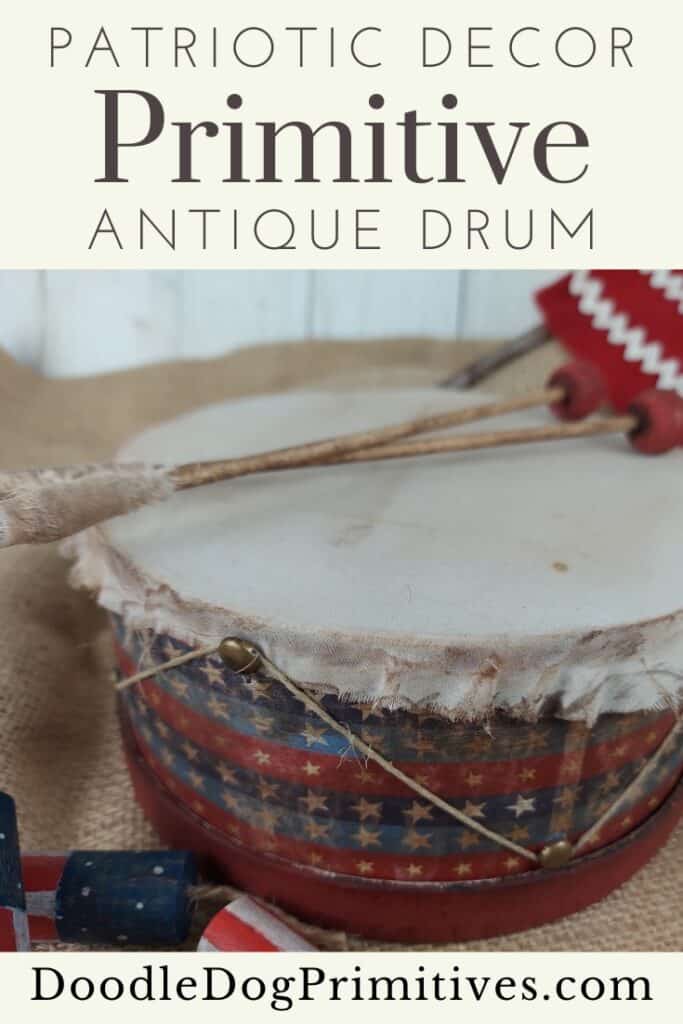
In this primitive craft tutorial, I am going to remake an old paper mache box into a antique style Americana drum. This patriotic craft is perfect for displaying all summer long!
Watch the Craft Video Tutorial:
This post may contain affiliate links for your convenience, which means if you make a purchase after clicking a link I will earn a small commission but it won’t cost you a penny more. For more information, please visit our Privacy Policy.
Prep the Drum Supplies:
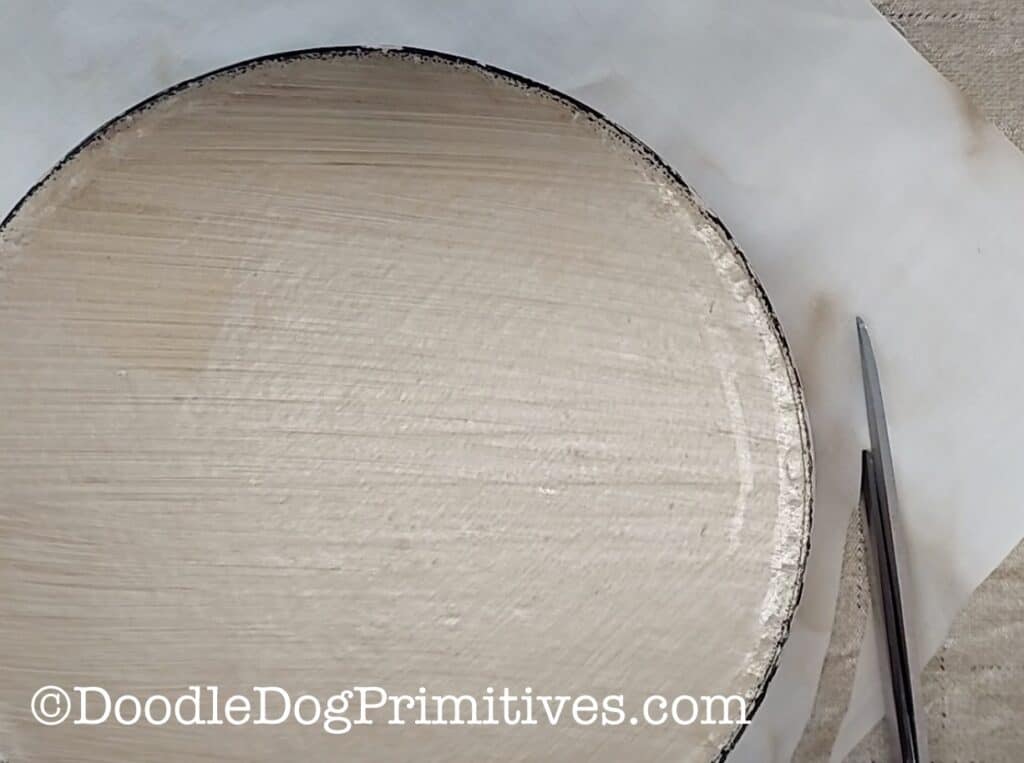
My paper mache box is 7″ in diameter and 3″ tall I painted the box lid red with some craft paint. I also painted 2 wooden craft drawer knobs with the same red paint.
You will need 2-8″ pieces of dowel rods that fit in the holes of the wooden craft knobs.
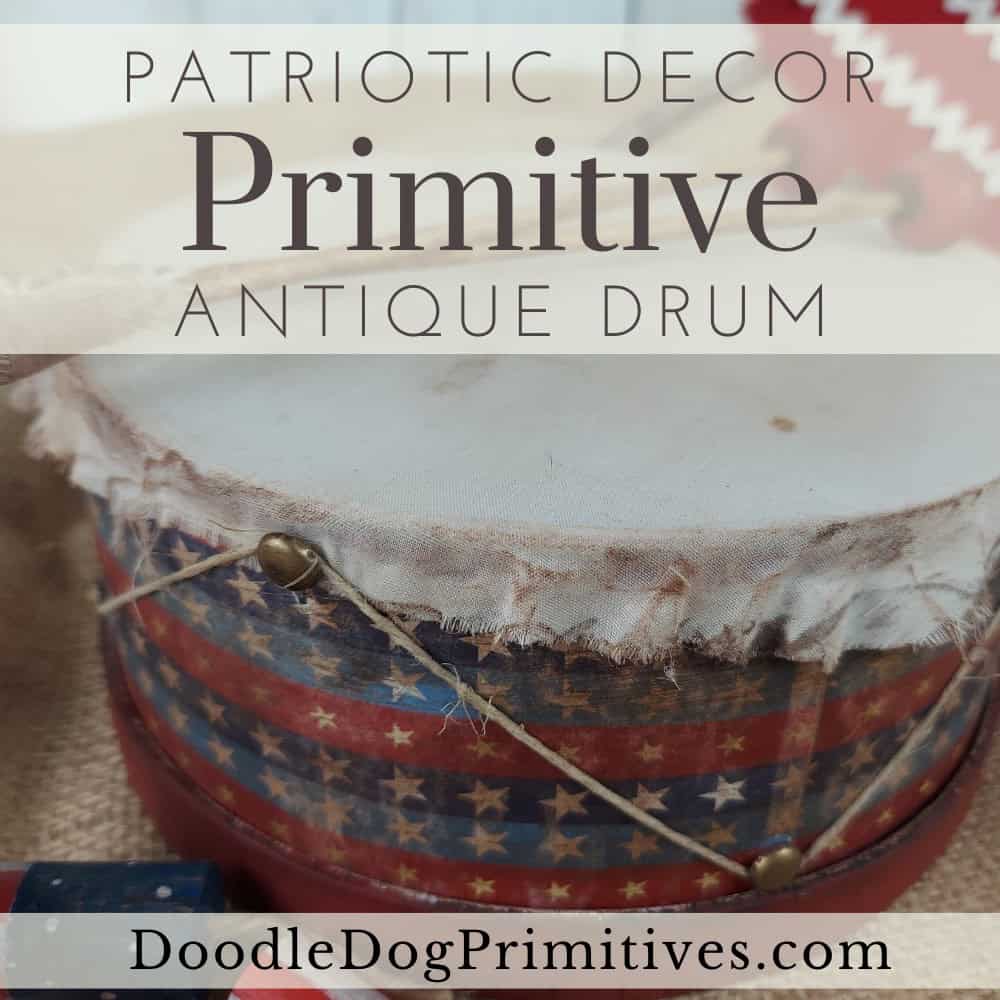
I cut a piece of muslin fabric a few inches larger than the diameter of the box and coffee dyed the fabric, leaving the fabric crinkled in a ball to dry.
Cut a piece of patriotic scrapbook paper the same height as the sides of the paper mache box. I needed two pieces of paper to completely cover the sides of the box. If you need more than one piece, make sure the pattern lines up.
Use ModPodge to adhere the scrapbook paper to the sides of the paper mache box.
Let everything completely dry.
Lightly sand the edges of the top, the wooden knobs, and the scrapbook paper, if desired.
Assemble the Patriotic Drum:
Glue the craft knobs onto the ends of the dowel rods.
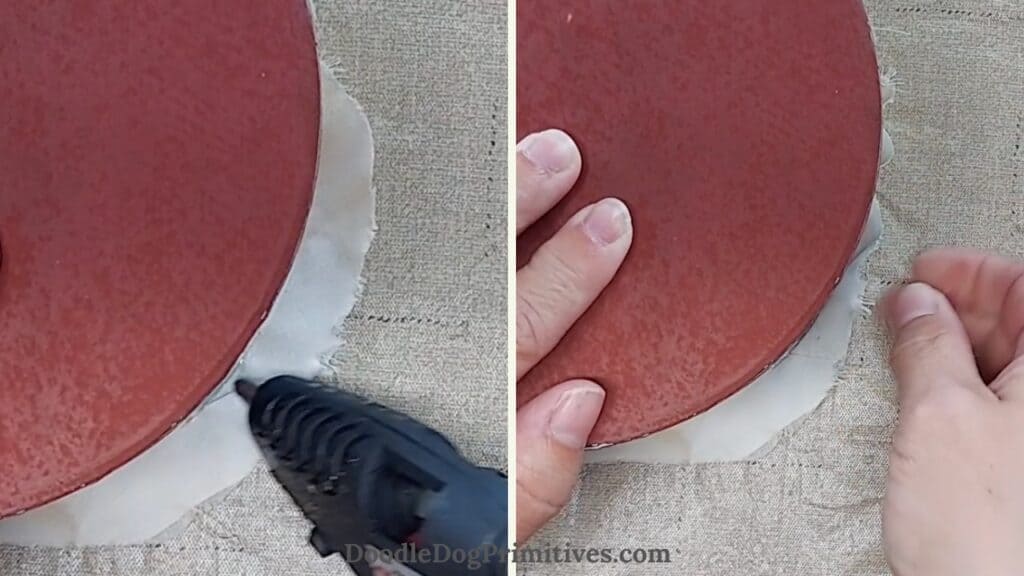
Place the box on top of the pressed muslin fabric. Cut the muslin fabric to be about one inch wider than the box all the way around. Fray the edges of the fabric.
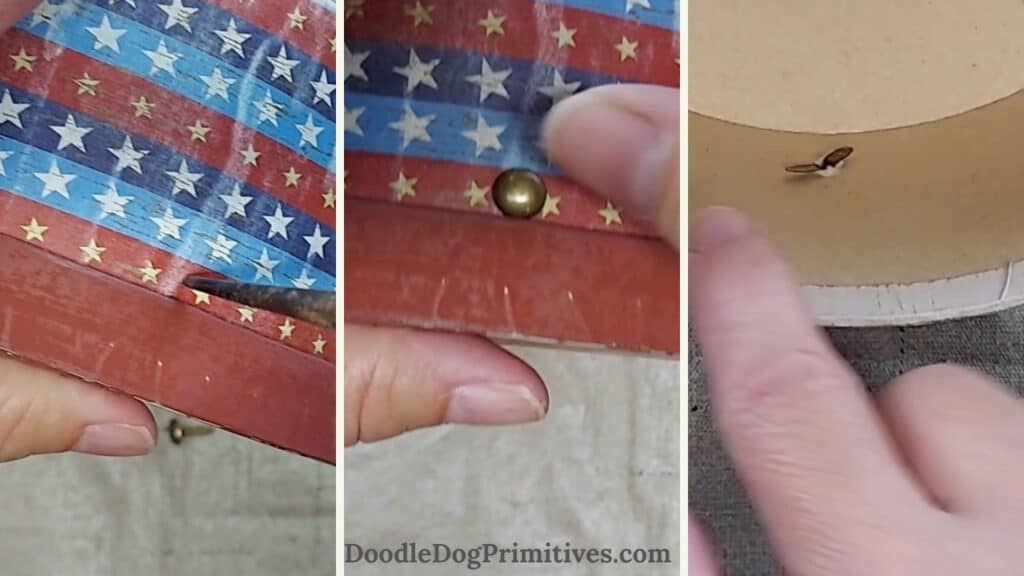
For this next step, you will need some paper fasteners (brads), an awl, and some jute.
Put the lid on the BOTTOM of the box.
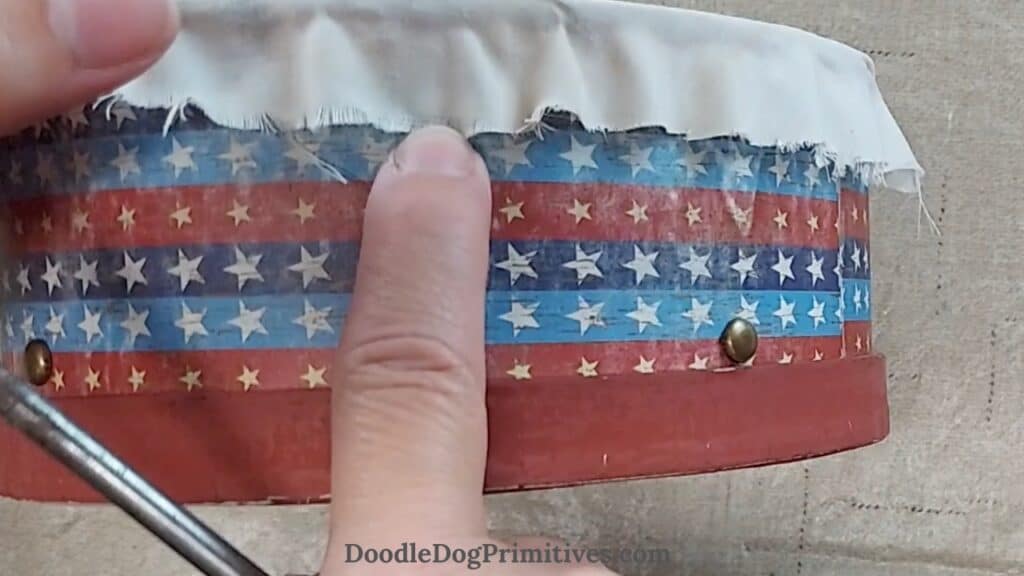
Use the awl to poke a small hole in the box right above where the box lid ends. (The lid that is on the bottom of the box) Put the paper fastener in the hole and secure it on the inside. Repeat this process so there are 4 fasteners around the bottom of the box, equally spaced.
Center the drum, upside down, on top of the fabric circle. Using hot glue, glue the fabric right along the edge of the top of the box where the fabric and the box meet. Glue small sections and pull the fabric up to adhere the fabric to the box. Work about 2/3 of the way around the box.
Now is the time to get some more of the top brads attached. Working on the sections where the fabric has been glued, add brads to the top of the box halfway between each brad on the bottom of the box and through the fabric.
Strategically glue more of the fabric to the box, leaving yourself an opening to fasten the last brads on the inside of the box. After all four of the brads are attached to the top of the box, finish gluing the fabric to the box, stretching the fabric tight as you glue.
If desired, you can use an antiquing wax on the drum and drumsticks.
Tear strips of the muslin fabric to wrap around the bottom of the drumstick. Glue the ends in place.
Wrap jute around each of the brass fasteners and tie off.
You might like our other primitive craft tutorials.
Pin this Primitive Craft Tutorial: