Sometimes when I make craft projects using fabric, I want my fabric to look old. There are several different ways that I use in antiquing fabrics. In this post, I will show you six different ways I use to age fabric to make my new fabric look antique and weathered. These techniques work to make fabric look old and dirty and can be used in primitive crafts, cosplay (costumes), and more.
Depending on the look you want, you might want to cut out your pattern before aging the fabric or just trace the pattern onto the piece of fabric so you know to which parts of the project you are adding wear or ‘dirt’.
For instance, on a shirt, you would want to show the most wear and grunge around the collar, buttons, and cuffs of the shirts.
Some of these techniques can be used after a piece is constructed so you can get just the right amount of aging in the correct places.
Watch the Fabric Aging Tutorial:
This post may contain affiliate links for your convenience, which means if you make a purchase after clicking a link I will earn a small commission but it won’t cost you a penny more. For more information, please visit our Privacy Policy.
Fade the Fabric:
New fabric often has a coating or sizing on it. The first step in antiquing fabrics is to wash the fabric in hot water to remove this coating.
I usually just toss the fabric in the washer with my other laundry. Washing and drying the fabric will also begin to fade the fabric.
If you have lots of loads of laundry to do, you can toss it in with multiple loads. As clothes fade over multiple washings, the fabric will also fade a little with each wash.
Washing with hot water will produce the best fading. Do keep in mind that the colors in the fabric could bleed onto your other laundry.
An added bonus to washing the fabric is some unraveling of the fabric’s edges will happen automatically.
Tear the Fabric:
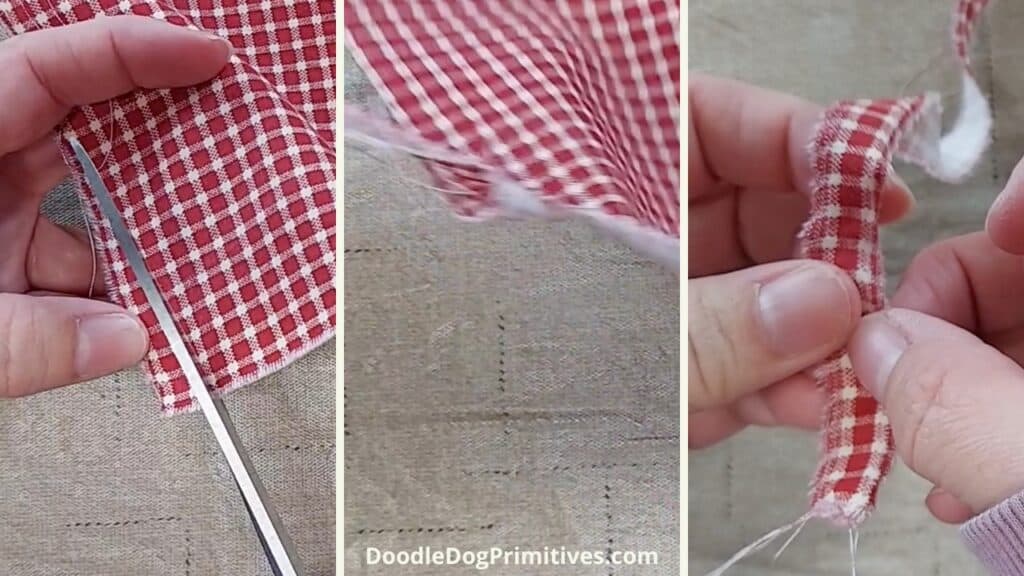
One of the easiest things you can do to give fabric an antique look is to tear it instead of cutting it.
Just cut a snip with the scissors where you want the fabric cut and rip the two pieces apart. This creates a raveled look at the edges that looks old.
If it needs more unraveling, you can just pull at the strings on the edges to get more off.
I like to tear a thin strip of fabric about 1/2″ wide to use as a ribbon on projects.
Sandpaper for Aging Fabric:
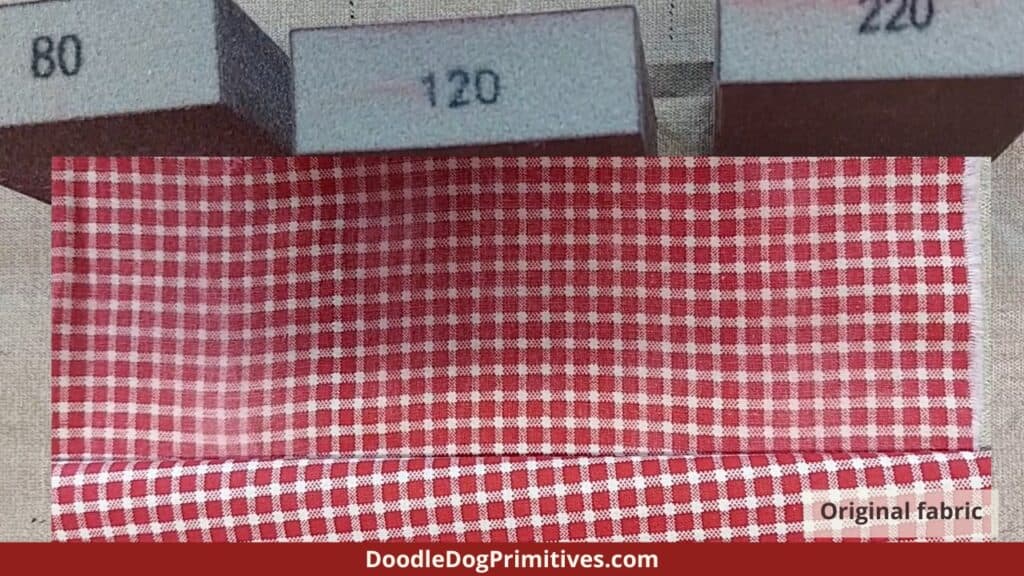
Sanding fabric with sandpaper or sanding blocks is a great way to make your fabric look old and faded.
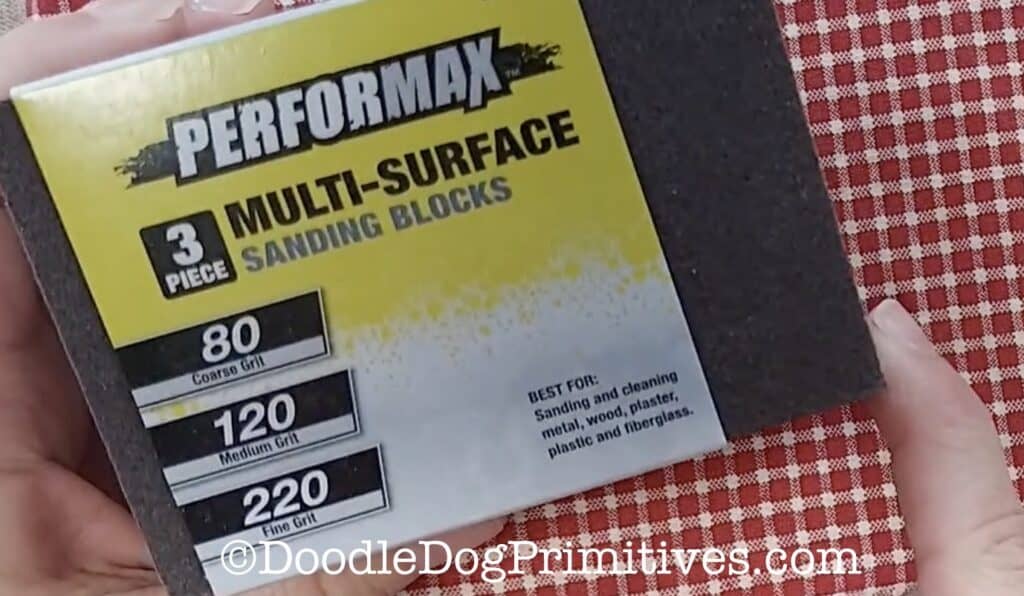
The coarser of a grit you use (lower number), the more distressed the fabric will become. Simply rub the sanding paper back and forth across the fabric until you achieve the desired results.
I used sanding blocks in three different grits to show you the different results. They all look faded compared to the original fabric. (I think I must not have sanded as long with the 120 grit.)
Age Fabric with a Knife:
Just as you used the sandpaper to age the fabric, you can also use a knife. Be sure to put a cutting board under the fabric so you don’t damage your work surface!
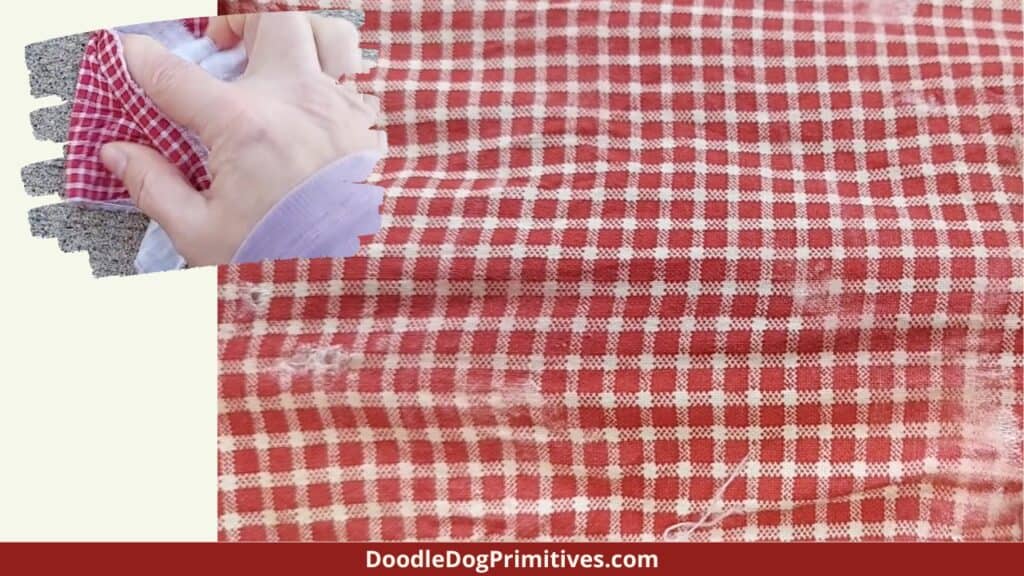
Simply rub the knife back and forth over the area of the fabric you want to age. With enough scraping, you can wear through the fabric to get a threadbare appearance.
Using Concrete:
Another method of aging fabric is to take it outside and rub it around on some rough concrete. This is a much faster method to get some thin spots and even holes in your fabric but it is much harder to control where the aging occurs. There is much better control over where the aging occurs on the fabric when using sandpaper or a knife.
Add a Dirty Look to Fabric:
If you want your fabric to have a dirty look, there are several things you can use to wipe onto the fabric. You can use these methods with your flat, unsewn fabric or even after a piece is created.
Stamp Pad:
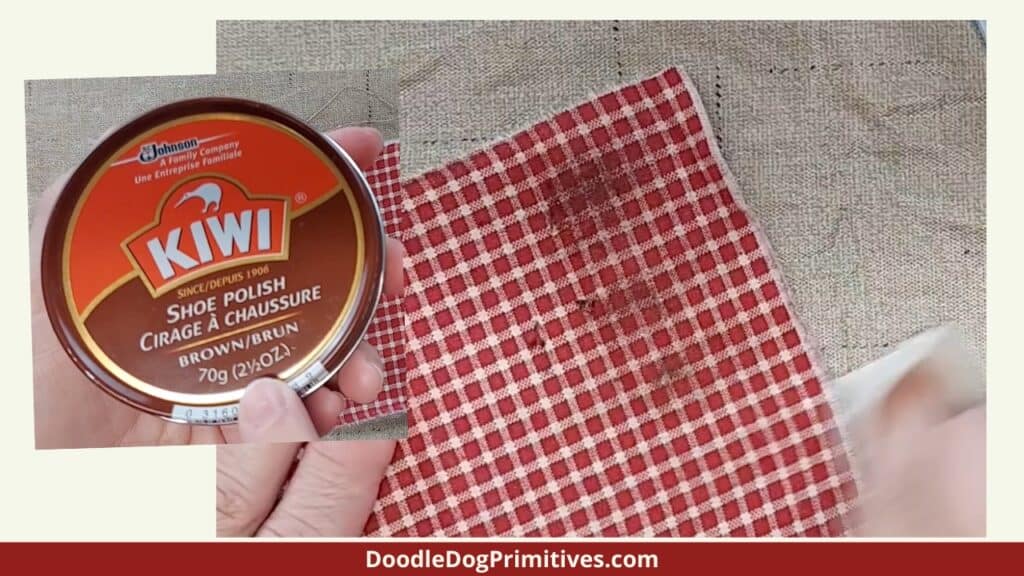
You can use a rag to rub some of the ink from a brown or black stamp pad onto your fabric.
Shoe Polish:
Shoe polish creates a darker, grungier look than the stamp pads. I used brown shoe polish but you could also use black. As with the stamp pad, use a rag to rub some of the shoe polish onto the areas of the fabric you want to appear dirty.
Brown Paint:
Another way to add a dirty look to fabric is with brown craft paint. You can water it down and rub it on in places you want to appear dirty or you can simply paint it onto the project.
Antiquing Wax:
Antiquing wax can be applied just like the shoe polish or paint – depending on its consistency. A little of this can go a long ways so apply lightly. You can always add more!
Tea or Coffee Dye Fabric:
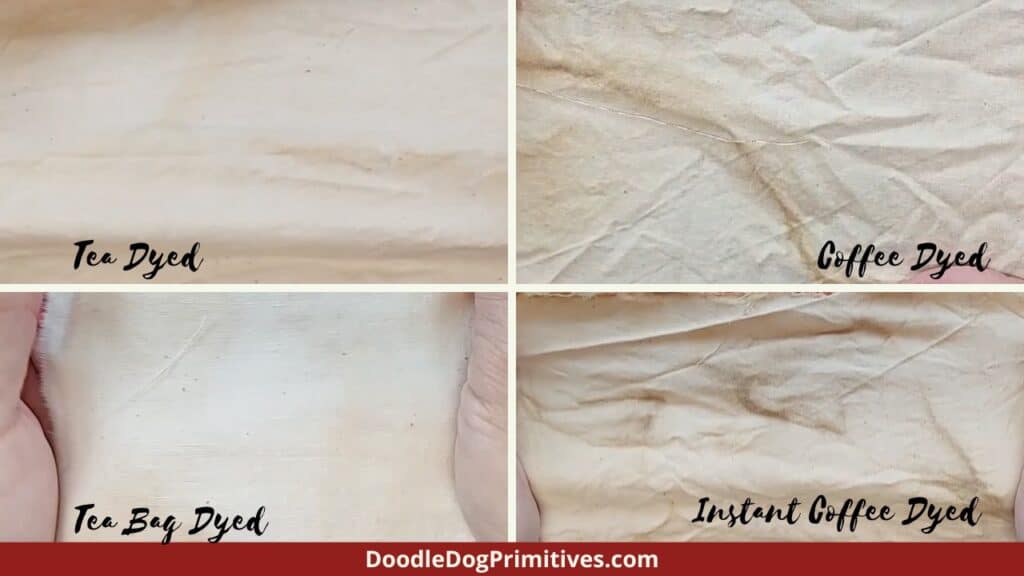
Probably one of the best known methods to age fabric is to tea or coffee dye it. To show you the difference between the two, I dyed the same fabrics with brewed tea, coffee, instant coffee, and with a tea bag.
Tea Dye:
To tea dye fabric, steep tea as normal. The stronger you make the tea the darker the fabric will be. Get the fabric wet but not soppy. Put the fabric into the hot tea. Let the tea cool and then remove the fabric, squeeze out the excess liquid, and let dry.
Coffee Dye:
To coffee dye fabric, follow the procedure above for tea dyeing. If you use instant coffee, the dyed fabric tends to come out grungier than with brewed coffee. Again, the stronger you make the coffee, the darker the fabric will end up.
TIP: If you want the dyed fabric to be evenly colored everywhere, lay or hang the fabric flat to dry. If you want it to look more mottled with darker and lighter spots, keep it wadded up to dry.
Tea Bag Dye:
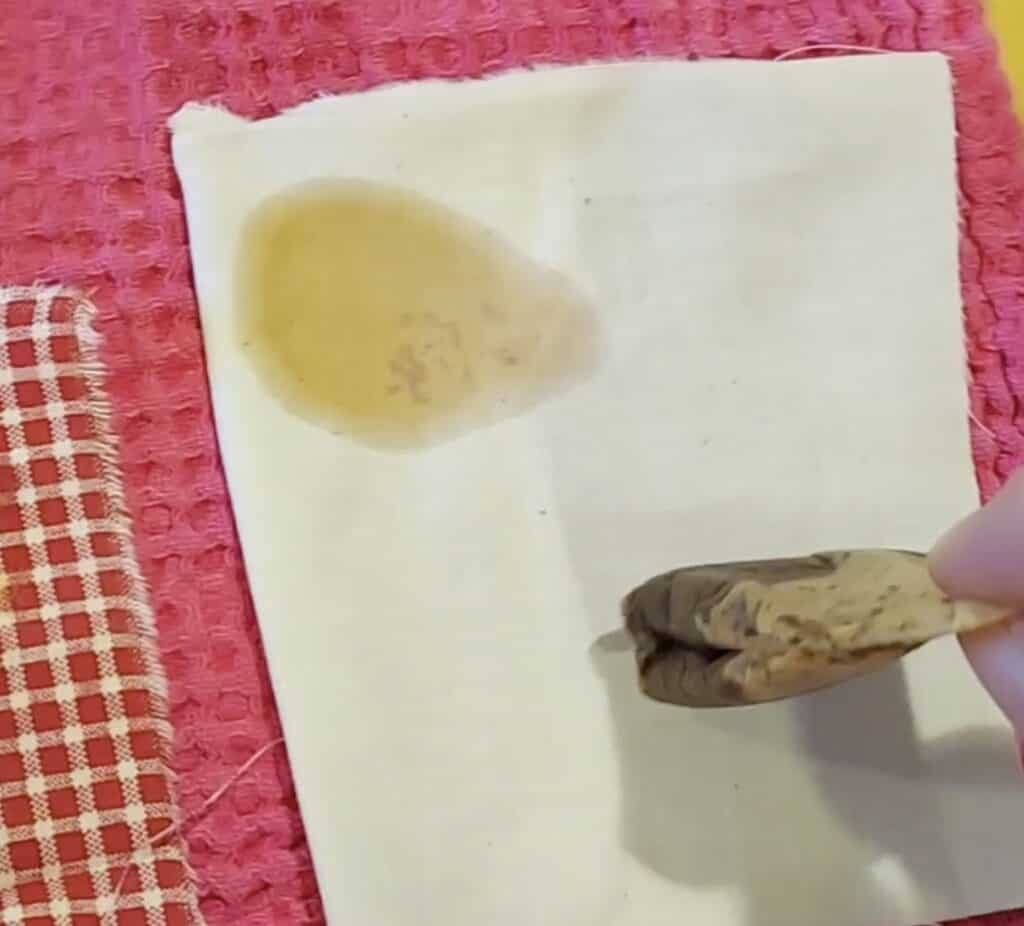
You can produce ‘stains’ in different places on your fabric with a wet tea bag. Briefly dip a tea bag in hot water and then place it on your fabric where you would like a stain. The tea will spread out on the fabric with a darker center where the tea bag was placed and lighter where the liquid spread.
Be sure to check out our other primitive craft tutorials!
Blessings,
Amy
Be sure to Pin this Aging Fabric Tutorial:
