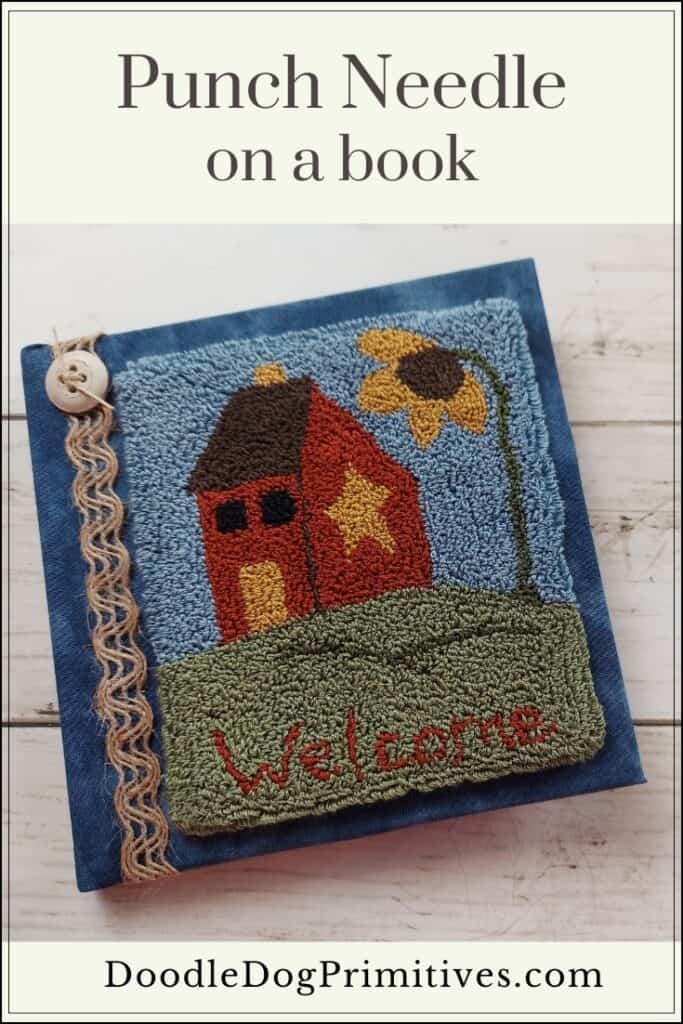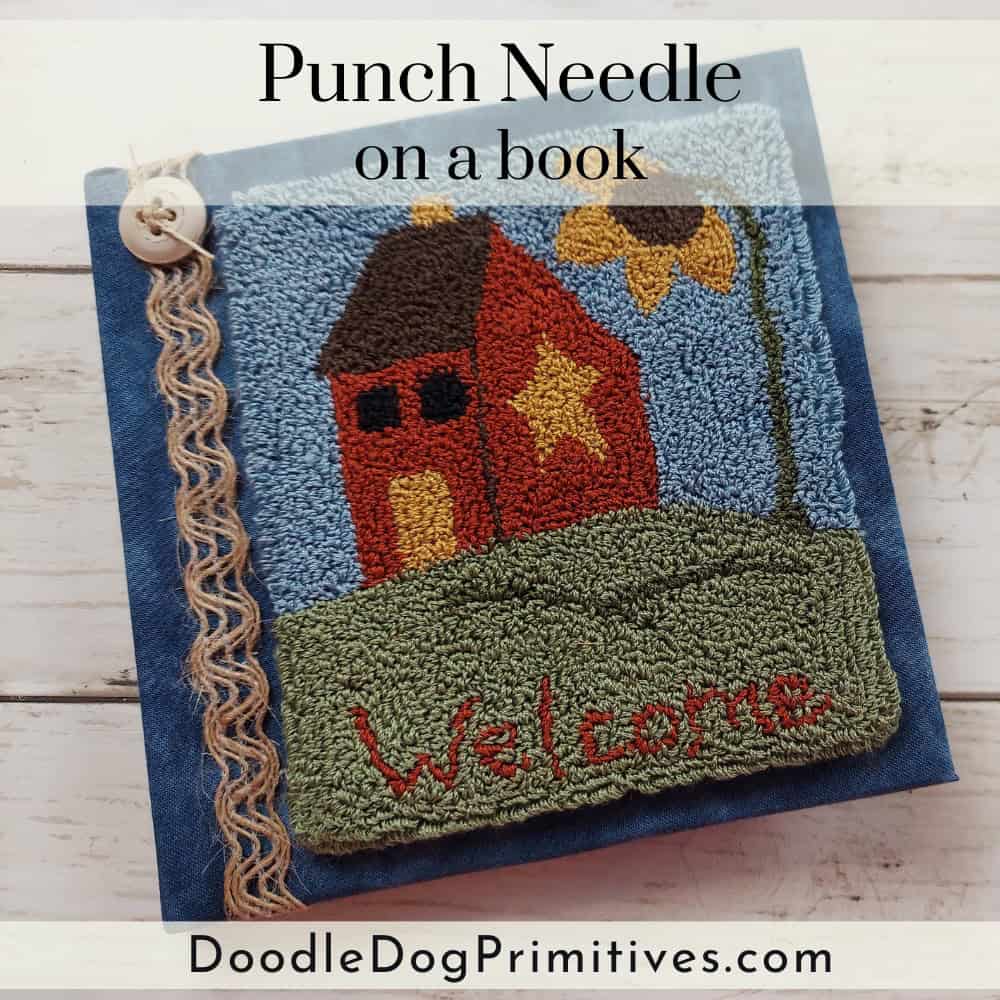
I am a little behind in completing punch needle projects to display (as usual). I love how this punch needle project turned out mounted on a fabric covered book.
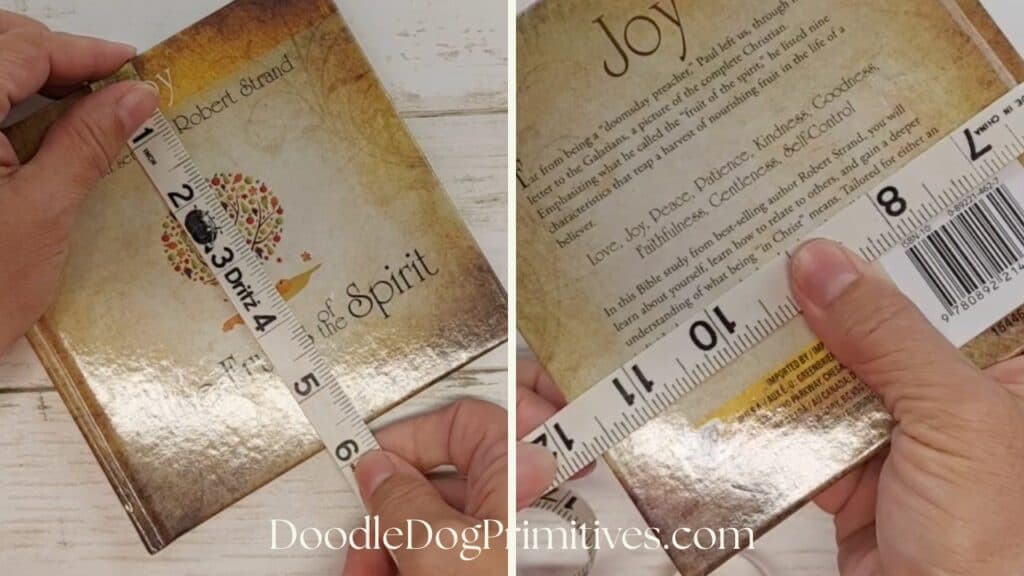
To start, I found a thin hard back book just a little bit larger than my finished punch needle project.
Watch the Video:
This post may contain affiliate links for your convenience, which means if you make a purchase after clicking a link I will earn a small commission but it won’t cost you a penny more. For more information, please visit our Privacy Policy.
Cover the Book:
I chose a pretty blue fabric to use for covering the book. I thought the color went well with the punch needle design.
Then I measured the height of the book and the distance from the right of the front cover all the way around to the right of the back cover. I added between to each measurement for turning under the edges onto the inside of the book. Add less for a small book and more for a larger book. I added 1″ to the height and 1-3/4″ to the length.

Using some Mod Podge, I adhered the fabric to the book. I brushed a thin layer of the Mod Podge onto the back side of the fabric and centered the book over the fabric, smoothing the fabric onto the book.
I opened the book and folded over the fabric on the sides of the book.
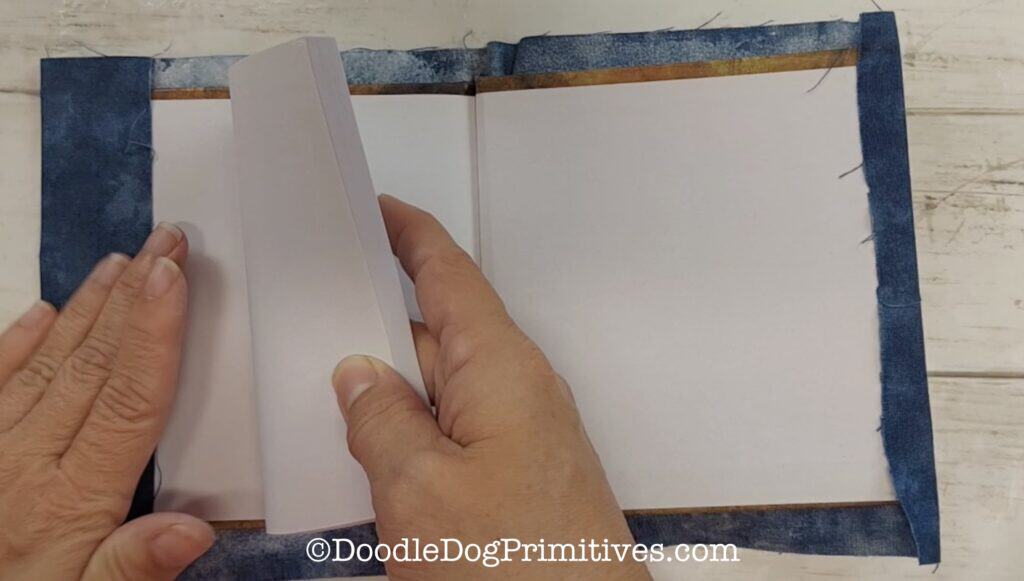
I then cut slits on the fabric at the top and bottom of the book on both sides of the spines and cut out the folded over fabric from the sides that extend beyond the top and bottom of the book.
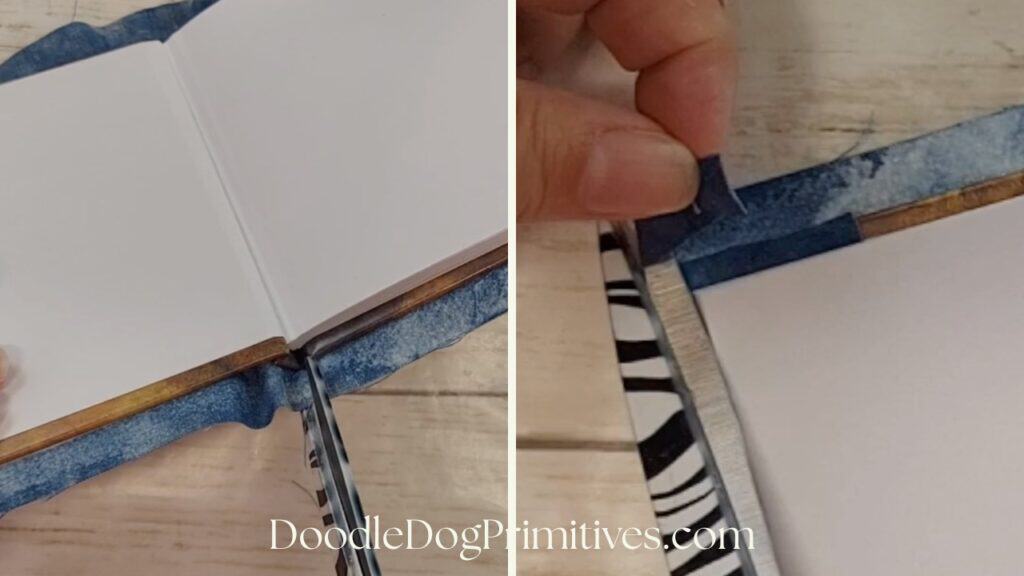
After this was done, I folded over the top and bottom fabrics. The little bit left at the spine was tucked down between the spine of the book and the pages. I used a pencil to poke it down in there.
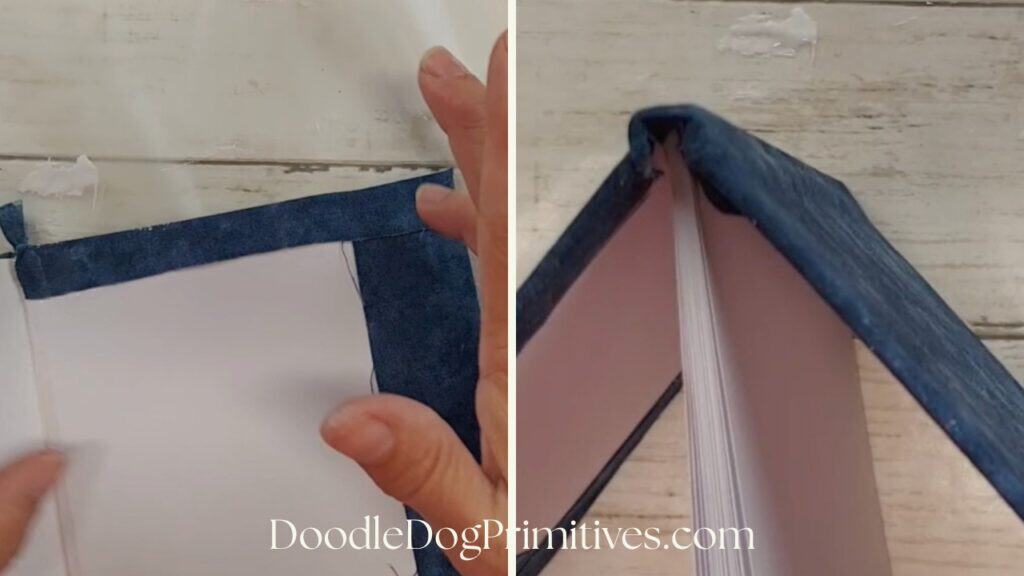
If you want, you can then Mod Podge the first and last pages to the covers to tidy things up a bit. I did this, but then realized I should have waited until after I added the ribbon so I could have covered the ends of the ribbon also.
Add the Punch Needle to the Book:
There was a little bit of extra room in the width of the book, so I found some pretty jute lace ribbon to add to the side of the punch needle.
To attach the punch needle to the book, I pressed the empty weavers cloth to the back of the project, turning the corners under first. I then applied Mod Podge to hold the weavers cloth down and then applied Mod Podge to the entire back of the project and placed it onto the covered book.
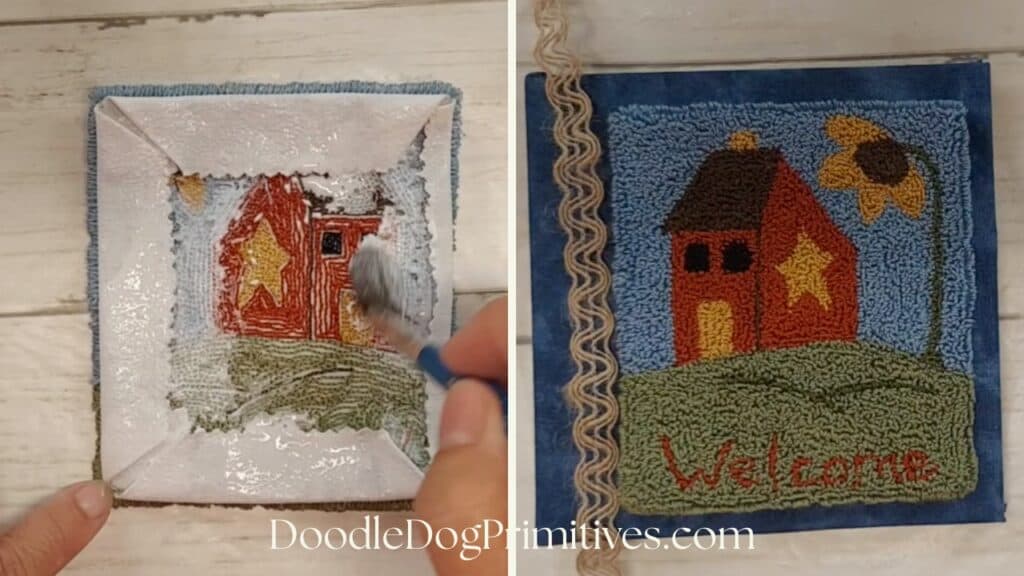
I used Mod Podge to adhere the ribbon to the book, turning the edges onto the inside of the book. I also added a vintage button threaded with some thin jute.
Be sure to check out our other punch needle tutorials!
Pin this Punch Needle Tutorial: