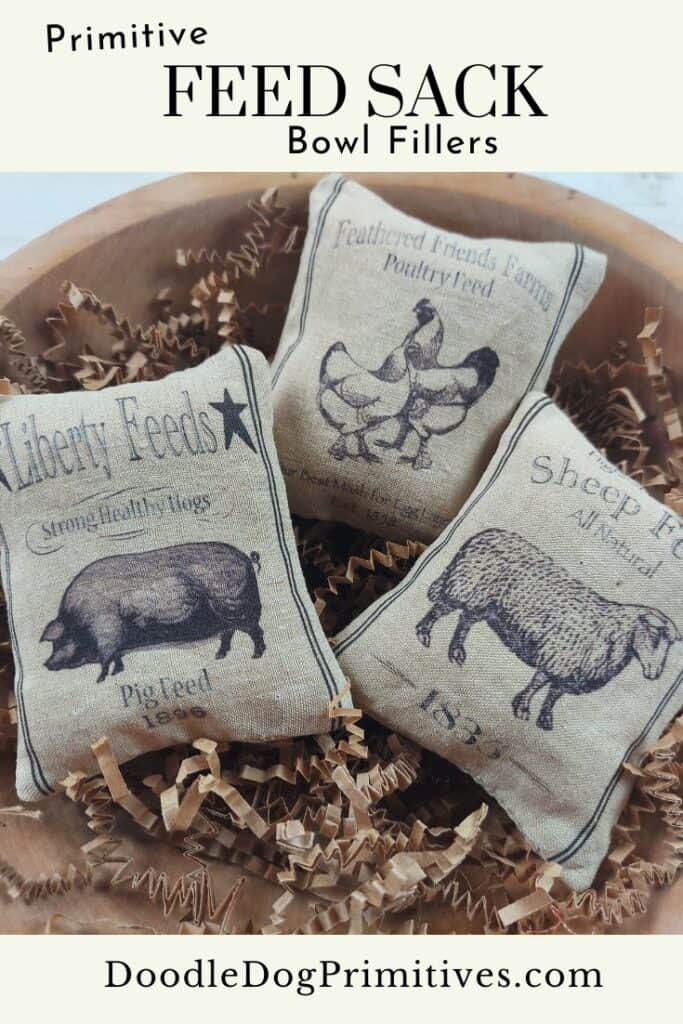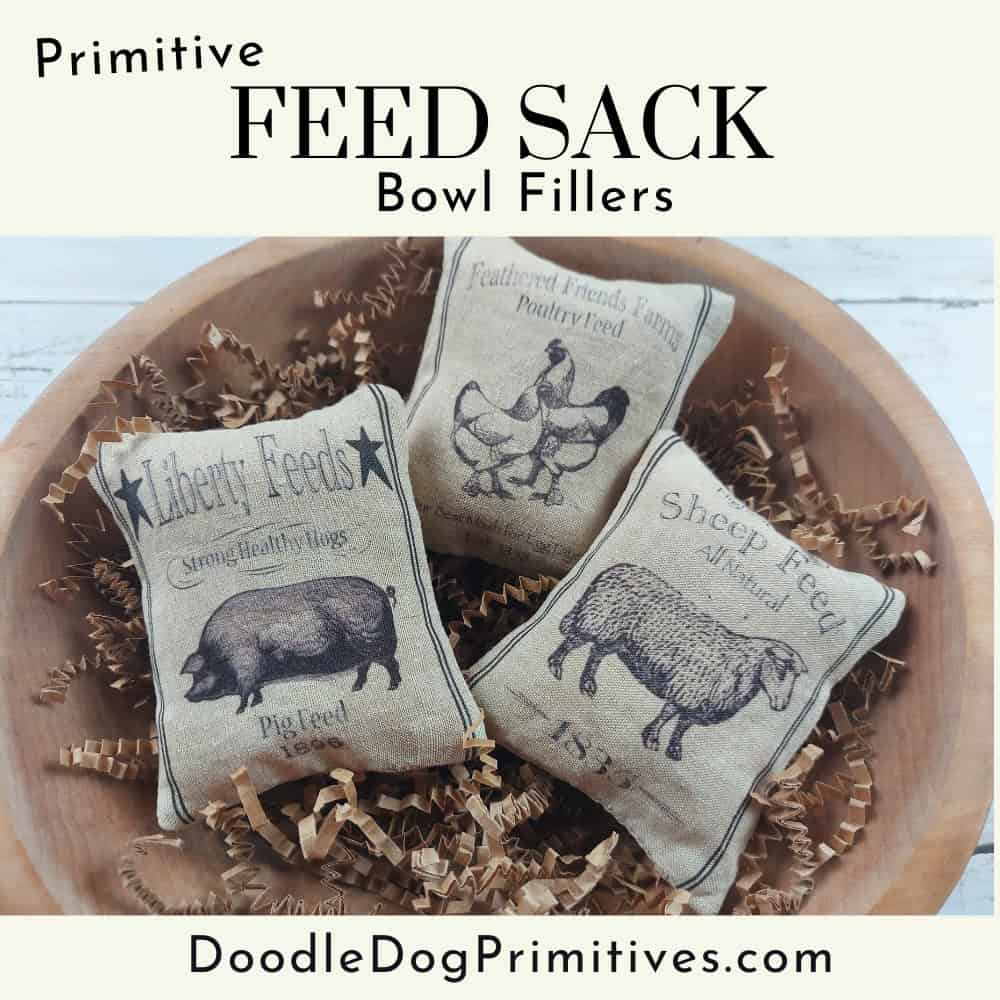
In this primitive craft tutorial, I will be making some bowl fillers that look like antique feed sacks. I made a pig, sheep, and poultry feed sack.
Watch the Video:
This post may contain affiliate links for your convenience, which means if you make a purchase after clicking a link I will earn a small commission but it won’t cost you a penny more. For more information, please visit our Privacy Policy.
Make Feed Sack Bowl Fillers:
The first step is to choose your feed sack images. I chose to use this set. It has 3 different images and comes with a black and white version, which is perfect for this project.
Once you have your images, you can import them into a word processor and size as desired. I made each of my feed sack bowl fillers to be 3-1/2″ tall. Make sure to leave enough room between the images for seam allowances.
Cut a piece of freezer paper 8-1/2″ x 11″ (or your printer paper size) and a piece of fabric the same size.
The freezer paper has a waxy shiny side and a paper side. Layer the fabric and the freezer paper on top of each other with the waxy side of the paper touching the fabric.
Iron to adhere the paper to the fabric.
Place this fabric and paper into the printer, making sure it is facing the right direction so the fabric side will be printed on. This can vary by printer.
Print the images using the best print quality possible.
After the ink has dried, peel the paper off the fabric.
Trim the feed sacks. I trimmed mine to 1/4″ on the top and bottom of the images and 1/2″ on each side.
Cut pieces of fabric the same size for backing.
Sew the feed sack and backing, right sides together, using 1/4″ seam allowance and leaving an opening at the bottom for turning.
Clip the corners and turn the feed sacks right sides out, press.
Stuff as desired and sew opening closed.
Be sure to check out our other primitive craft tutorials.
Pin this Primitive Craft Tutorial: