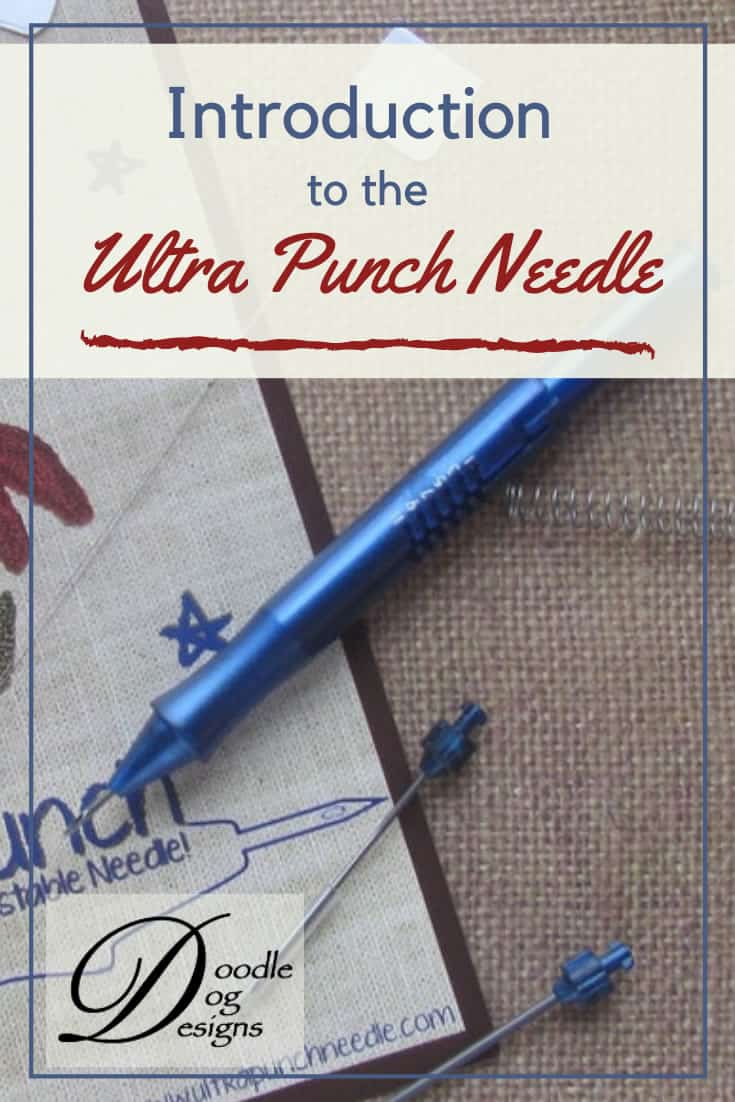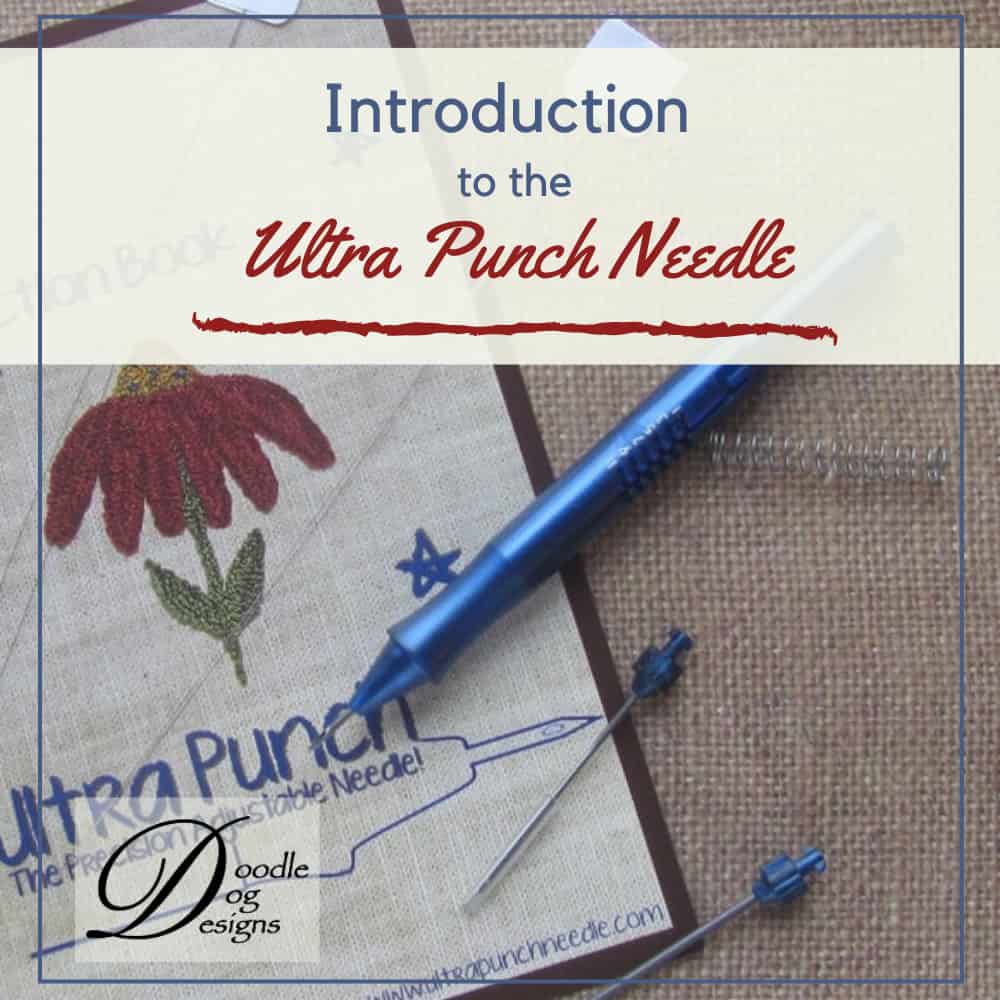
If you are new to punching or just got an Ultra Punch Needle set,
you might be wondering how to use the tool.
Today, I will show you how to change the needle tip,
change the punching depth, and thread the needle.
This will give you the perfect foundation so you can get started using the Ultra Punch Needle.
Ultra Punch Needle Parts:
The Ultra Punch needle set comes with the punch needle tool
(with one needle tip and spring installed),
two other needle tips, another spring and two threaders.
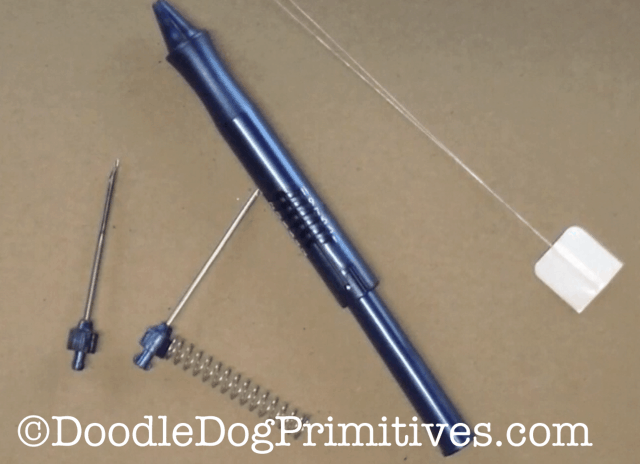
The needles tips are sizes small, medium, and large.
You can tell which needle is which by finding a small circle
in the plastic base with a letter imprinted on it.

The small needle is for use with two to three strands of embroidery floss
The medium needle is for three to six strands of embroidery floss.
The large needle works with six strands or thin yarns or ribbons.
Watch the Ultra Punch Needle Introduction Video:
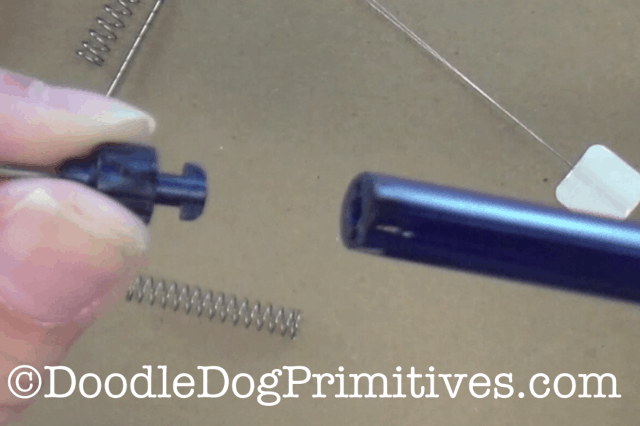
Changing the Ultra Punch Needle Tip:
Push in the inner tube to move the silver ball

up and over and back down so the ball slides out the tube’s shaft.
Then, it will all come apart.
Slide the spring off the needle tip.
Next, twist the needle and slide if off the tube.
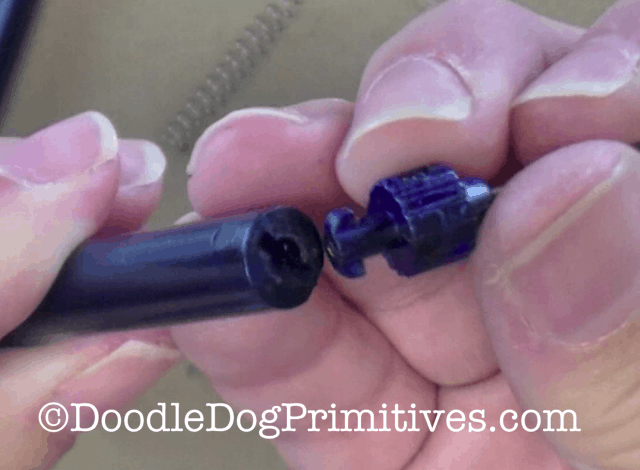
Choose which tip you want to punch with
and slide it into the punch needle’s inner tube,
matching the keyhole shapes.
Twist the needle into place.

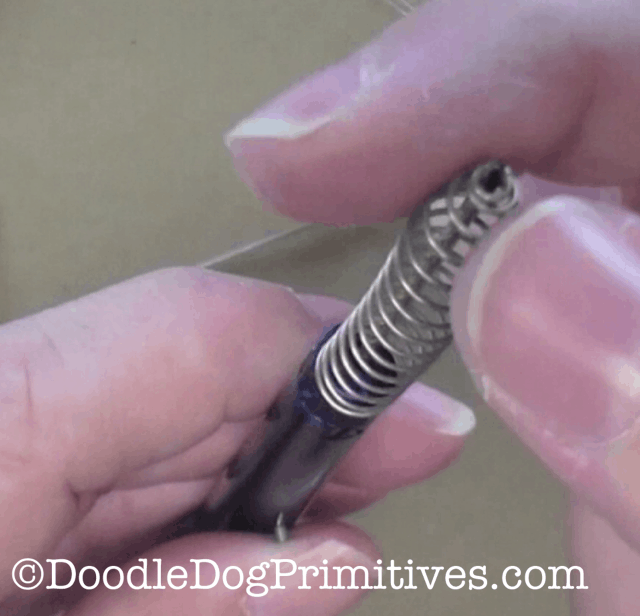
The small and medium tips both use the spring with the narrow end.
The large tip uses the larger spring.
Choose the correct spring and slide it over the needle
making sure the needle tip goes through the end of the spring.
Finally, slide the outer tube over the inner tube.
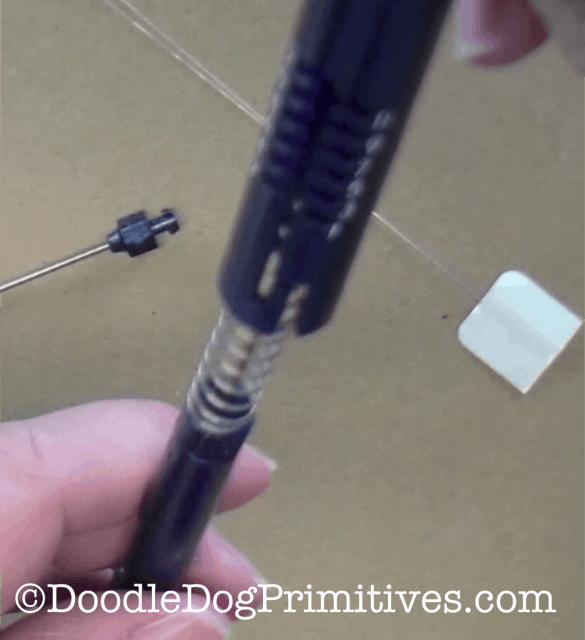
Slide the silver ball up into the channel and back into its original position.
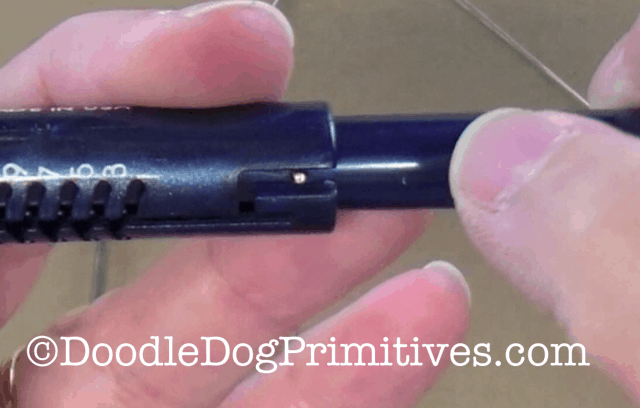
Change the Ultra Punch Punching Depth:
To set your punching depth, twist the inner tube
and push the silver ball up to the shafts by the numbers.
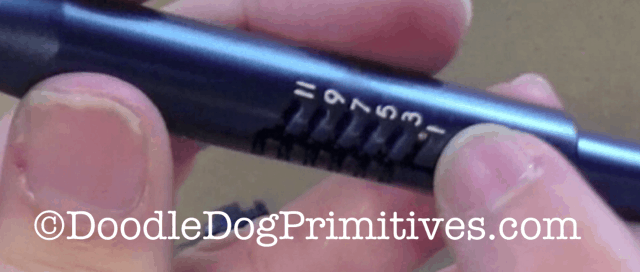
Setting 1 makes the shortest punching loops
while setting 12 pushes the needle out the furthest
and makes the longest punching loops.
I like to punch with a setting of 2 or 3
unless I want to make something stand out
like sheep wool or a Santa beard.
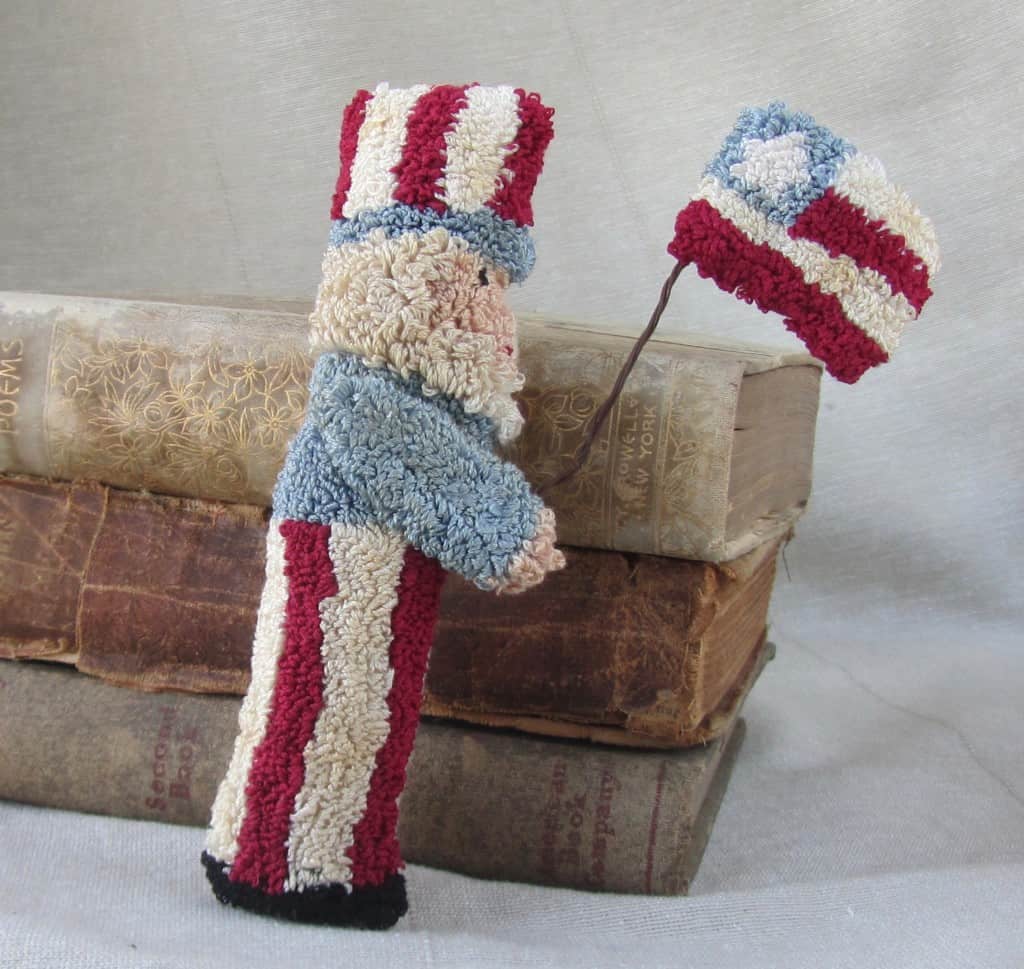
I punched this Uncle Sam punch needle pattern with a setting of 3
and his hair and beard with a setting of 7.
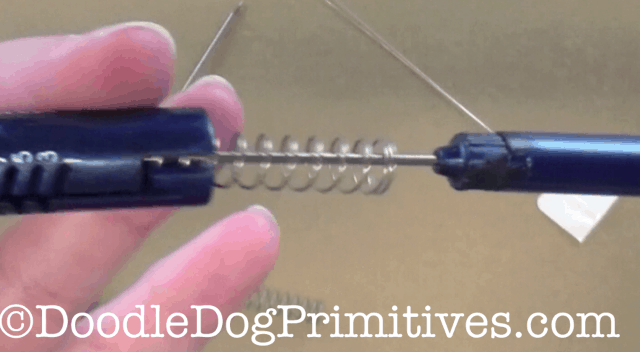
Threading the Ultra Punch Needle:
Slide the threader through the end of the needle,
all the way through the tube
and out the other end of the tube.
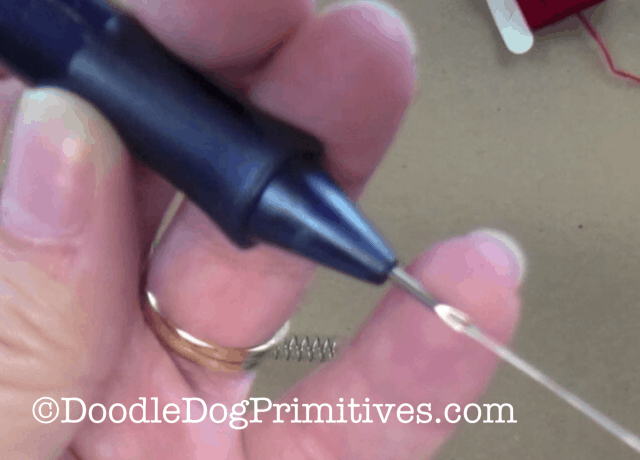
Thread your floss through the needle threader.

Pull the threader back out and the thread will come along with it.
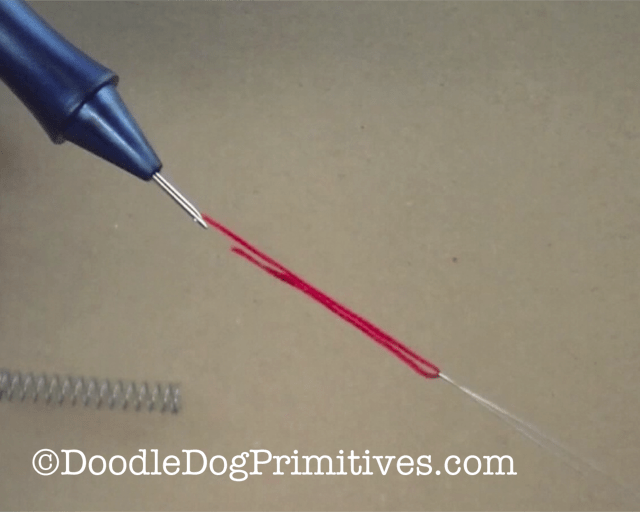
Remove the thread from the threader.
Now, you have to also thread the eye of the needle.
If you skip this step, your loops won’t stay in!
Stick the threader through the eye of the needle
pointing the threader towards the back,
grooved part of the needle where the floss is.
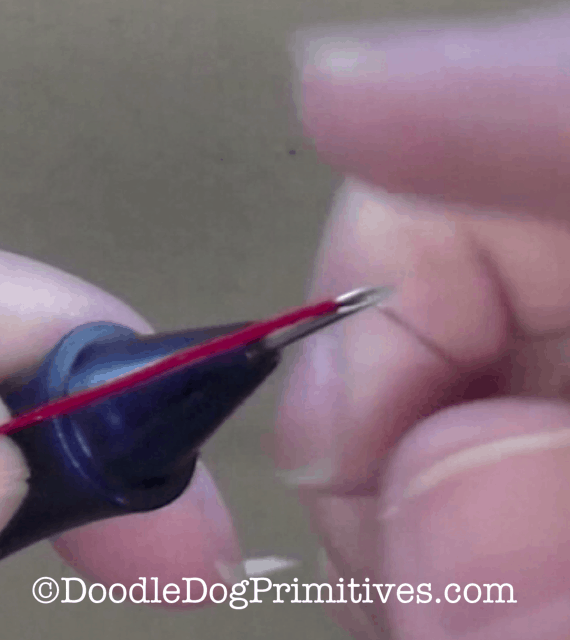
Put the floss through the threader again.

Pull the threader back out.

The thread should easily pull through the needle in either direction.
You can adjust the punching depth to any height
even after the needle is threaded.
Other Supplies Needed for Punching:
When punching with floss, the best fabric to use is weavers cloth.
It is a woven fabric in a cotton / polyester blend.
You will also need a no-slip hoop or gripper strip frame.
Now, you are ready to get started punching!
Learn how to use the Ultra Punch Needle in our Beginner’s Guide to Punch Needle.
Blessings~
Amy
Pin this Introduction to the Ultra Punch Needle