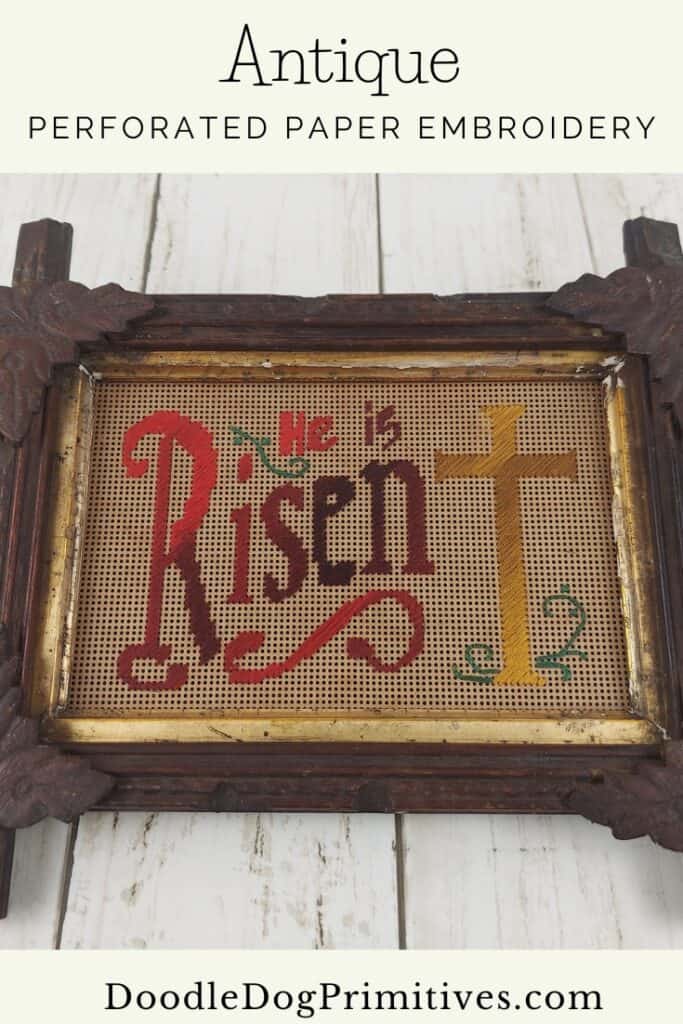
I have a couple of embroidery projects in carved wood picture frames, so when I saw this picture frame, I knew I needed to rescue it and embroidery something to fit in it. Both of the antique perforated paper embroidery pieces that I have are in frames like this, so I decided to design something to embroider on perforated paper.
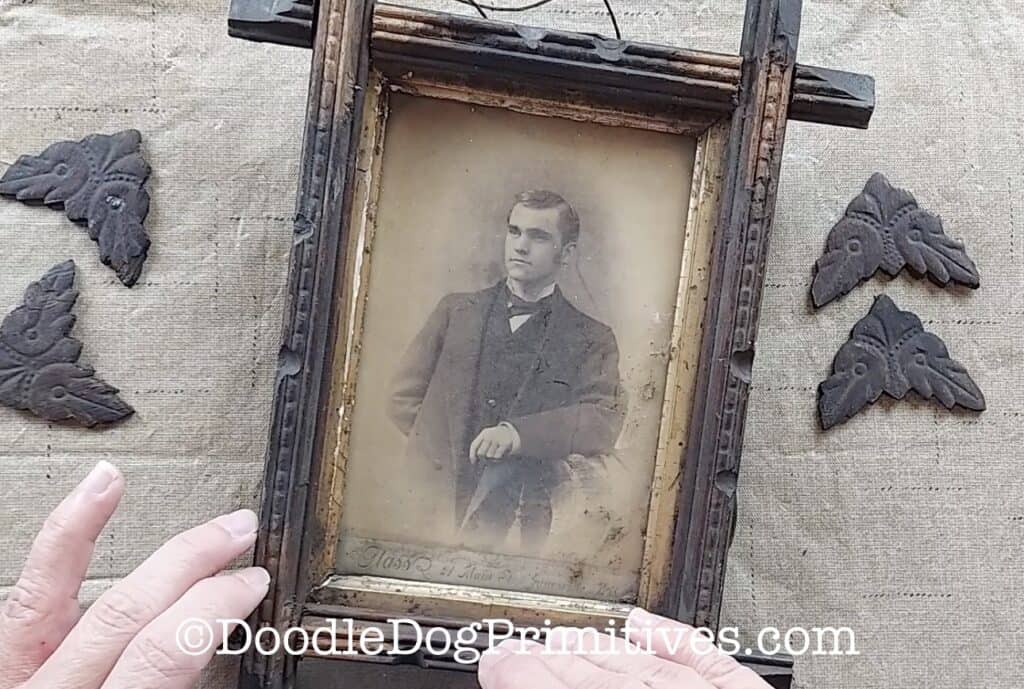
The pieces of the frame were all there, all I had to do was take it apart, clean it up, and glue it back together.
Watch the Video:
This post may contain affiliate links for your convenience, which means if you make a purchase after clicking a link I will earn a small commission but it won’t cost you a penny more. For more information, please visit our Privacy Policy.
Designing the Embroidery Design:
To design the paper embroidery, I wrote the words I wanted to use in a word processor in a pretty font and printed the letters. I then embellished the printed letters. I also added a cross to the design.
As you can imagine, at this point, my design had a lot of eraser marks on it, so I traced it onto a clean sheet of paper and scanned it into the computer.
After making sure it was the correct size, I printed the design directly onto the perforated paper.
My printer will print card stock paper as long as it only has one piece of card stock paper in it at a time. Since the perforated paper is thick, I took all of the other paper out of the printer and then printed the design.
Note: At this point, I did not have the vines on my design.
Stitching the Paper Punch Embroidery:
I chose DMC variegated embroidery floss and stitched with all 6 strands of the floss. I used a blunt tapestry needle – the trick is to pick one that will fit through the holes in the perforated paper!
I started on one side of the design and worked my way across so the variegation of the floss flowed nicely.
In the antique perforated paper designs, there are a variety of ways people stitched. Some used long stitches stitched at an angle, some stitchers used short stitches, and I even saw some that used cross stitches.
I chose to use long, angled stitches. I stitched the long stitches on the design, making sure to cover up the printing with the stitches.
After it was stitched, I felt like it needed something to tie everything together so I decided to add some vines. I went back to my original drawing and sketched in some vines and then transferred the designs to some graph paper so I could see just where to stitch on my perforated paper.
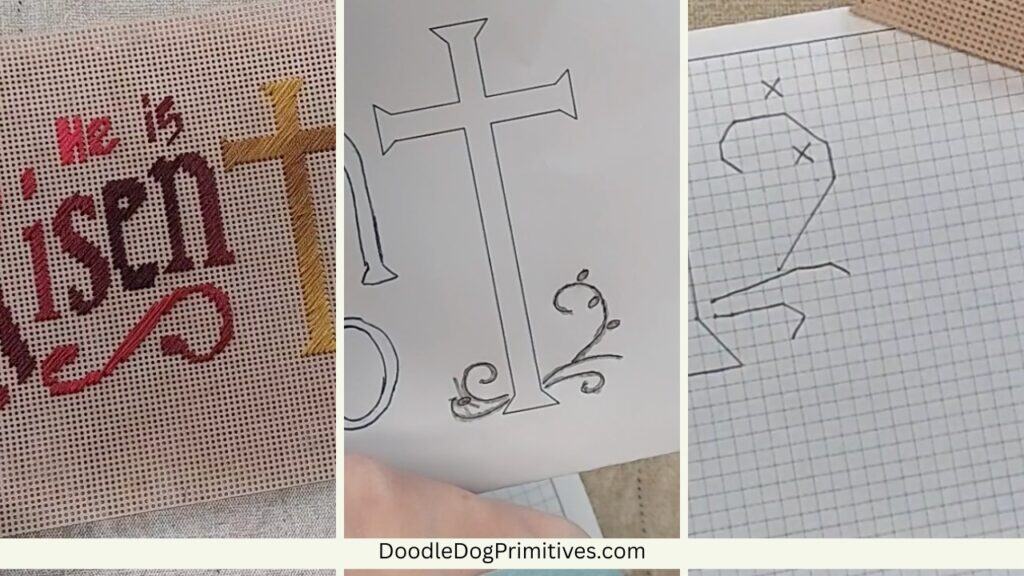
I then stitched the vines onto the perforated paper following my pattern.
I don’t think you would want to try to print vines onto the perforated paper directly because they might not line up with the holes in the paper and could be hard to cover with just a single line of stitching.
Be sure to check out our other craft tutorials.
Pin this Perforated Paper Post: