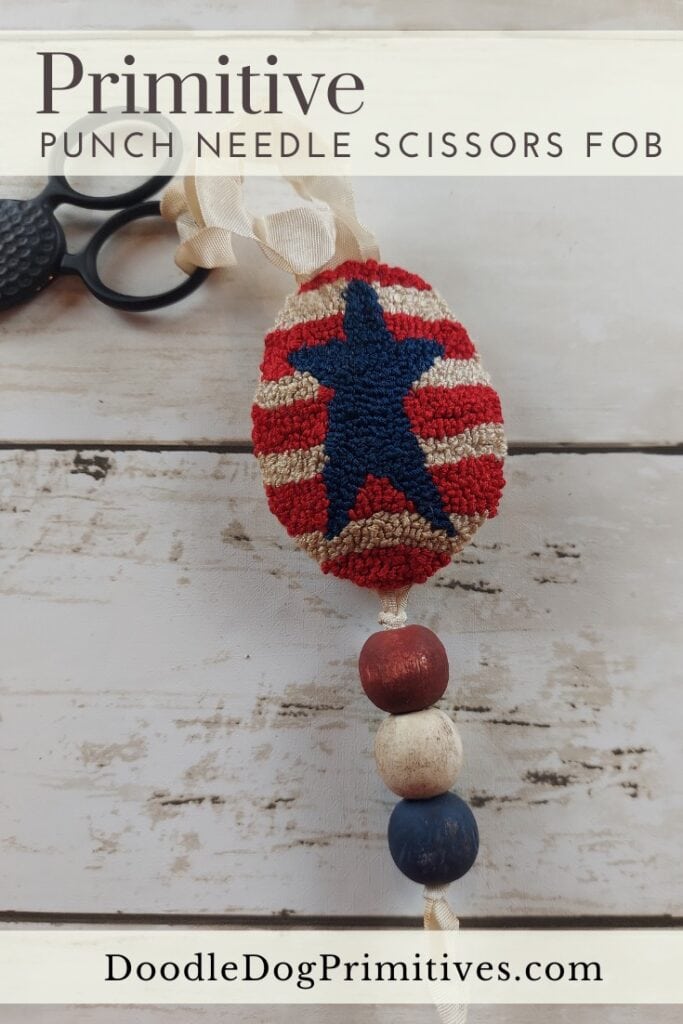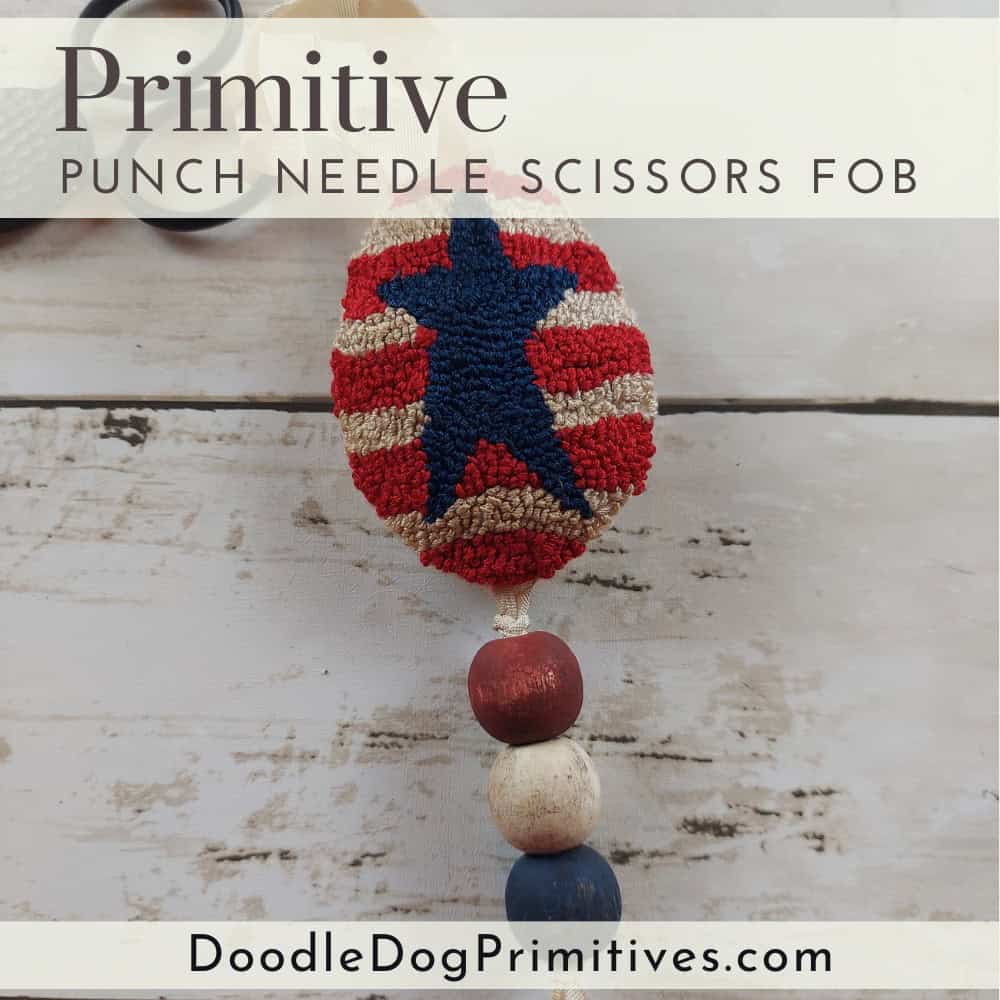
In this punch needle tutorial, I will be making a primitive style patriotic scissors fob. A scissors fob is a great addition to your scissors to both add some fun and help keep you from losing your scissors!
This scissors fob has an American flag inspired punch needle design, a wooden bead tail, and a crinkly ribbon hanger.
Watch the Video:
This post may contain affiliate links for your convenience, which means if you make a purchase after clicking a link I will earn a small commission but it won’t cost you a penny more. For more information, please visit our Privacy Policy.
Making the Scissors Fob:
The first step in making the scissors fob is to punch the design. You can find the pattern in my free pattern library. I punched it with my Smart Punch needle tool at a punching depth of #1. I used 6 strands of DMC embroidery floss in 336 for the star, and 321 and 712 for the stripes.

This next step is optional for those who like things a little grungy looking. After the punching was complete, I coffee dyed the punched design, a piece of cream felted wool, and some white crinkly ribbon. Be sure to make sure your threads are color fast before doing this step!
Using red, cream, and blue craft paint, paint three wooden 1/2″ beads, one each color. After the paint is dry, lightly sand the beads to distress them and add an antiquing wax.
Finishing the Scissors Fob:
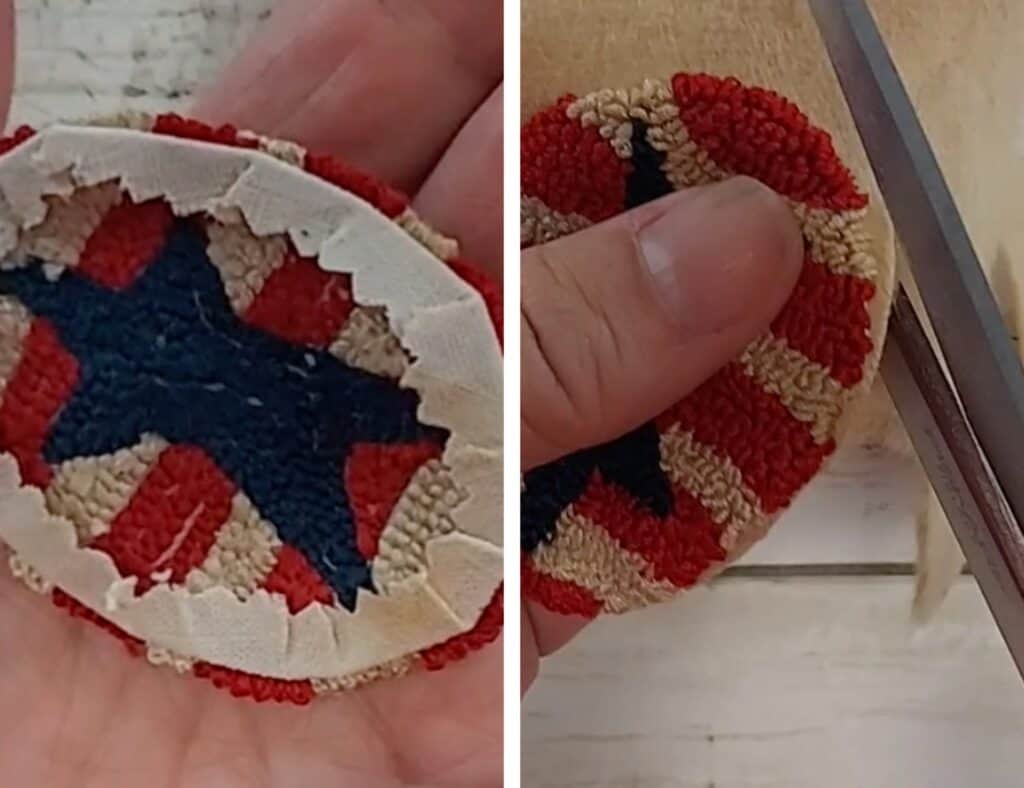
Trim the empty weavers cloth around the punched design to about 1/4″ with pinking shears. Press the empty weavers cloth to the back of the project.
Place the punched design on top of some felted wool. Use regular scissors to cut out a piece of felted wool for the backing.
Cut a 5″ piece of crinkly ribbon. Tie a knot close to one end and thread the beads onto the ribbon starting with the blue bead, then the cream bead, and finally the red bead. (A skewer or toothpick can be used to help push the ribbon through the beads.) Tie another knot in the ribbon close to the red bead.
Cut a 10″ piece of crinkly ribbon.
To assemble the scissor fob, whip stitch the punched piece and the felted wool backing together (wrong sides together) catching the fold of the weavers cloth and the edge of the backing, but not the punched loops. This is the same process I would use to finish a punch needle ornament.
When you get to the bottom of the design, insert the end of the beaded ribbon and sew back and forth to attach the ribbon between the backing and punched piece. Again, you will want to catch the fold of the weavers cloth and the edge of the backing as well as the ribbon.
When you get to the top of the design, fold the 10″ ribbon in half and insert the two ends of the ribbon and sew back and forth.
After you get past each ribbon, continue whip stitching. When you are almost finished sewing it closed, insert a small amount of stuffing and finish sewing closed.
Enjoy your punch needle scissor fob!
Pin this Punch Needle Tutorial: