Make your projects look old: coffee & tea dye punch needle!
Sometimes, I want a punch needle project to
have an antique primitive look.
One way to do this is to dip the finished project
into a dye bath of coffee or tea.
I will show you how to easily do this yourself
to make your punch needle projects look old.
Coffee & Tea Dye Punch Needle Projects:
To show you this method,
I started with three finished Key to My Heart punched projects.
This is a free pattern available in my pattern library.
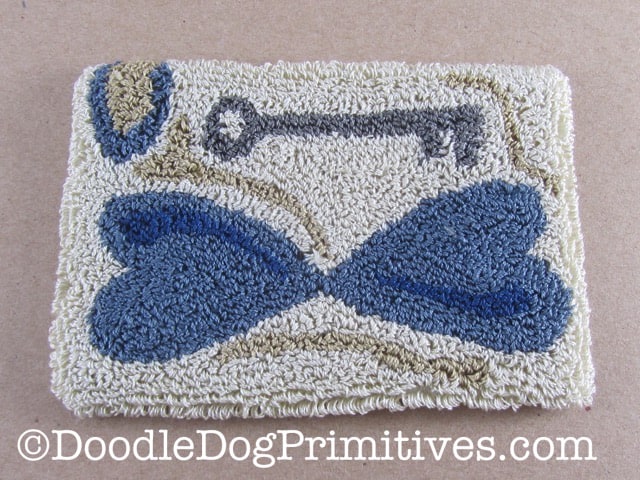
I will dye one in tea, one in brewed coffee,
and the last in instant coffee
so you can see the differences.
Colorfast Floss:
Caution: Before you begin this process,
make sure you have punched with colorfast floss.
If the flosses aren’t colorfast,
the dyes from the floss can run when they get wet.
Check with the floss manufacturer to find out about colorfastness.
Watch the Video:
Wet the fabric:
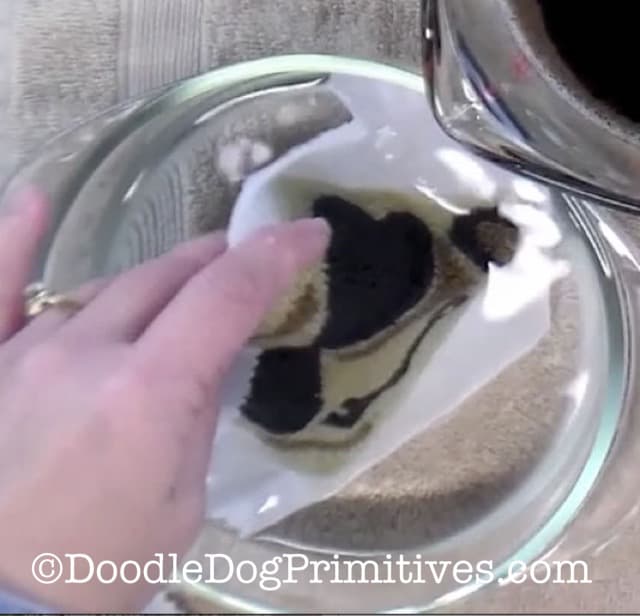
First, place the project in a bowl of water.
It just needs to be in there long enough to get completely wet.
Tea Dye a Punch Needle Project:
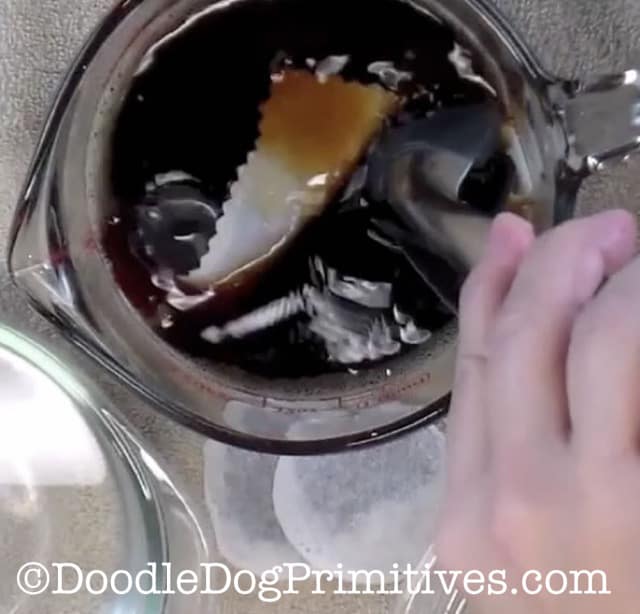
I brewed 6 regular tea bags in 4 cups of water.
You could use more or less tea
depending on how strong of a color you want.
Gently squeeze out the excess water from your wet punch needle project
and place the punch needle project into the bowl of tea.
Allow it to sit for around 5 minutes.
More or less time will affect how dark the project becomes.
Dye a Punch Needle Project with Brewed Coffee:
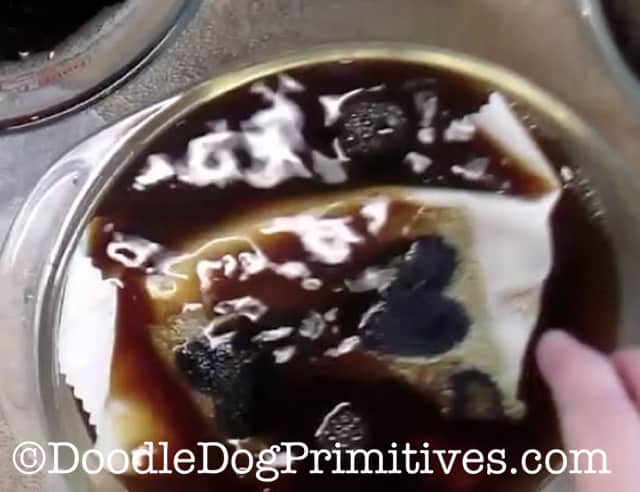
I brewed coffee in a traditional coffee pot
just like I would if I was going to drink it.
You could make the coffee stronger or weaker
depending on your desired finished look.
Gently squeeze the excess water from the project
and place it into the bowl of coffee.
Allow to sit for 5 minutes or so.
Use Instant Coffee to Dye a Punch Needle Project:
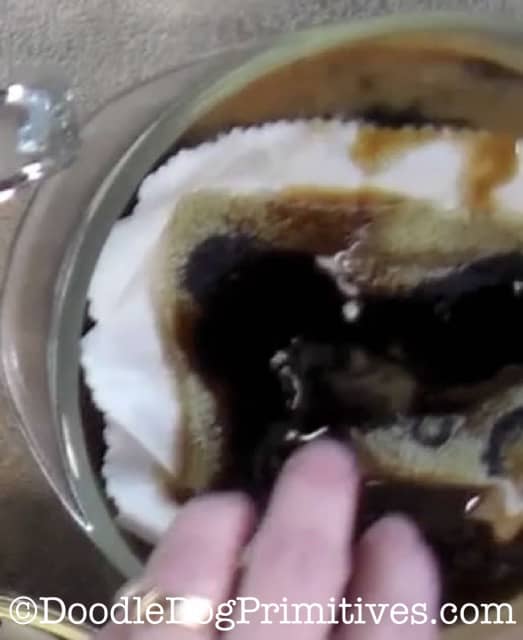
I made the instant coffee following the instructions on the jar.
A stronger coffee will produce a darker dye
while a weaker coffee will create a lighter dye.
Gently squeeze out the wet punch needle project
and place it into the instant coffee dye.
Let soak around 5 minutes.
Dry the Punch Needle Project:
After the soaking time is complete,
take the project out of the dye water
and gently squeeze out the extra water.
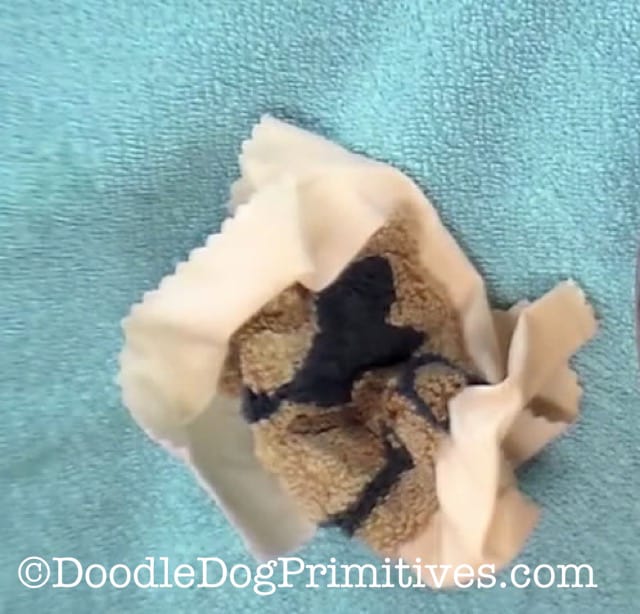
Place on a towel to dry.
If you want the project to be muted all over,
lay it flat to dry.
If you want it to have areas that look more stained than others,
leave it bunched up to dry.
As it dries, the dye will settle into the lower spots
creating “dirtier” areas.
Let dry completely.
Assessing the dye job:
After the punch needle project is dry,
you can look it over to see if you are pleased with the result.
If it turned out darker than you want,
you MIGHT be able to rinse some of the excess dye out.
If it is too light, you can repeat the dyeing process.
Pressing the Punch Needle Project:
When you are pleased with the dyed project,
you can carefully press the project from the back.
Completed Dyed Projects:
I bunched all three of these projects to dry.
The left picture is before dyeing.
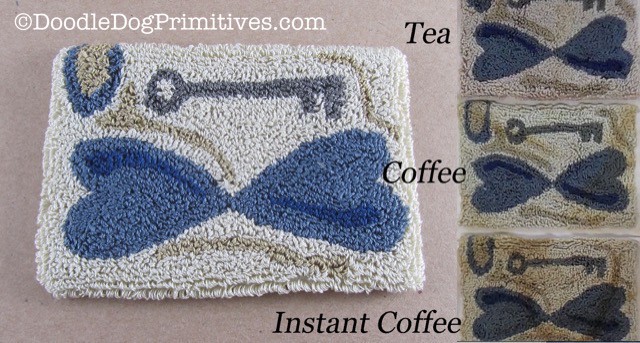
The tea dyed project has almost a pinkish tone to it.
The instant coffee dyed punch needle project
has the darkest, most primitive look of the three.
I would love to see your results if you give this a try!
Blessings~
Amy

