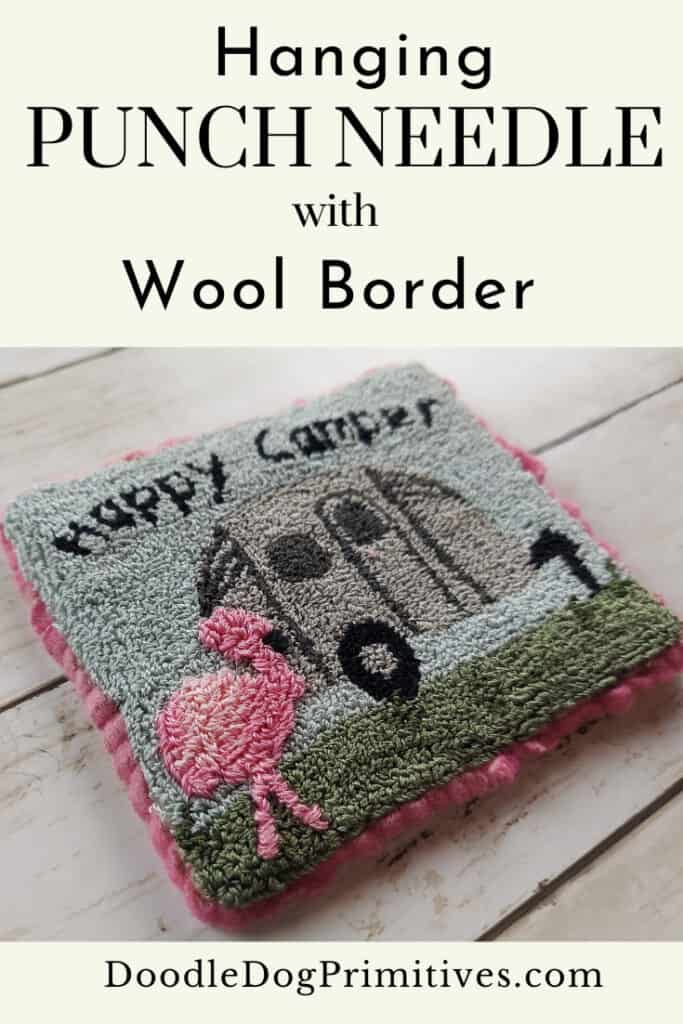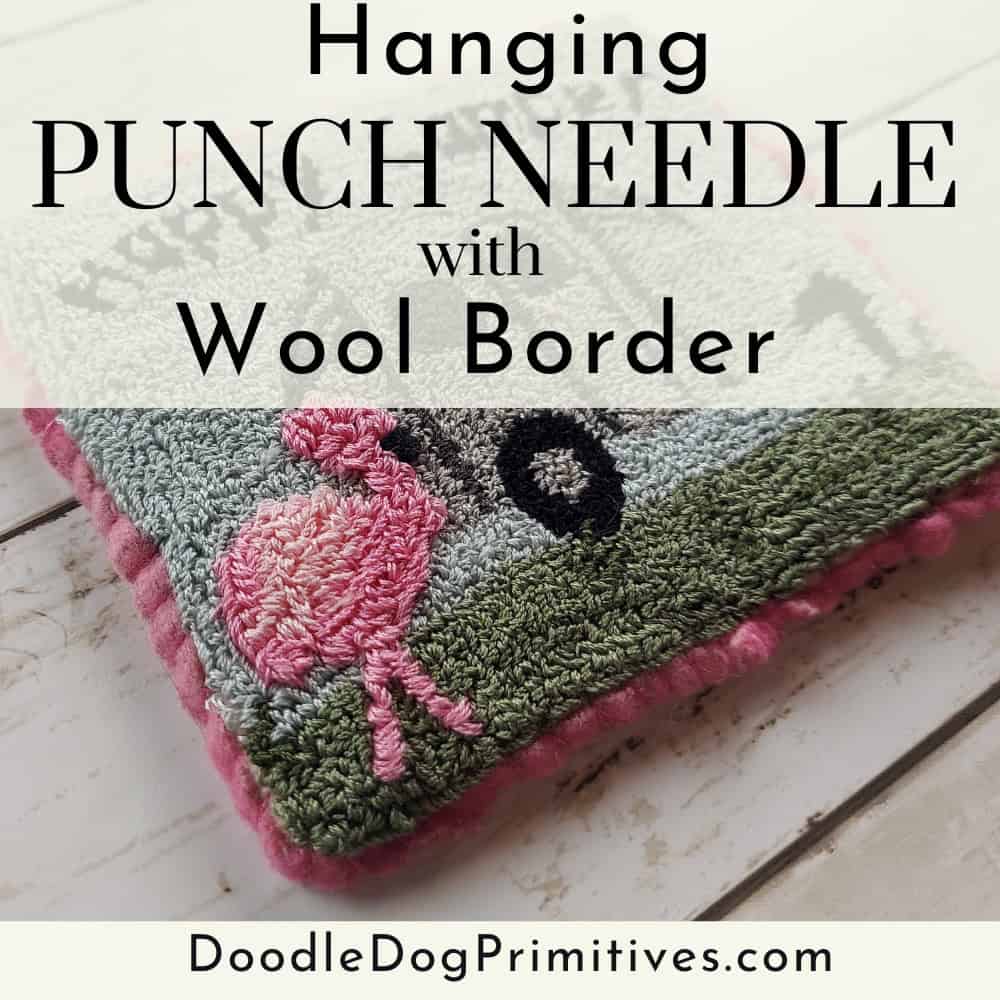
As usual, I have several completed punch needle projects laying around that I haven’t finished into something I can display. I decided to take this camper and flamingo punch needle design, finish it with a wool border and make it a hanging project.
Watch the Video:
This post may contain affiliate links for your convenience, which means if you make a purchase after clicking a link I will earn a small commission but it won’t cost you a penny more. For more information, please visit our Privacy Policy.
Preparing the Punch Needle Project:
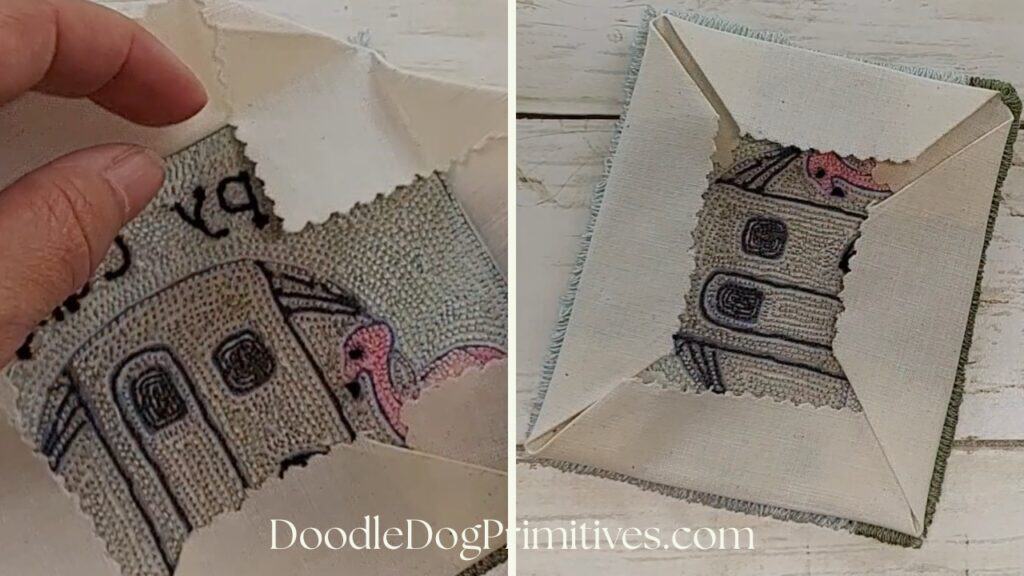
To prepare the punch needle project, I pressed the empty weavers cloth to the back, starting with the corners and then pressing back each of the sides. Once this is completed, the weavers cloth should not be visible from the front of the project.

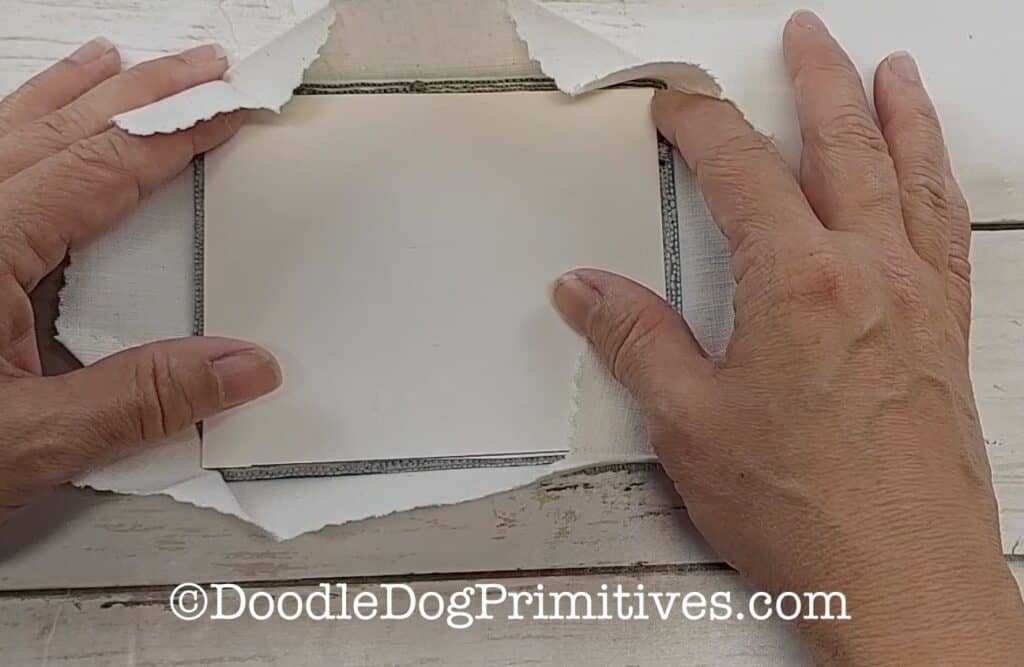
Then, I cut a piece of thin cardboard (think cereal box) slightly smaller than the punched project and slid it behind the folded over weavers cloth.
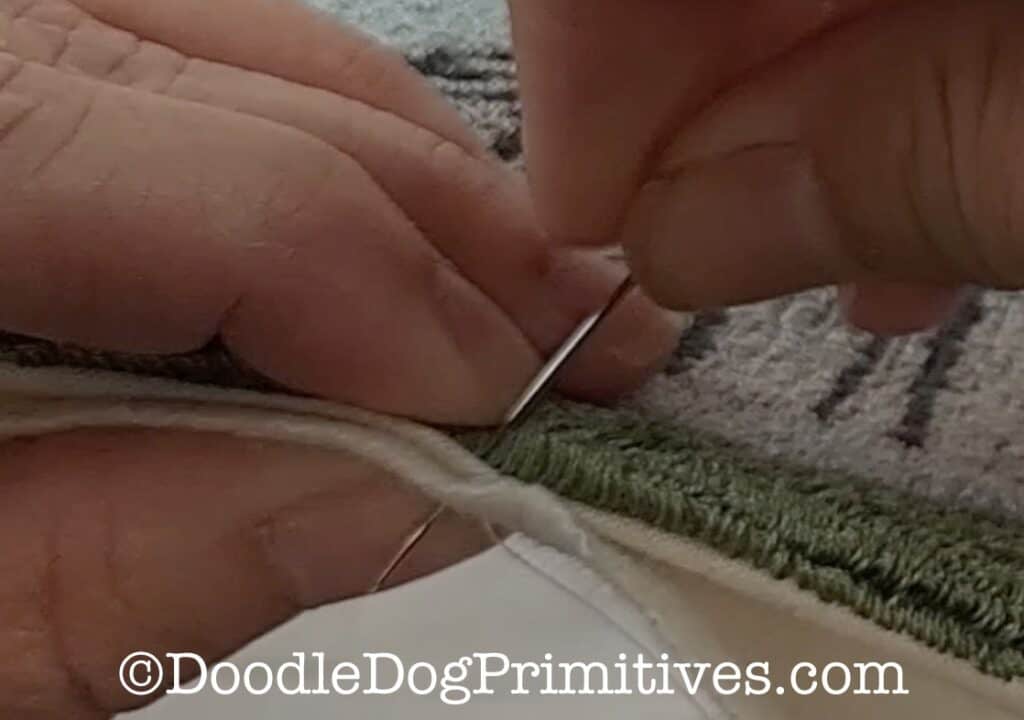
Next, I cut a piece of felted wool just a smidge larger than the finished project and whip stitched it to the back of the punch needle project, catching the edge of the wool and the crease of the weavers cloth. You can trim off any of the excess wool backing as you sew if needed. I rounded the corners of the wool. As you stitch, the wool will fold over and cover the edge of the weavers cloth.
Adding the Wool Border:
For the wool border, I cut 1/4″ wide strips of felted wool. I chose pink to match the flamingo in this project.
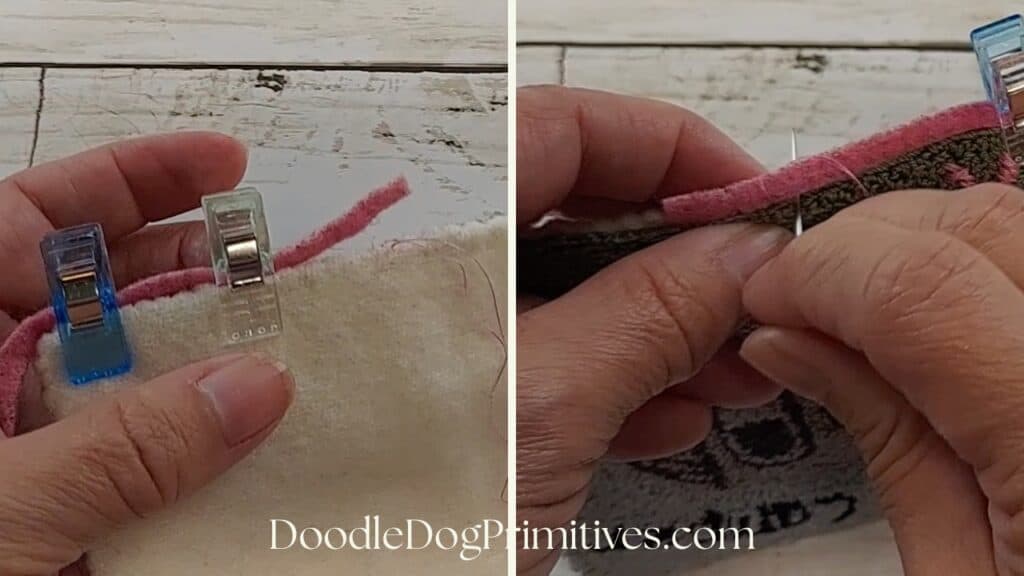
I clipped the wool strip to the edge of the punch needle project, standing on its edge – not laying flat against the project.
Using a double strand of thread that matches the wool border, I whip stitched diagonally around the project, sewing over the wool edging fabric and catching the edge of the embroidery piece and wool backing with the needle.
When I got back to the beginning, I overlapped the wool strip a little, cut off the excess, and continued whip stitching over the overlap.
Hanging the Punch Needle Project:
Because I added the cardboard in between the layers of the punch needle project, it won’t be floppy when I hang it.
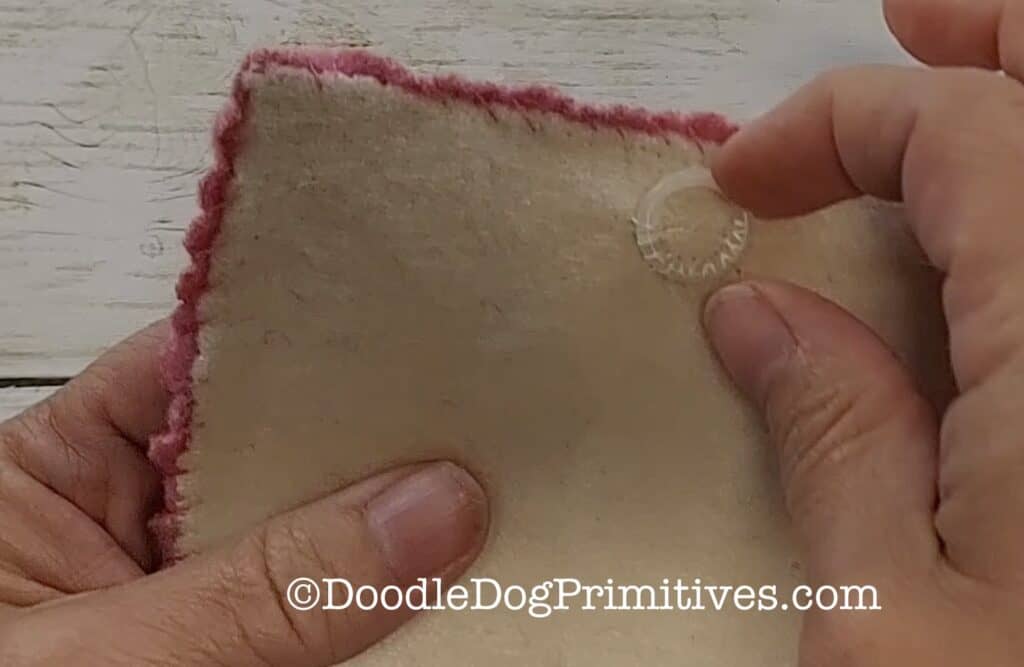
I sewed a plastic sewing ring onto the back of the project towards the top and right in the middle from side to side. The trick to this is to sew the ring down on 3 ‘sides’ of the circle, leaving the top not sewn down. Otherwise, the ring will flop when you try to use it for hanging.
Be sure to check out our other punch needle tutorials.
Pin this Punch Needle Tutorial: