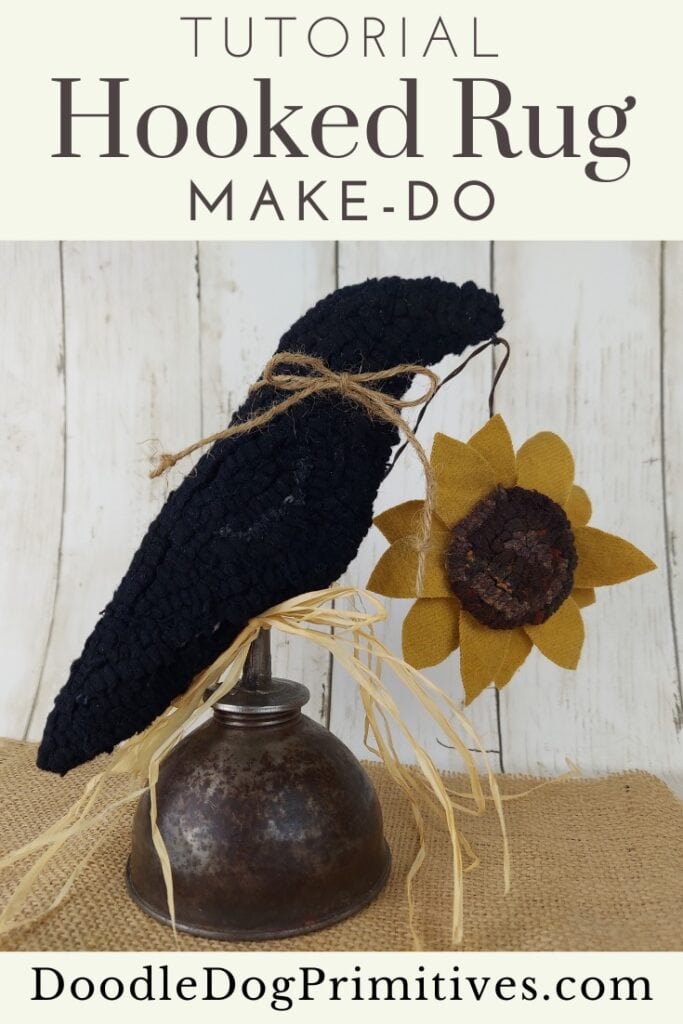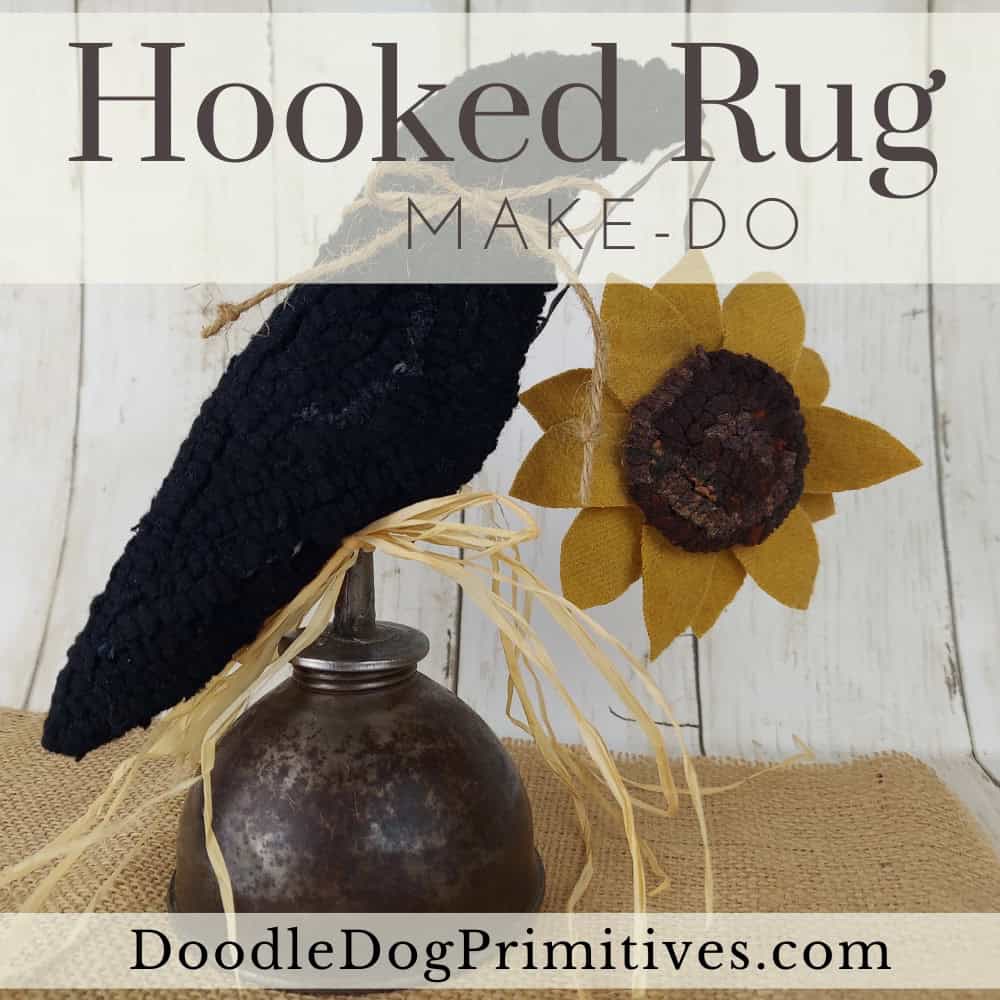
With the recent release of a hooked rug crow make-do pattern in my shop, I thought you might enjoy a tutorial on how to make a rug hooked make-do. You don’t have to stop at making a crow though. You could make lots of make-dos from small rug hooking patterns!
I am going to use a vintage oil can for the base. You could also use a rusty funnel, a candlestick, a large spool or you could make do with whatever you have on hand! Just make sure whatever you use for the base looks good in proportion to your hooked rug!
Watch the Video Tutorial:
This post may contain affiliate links for your convenience, which means if you make a purchase after clicking a link I will earn a small commission but it won’t cost you a penny more. For more information, please visit our Privacy Policy.
Making a Hooked Rug Make-do:
I like to use monks cloth for shaped pillows and make-dos. It is softer and easier to manipulate than some of the other rug hooking foundation fabrics.
Hook your pattern and steam press the finished project. Serge all the way around the hooked rug, leaving about 1 inch empty foundation fabric.
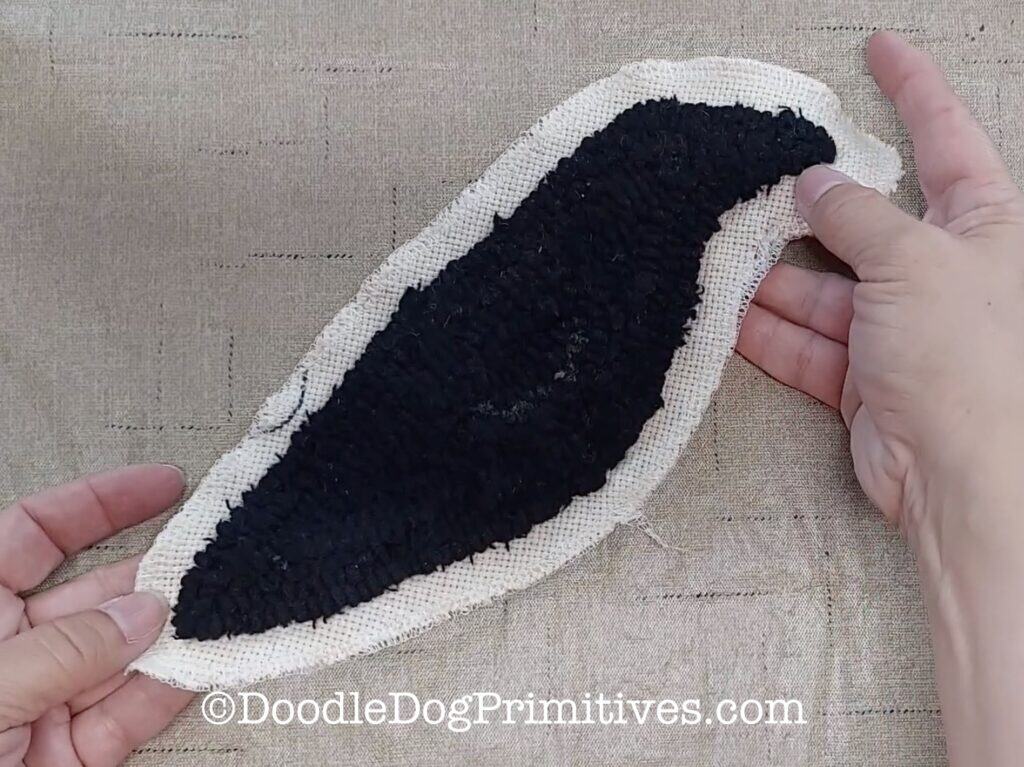
If you have any inside corners, like I do at the crow’s neck, these will need to be slit so the foundation fabric will lay flat when you turn it to the back.

Clip slits in the inside corners and coat the edges of the slits with some fray check. Let that completely dry.

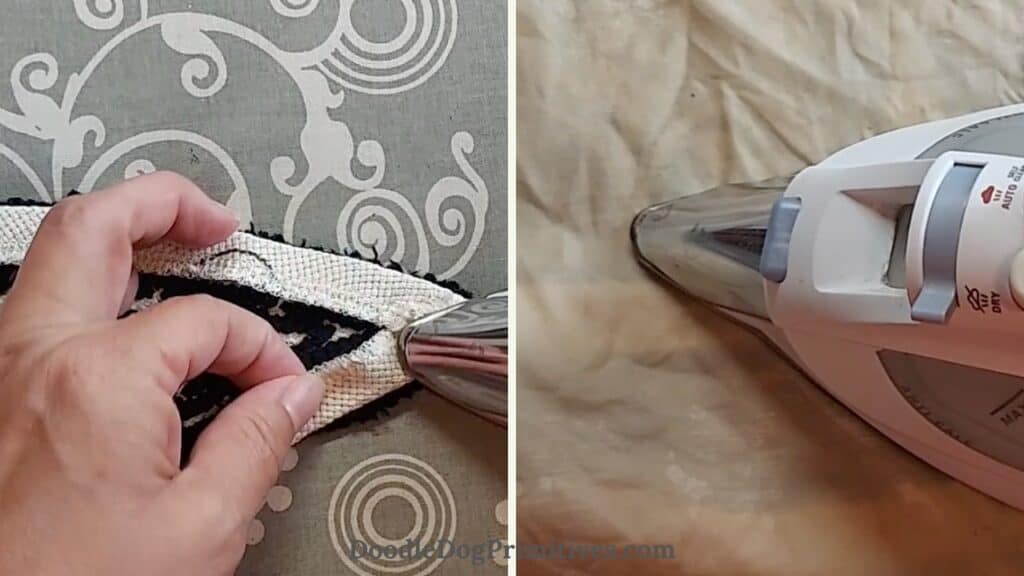
Press the empty foundation fabric to the back of the hooked rug. Be careful not to get your iron on the fray checked areas! I just finger press those areas. After it is all pressed to the back, using a damp pressing cloth over the top and pressing again will help keep it in place.
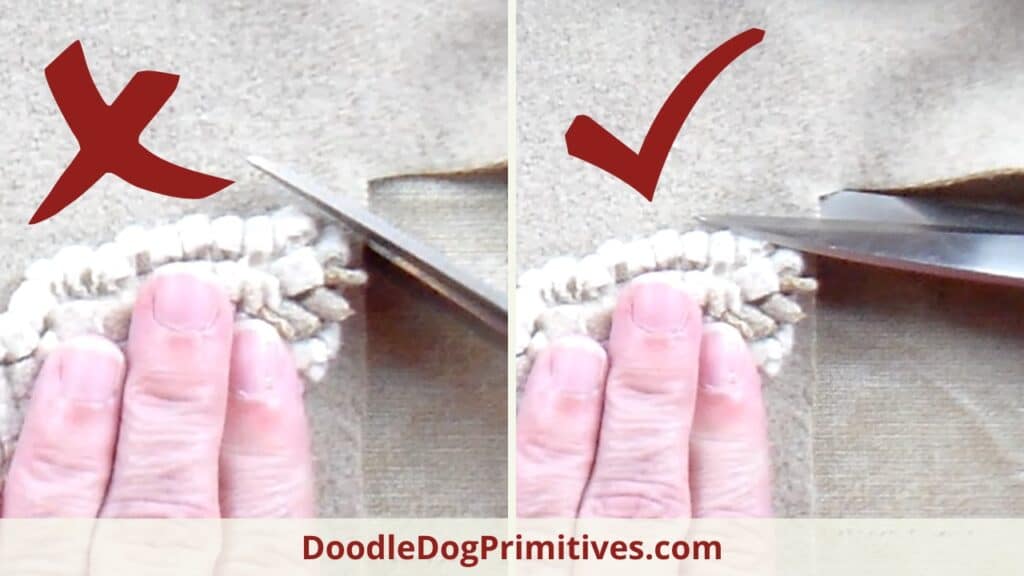
For the backing, choose a coordinating felted wool. Place the hooked piece over the top of the felted wool and use it as a pattern for cutting out the backing just a tiny bit larger than the hooked piece. Just angle the scissors slightly to cut the backing larger.
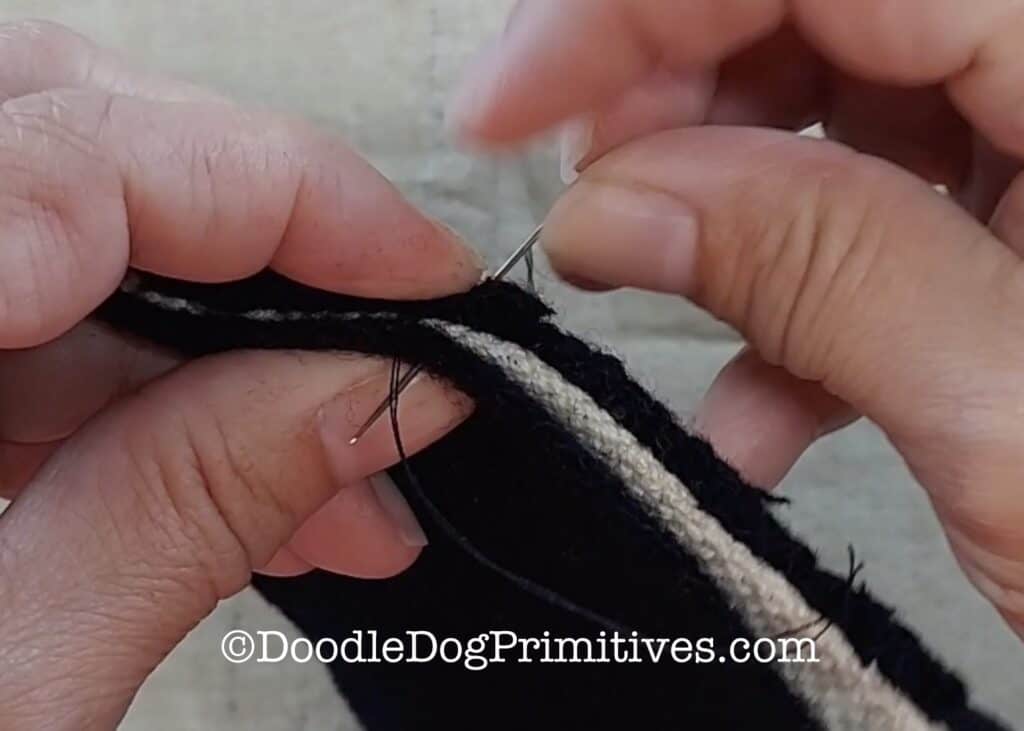
Layer the hooked rug and backing, wrong sides together. Use a thread that matches the wool backing. Start sewing at the base of the project – where the make-do base will be inserted. Use a whipstitch to stitch the folded over edge of monks cloth to the edge of the wool. The wool will fold over the edge and cover up the monks cloth. Don’t catch any of the hooked loops in this stitching.
If your backing turns out to be too large anywhere, you can trim it as you work. Leave an opening for stuffing. Stuff as desired. Continue whipstitching the hole closed until you have just a big enough opening to put it on the make-do base.
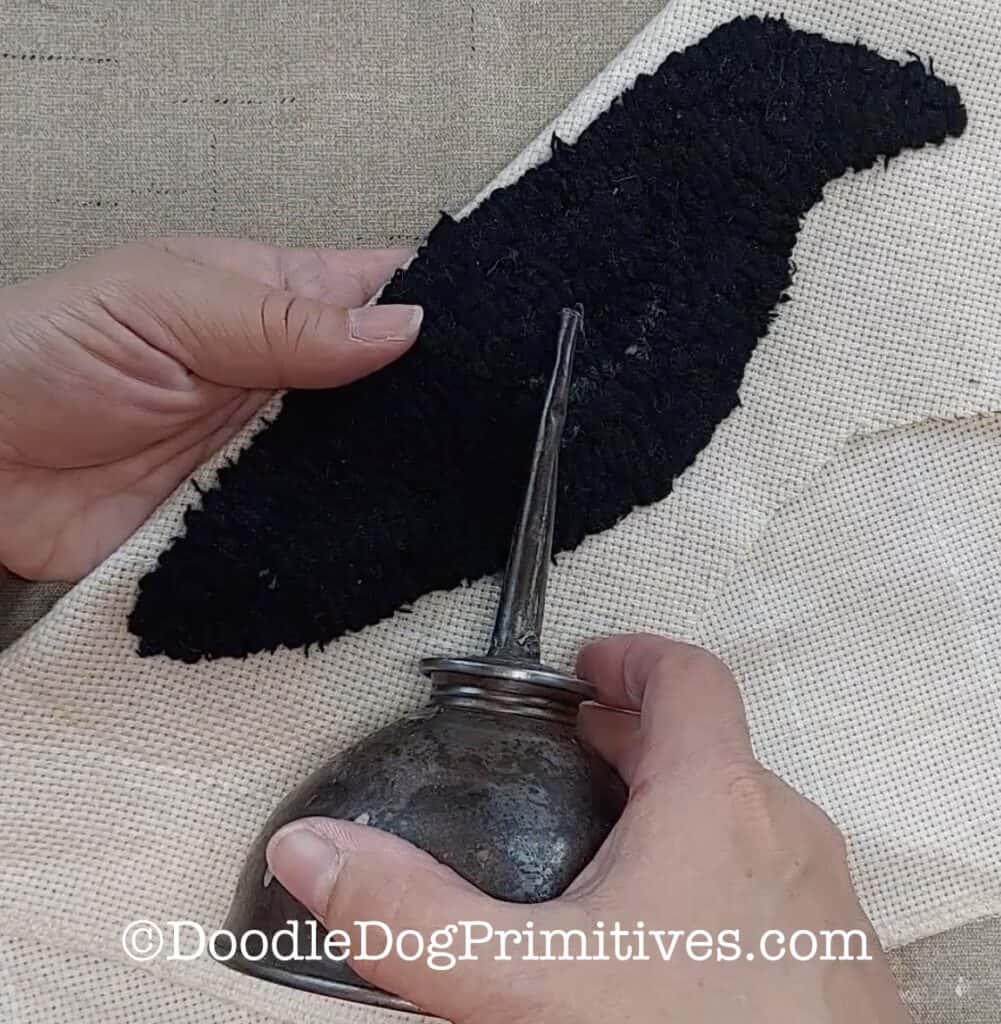
Place the hooked rug onto the base and continue sewing to get the opening tight around the base.
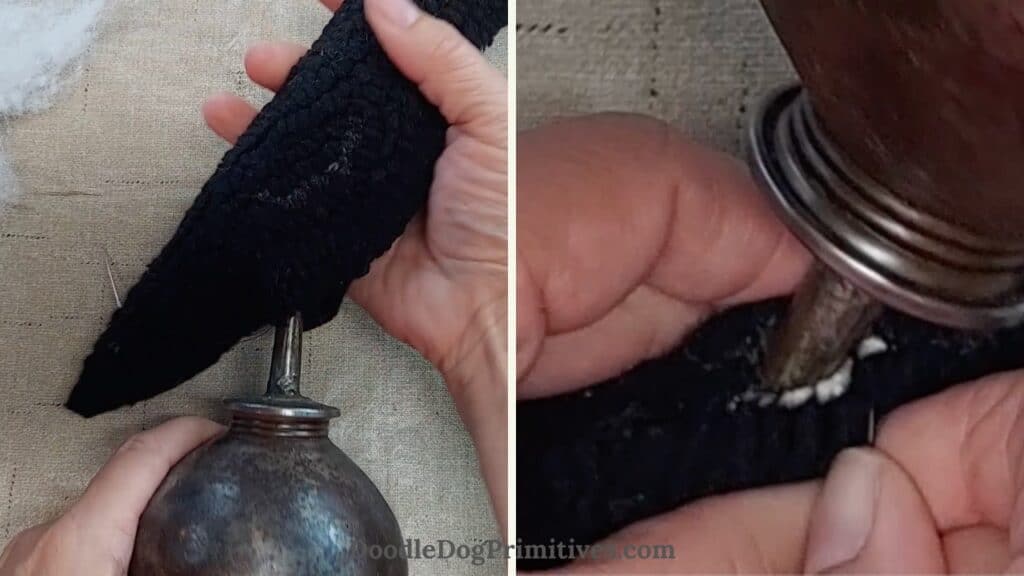
If needed, you can add some craft glue to hold it in place.
Decorate as desired. I have used jute, raffia, crinkly ribbon, etc. to decorate around the base of the make-do on previous projects.
You might also like our other rug hooking tutorials.
Pin this Rug Hooking Tutorial: