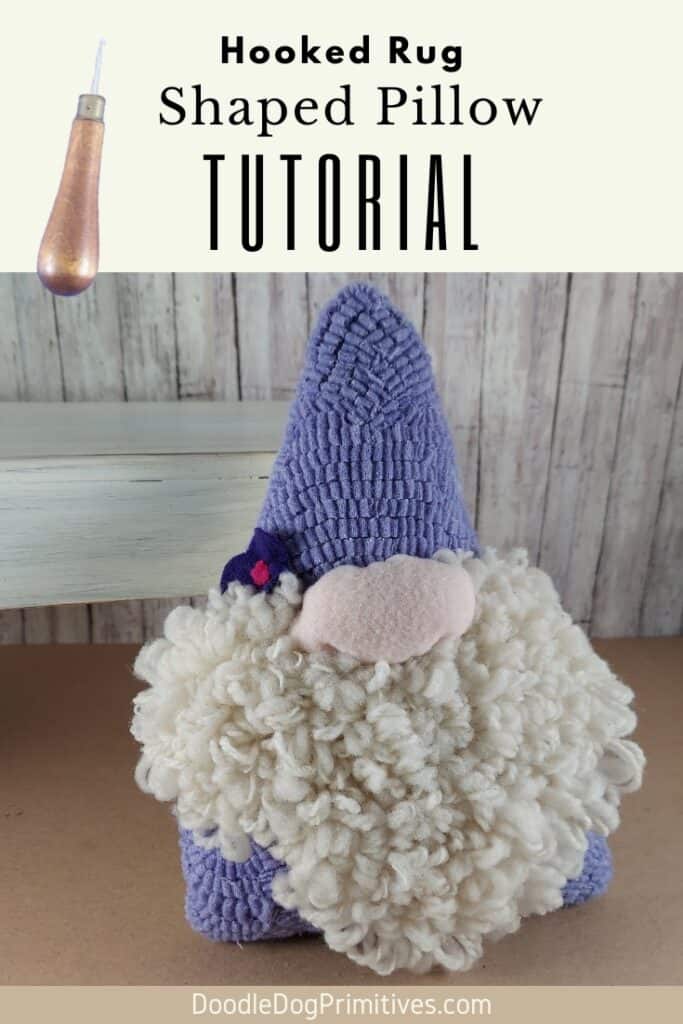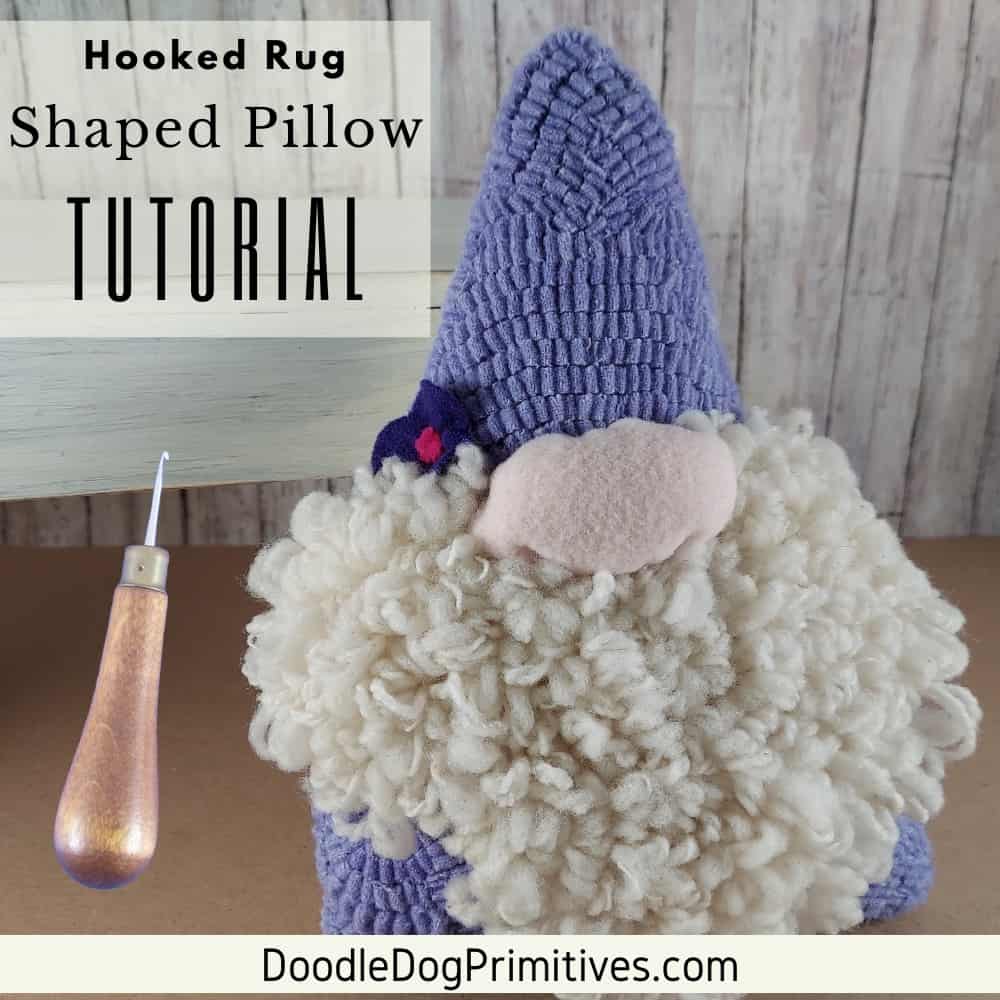
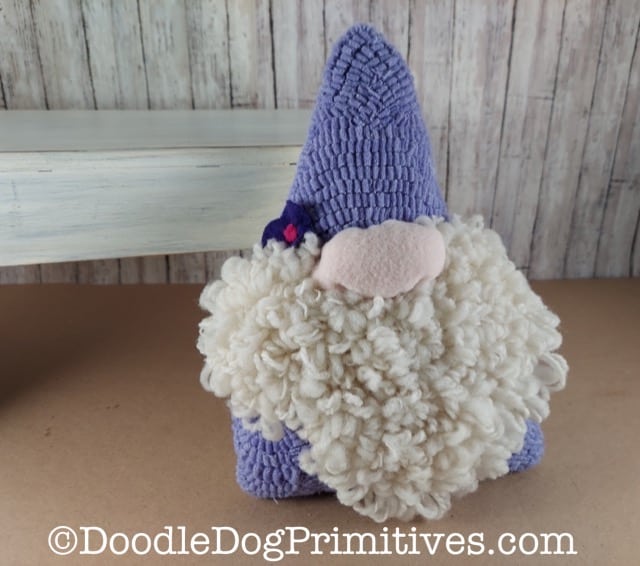
In this post, I am going to be showing you how to make a hooked rug shaped pillow. I will demonstrate the process with this gnome pillow pattern. I also have several other hooked rug pillow patterns you might like.
I like to use monks cloth for hooking shaped pillows. It is soft, easily pliable foundation fabric.
Watch the Tutorial Video:
This post may contain affiliate links for your convenience, which means if you make a purchase after clicking a link I will earn a small commission but it won’t cost you a penny more. For more information, please visit our Privacy Policy.
Prepare the Hooked Rug:
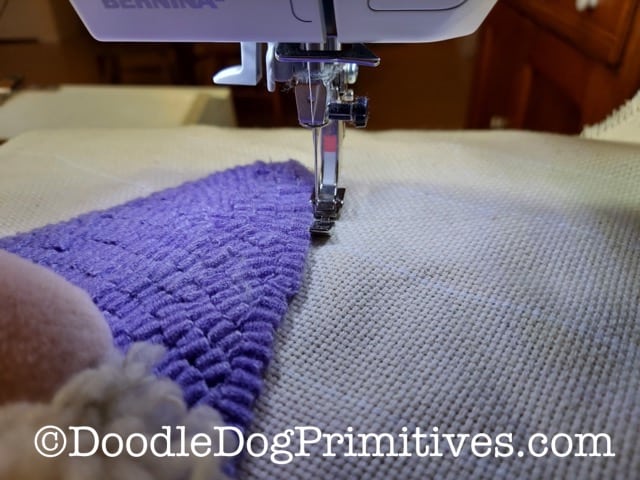
While monks cloth is nice and soft and easy to manipulate, it can be stretched out of shape. So the first step in creating a hooked rug pillow is to sew a stay stitch all the way around the outside edge of the hooked piece. A stay stitch is a straight stitch intended to prevent stretching of the fabric during construction.
I worked from the front of the hooked rug and used a zipper foot on my sewing machine so I could get up close to the outer edge of hooking.
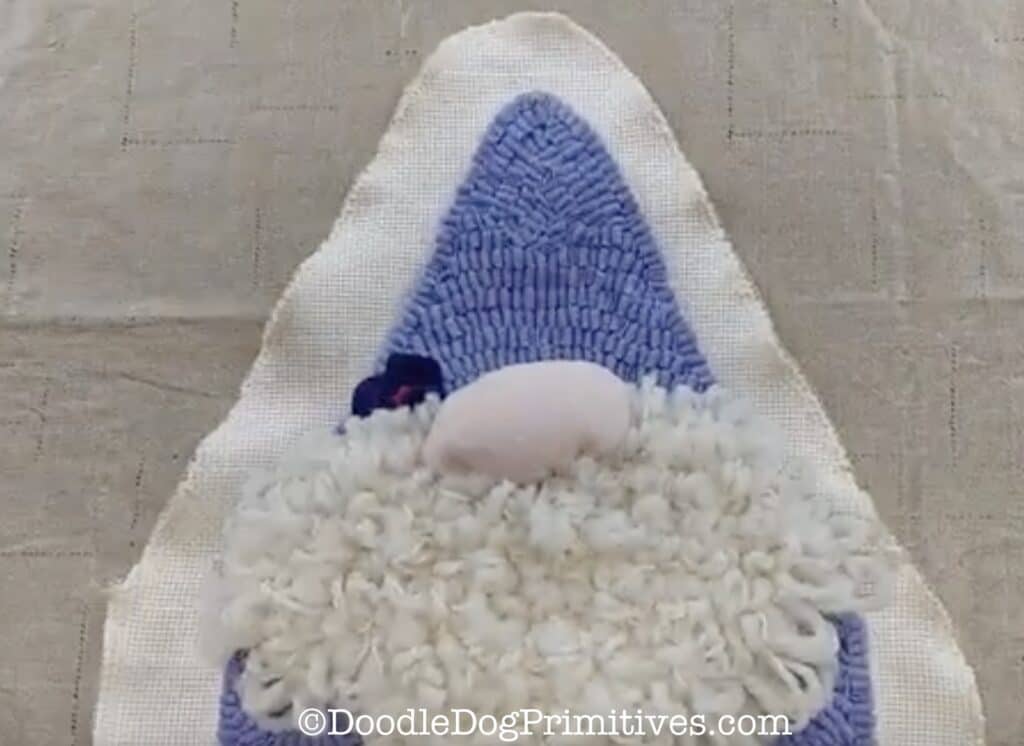
Cut around the hooked rug, leaving a border of 1-2 inches of empty foundation fabric. Serge or zig zag stitch the edges to keep the fabric from unraveling.
If you have a hooked rug that has inside corners, you will want to cut slits in the foundation fabric on each of the inside corners up to the stay stitching but not through it. This will allow you to easily turn the foundation fabric to the back.
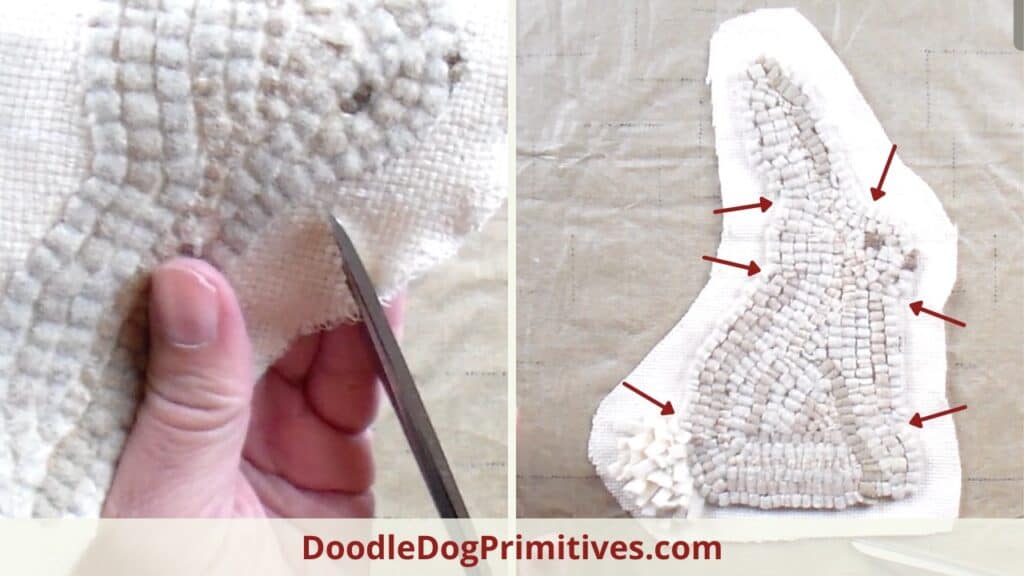
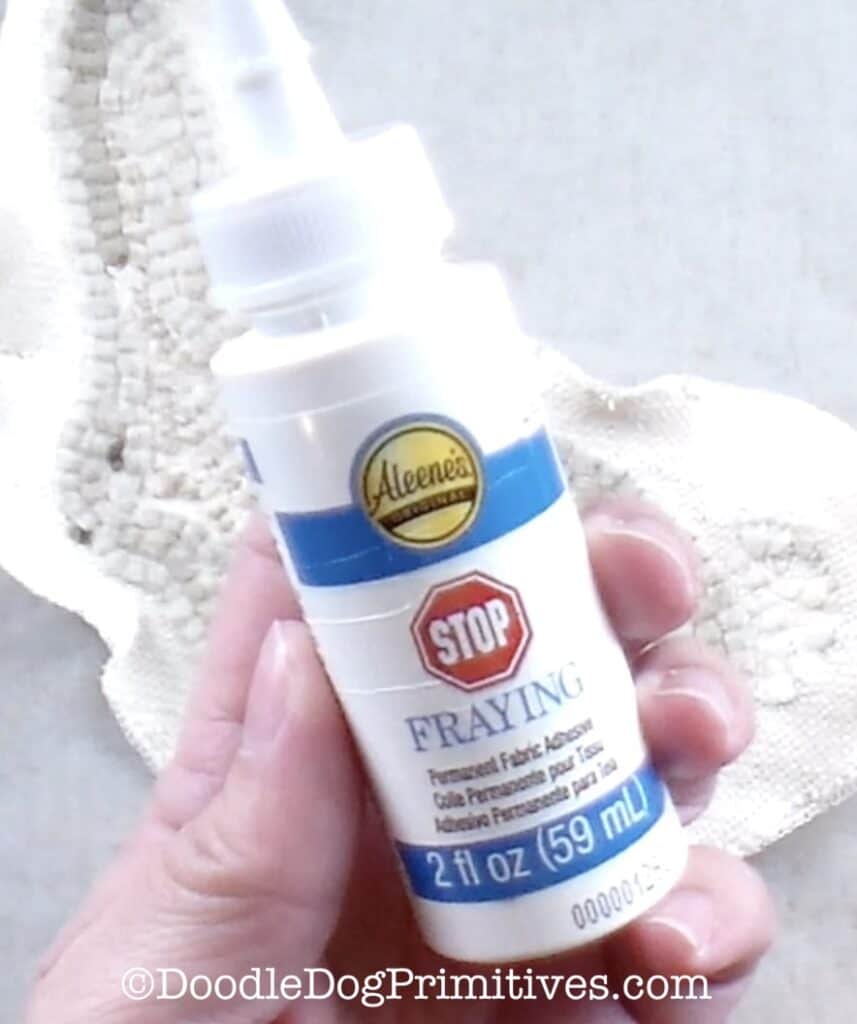
To keep these slits from unraveling, you can add some fray check to the cuts. I use Aleene’s Stop Fraying. Let the fray check completely dry.
Turn and Baste Foundation Fabric:
The next step is to press the empty foundation fabric to the back of the hooked rug. You could use an iron for this step, but be careful. When I use fray check, I don’t use an iron because I don’t want to risk getting the sticky on my iron. I am also not using an iron on this gnome because I don’t want to flatten his beard.
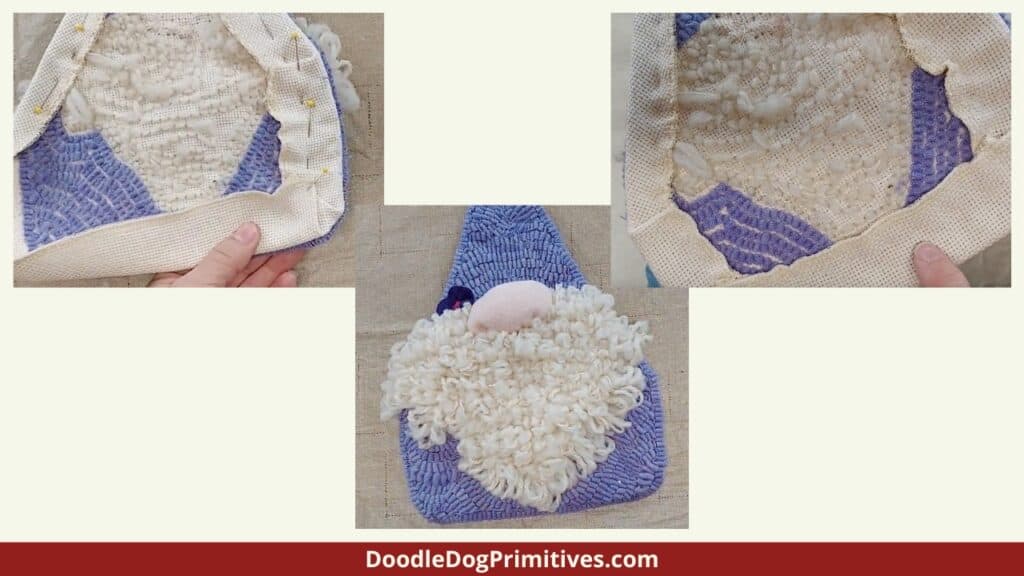
Instead, I am going to to finger press the empty foundation to the back and pin in place. At the corners, I will pleat the foundation fabric in order to get it all to the back and still lay flat.
When you are all done, you want the rug to lay flat and have no foundation fabric showing on the front of the hooked rug. Make sure the edge rows of hooking aren’t folded over any!
Use a needle and thread to baste the foundation fabric to the back of the hooked rug.
Cut Backing for the Hooked Rug Shaped Pillow:
I like to use felted wool for the backing of shaped hooked rug pillows. It doesn’t ravel so it gives a nice finished edge for hand sewing the two pieces together.
Lay the hooked rug on top of the felted wool, wrong sides together. The backing fabric needs to be slightly larger than the hooked rug. So instead of holding my scissors straight up and down, I will angle them so that the bottom of the scissors is away from the hooked rug.
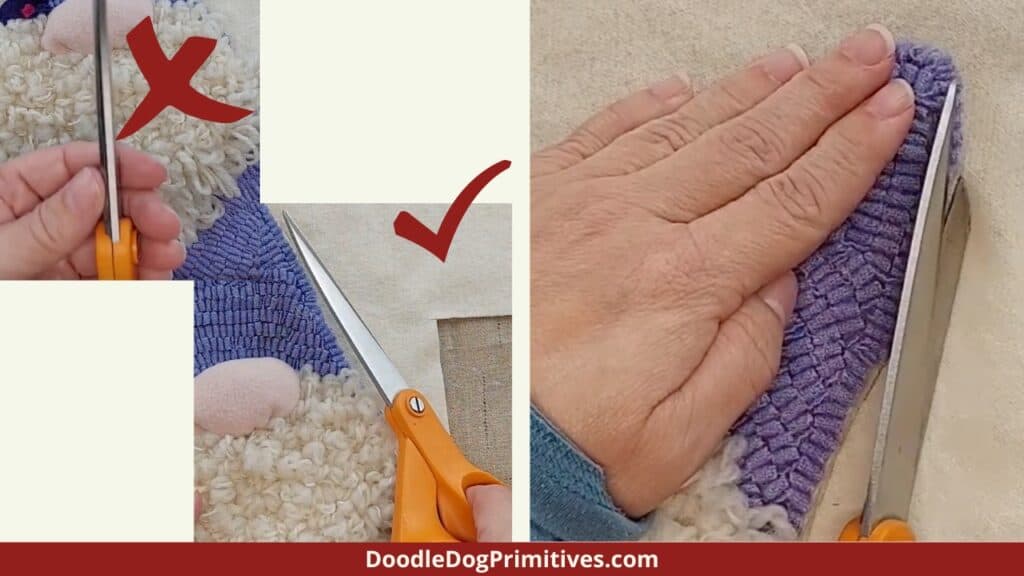
When cutting with this method, the edges of the wool can be a bit jagged. Use the scissors to cut smooth edges for the backing fabric.
Sew the Pillow Together:
Use a thread that matches the felted wool to sew together the pillow. Place the hooked rug and the backing on top of each other, wrong sides together. Pin the two pieces together.
Use a whipstitch to sew the backing to the hooked rug. You want to catch the folded over edge of the monks cloth and the edge of the wool. Be careful to not sew through any of the hooked loops. As you stitch, the edge of the wool will fold over to cover up the exposed monks cloth. You will need to make the stitches fairly close so you don’t end up with gaping holes in the backing.
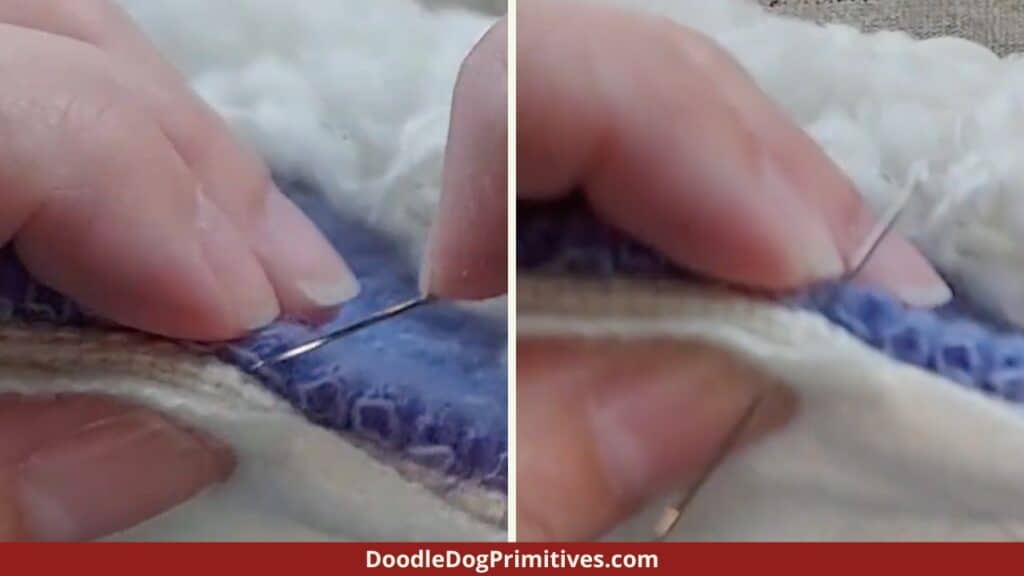
Leave an opening for stuffing. Stuff with desired stuffing and finish stitching closed.
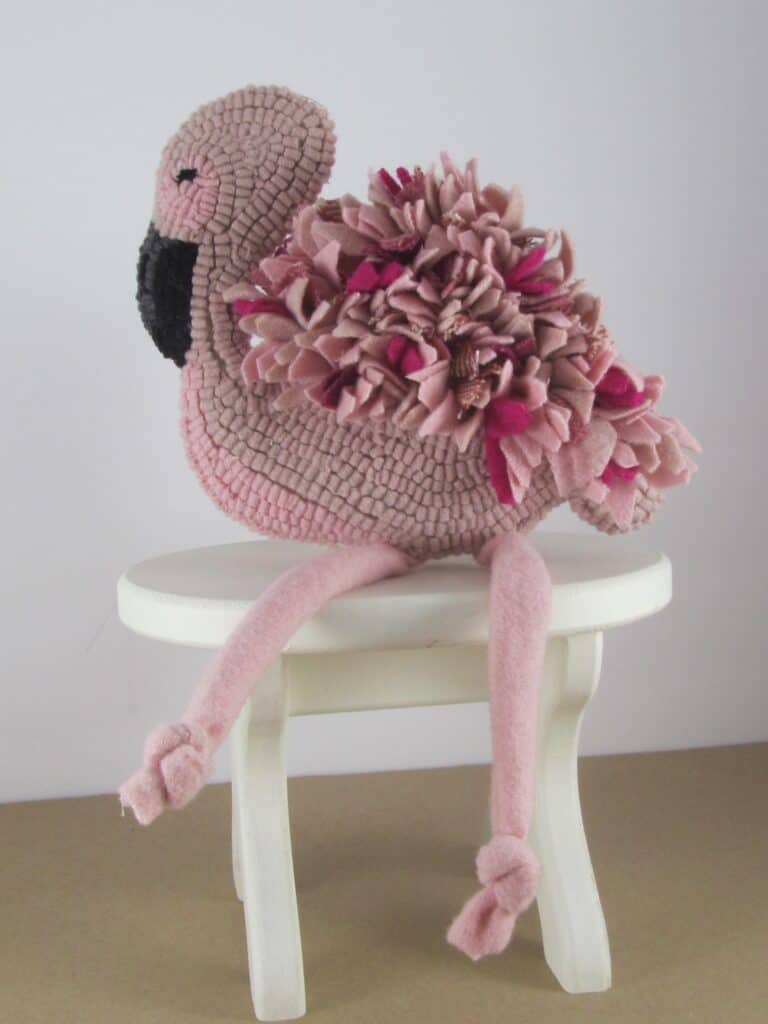
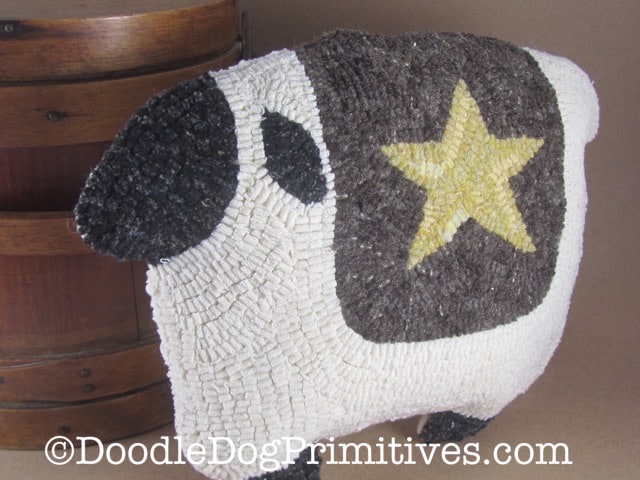
Be sure to Pin this Rug Hooking Tutorial:
