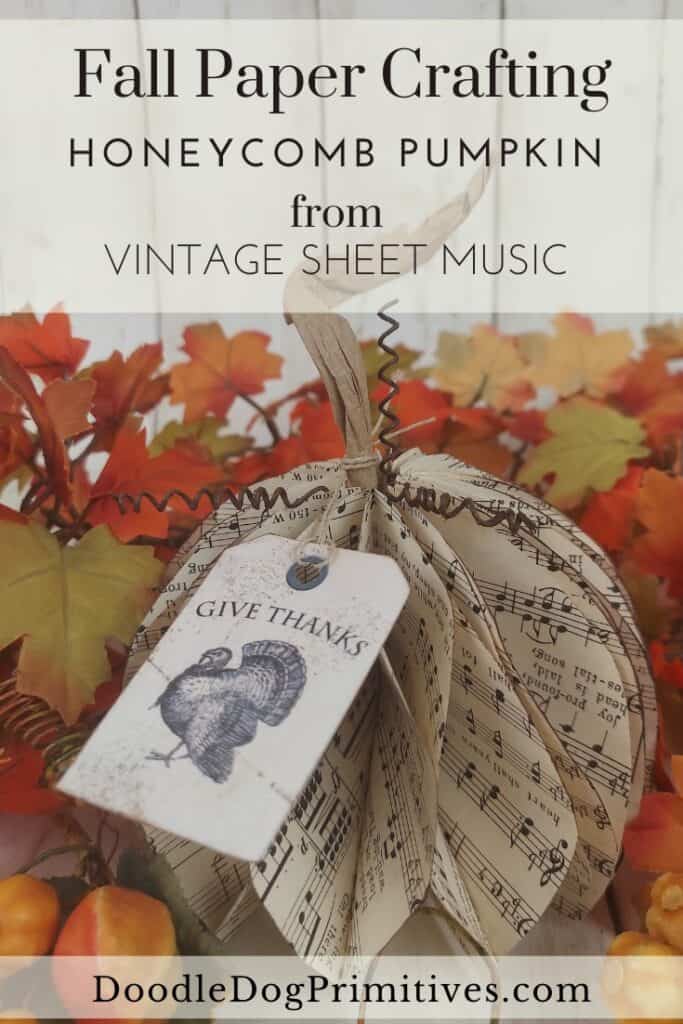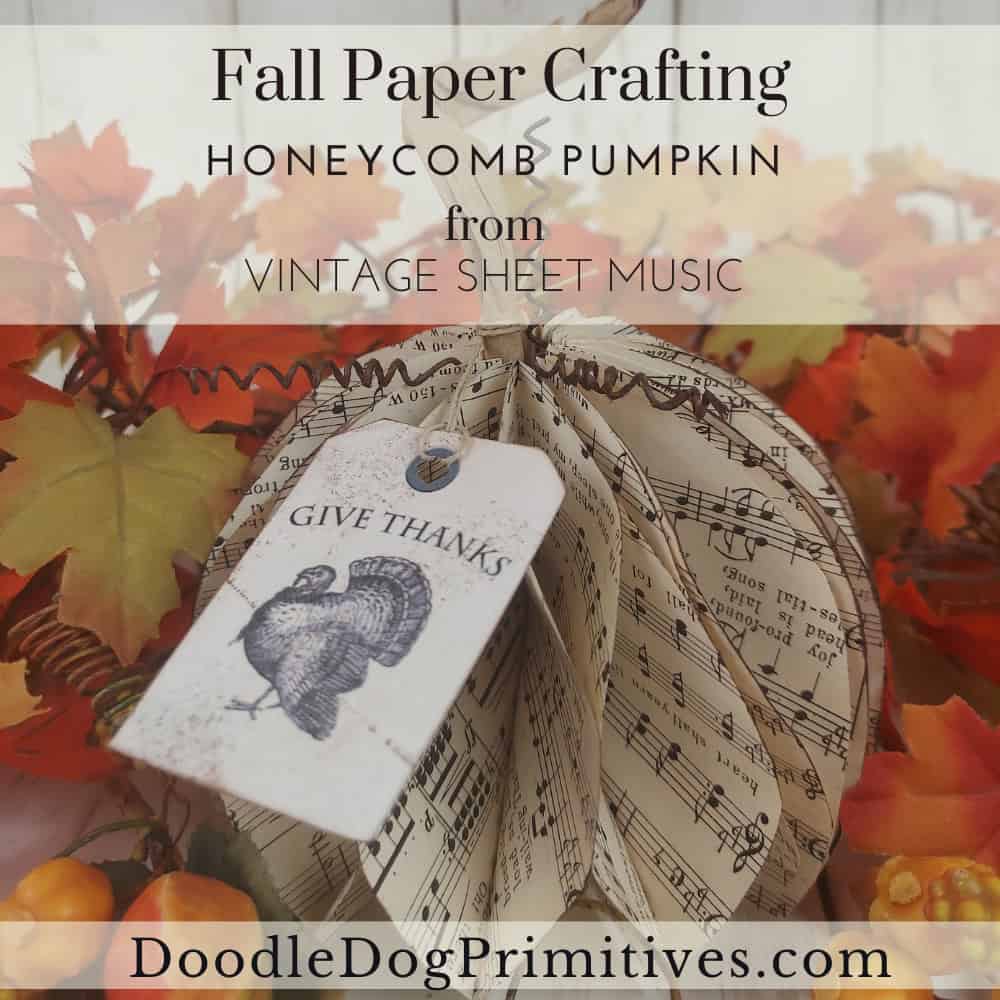
In this post, I am going do some fall paper crafting and make a vintage style honeycomb paper pumpkin. This is going to be perfect to incorporate into a Thanksgiving centerpiece. These paper pumpkins could also be made smaller and made into place cards.
Watch the Video:
This post may contain affiliate links for your convenience, which means if you make a purchase after clicking a link I will earn a small commission but it won’t cost you a penny more. For more information, please visit our Privacy Policy.
Make the Honeycomb Pumpkin:
For the pumpkin, I used some pages from a vintage song book that is falling apart. If you don’t have any vintage sheet music, you can find reproduction pages online to print.
I used a 4.5″ circle template because the vintage sheet music I was using wasn’t much wider than that. You could use this same process to make a larger or smaller honeycomb pumpkin. Just use a smaller or larger circle template.
Using the circle template, I cut 22 circles from the sheet music. If you make a larger pumpkin, it will take more circles. A smaller pumpkin will take less circles.
Next, I folded each circle in half from side to side when the sheet music is straight up and down.
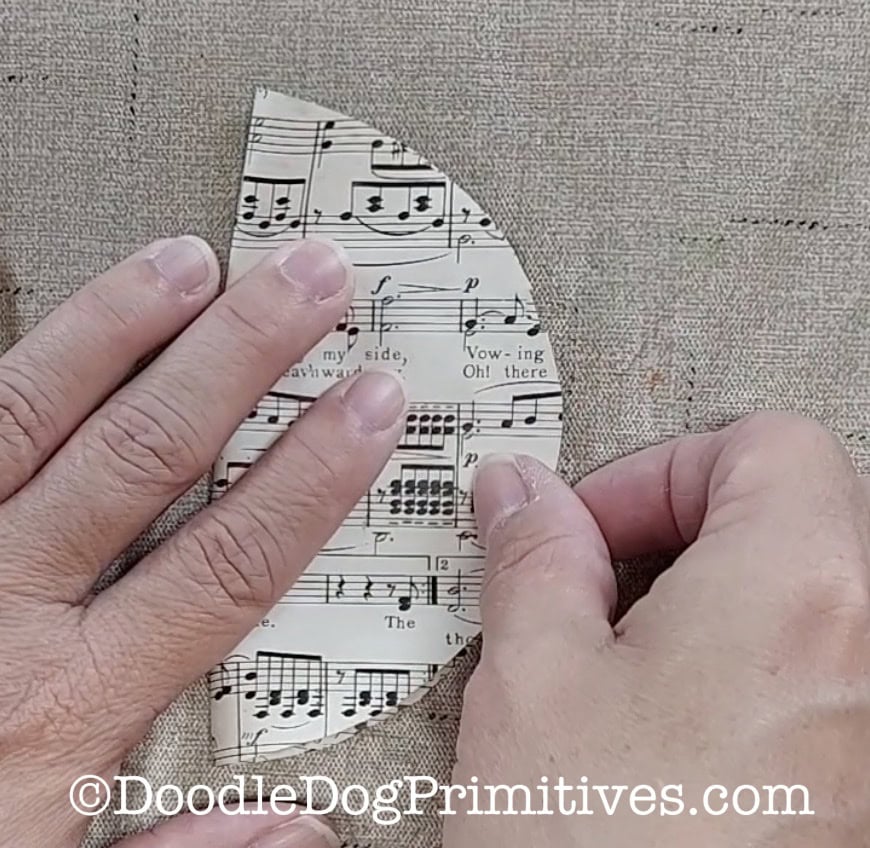
Then I cut about 1-1/2″ off the top of each sheet. I just realized that really should have been cut off the bottom of each one! Oops! If you are making a smaller pumpkin, cut less; cut more from a larger pumpkin. This will allow the pumpkin to sit flat on the table when finished.
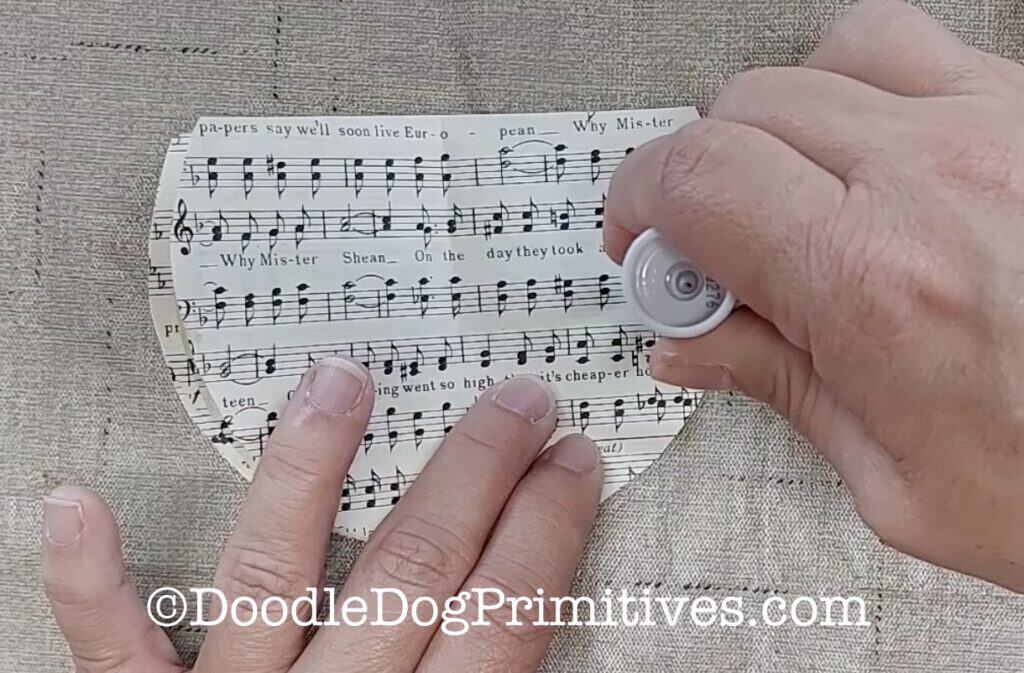
I used stick glue to attach the papers together to make the pumpkin. The top and bottom of a folded circle got a swipe of stick glue and then another circle got stacked on top. Then more glue and another circle, repeated until all of the circles were stacked.
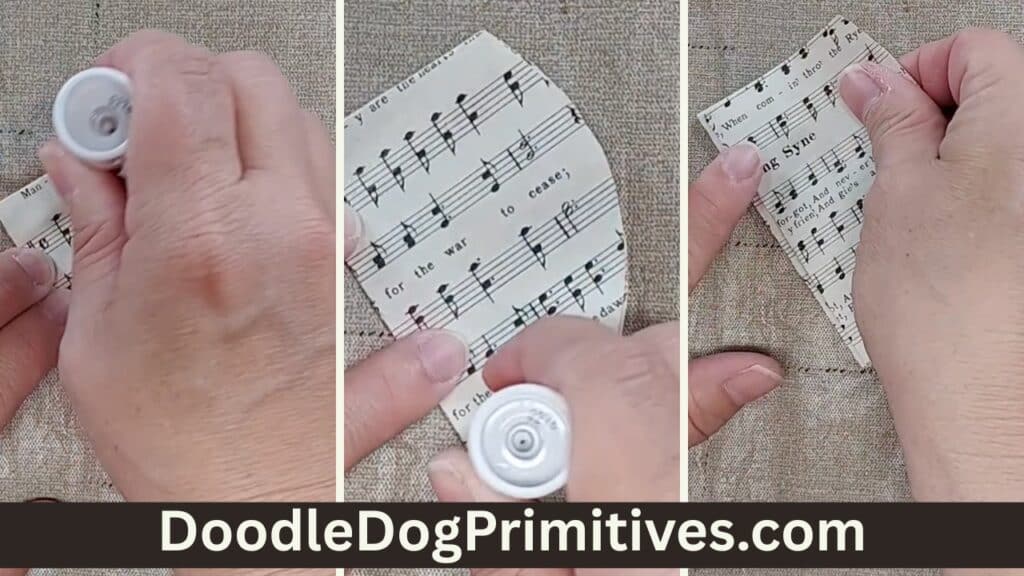
Next, I opened up each folded circle and put a stripe of glue down the middle of each page horizontally.
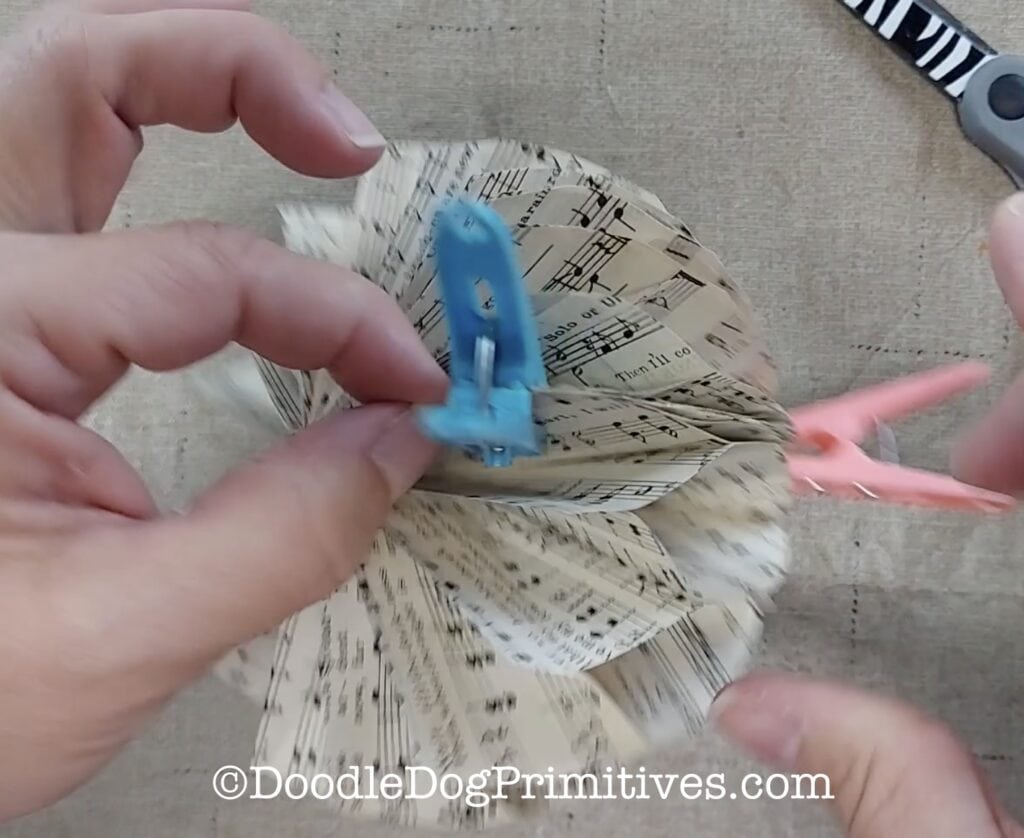
At this point when you open it up, you can really see the honeycomb taking shape! I opened the circle up and glued the two ends together at both the top and bottom and clamped while the glue dried.
Make the Pumpkin Stem:
While the pumpkin was drying, I cut a trapezoid from a brown paper lunch sack. The size of this will depend on the desired pumpkin stem height and width.
I wrinkled the paper and then rolled it and glued it into the roll and shaped it into a curly stem.
There is a natural hole at the center of the pumpkin in which to glue the pumpkin stem.
I twisted some brown floral wire stems around a skewer to make some tendrils for the pumpkin and glued those into the center also.
Finish the Pumpkin:
I decided I wanted to make the honeycomb pumpkin look older so I rubbed the edges of the papers along a brown stamp pad. (In hindsight, this would have been easier to do before the pumpkin was assembled!)
To give the honeycomb pumpkin a Thanksgiving look, I printed these Thanksgiving turkey hang tags and added one to the pumpkin.
Pin this Craft Tutorial: