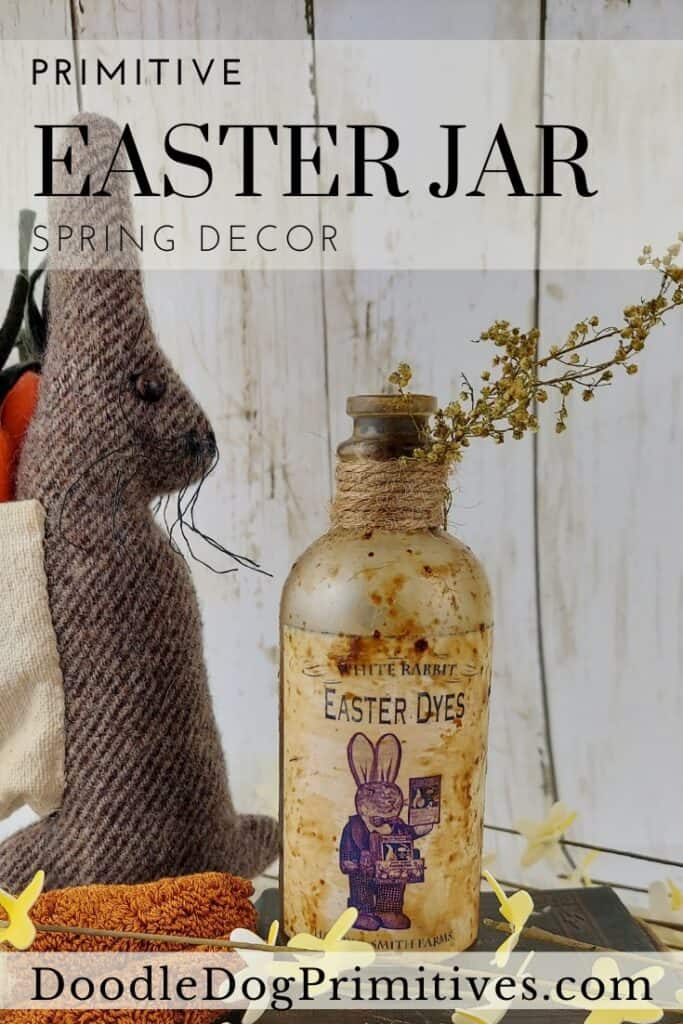
If you are looking for a fun Easter pantry jar idea, this is it! In this primitive craft tutorial, I will show you how I made this vintage looking Easter egg dye jar. It is perfect for spring and Easter decor!
Watch the Video Tutorial:
This post may contain affiliate links for your convenience, which means if you make a purchase after clicking a link I will earn a small commission but it won’t cost you a penny more. For more information, please visit our Privacy Policy.
Choose the Bottle and Print the Label:
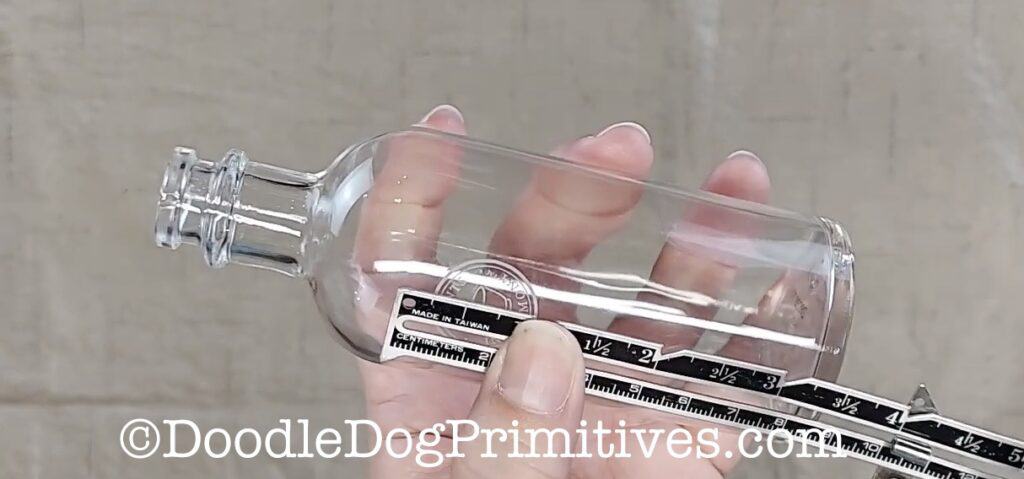
Go through your recycling for a jar that you think looks like it could have been an Easter egg dye jar. Measure the area on the jar that you want the label to cover.
For my jar, I want the label to be about three inches tall.
I am using an Easter Dyes primitive label from my Etsy printables shop. I chose to use the label with the aged background. If you prefer, you can age some paper and print the ink saver version.
The Easter dye label comes as an 8″ x 10″ file so I did resize it in my word processor before printing and chose print with better quality in the print dialog box.
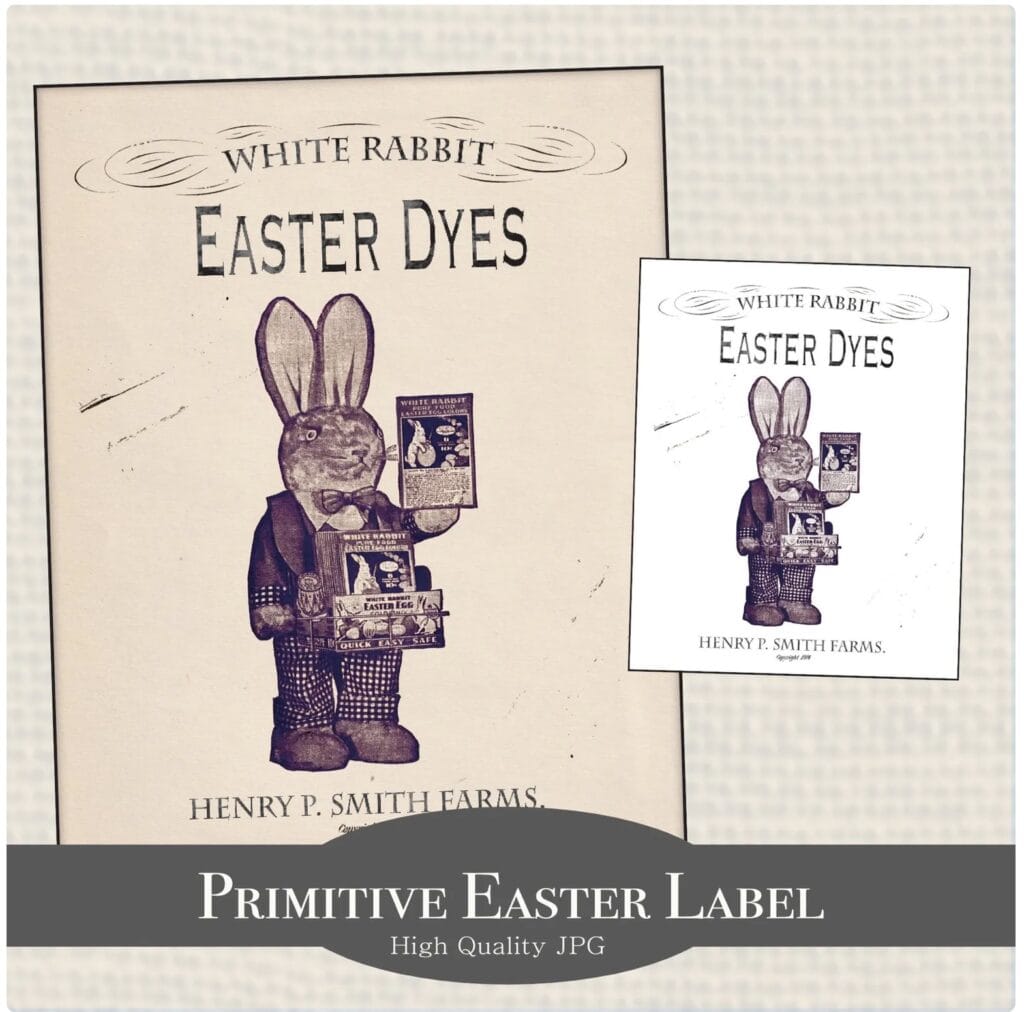
I folded the label and tore along the edges to give it a more rustic appearance.
Paint the Dye Bottle:
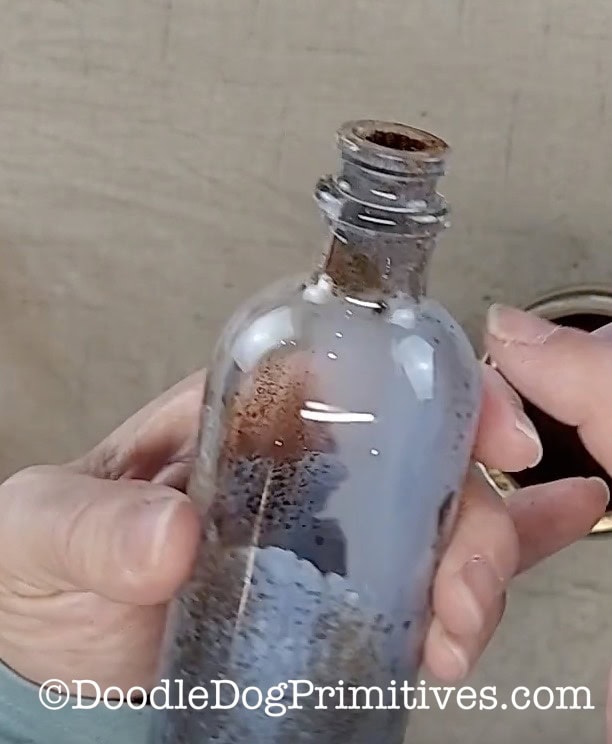
I wanted my Easter egg dye to look like an indigo dye so I mixed a couple of blue paints together and painted the sides and bottom of the inside of the jar as high as I could get given the restraints of the narrow opening.
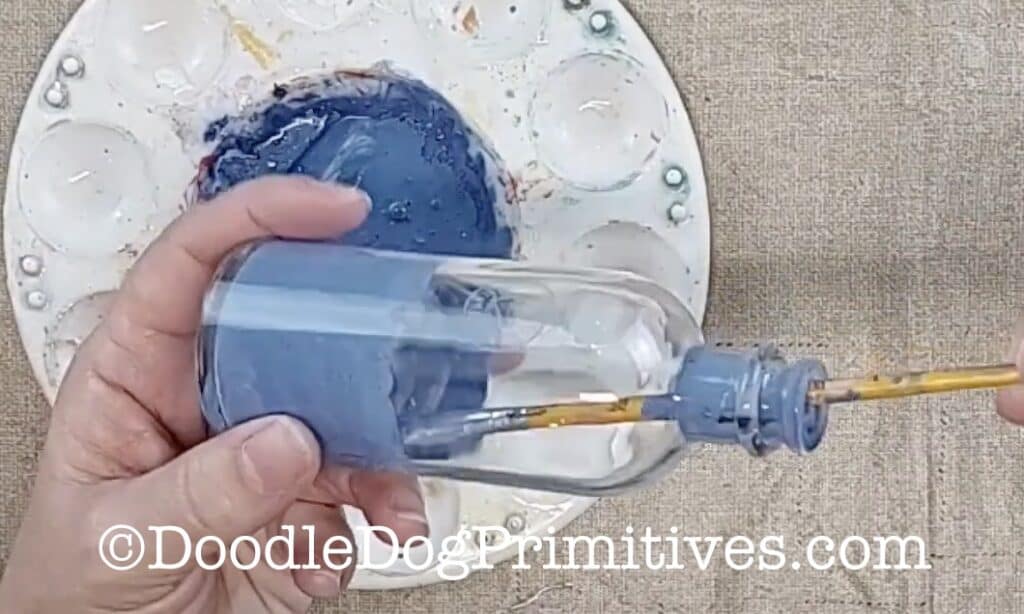
I didn’t like the paint around the top opening, so I took a q-tip and removed the paint before it dried.

Before the paint dried, I sprinkled the inside of the jar with some instant coffee granules. I then shook it up and got more paint around the top neck! I decided it looked like the dye had been poured and stained the bottle so I left the excess paint this time.
Add the Easter Egg Dye Label:
I adhered the label to the jar using Mod Podge and applied more Mod Podge over the label to seal the paper label.
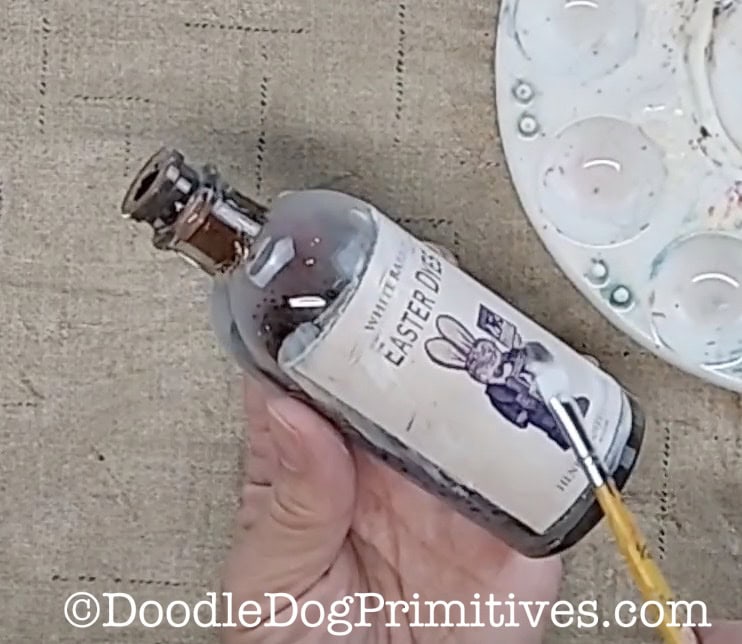
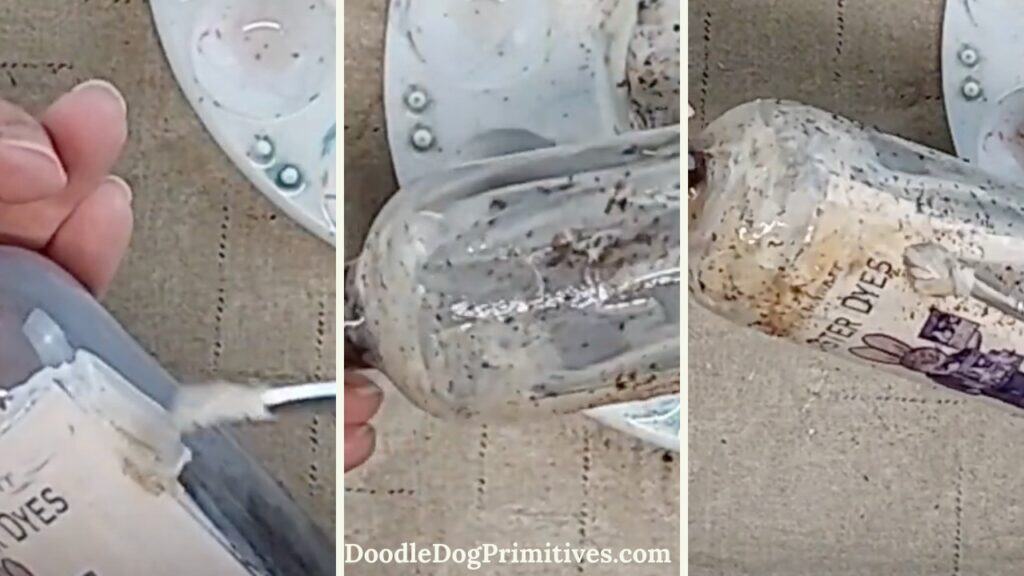
I poured some matte finish Mod Podge into a paint tray and sprinkled in some instant coffee. The more coffee you use, the darker the grunge on the bottle will be. I didn’t want this to be very grungy so I didn’t add much instant coffee. I painted this mixture over the edges of the label and the rest of the bottle, leaving the main part of the label unpainted with this mixture.
I then sprinkled some of the instant coffee over the jar. I then dabbed the paint brush (that has the ModPodge mixture on it) over the instant coffee. Dabbing keeps the instant coffee in place and ‘melts’ the coffee into the finish.
Then I let the jar dry completely.
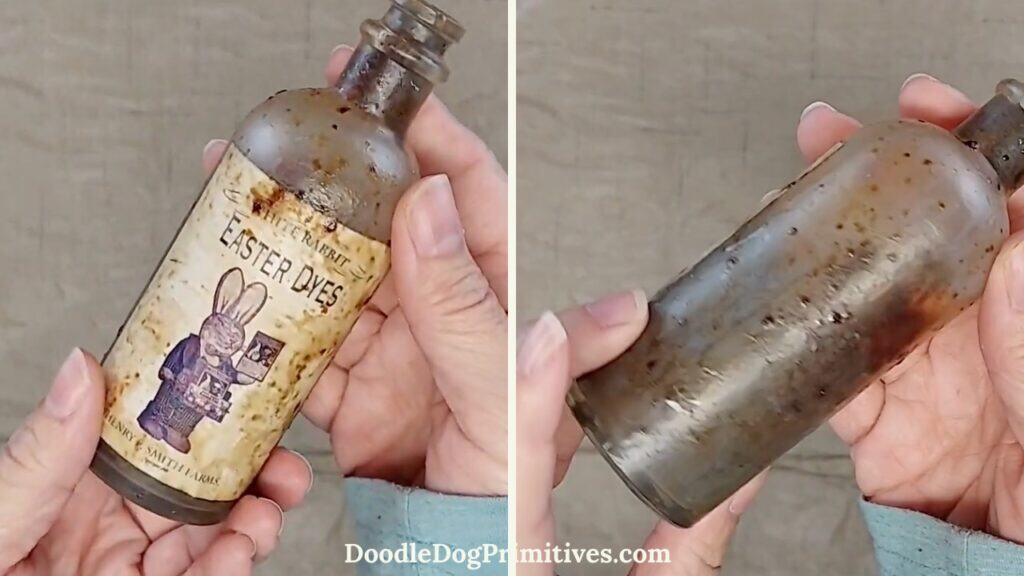
I wrapped some jute around the top and added a sprig of sweet Annie to the top.
You might like our other primitive craft tutorials.
Pin this Craft Tutorial: