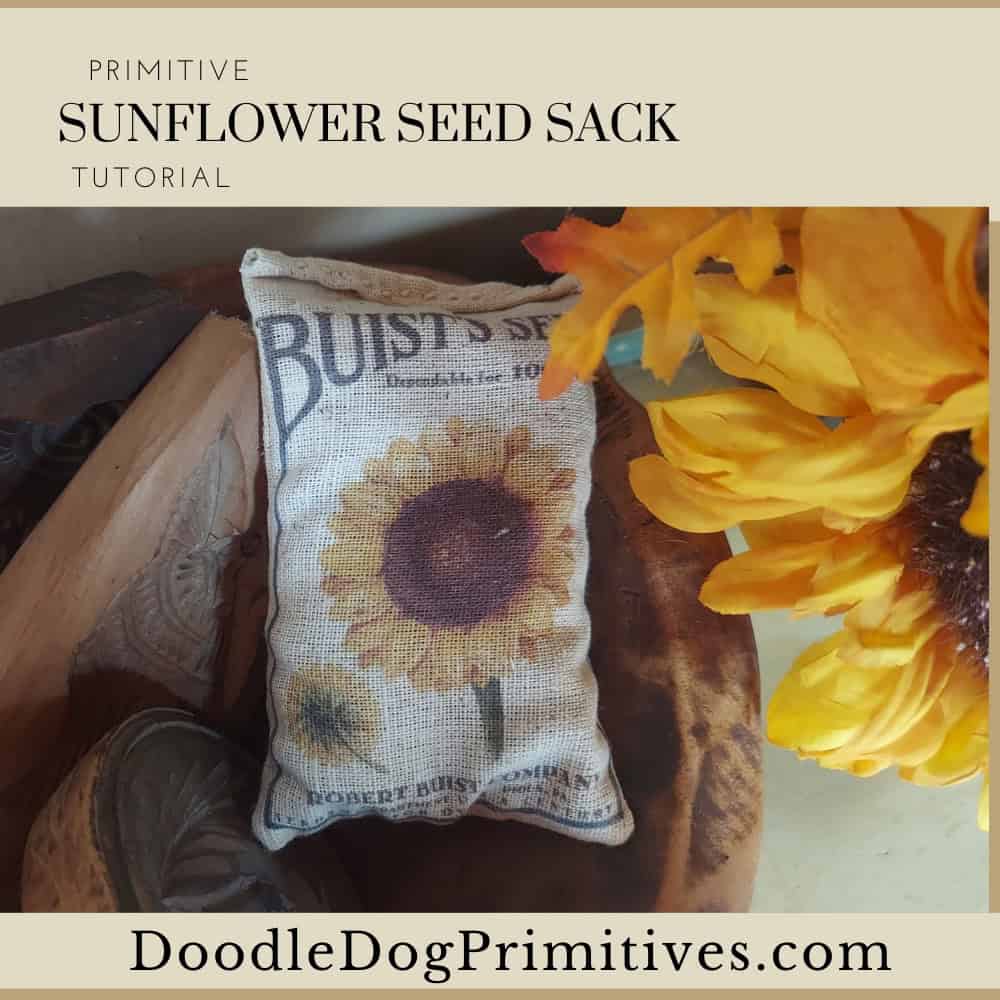
In this primitive craft tutorial, I am going to make a small sunflower seed sack just the right size to use as a bowl filler or shelf sitter. I will use my printer and print the sunflower seed design directly onto the fabric.
Watch the Video Tutorial:
This post may contain affiliate links for your convenience, which means if you make a purchase after clicking a link I will earn a small commission but it won’t cost you a penny more. For more information, please visit our Privacy Policy.
Print the Sunflower Seed Sack:
This craft is made by printing the seed sack directly onto the fabric. In order to do this, you will need some freezer paper and some fabric. I used an osnaburg fabric because it has a bit of a rustic look to it already.
Cut the freezer paper and fabric to 8-1/2″ x 11″ (or whatever size paper your printer uses). The freezer paper has a paper side and a waxy side. Place the fabric onto the waxy side of the freezer paper and press with an iron. The wax will adhere to the fabric and stick the fabric to the paper. This will allow you to run the fabric through the printer.
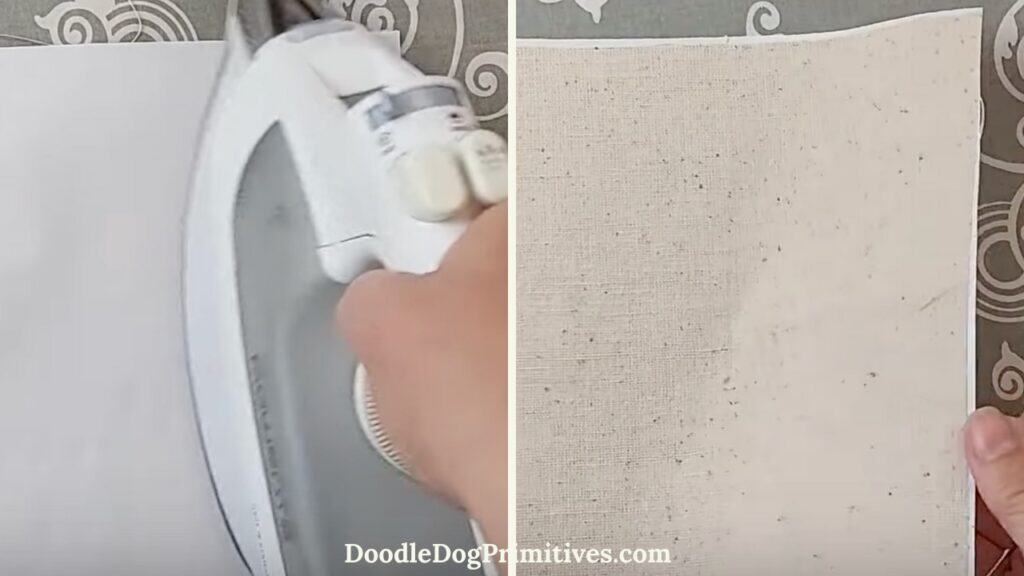
If your fabric has any strings hanging off, trim those.
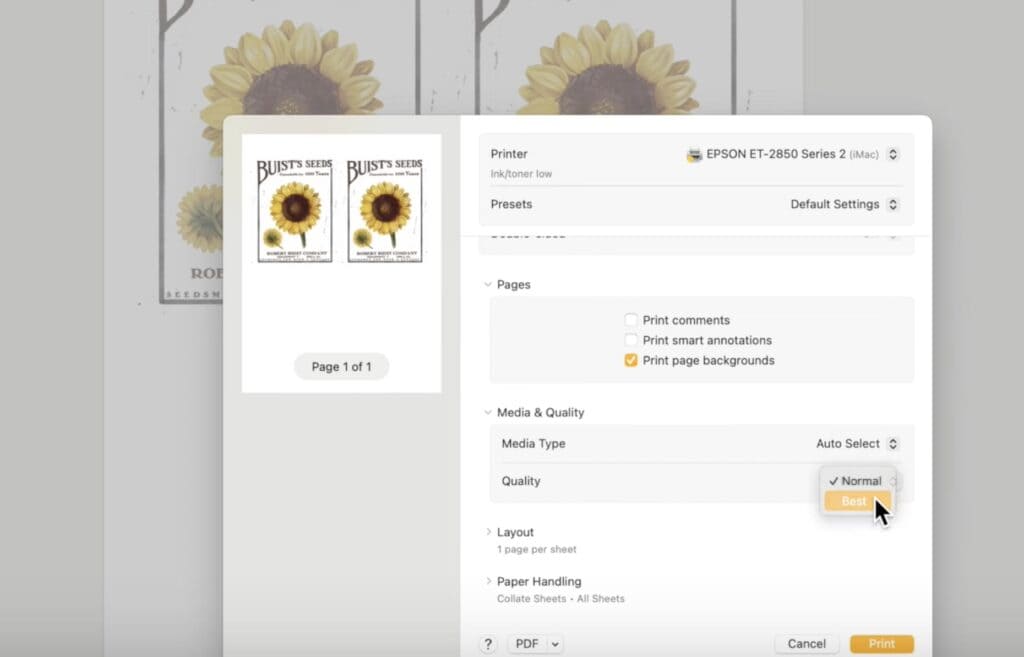
I used this sunflower seed label, available in my Etsy printables shop. It comes with two versions: one with an antique background and one without. I used the sunflower seed label without background color because the osnaburg has a good, rustic look to it already.
Import the label into a word processor and resize it to around 4″ x 5″, or whatever size you desire. I printed two of the labels using the best print quality available on my printer.
Sew the Sunflower Seed Sack:
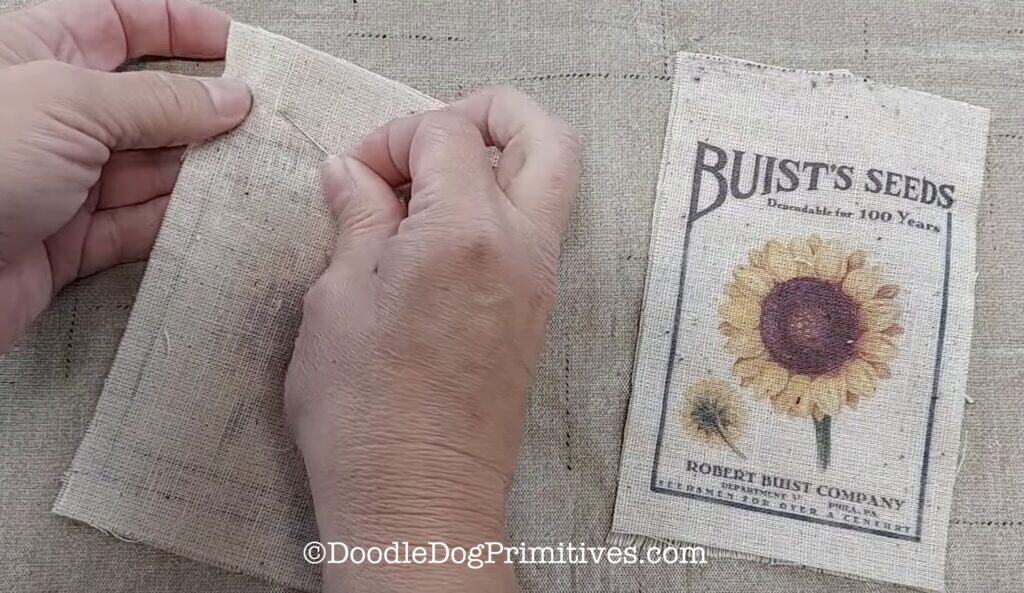
Peel the paper backing off the fabric. Cut the feed sack labels out, leaving about 3/8″ border on each side, 1/2″ on the bottom, and 1″ on the top. If you have more room, you could leave more of a border on the sides to make sewing easier. That is all the room I had since I printed two side by side.
With two printed seed sacks, you could make one double sided bag or 2 single sided bags. I opted to make two bags, so I cut another piece of fabric the same size for the backing.
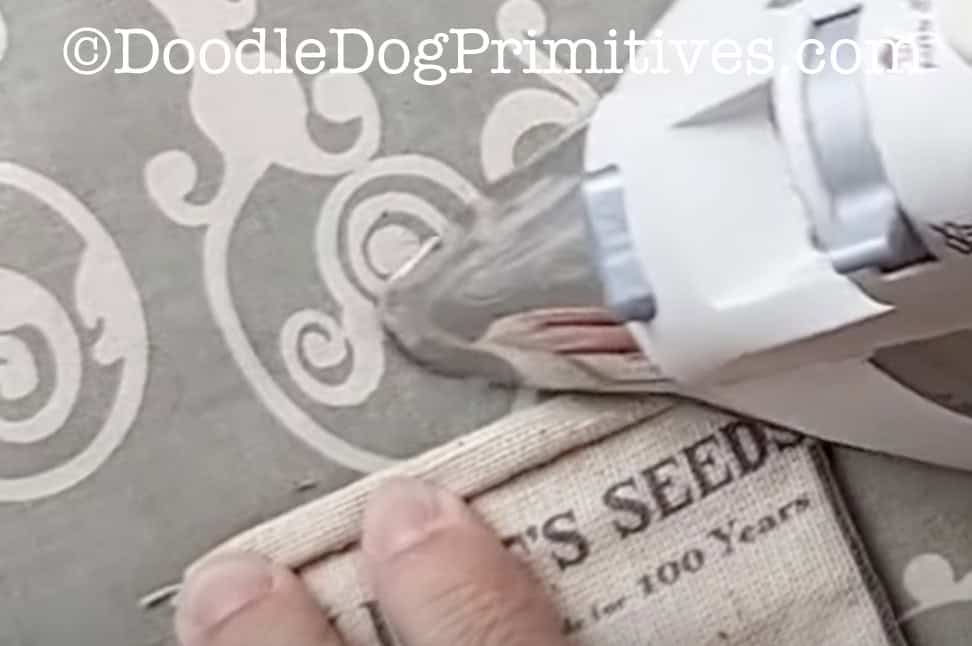
Place the right sides together and sew on the two sides and bottom, leaving the top open. Make sure the seam does not encroach on the label.
Turn the bags right sides out and press the seams. Fold the top over twice and press that fold. (When pressing, keep the iron away from the ink on the labels.)
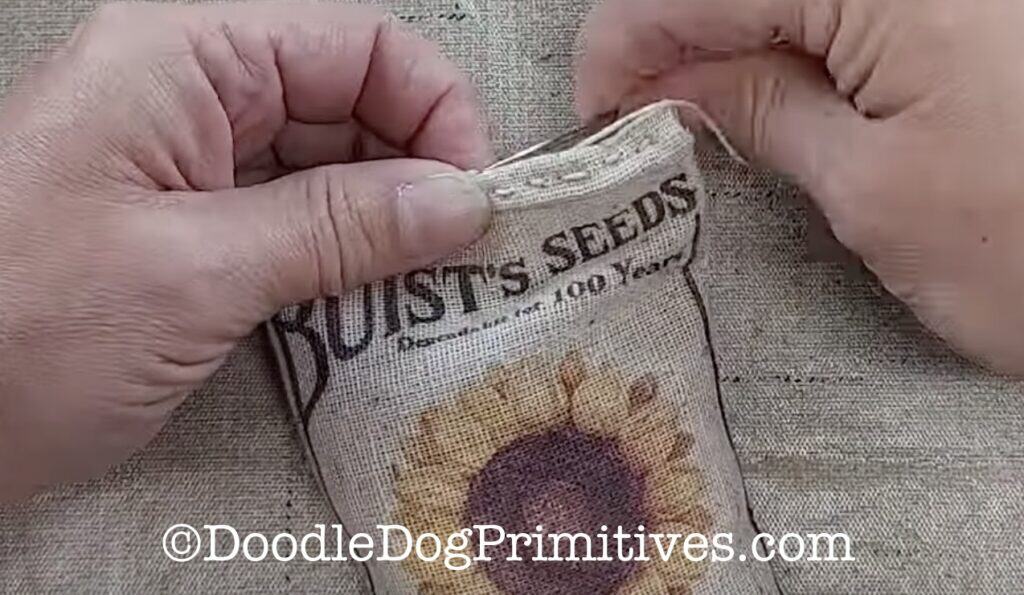
Fill the bag as desired. You could use whatever you want: fiber fill stuffing or sunflower seeds would work well. I am going to use crushed walnut shells. They will give it the feel of seeds, but they hopefully won’t be a draw for bugs or mice.
Fill the sack about 3/4 of the way to the top. Fold the top using the double fold you pressed earlier. Use a thicker thread to hand sew the bag closed. I used a small running stitch so it would resemble an actual feed sack closure.
Be sure to check out our other primitive craft tutorials.
Pin this Craft Tutorial: