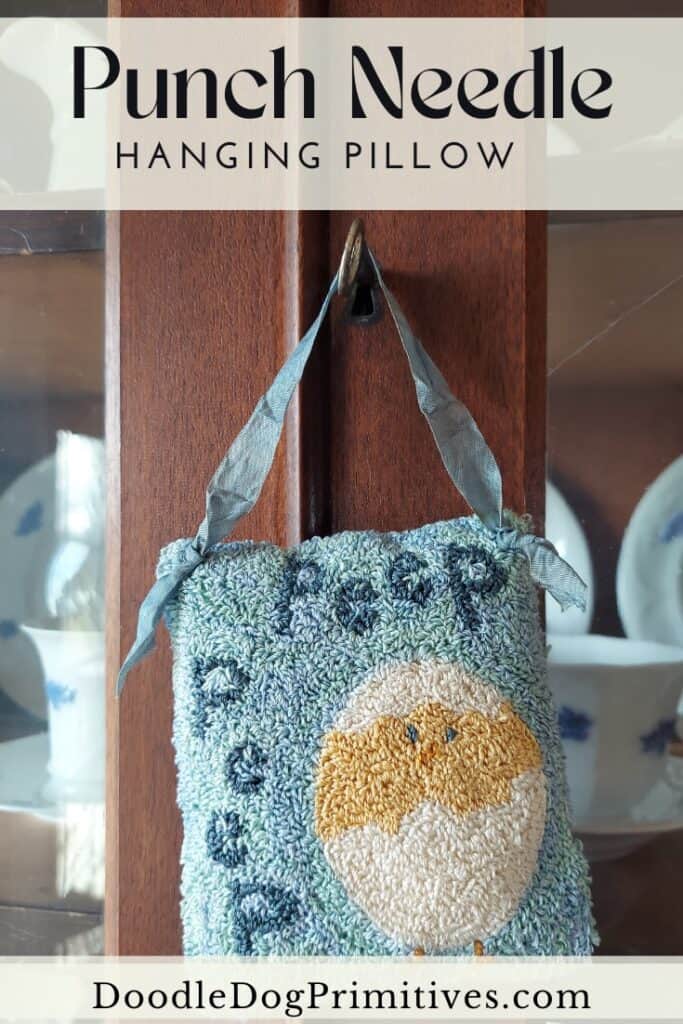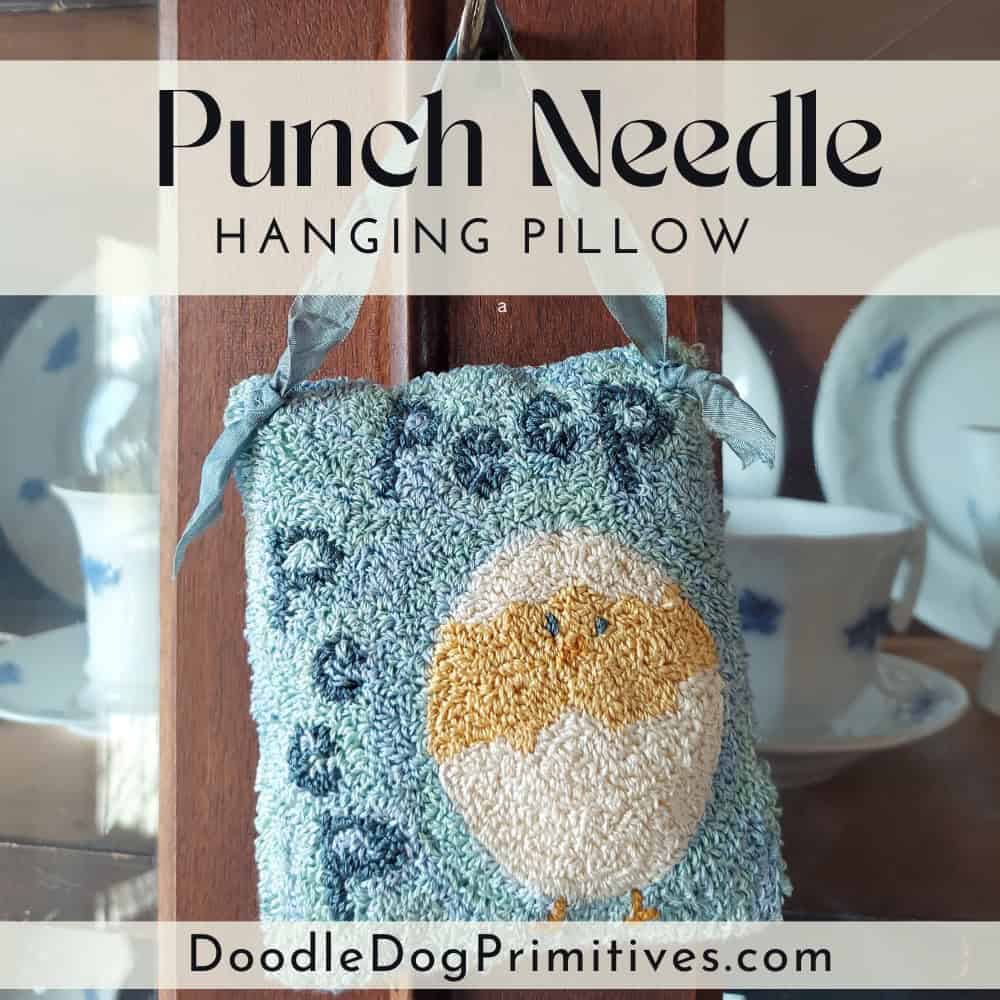
It is not unusual for me to finish punching a project, but not complete it into something to display right away. Silly, I know! As I was looking through my punch needle embroidery projects for something to complete, I noticed this cute chick punch needle design that will be perfect to put out on display in a month or two. I decided to make it into a hanging mini pillow.
Watch the Video Tutorial:
This post may contain affiliate links for your convenience, which means if you make a purchase after clicking a link I will earn a small commission but it won’t cost you a penny more. For more information, please visit our Privacy Policy.
Preparing the Punch Needle Project:
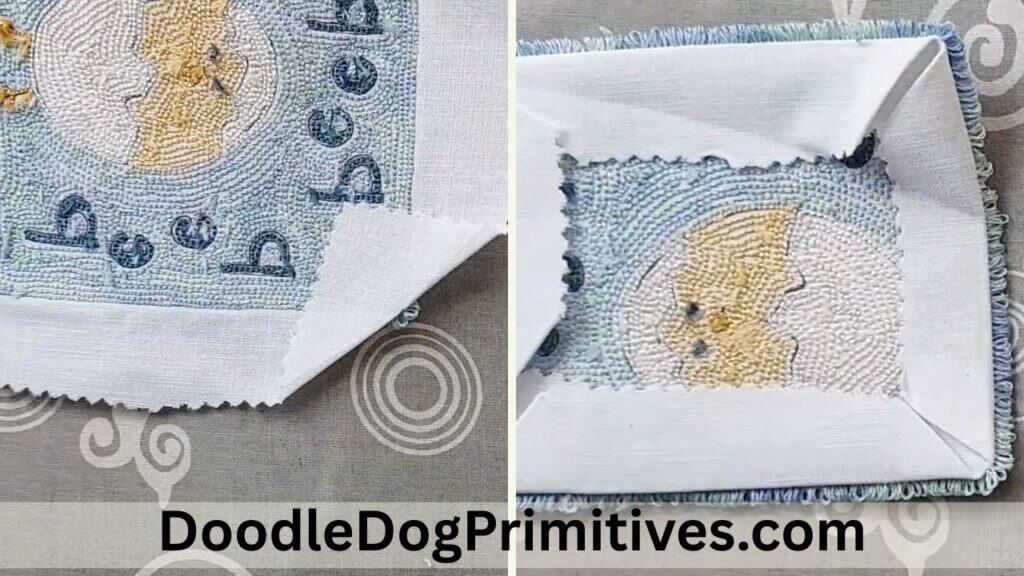
Before making the mini pillow, I trimmed the empty weavers cloth to around 1″ all the way around. I like to use my pinking shears to do the trimming so the weavers cloth doesn’t ravel.
I then pressed the empty weavers cloth to the back of the project, starting with folding the corners in and then each of the sides. After pressing the punch needle project, you shouldn’t be able to see any of the weavers cloth from the front.
Next, I basted the empty weavers cloth together on the back at each of the corners.

Adding the Backing to the Mini Pillow:
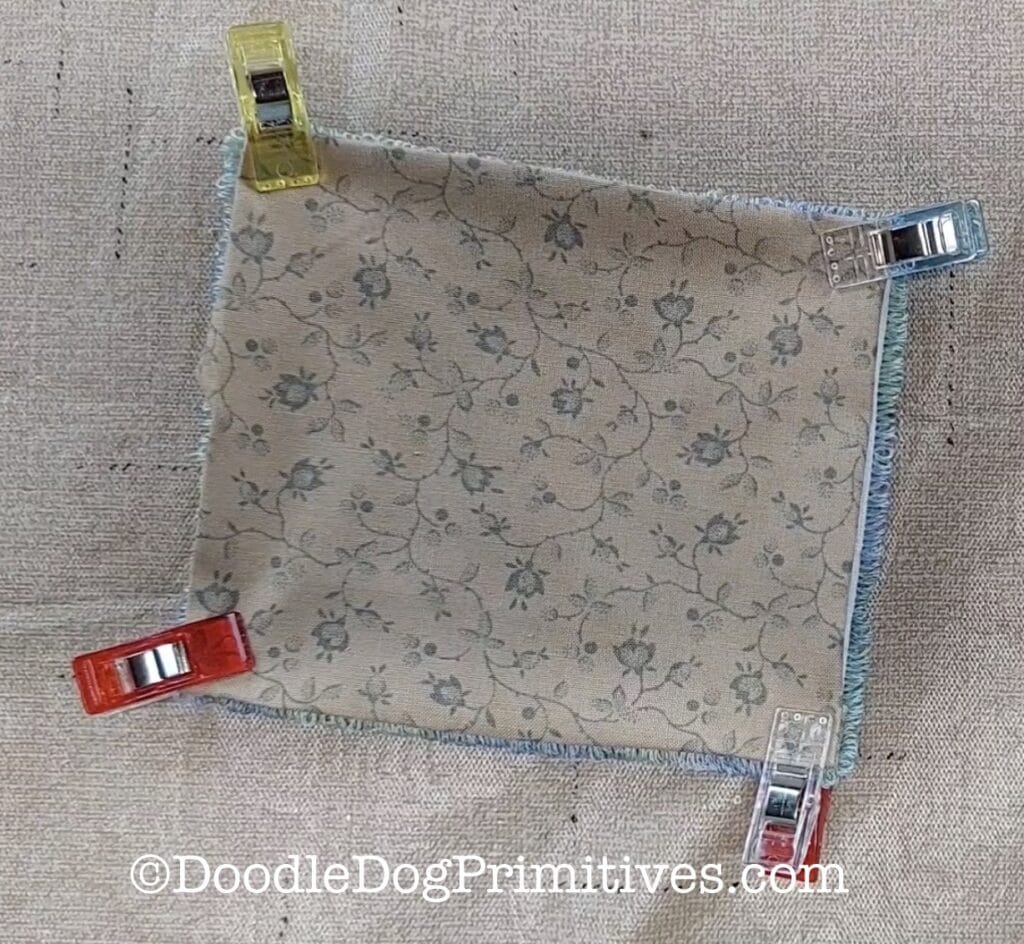
I chose a pretty cotton fabric for the backing. I cut a piece of the cotton fabric 1/2″ larger in both length and width than the punch needle project. My punch needle project measured 4″ x 4-1/2″ so I cut the cotton fabric 4-1/2″ x 5″. This allows for a 1/4″ seam allowance on each of the 4 sides.
I then pressed each of the sides of the cotton fabric under 1/4″. After pressing, you can see if the size matches the size of your punch needle project and adjust as needed. I had to press under a little bit extra for a larger seam allowance on one side.
I then layered the punch needle project and the backing with the wrong sides together and clipped at each corner.
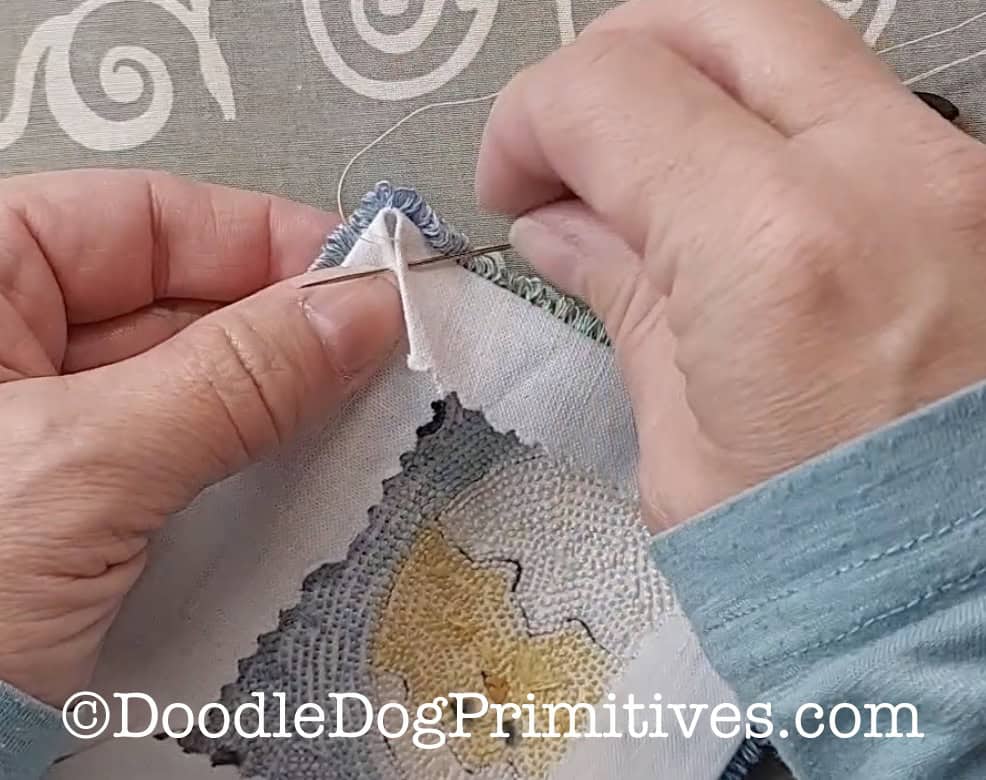
Using a thread that matches the backing, I hand stitched the backing to the punch needle project, leaving an opening in the bottom for turning. I then lightly stuffed and finished sewing closed.
For a hanger, I chose a crinkly ribbon in a coordinating color and determined a good length for a hanger. I put a knot in the ribbon about 1″ from each end, cut the ends at an angle, and sewed it onto the punch needle project at the knots using a thread to match the ribbon.
Pin this Punch Needle Tutorial: