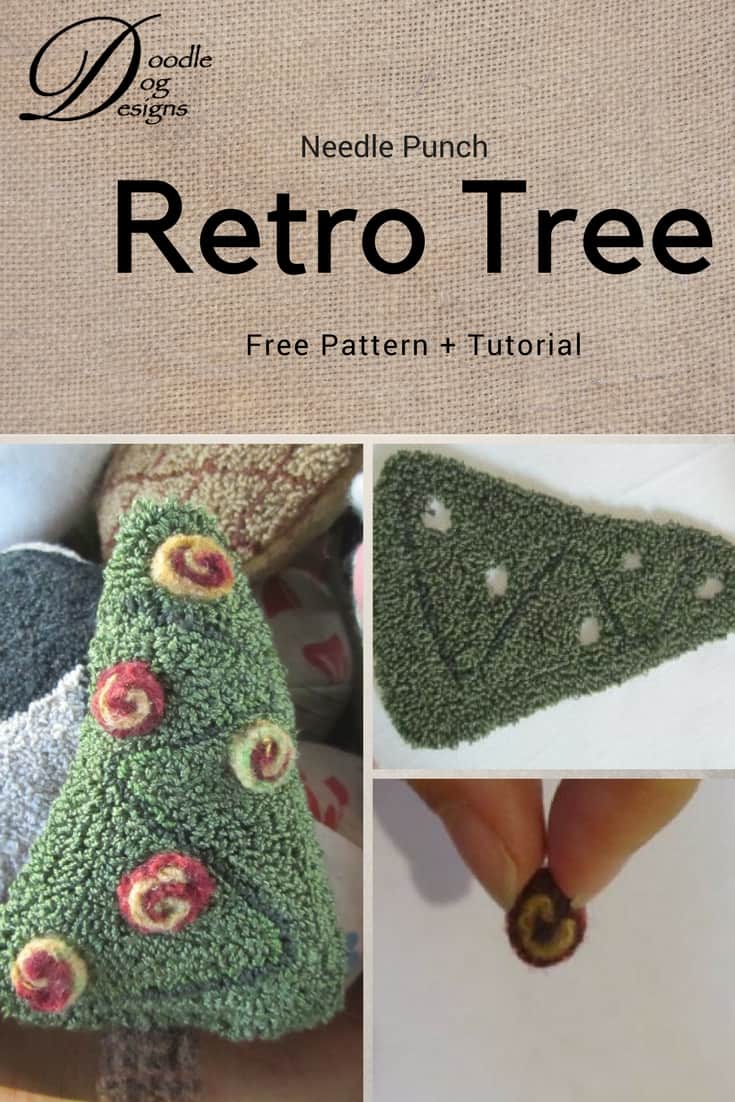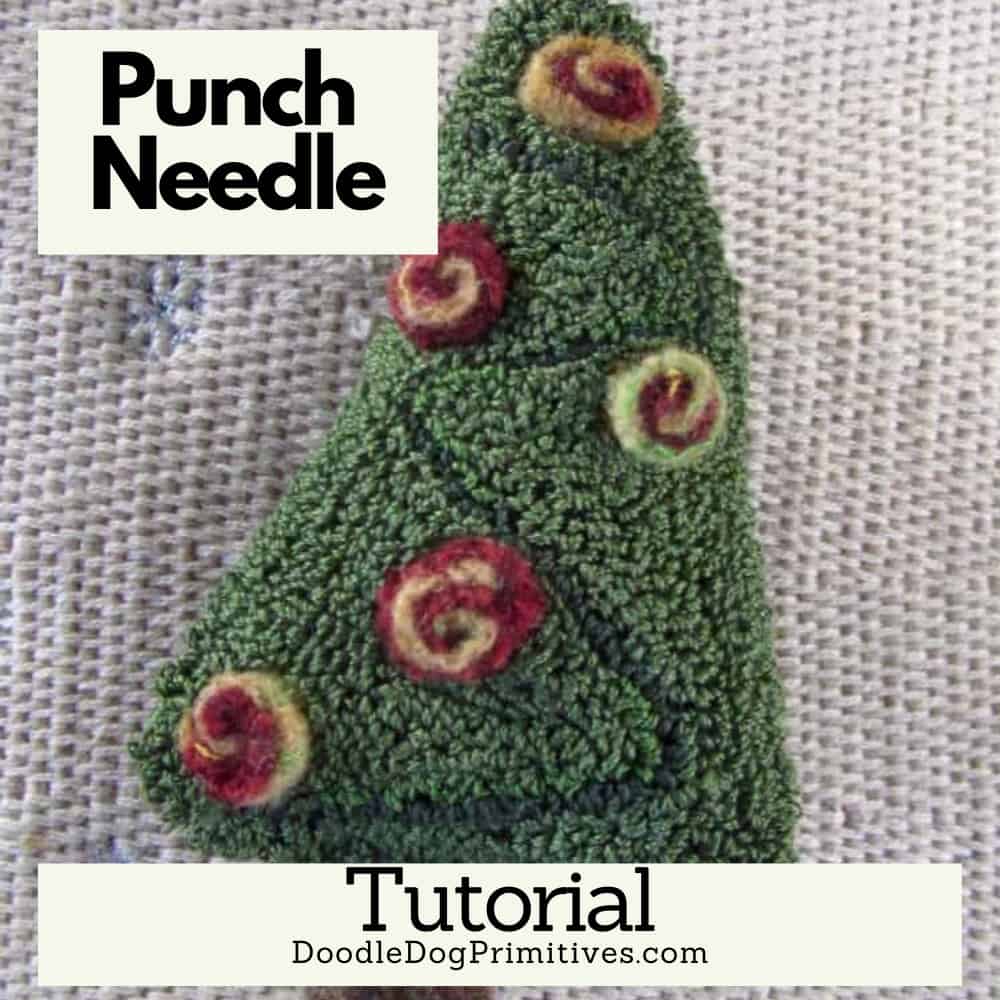
You’re going to love this free Christmas Punch Needle Pattern & Tutorial!
I’ve been wanting to try a punched piece intermixed with some wool for a while now.
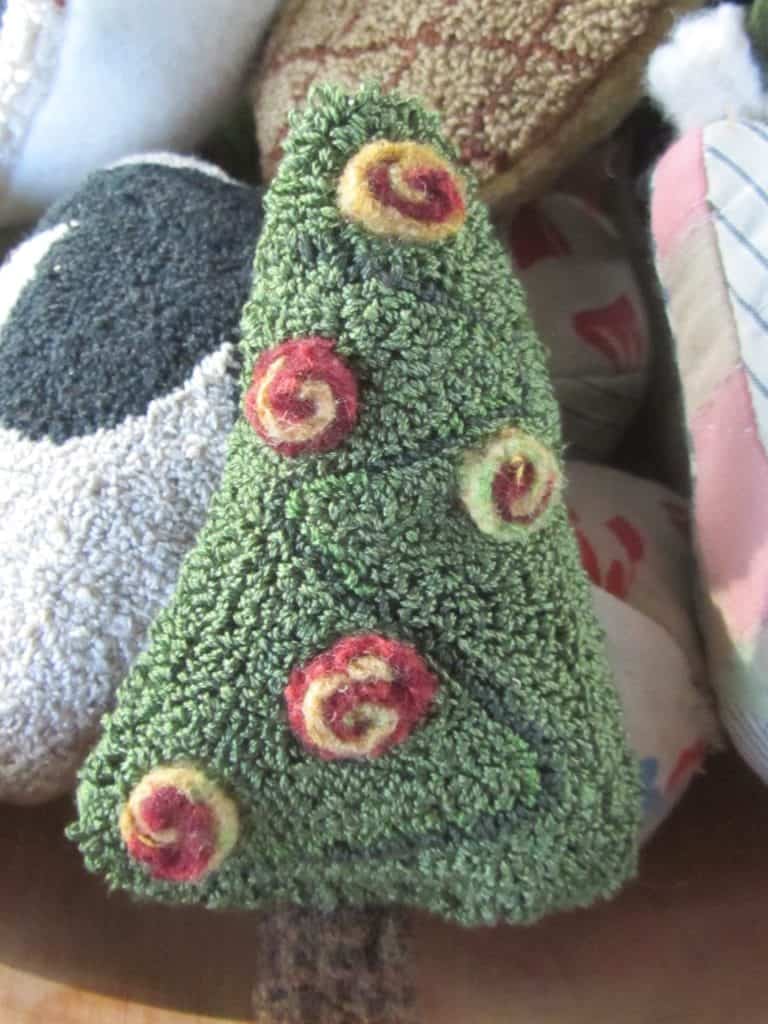
What better thing to make this time of year than a punched Christmas tree!
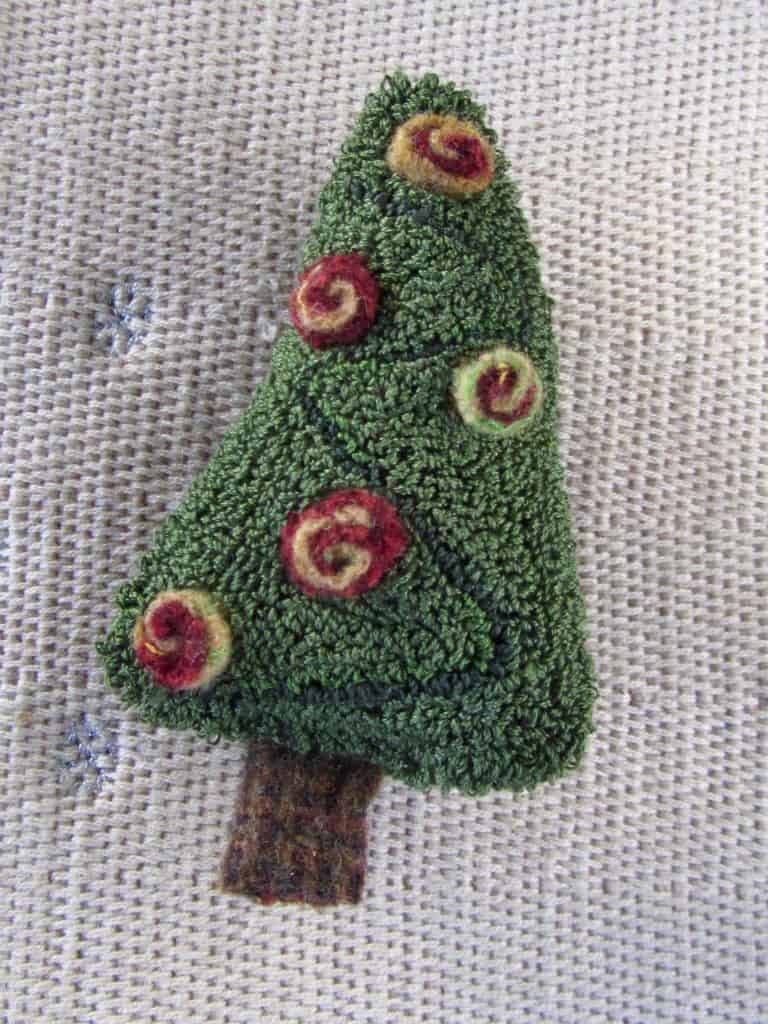
I think it turned out to have a very vintage / retro look.
If you would like to create one also, here’s what I did…
Make your own Retro Punched Needle Tree:
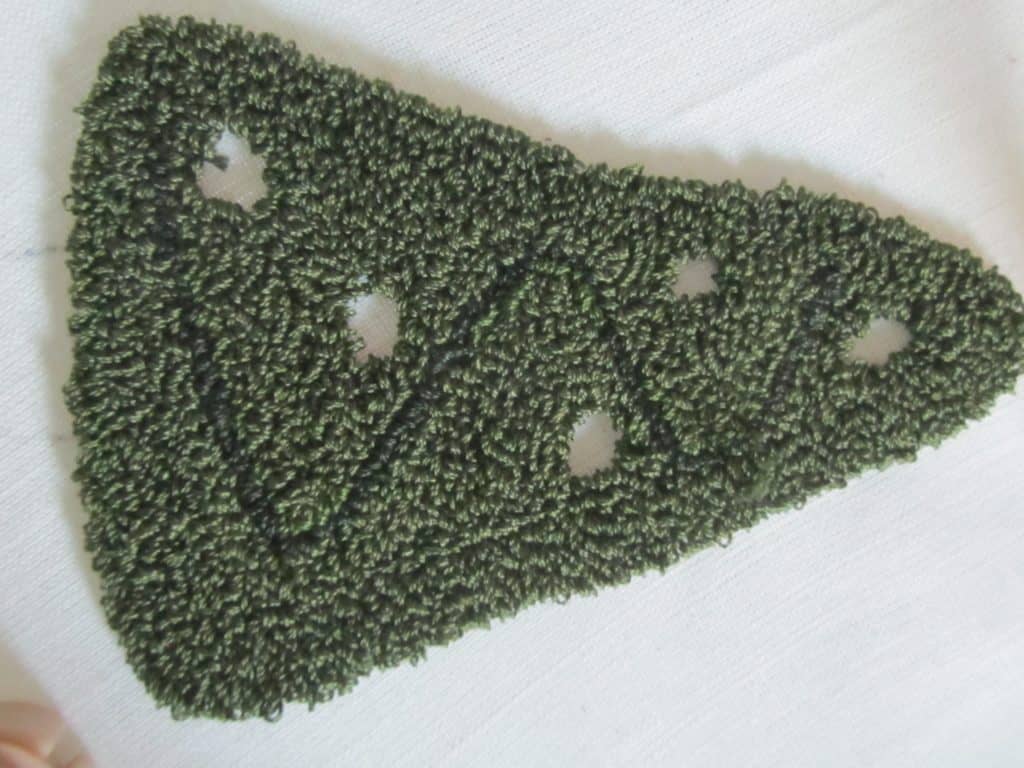
Draw a simple Christmas tree shape or you can use mine that is available in the free pattern library.
Trace it onto your weavers cloth.
DMC Floss Punching Colors:
Punch the curved line with DMC 934.
Punch the rest of the tree with DMC 936, leaving the circles unpunched.
Or, you can use any two shades of green that you like.
But why limit it to green? You could make this tree whatever color you like! A retro silver punched tree would be fun!
Wool Strips:
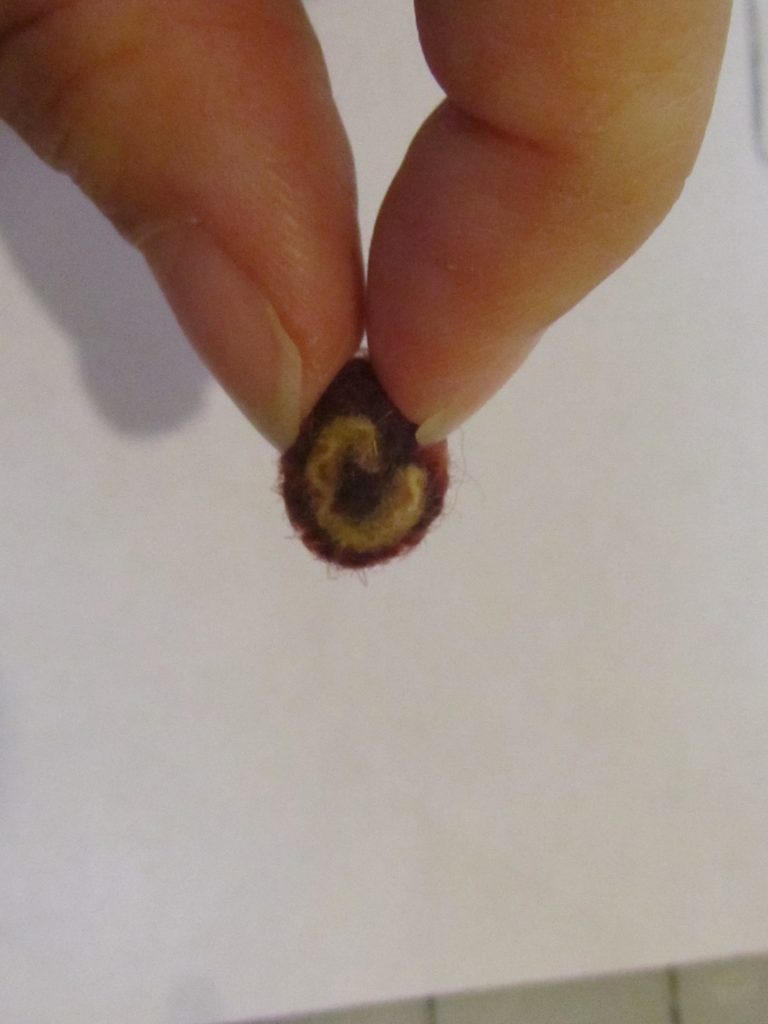
Cut strips of felted wool about 1/4″ wide for the ornaments.
I rolled two colors together to get a swirled effect. To do this, make one strip about 1 1/4″ long and the other around 3/4″ long.


Roll the two together like a cinnamon roll.
Sew the roll together and then sew it into a hole on the tree.
You will have to push the punches aside a bit to get it in there.
Finish the Christmas Tree:
After all of the ornaments are attached, sew on a felted wool backing,
right sides together, leaving an opening at the bottom.
I like to use the zipper foot on my machine so I can get up close to the punches.
Check out my two different ways to finish punch needle stuffed objects.
Trim your seams and turn the tree.
Stuff the tree.
Cut a piece of brown wool about 1″ x 2 1/4″.
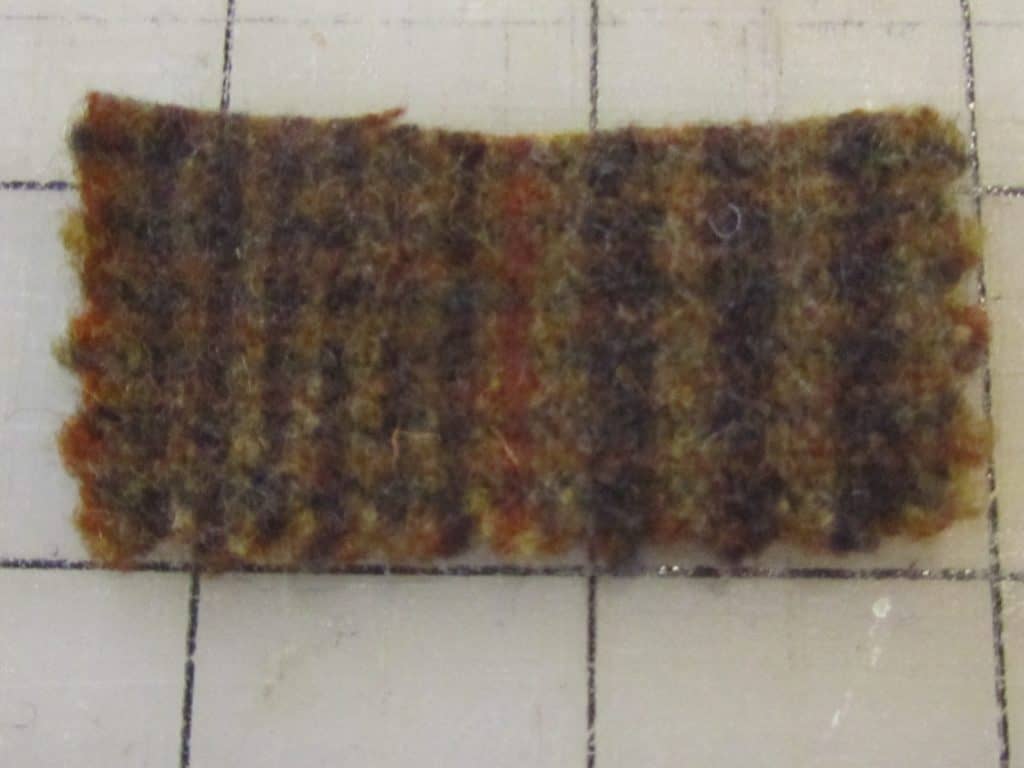
Fold the wool in half and sew it closed.
I folded the edges under so I didn’t have any raw edges showing.
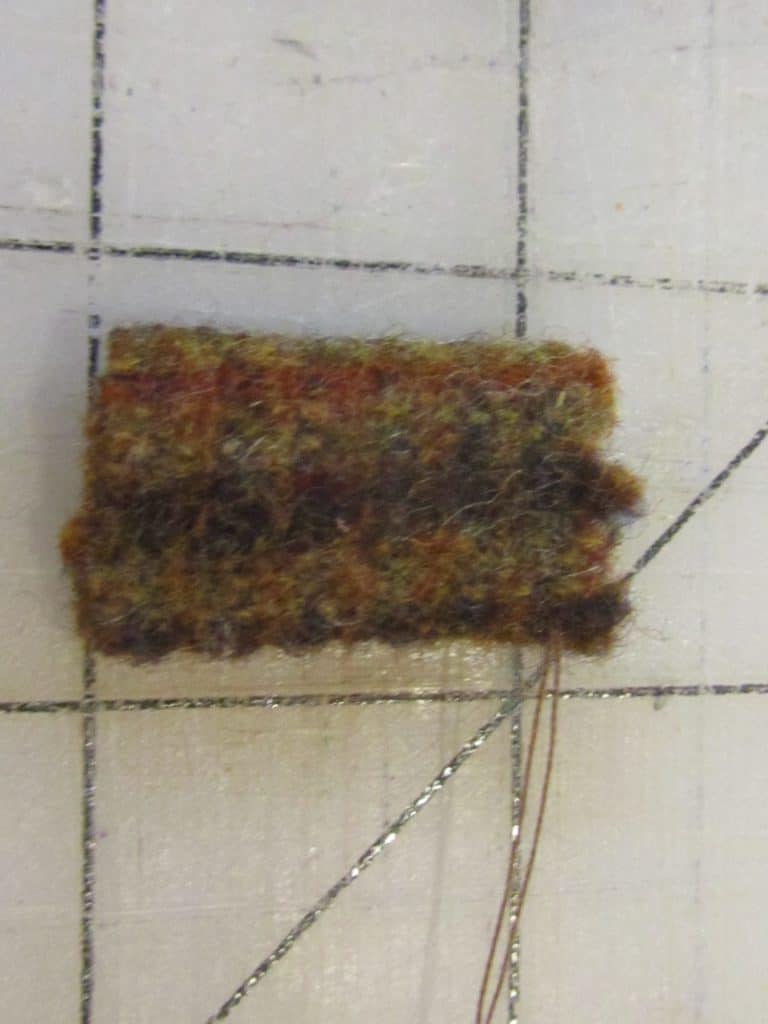
Put the trunk into the opening at the bottom
and sew closed.
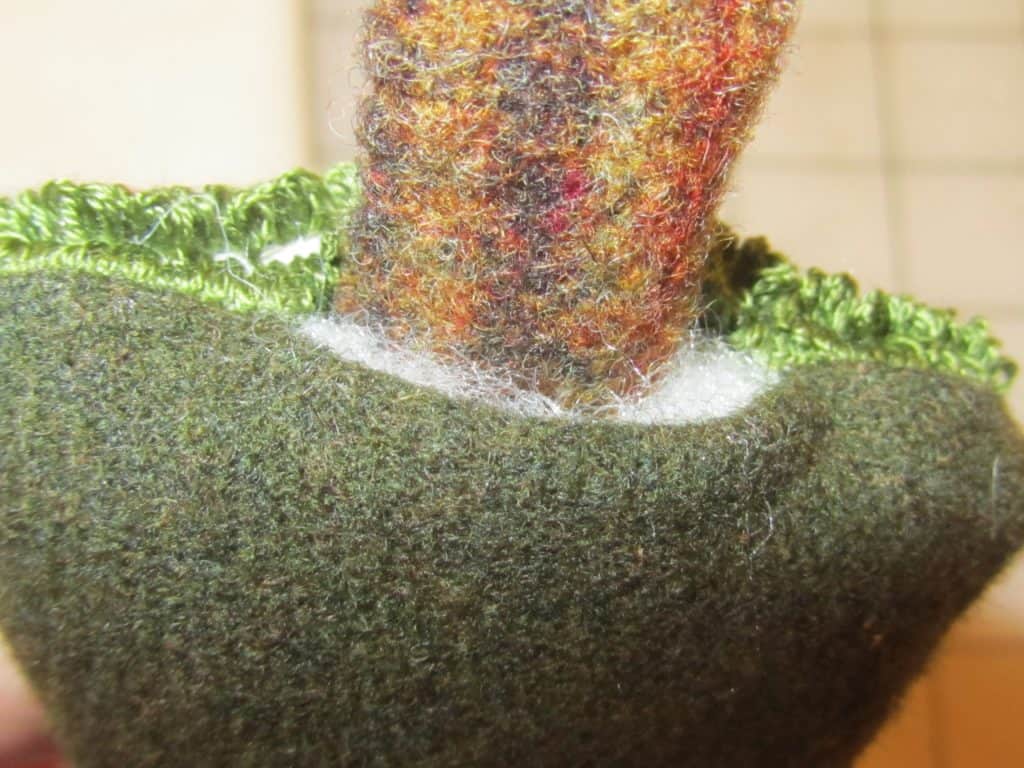
Enjoy your retro Christmas tree!
Blessings~
Amy
Pin this Free Christmas Punch Needle Pattern: