Recently, I was traveling through Hobby Lobby at a high rate of speed.
I was on a mission with a limited amount of time.
As I was striding down the aisle, I caught a glimpse of these paper cones.
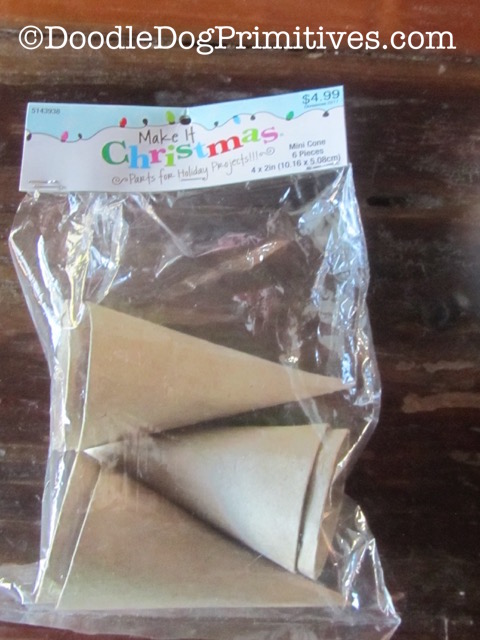
On a time schedule or not, I had to stop and take a look.
I have some cones like this that are bigger but I had not seen these cute little ones.
I didn’t know what I was going to do with them, but I knew I had to make something!
My first thought was to put this snowman bowl filler in the cone to make an ornament, but he was too wobbly in there.
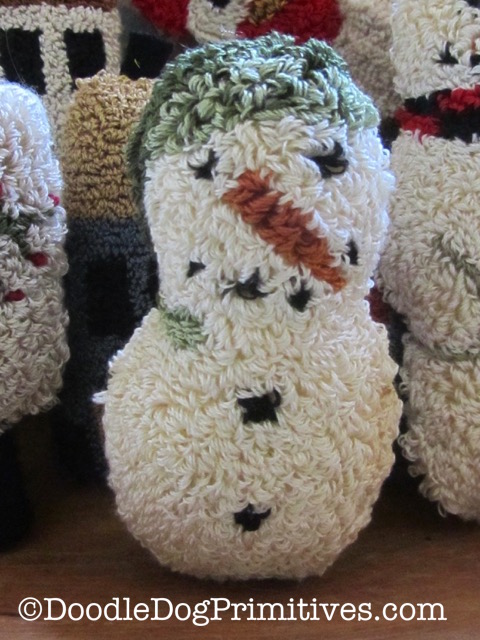
In order to fit, the snowman needed a cone-shaped bottom. So, I redrew the snowman and punched him again.
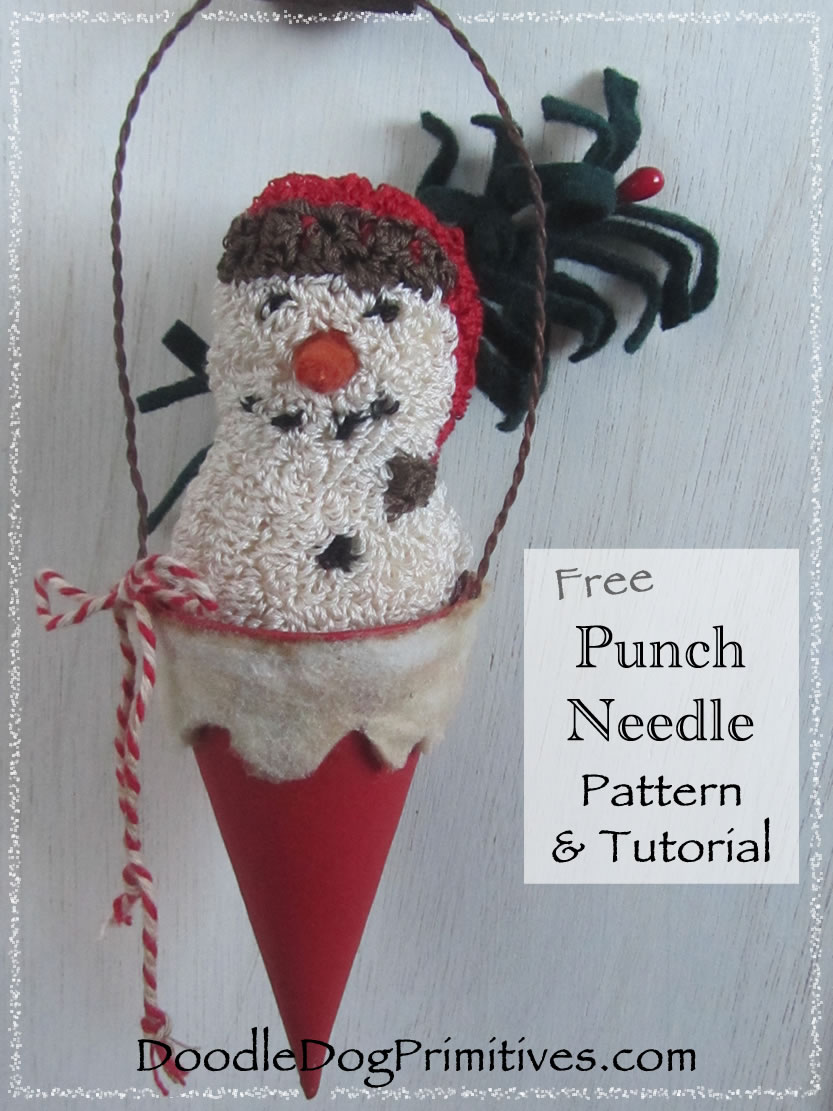
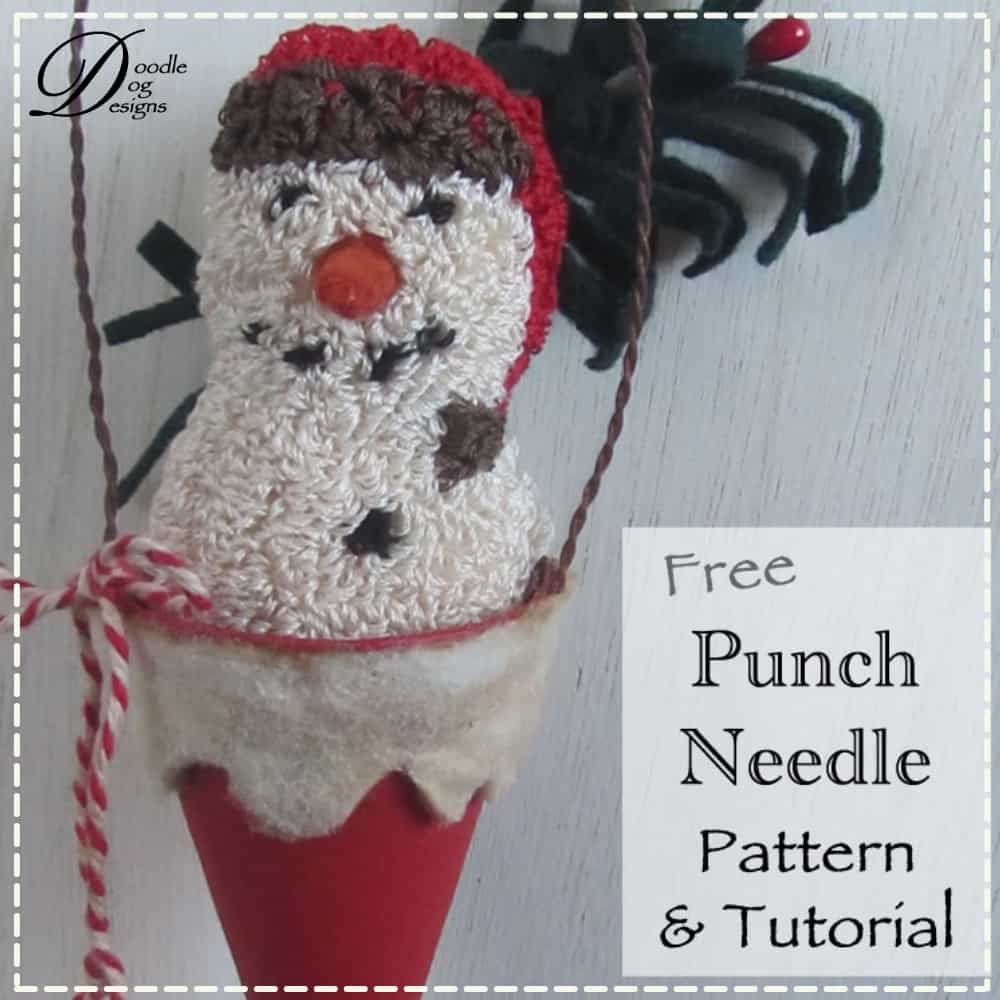
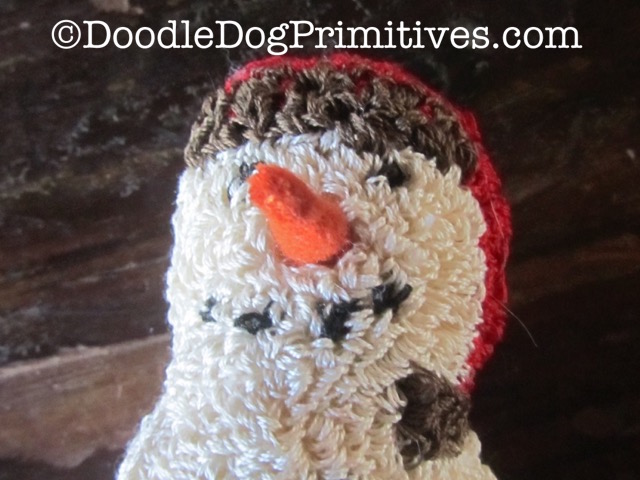
This time he has a wool 3-dimensional nose, a cone-shaped bottom, and a red hat.
Keep reading to find out how to make your own Punch Needle Snow Cone Ornament.
This post may contain affiliate links for your convenience, which means if you make a purchase after clicking a link I will earn a small commission but it won’t cost you a penny more. For more information, please visit our Privacy Policy.
Supplies for the snowman cone ornament:
* Traceable pattern – Available in our free pattern library
* 12″ Square of weavers cloth
* 3″ x 5″ Cream felted wool
* 1-1/2″ x 6″ Green felted wool
* Scrap of orange felted wool
* 1-1/2″ x 7″ Cotton batting,such as Warm & Natural
* 4″ x 2″ Paper mache cone
* 11″ Pre-twisted rusty wire
* 6″ Brown cloth wrapped floral stem wire
* Double artificial holly berry stamen (I found these in the Christmas section in Hobby Lobby.)
* 14″ Red & white baker’s twine
* Stuffing
* Craft glue
* Red Craft Paint – Apple Barrel Bright Red
* Basic sewing supplies
* Basic punching supplies
* Drill
* DMC Embroidery Floss in colors Ecru – 3 skeins, Black (310), 817, & 3781
Make the Snowman
Trace the pattern onto weavers cloth.
Punch the pattern using 3 strands of the following colors:
- DMC Black – eyes, mouth, and buttons
- DMC 817 – Hat and lines in the hatband
- DMC 3781 – Hatband and hat ball (I punched these at a slightly deeper level.)
- DMC Ecru – Snowman
Leave the nose area unpunched.
Trim weavers cloth to 1/2 inch all the way around the punched edge of the snowman.
Press the empty weavers cloth to the back of the punched piece.
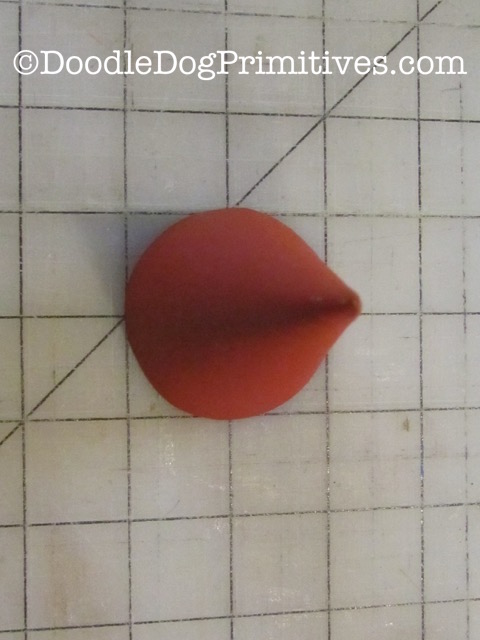
Nose: Using the pattern, cut a nose out of orange felted wool.
Roll the nose into a cone shape and whipstitch it together, using thread to match.
Sew the nose onto the snowman in the nose hole where you didn’t punch.
Backing: Using the pattern provided, cut a snowman out of the cream felted wool.
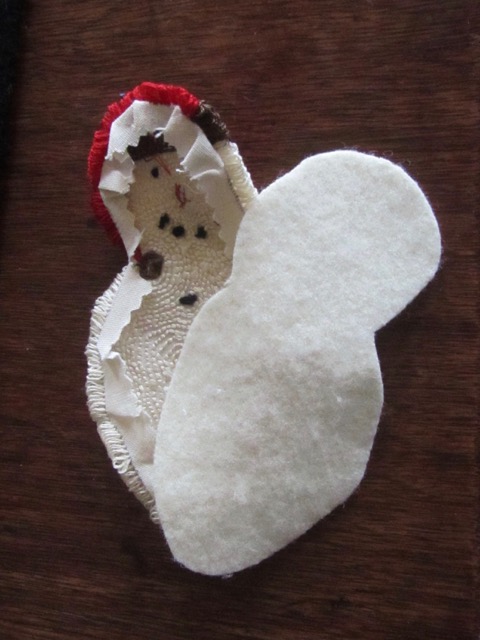
Layer wool backing and punched piece, wrong sides together. Pin together and whipstitch, using thread to match the wool.
You will want to catch the wool and the folded edge of the weavers cloth when you stitch. When you get close to the end, stuff to your desired firmness and finish sewing closed.
Find more detailed instructions for hand sewing bowl fillers here.
Prepare the Cone:
Paint cone with red craft paint. I used Apple Barrel Bright Red. I only painted one coat so it wasn’t too bright!
After the paint dries, you will want to make the holes in the cone for the wire. To find the center, place the cone on a cutting mat, centering it on the squares.
You are now going to find the center of the sides of the cone.
Notice how the cone touches the 1″ markers on all four sides.
Find the seam of the cone, and line it up with one of the 1″ markers. That is the back of your cone.
On the each of the two sides, make a pencil mark where the cone touches the 1″ marker on your cutting mat. (Where the arrow is pointing in the photo.)
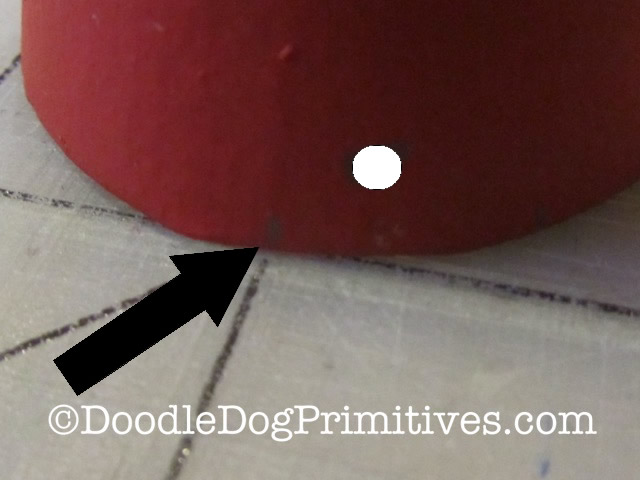
Make another mark about 1/4″ towards the front of the cone and up about 3/8″ from the bottom. (White circle on the photo) This is where you will drill the holes.
Drill the holes just big enough for the wire to pass through.
Thread the wire through the holes in the cone, making a handle for the cone. Fold over about 3/8″ of wire on the inside of the cone to hold the wire in place.

Tie the baker’s twine onto the handle on the side. Tie a knot in the ends of the twine.
Icicles: Using the pattern, cut the icicles out of cotton batting. (I coffee dyed my cotton batting first.) Glue the icicles onto the top of the cone.
Make the Christmas Tree:
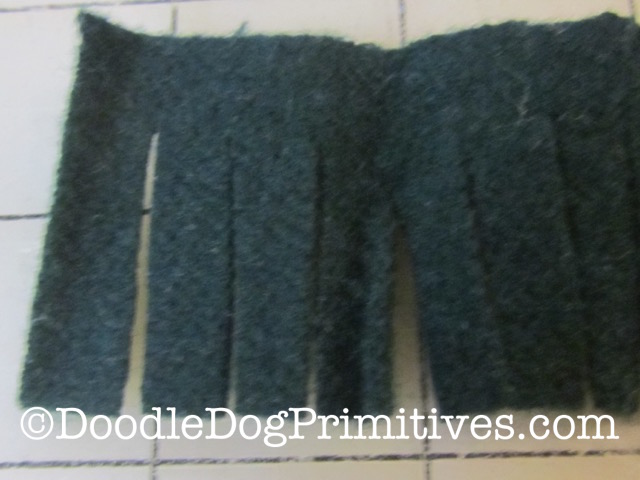
With the green felted wool, cut 1/4″ wide snips along the long edge, creating fringe.
Leave about 3/8″ unsnipped along the long edge.
The narrower your fringe strips, the fuller your tree will be.
Place the berry at the end of the brown cloth wrapped floral stem wire.
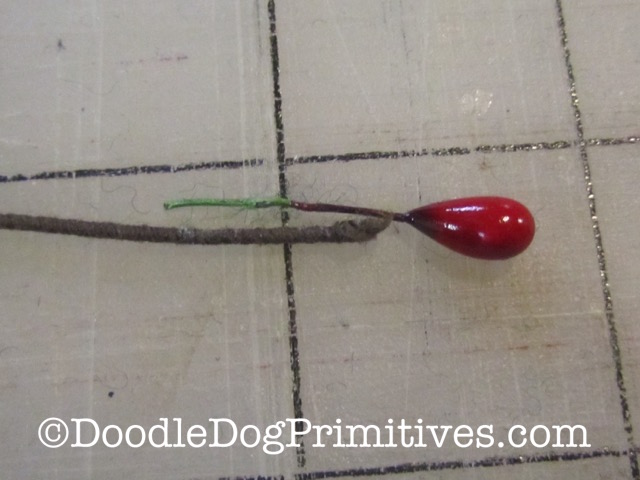
Twist the berry’s wire around the floral stem.
This will be the top of the tree.
Here’s what the berries look like at the store:
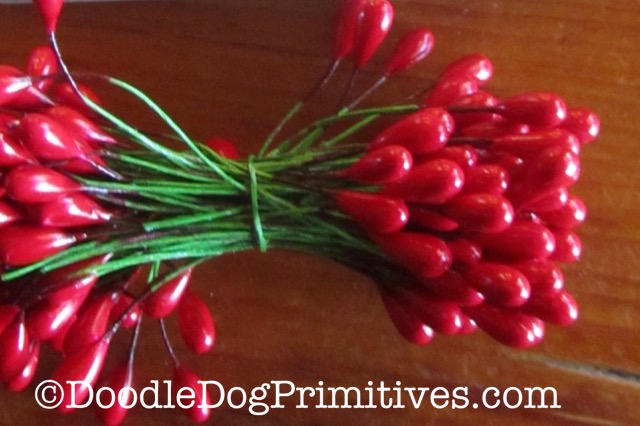
I found them in the Christmas section.
Place the fringed wool on the end of the floral stem next to the berry.
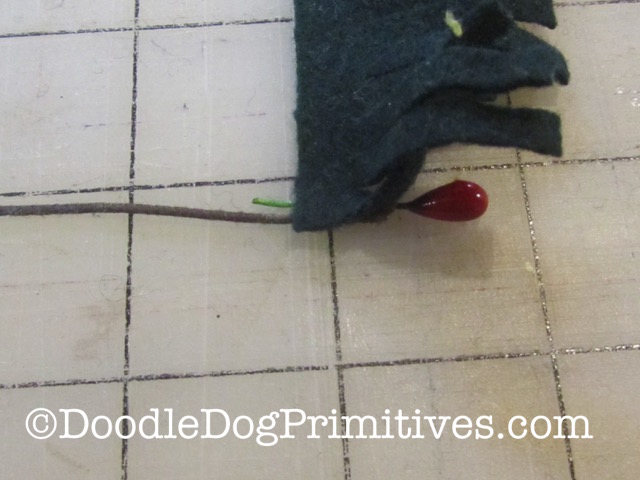
Twist the fringed wool around and around the floral stem, spiraling your way down the stem and gluing as you go. This is very similar to how I make lavender flower stems.
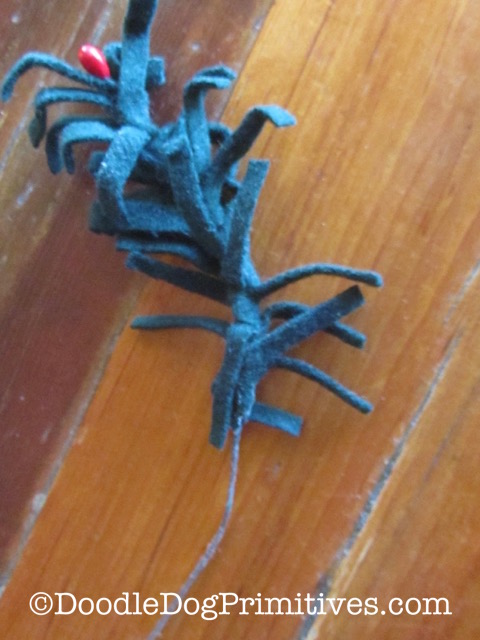
Place the snowman inside the cone with the tree behind him.
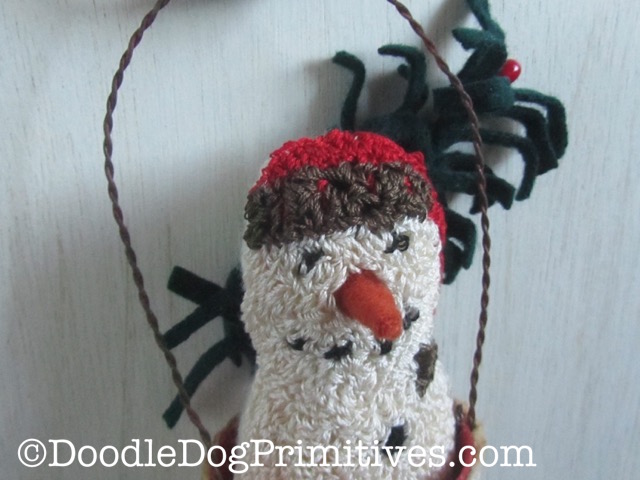
Enjoy your punch needle snow cone ornament!
Merry Christmas!
Amy
Pin this Snow Cone Ornament Tutorial:
