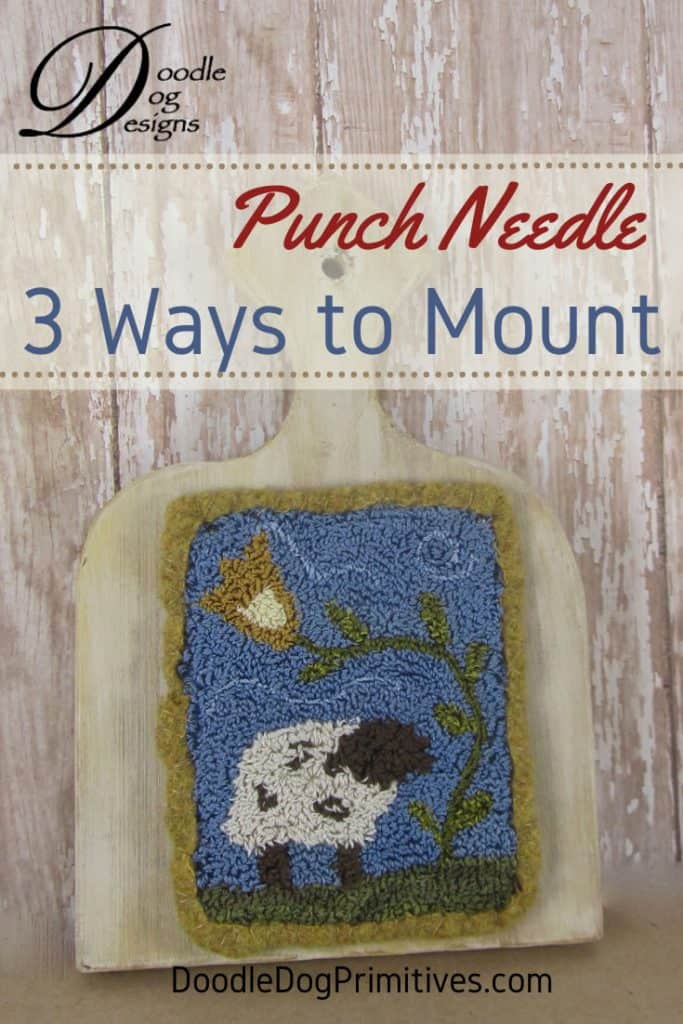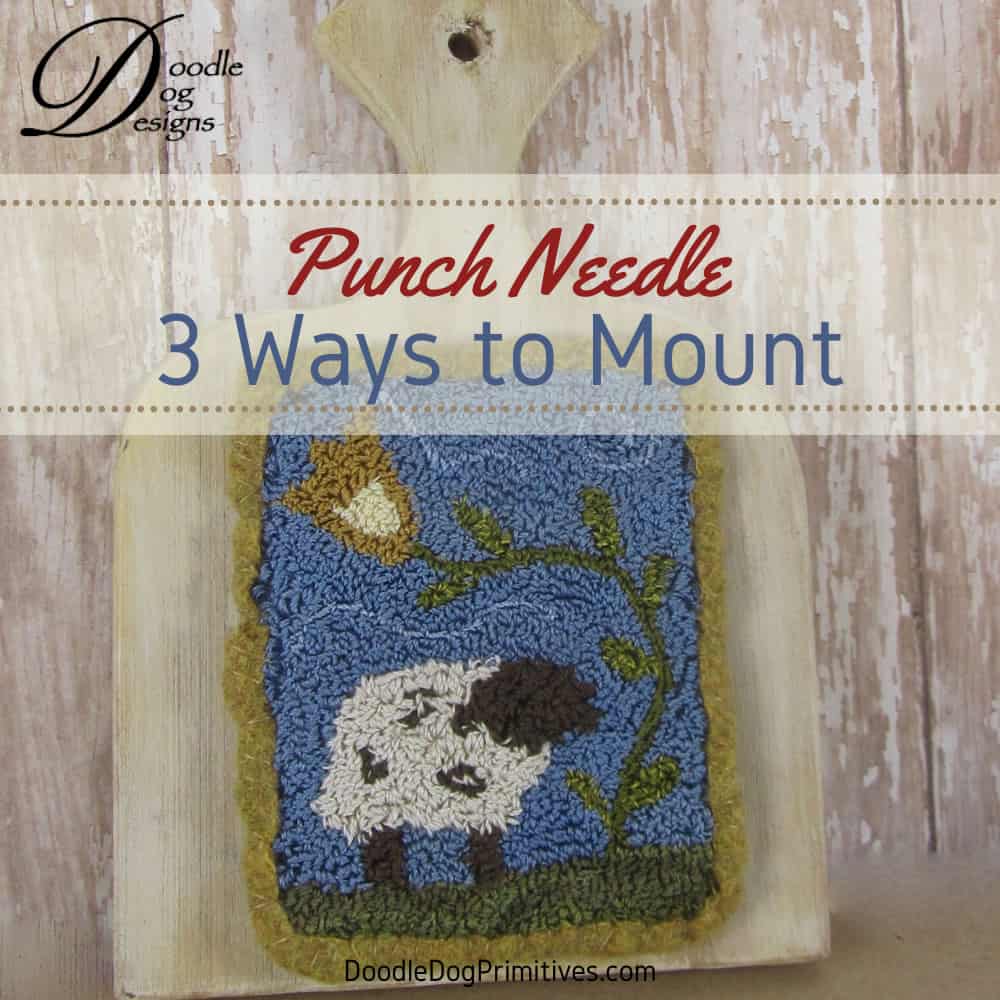
I like the look of punch needle projects mounted on a hornbook (shaped wooden board). There are several different ways to mount a punch needle project onto a wooden hornbook or other wood surface. Today I am going to show you three.
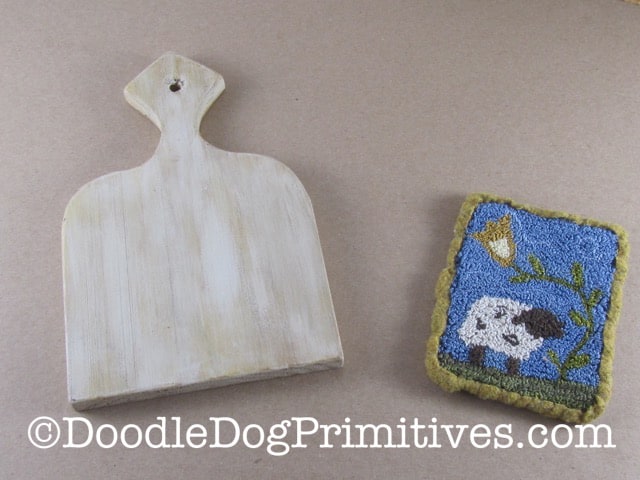
After punching this free pattern, I finished my punch needle project with a wool edging and prepared my hornbook by painting, distressing, and waxing.
Watch the Video:
This post may contain affiliate links for your convenience, which means if you make a purchase after clicking a link I will earn a small commission but it won’t cost you a penny more. For more information, please visit our Privacy Policy.
3 Ways to Mount a Punch Needle Project:
1: Mount punchneedle project with glue:
Some people use Elmer’s acid free glue. I like to use Aleene’s Tacky Glue – because it is what I have on hand.

Glue down the empty weavers cloth that has been pressed to the back and then smear the glue all around on the back of the punch needle project (I use a popsicle stick.) and press it onto the board where you want it to be. Allow it to dry and that’s it.
Pros: Easy & you probably have the supplies on hand
Cons: Permanent (this could also be a pro depending on how likely you are to want to change and re-use the board or the punch needle project in another way.)
2: Attach punch needle project with velcro:
Self-stick Velcro is the easiest to use, but you could also use plain velcro and glue it.

Cut small squares of velcro. Attach one side of the velcro to each of the four corners of your punch needle project
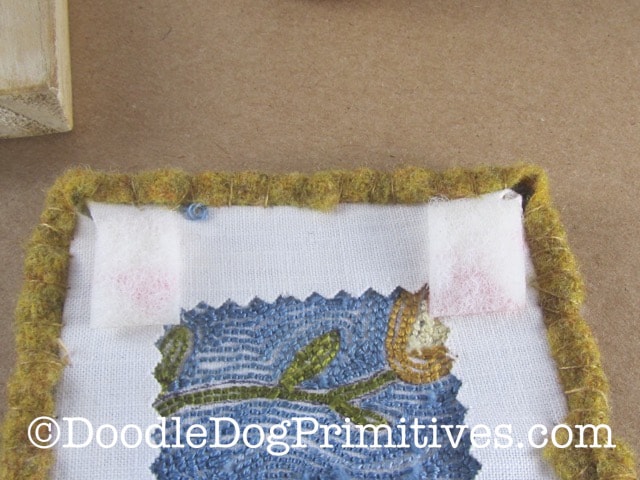
and the other sides of the velcro to the board, making sure the velcro pieces line up with each other and are in your desired placement.
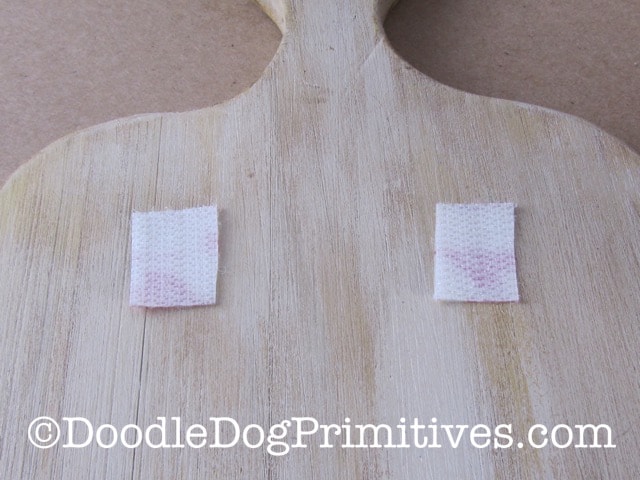
Pros: Easy and velcro is easy to find in the store if you don’t have any.
Allows you to change out punch needle projects with the season or just your mood.
Cons: The velcro will be hard to get off if you ever have a different plan for the punchneedle project or hornbook.
3: Mount punch needle project with carpet tacks:
You can find carpet tacks in most hardware stores. They are just tiny little nails, really.
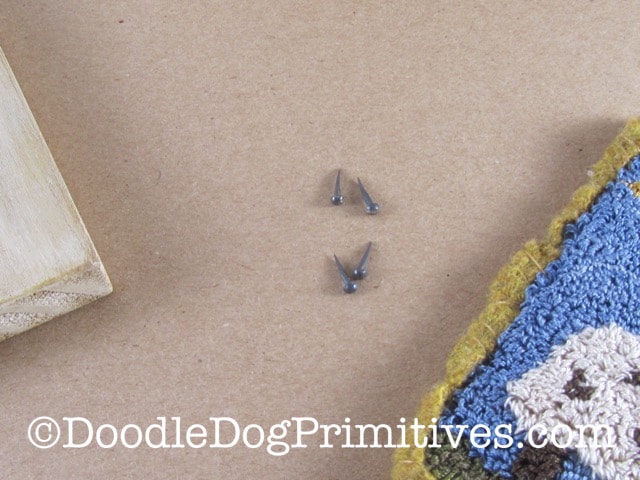
At one of the top corners of your project, separate the punched loops and push a tack in.
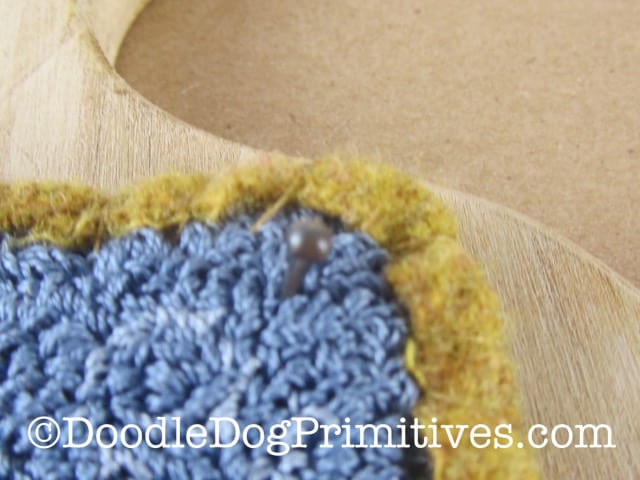
Make sure to push it all way through so you can see it through the weavers cloth on the back side.
(This makes it easier to hammer onto the board.)
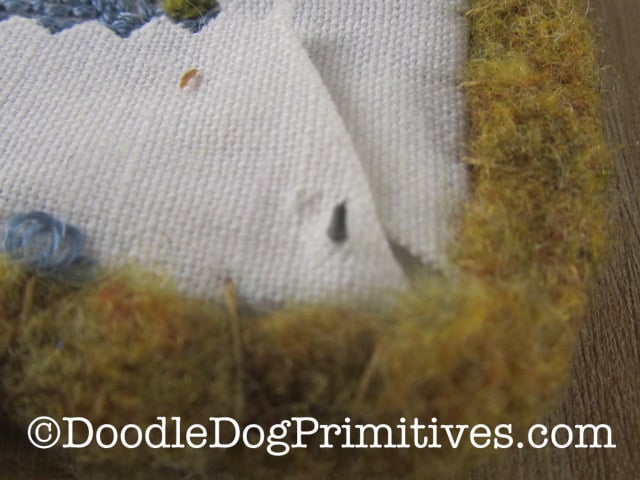
Position project onto the board and hammer the tack down.
If you think you might want to remove it later, don’t hammer it completely down.
(That would make it harder to remove.) Just get the tack in enough that it won’t fall out!
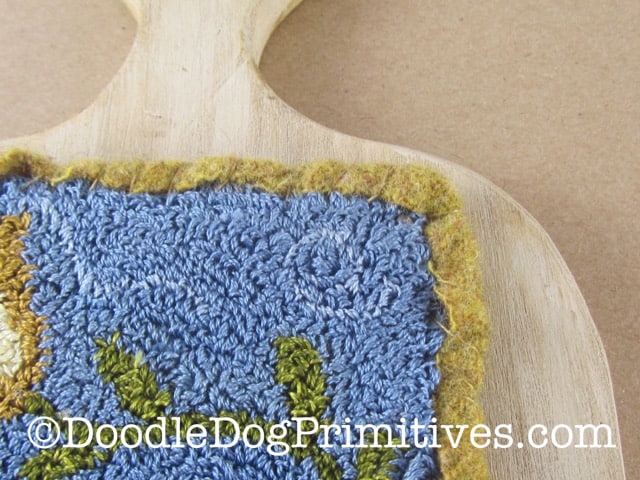
Repeat for the other top corner. You could also repeat for the two bottom corners if you want. I didn’t for this project.
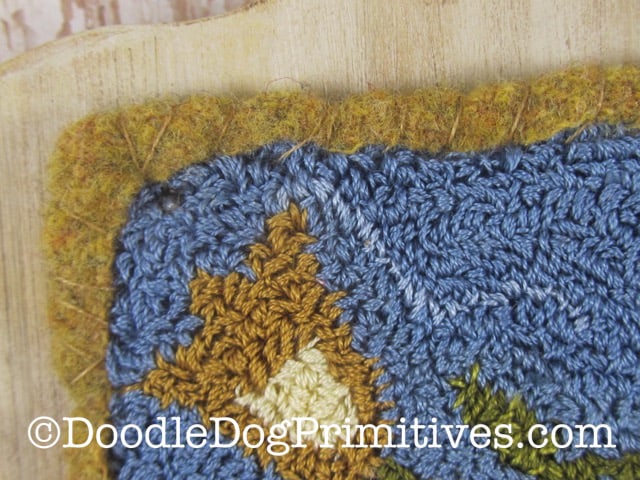
Pros: You can carefully remove this later and change things without any sticky residue.
Cons: It is a bit trickier to attach and you have to be very careful when removing the tacks.
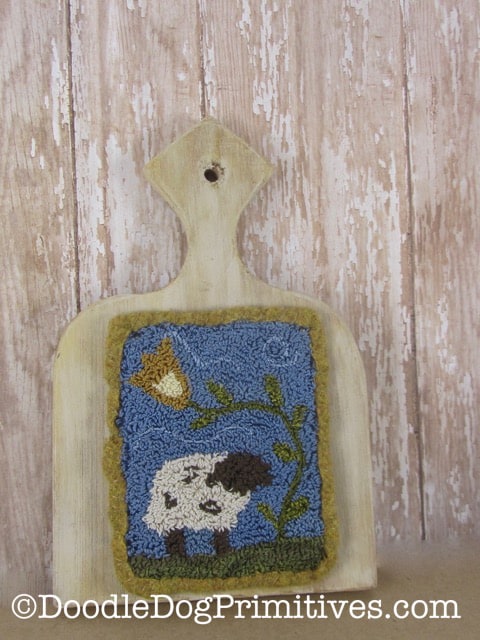
That’s the three different methods I have used to attach a punch needle project to a piece of wood.
Blessings~
Amy

