In this post, you will learn how to age a wooden hornbook for displaying your finished needlework projects.
I like my punch needle projects to have an “aged” look.
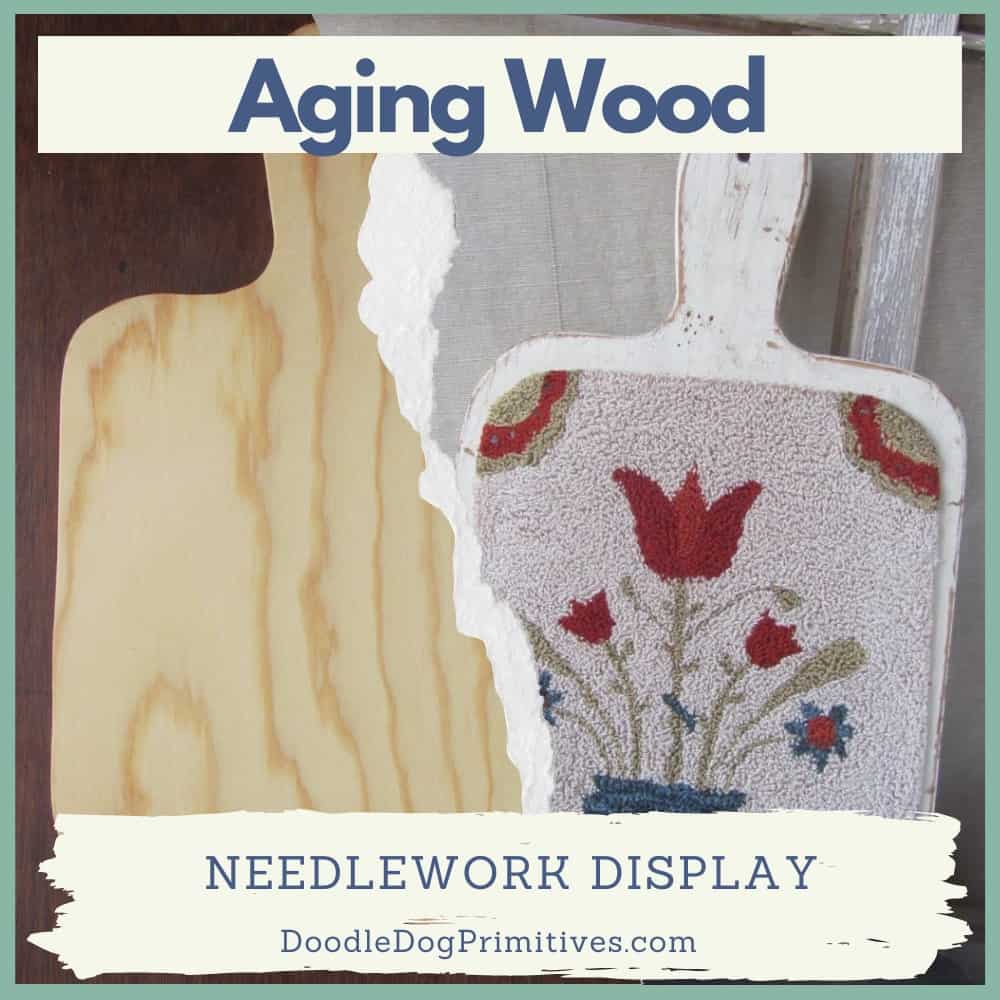
When I mount a project on a wooden hornbook, I like to first give the board a primitive aged appearance.
(A hornbook was a book used as a primer for students. Today, people cut boards in the shape of hornbooks for mounting needlework projects.)
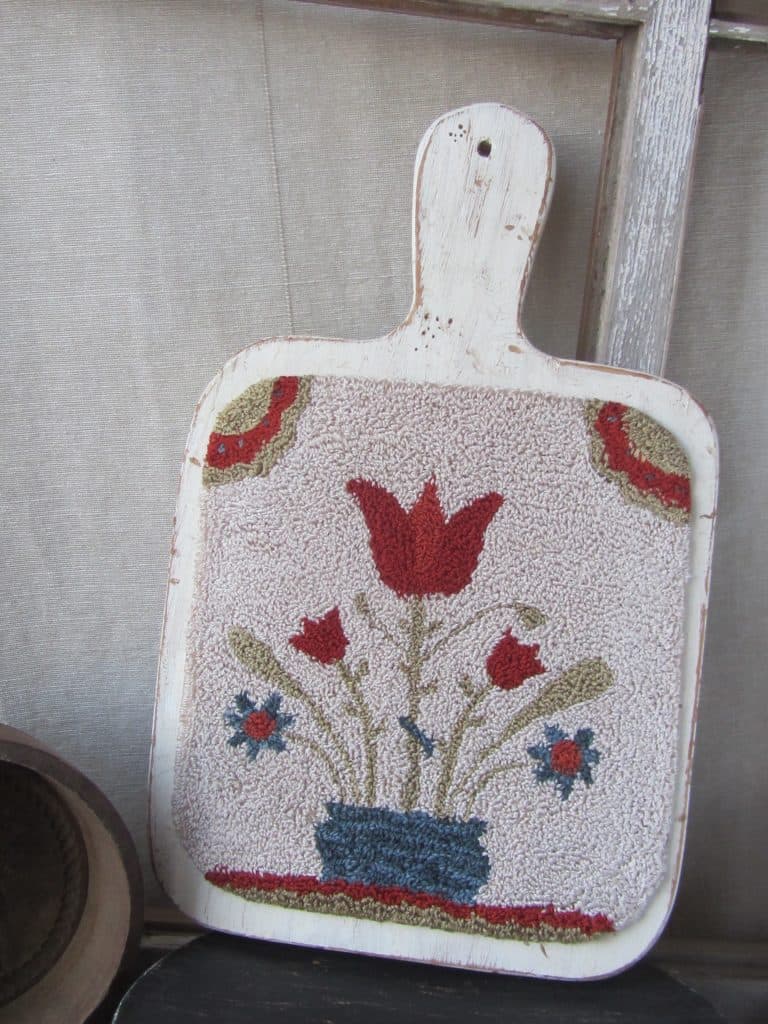
So, before I mounted this Tulip Fraktur punch needle project onto a wooden board,
I decided to age the wooden hornbook.
Watch the Video Tutorial:
This post may contain affiliate links for your convenience, which means if you make a purchase after clicking a link I will earn a small commission but it won’t cost you a penny more. For more information, please visit our Privacy Policy.
Age a Wooden Hornbook:
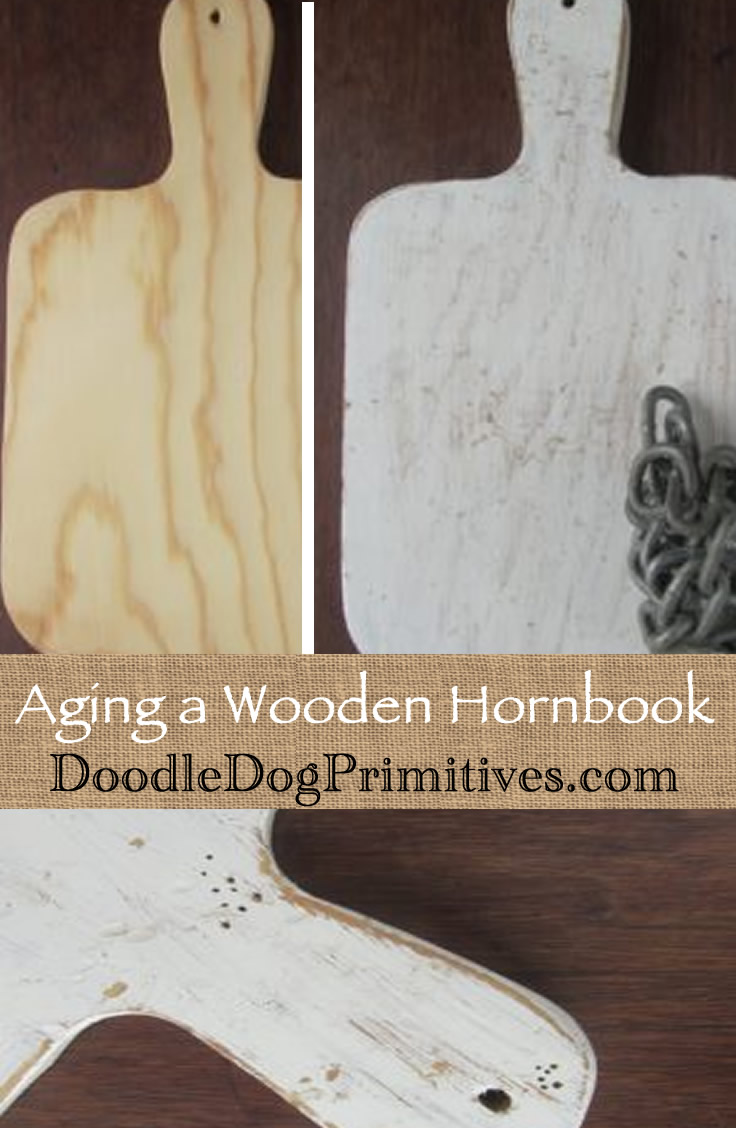
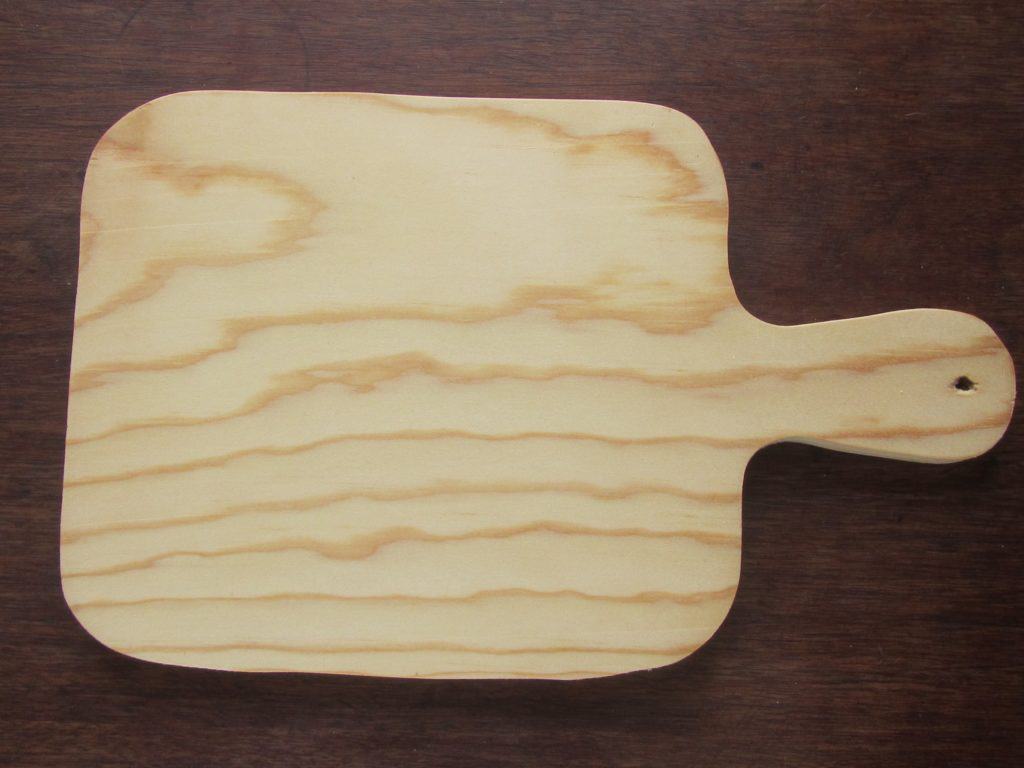
I took a plain board, cut into the shape and size that would fit my finished punch needle project.

I painted one layer of a cream paint onto the board
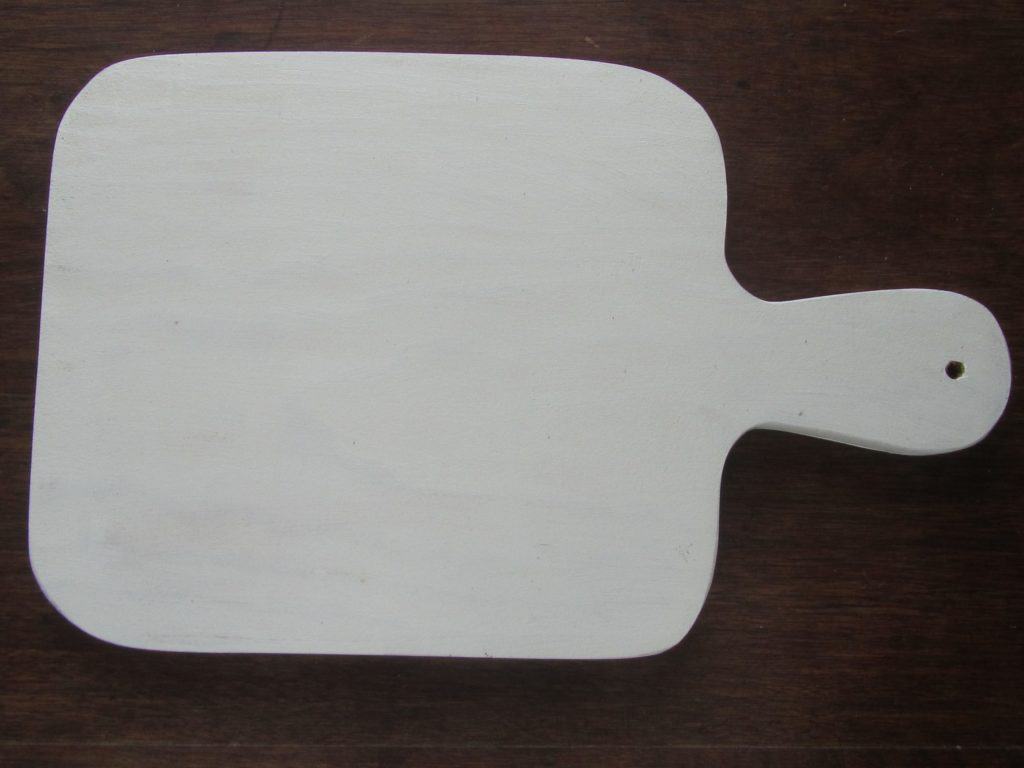
and sanded lightly all around.
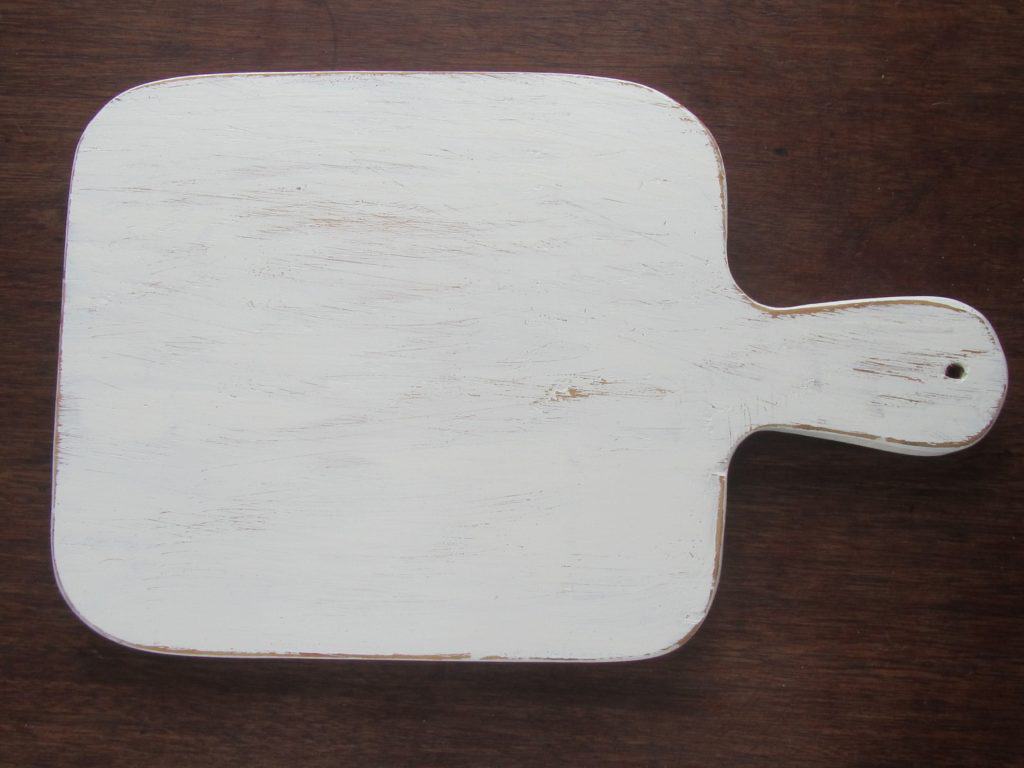
Then, it was time to take all my frustrations out on the board.

I beat around on the board with a heavy chain.
I also added some nail holes of various depths and sizes.

Finally, I added a thin layer of a walnut colored finishing paste wax.
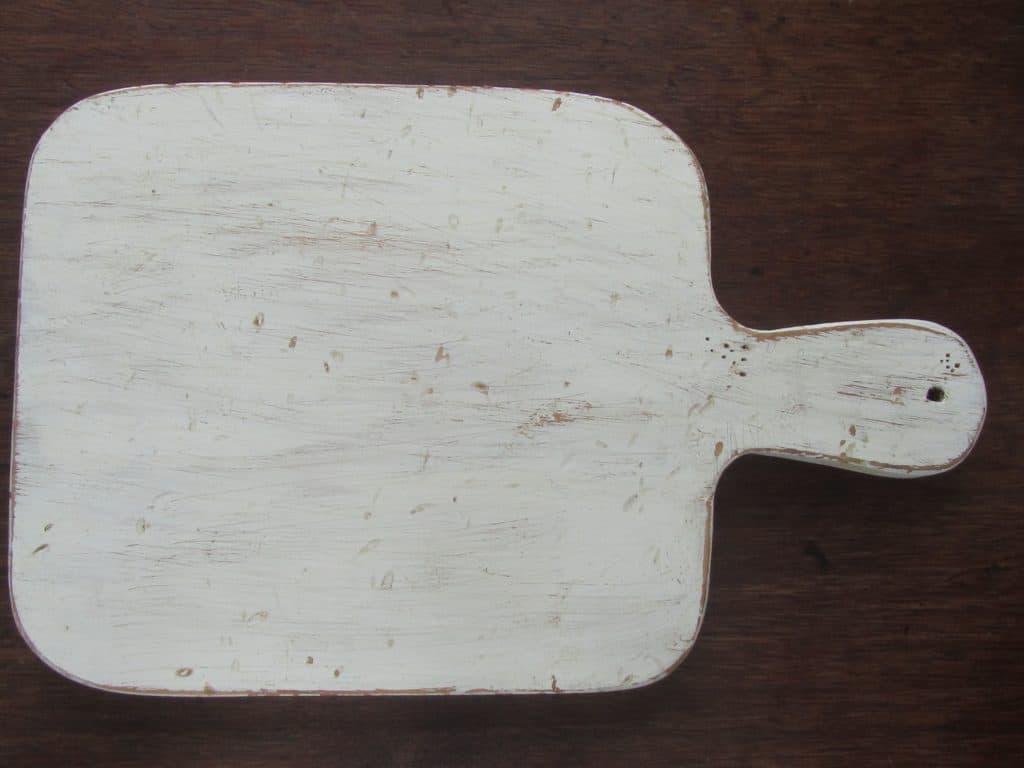
Now that the board is aged, it is time to attach the punch needle project to the board.
Blessings ~
Amy
Pin Tutorial for later!