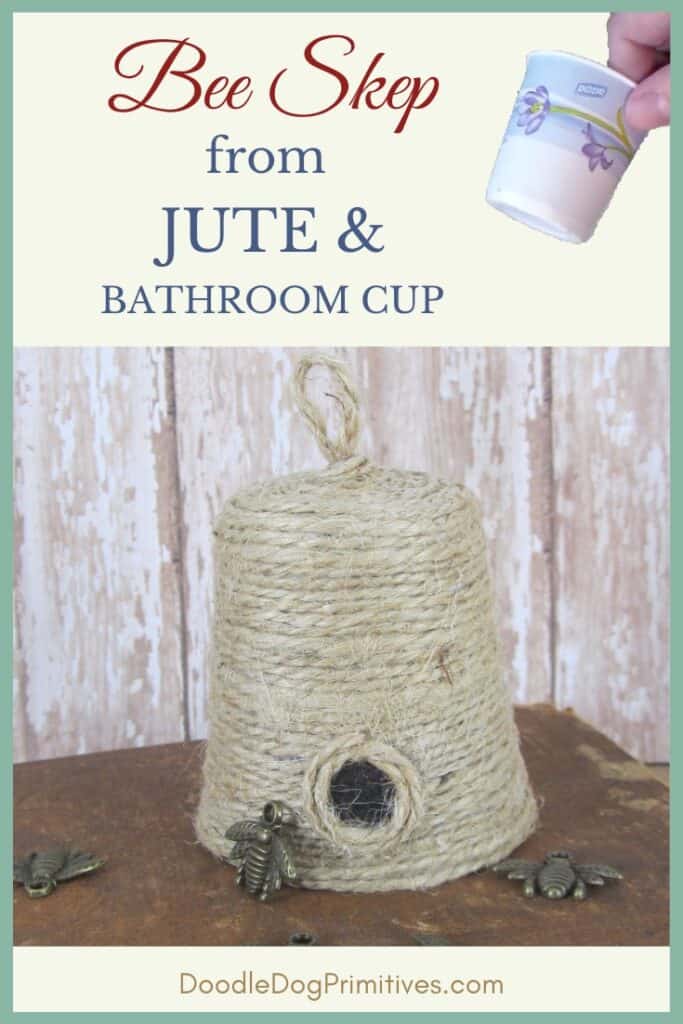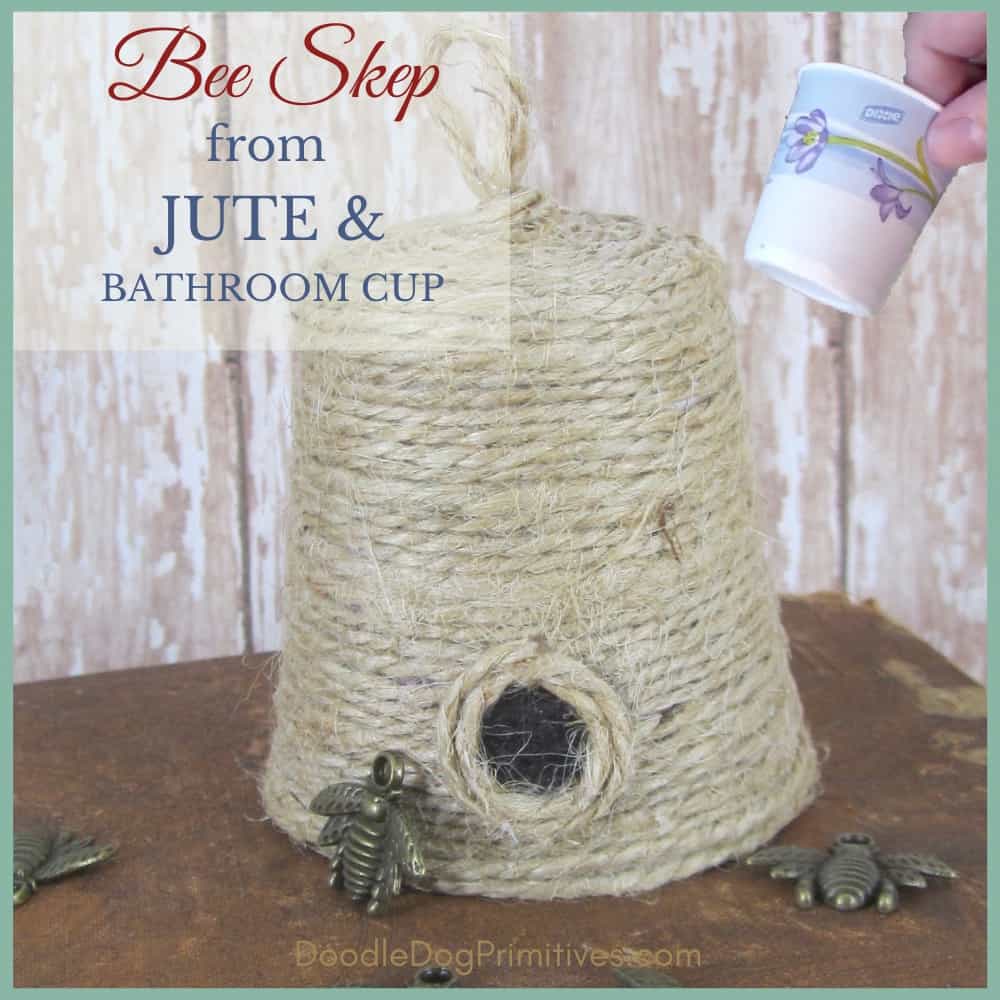
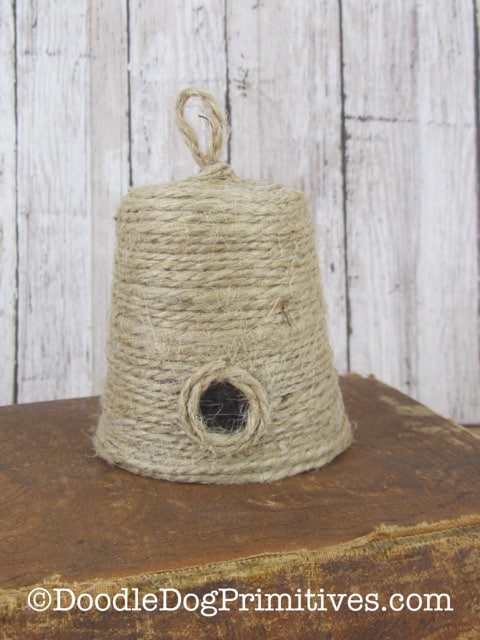
Today, I have a mini bee skep tutorial for you.
Use these adorable little bee skeps as bowl fillers
or shelfies in your primitive and farmhouse summer decorating.
They are easy to make and you might already have all of the supplies at home – I did!
I made this one with a mini bathroom (Dixie) cup and thin jute.
You could use a bigger disposable cup and thicker rope if you prefer a bigger bee skep.
The process would be the same regardless of the size
– just keep the size of the cup and the string proportional to each other.
This post may contain affiliate links for your convenience, which means if you make a purchase after clicking a link I will earn a small commission but it won’t cost you a penny more. For more information, please visit our Privacy Policy.
Supplies for Bee Skep:
- Thin Jute
- Black craft paint
- Paint brush
- Aleene’s Fast Grab Tacky glue
- Popsicle Sticks
- Small Bathroom sized Dixie Cup
- Scissors
Watch the Video:
GlueTip:
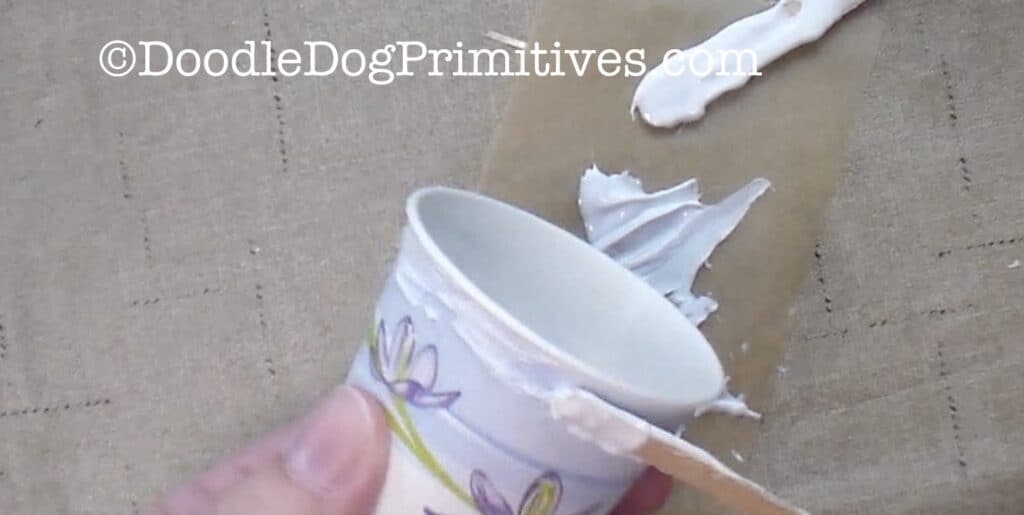
I like to put a glob of glue on a piece of paper or paper plate
and use a popsicle stick to spread the glue.
I find this easier on my hands than squeezing the bottle of glue constantly
– especially when there isn’t much glue left in the bottle!
Glue Jute to Sides of Cup:
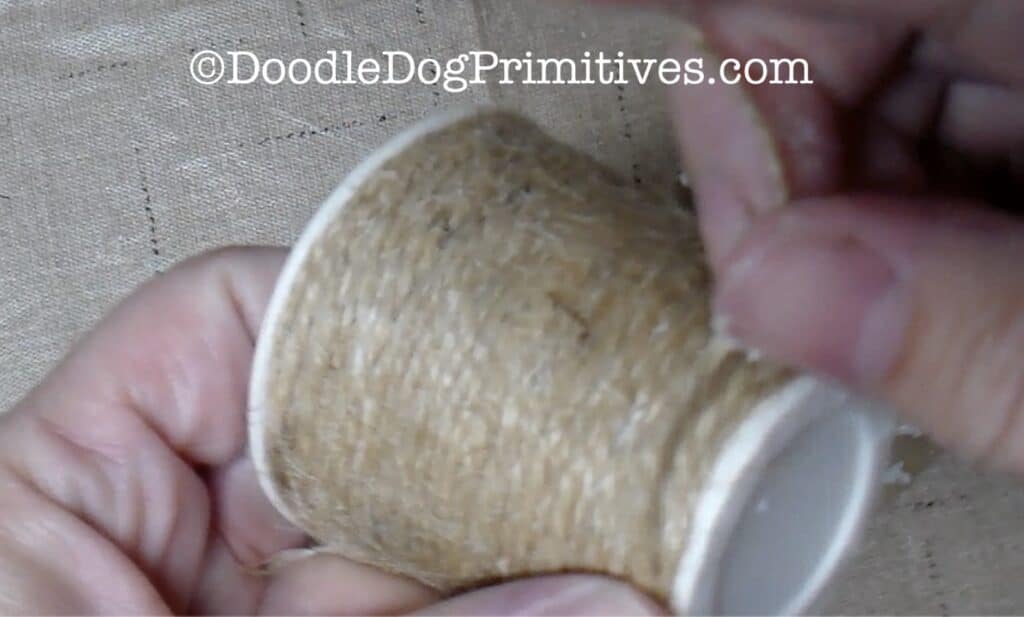
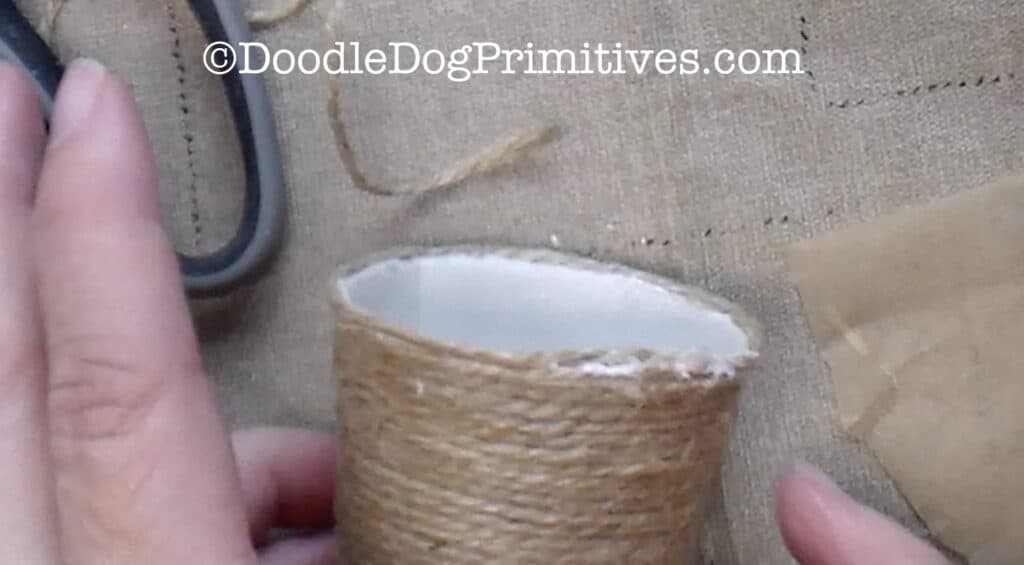
Spread glue all the way around the cup up next to the lip on the top of the cup.
Place the jute all the way around the cup right up next to the lip on the top edge.
Wrap another row of jute onto the cup,
making sure the two rows of jute are touching everywhere.
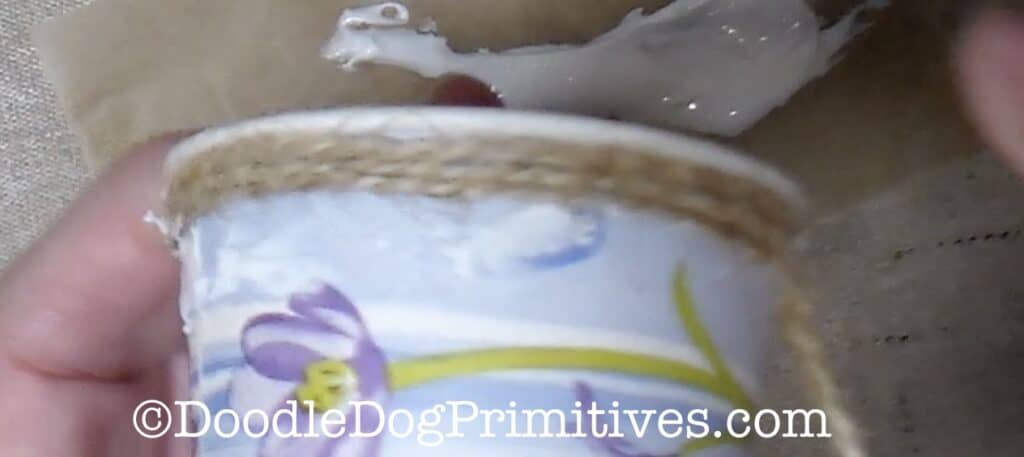
Keep adding more glue and more rows of jute until you reach the bottom of the cup
(which will be the top of the bee skep).
Do not cut off the jute – leave it hanging for now.
Attach Bee Skep Handle:
Use a pencil to poke a hole right in the middle of the bottom of the cup.
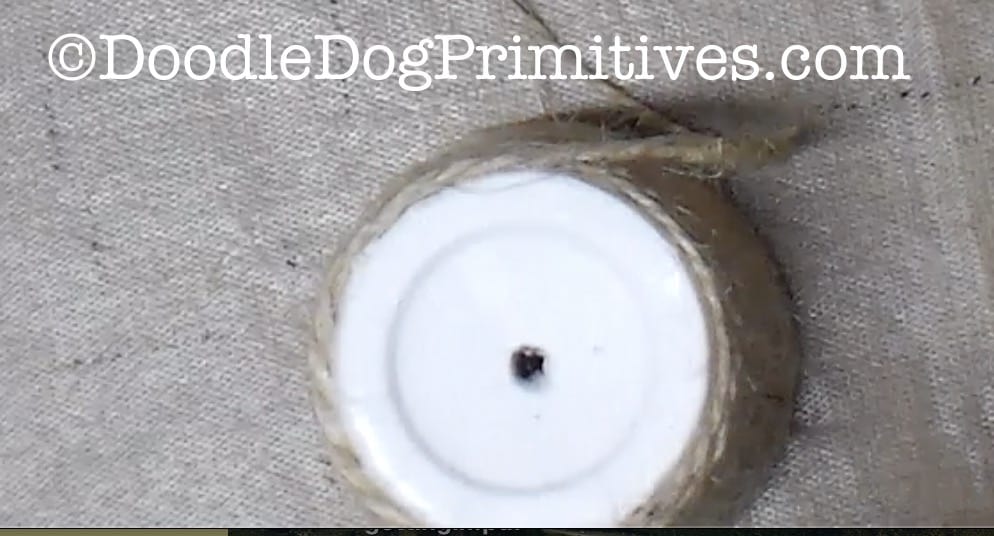
Take a piece of jute about 12 inches long and fold it in half.
Tie an overhand knot in the jute,
leaving a loop the same size you want the bee skep’s handle to be.
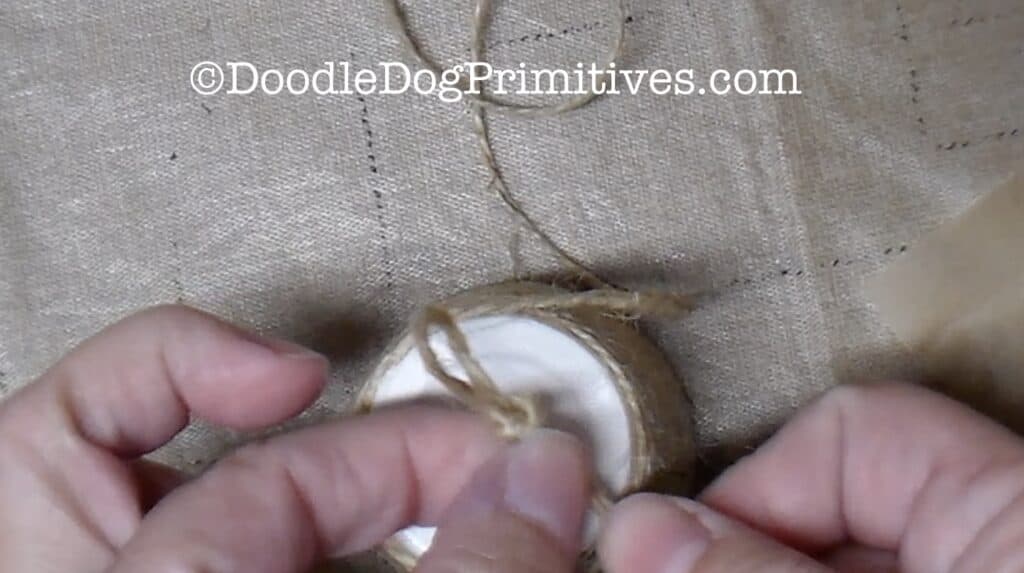
Thread the two ends of the piece of jute through the hole on the bottom of the cup.
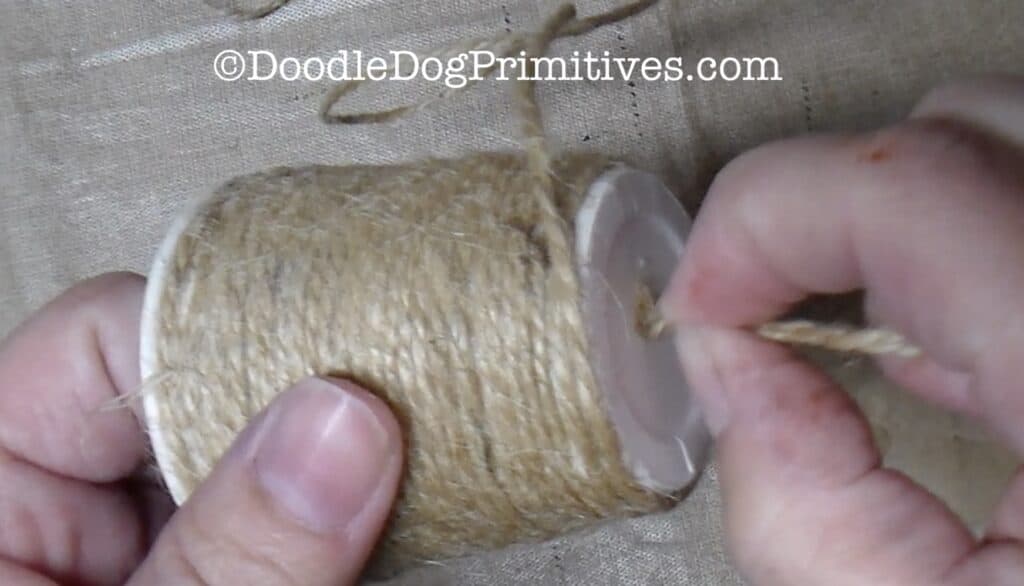
Pull the ends all the way through the cup so the knot is tight up against the cup.
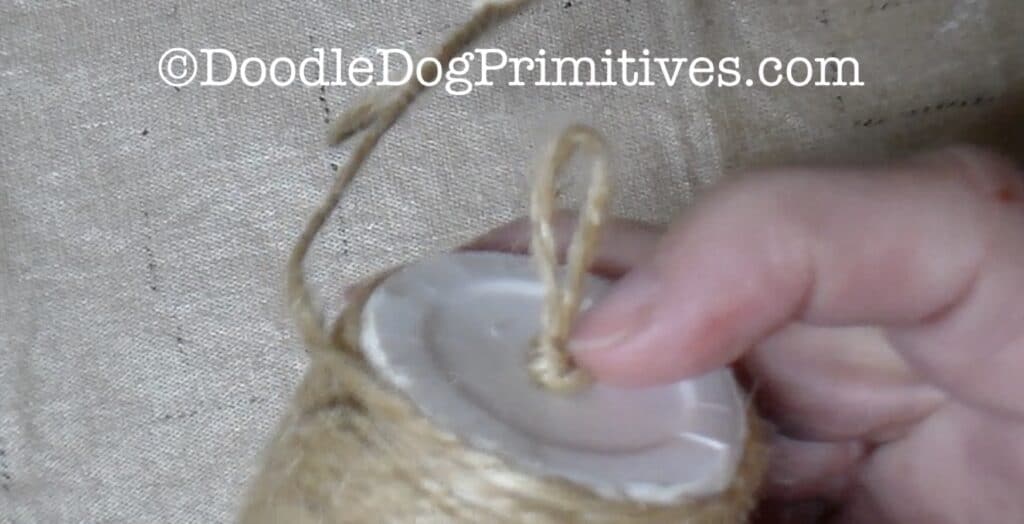
Tie a double knot with the two ends of jute –
pulling the knot tight up against the bottom of the cup.
Cut the ends of the jute leaving about one inch tails inside the cup.
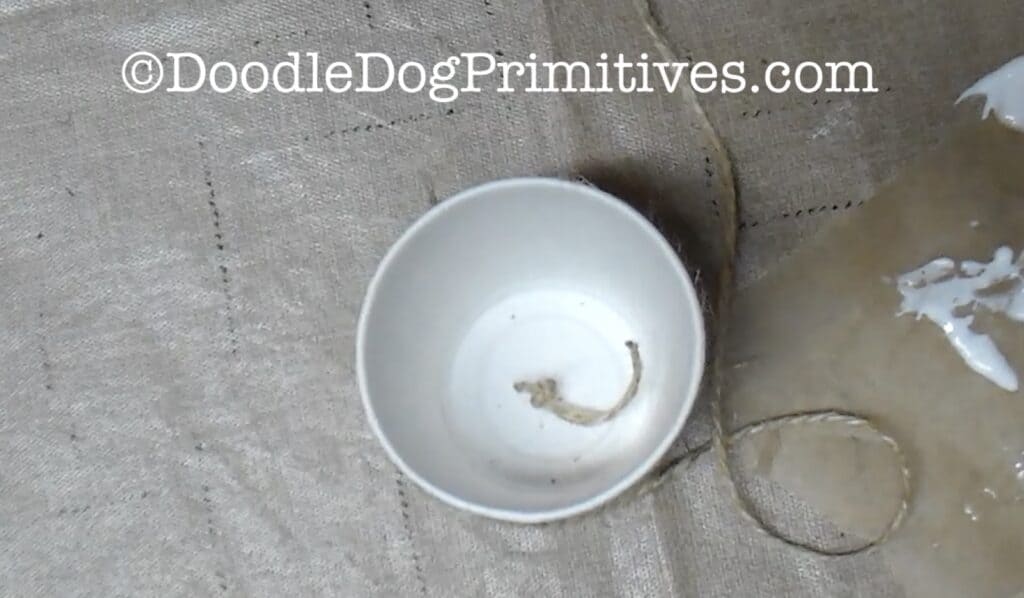
Cover Top of Bee Skep:
Cover the top of the bee skep with glue.
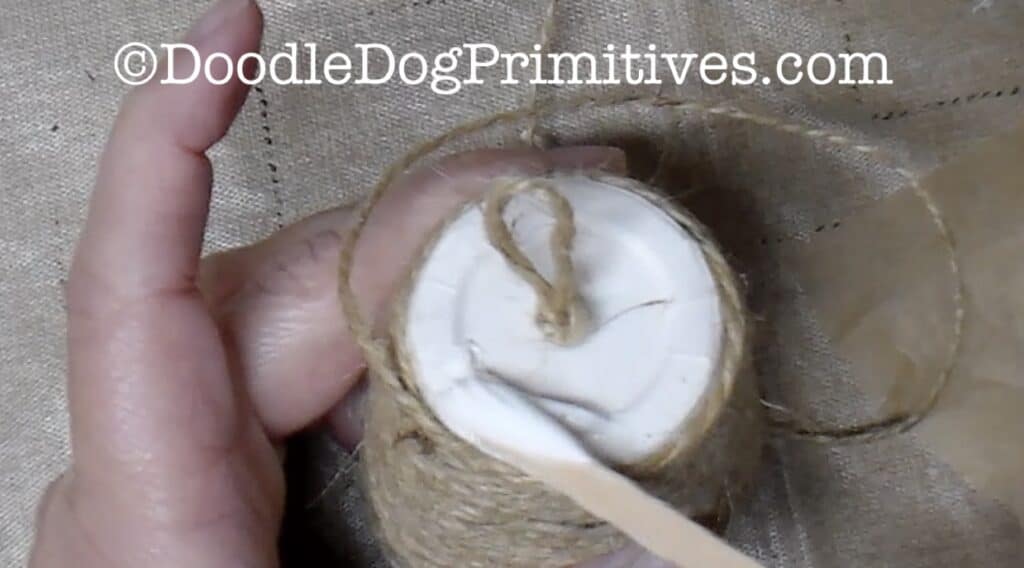
Finish covering the cup with jute by coiling the jute around and around towards the middle.
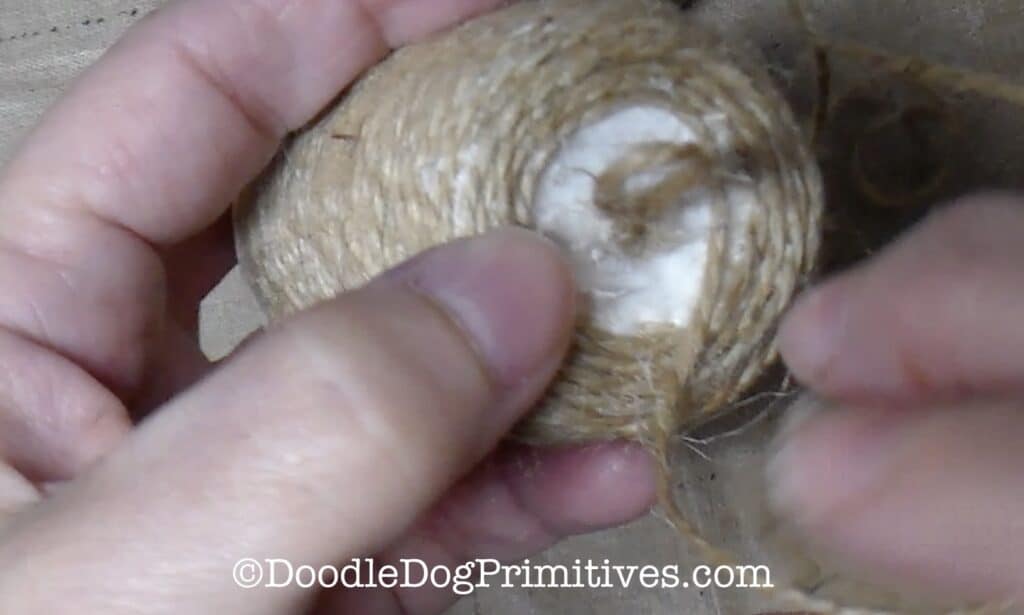
Continue wrapping the jute around the handle’s knot to cover it up.
Cut off the jute and wrap the end of the jute around, making sure it is well glued.
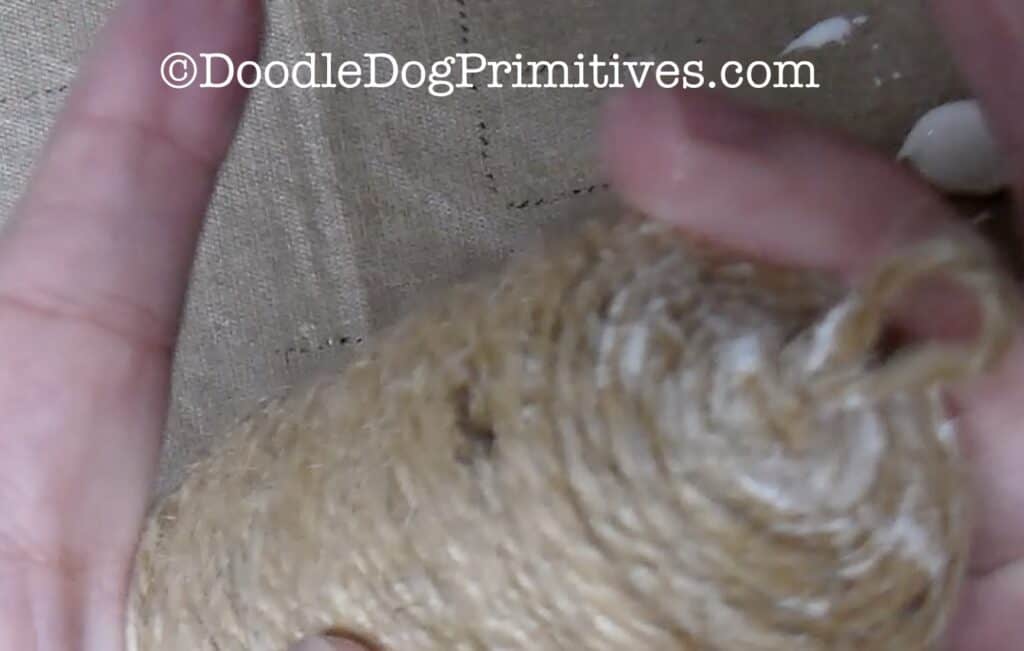
Let the glue completely dry.
Make the Bee Skep Hole:
Use a pencil to draw a circle where you want the bee skep hole.
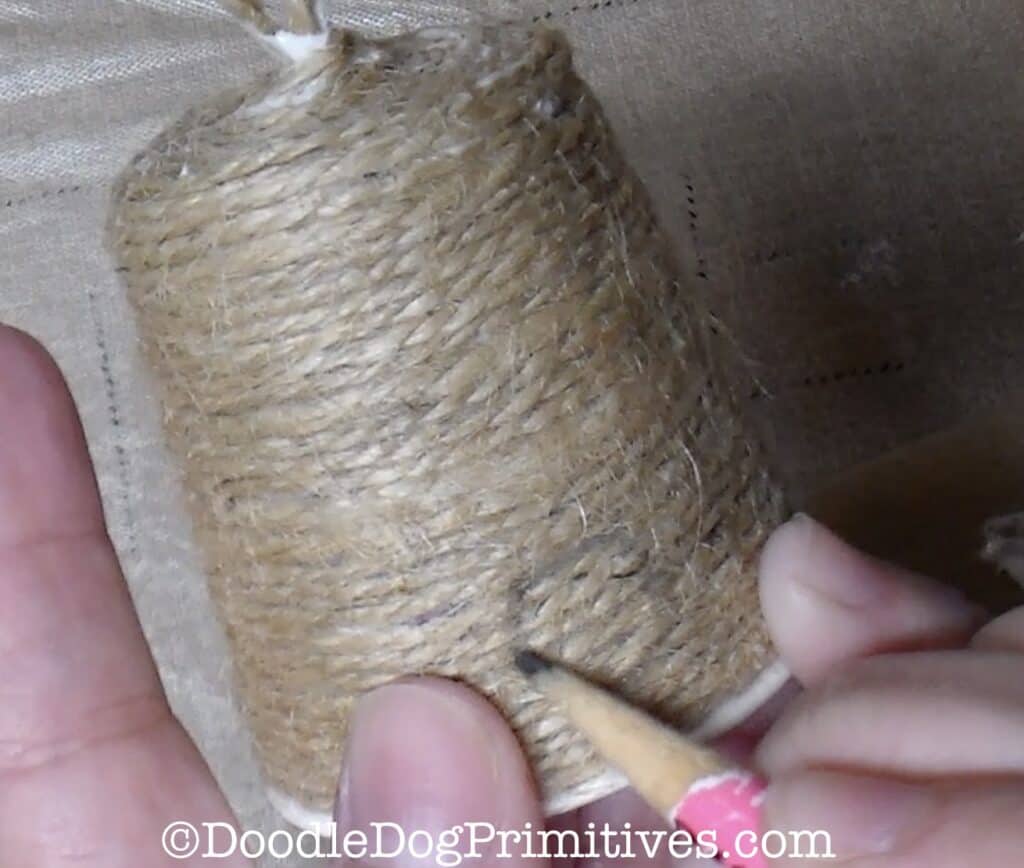
Paint the circle with black craft paint.
You could also use a black sharpie marker to shade in the hole,
but I think the black covers it better and makes it look like a real bee skep hole.
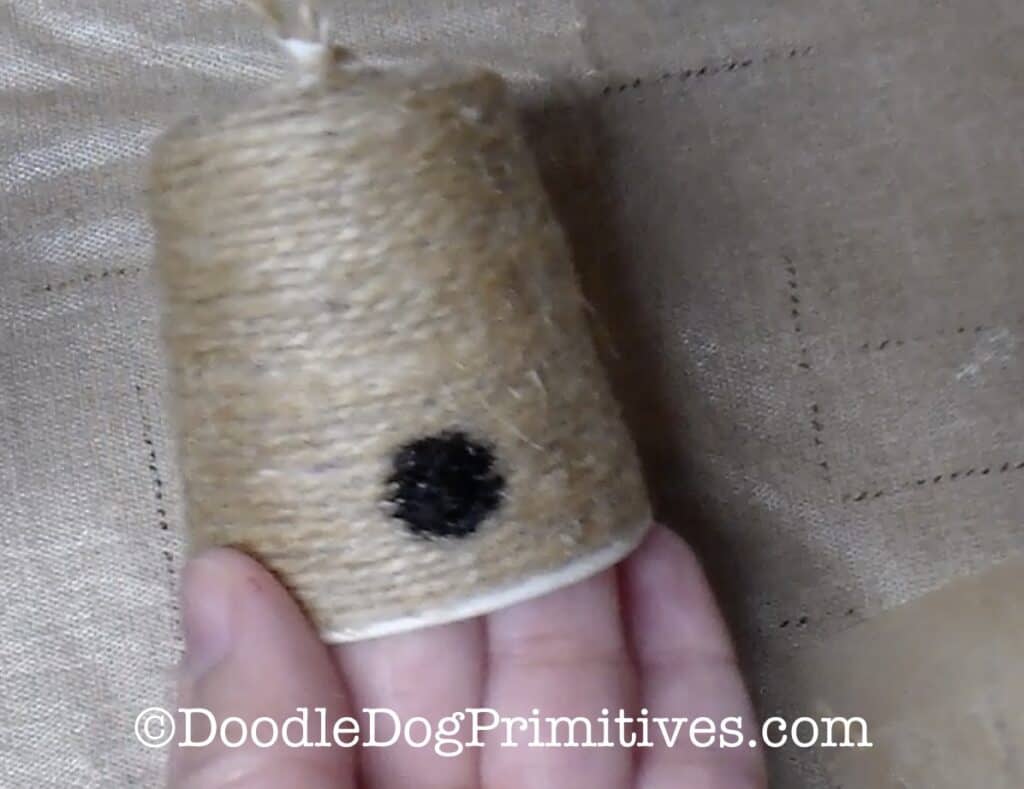
Let the paint dry.
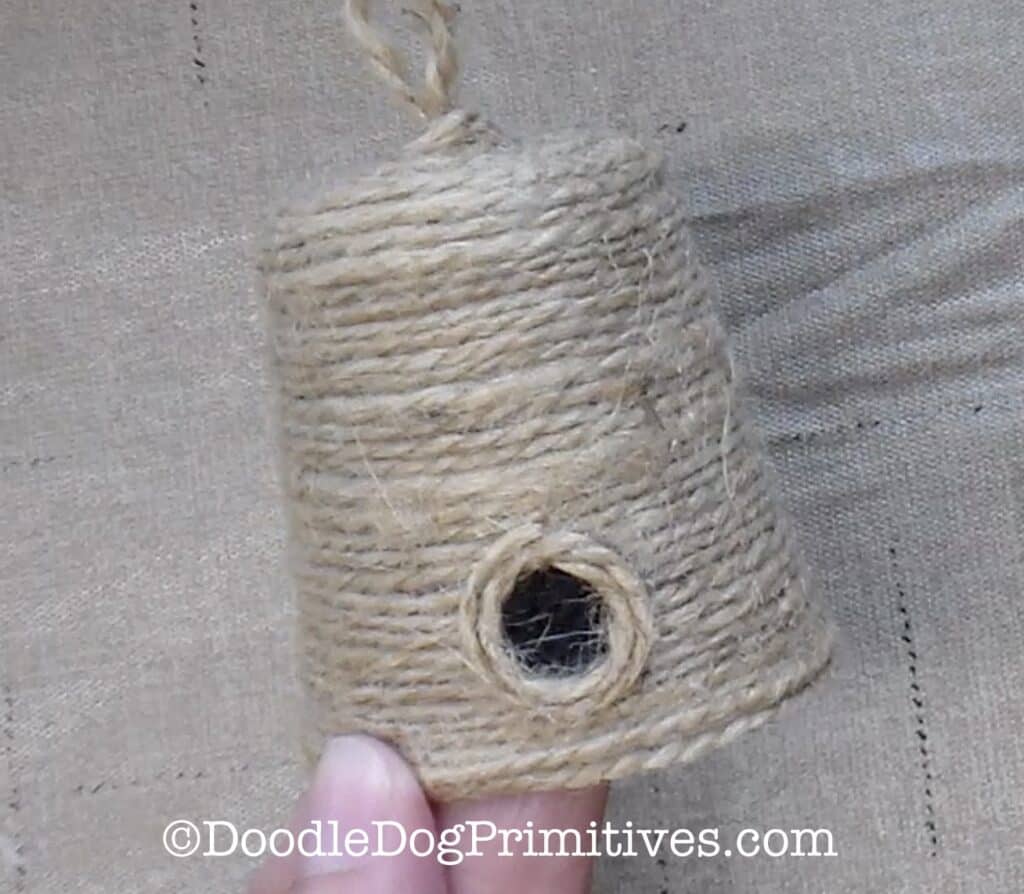
Put a thin glue circle around the black painted circle.
Place the jute onto the glue, circling the black paint.
I added two rows of jute all the way around the circle.
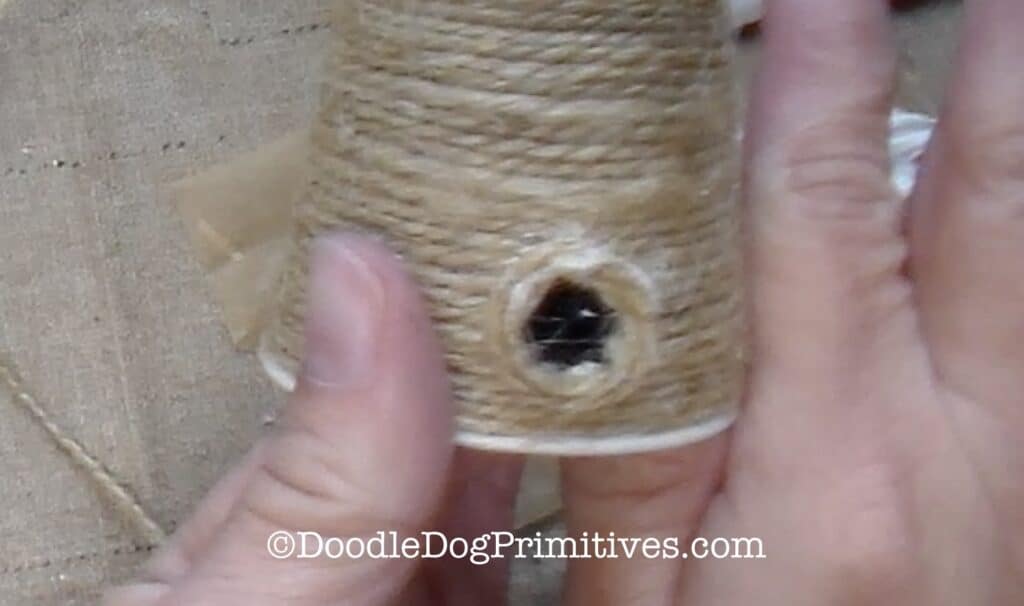
Let the glue dry.
Cover the Lip of the Cup:
I left the lip of the cup on so that the jute would be straight along the bottom edge.
You could now cut off the lip of the cup or add more jute to cover up the lip of the cup.
I am going to cover the lip to give it a little bit of a bigger base.
Add glue all the way around to the lip of the cup.
Starting on the back (opposite the hole) add a piece of jute to the lip
and wrap it all the way around the cup.
When you get back to the back, you can go around another time if desired.
Cut off the jute and make sure the end is glued down well.
Let thoroughly dry.
I hope you enjoy following this bee skep tutorial to make your own summer decoration!
Blessings~
Amy
Pin this Bee Skep Tutorial:
