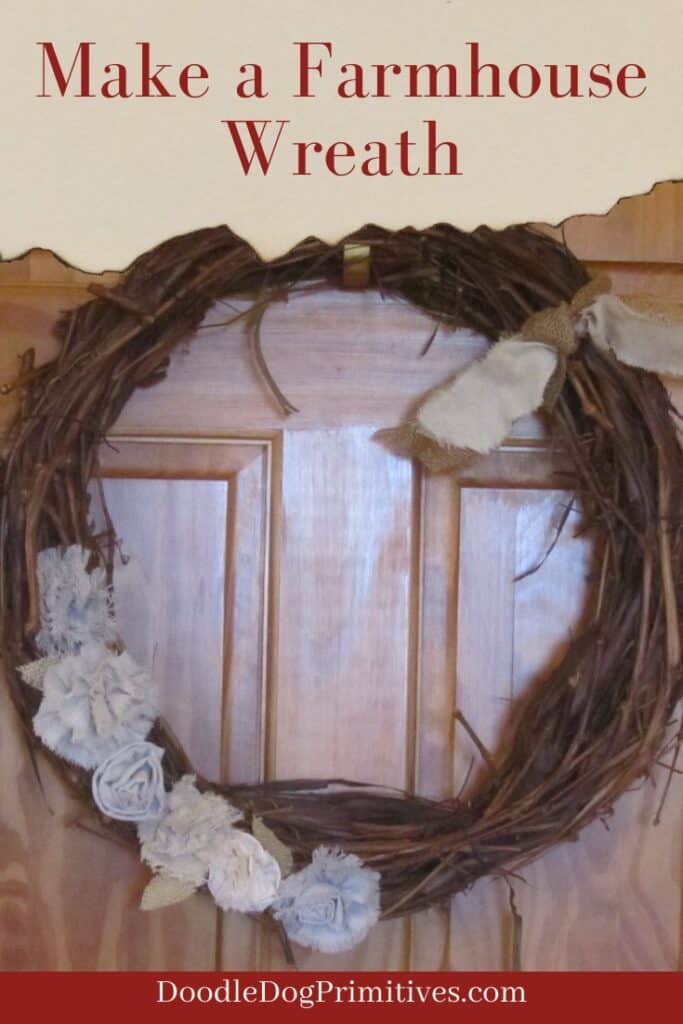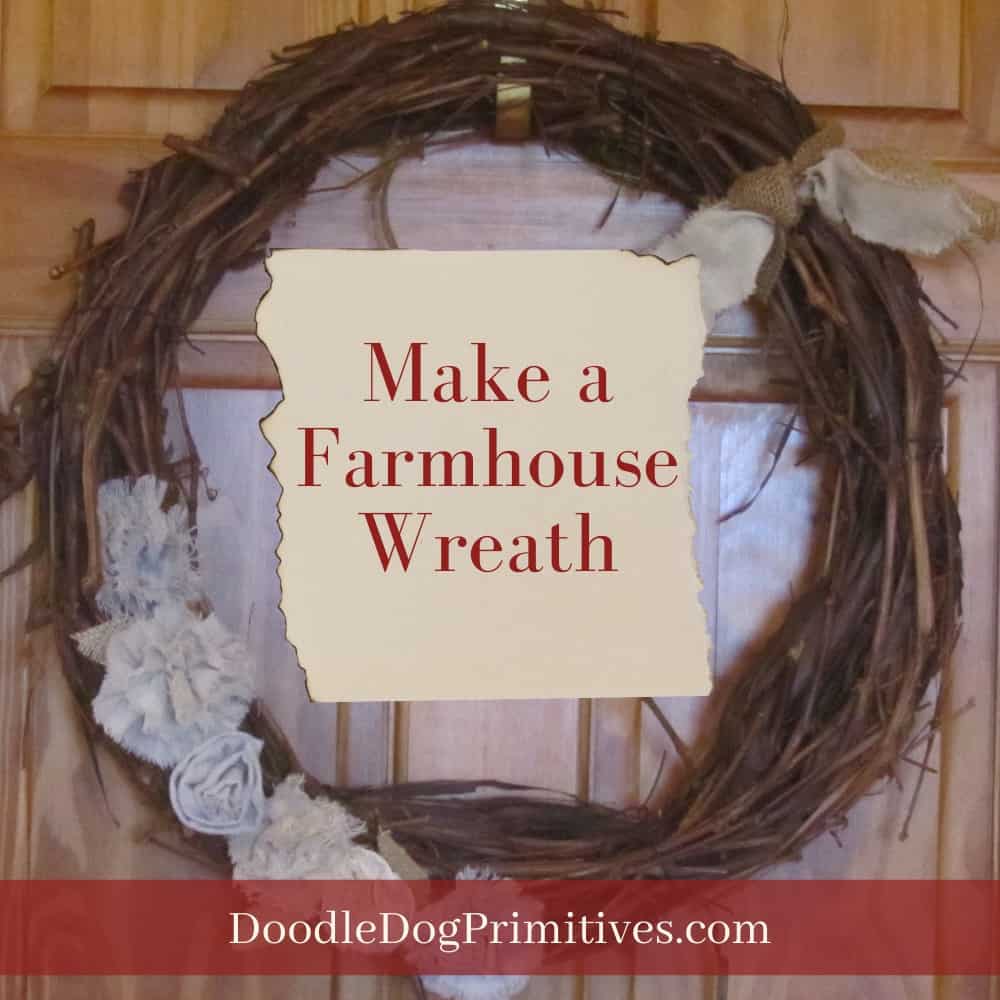
I wanted to make a new rustic farmhouse wreath for my front door. I had an older grapevine wreath that needed new life so I started with that and added some fabric flowers and a burlap ribbon. Read on to see how easy the wreath is to make!
This post may contain affiliate links for your convenience, which means if you make a purchase after clicking a link I will earn a small commission but it won’t cost you a penny more. For more information, please visit our Privacy Policy.
Prepare the Wreath:
If you get a new grapevine wreath, you can probably skip this step.
My 18″ grapevine wreath was old and very faded looking.
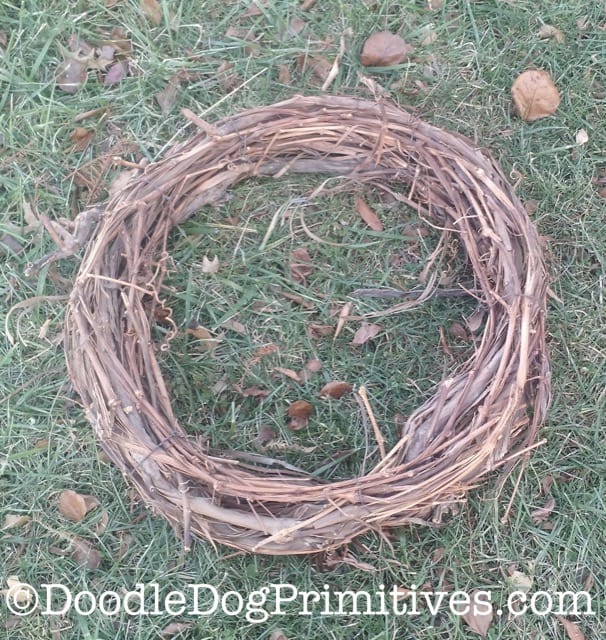
I took the grapevine wreath outside on a nice day and sprayed it on both sides with Rust-oleum Clear Matte finish.
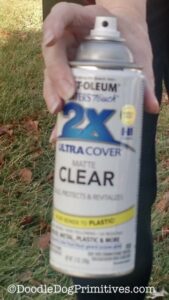
This gave it a nice deep looking color and really made it look new again.
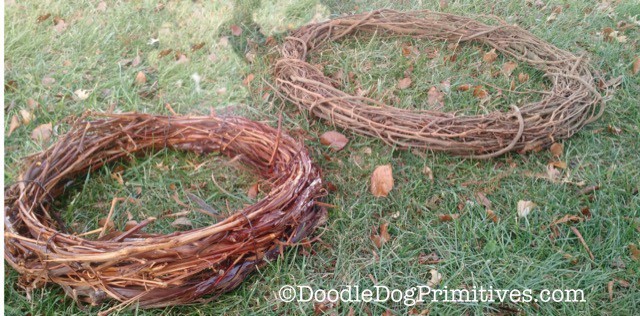
In the picture above, the wreath on the left has been sprayed while the wreath on the right has not been sprayed.
Let the wreath dry thoroughly. I let mine dry several days.
Watch the Video:
The Fabric Flowers:
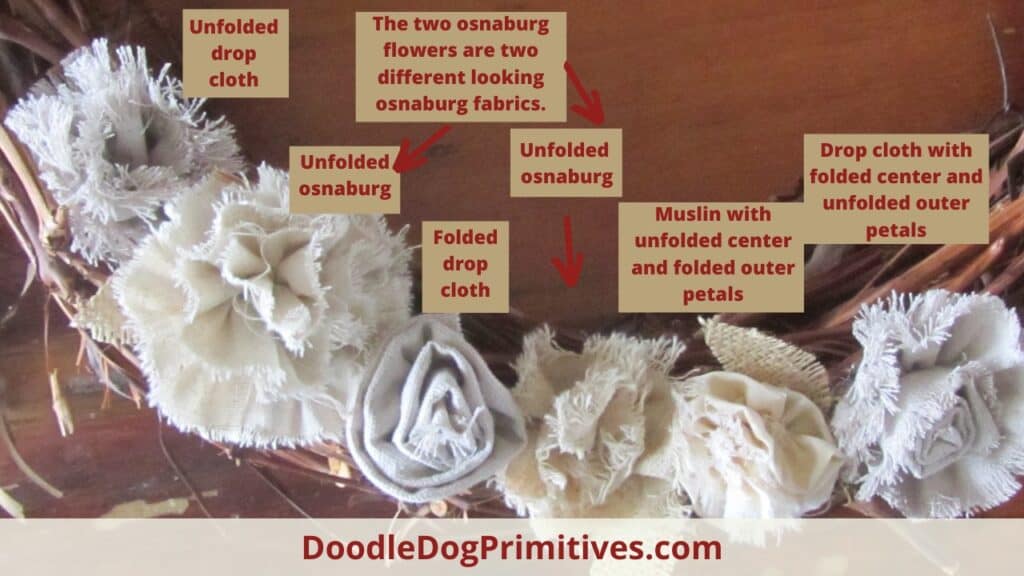
I used three different types of fabric to make the flowers for the wreath.
This helps to add more variety and interest to the wreath.
Planning the Flowers:
I used painter’s drop cloth, muslin, and osnaburg.
(I use painter’s drop cloth frequently in rustic craft projects.
It is an inexpensive fabric and really adds a primitive look to things.)
Cut a strip of fabric for each flower.
The longer the strip, the wider the flower will end up being.
You can control the height of the flowers by making the strips wider.
I cut my strips between 1-1/2″ and 2-1/2″ wide.
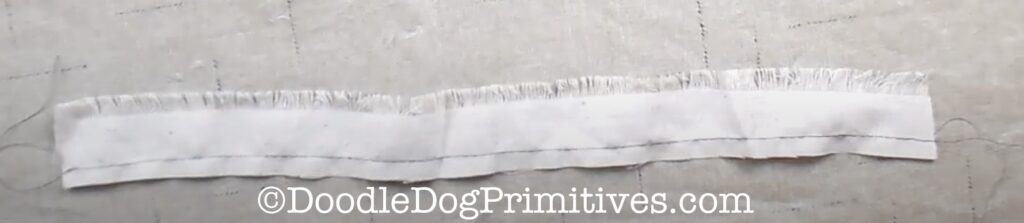
The wider strips I folded in half lengthwise.
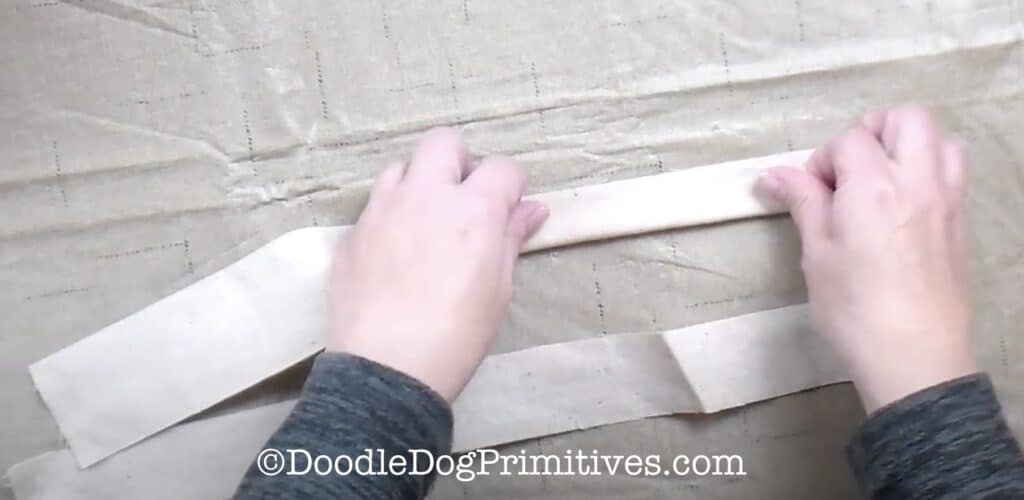
The folded strips create a more finished look on the top of the flowers.
I will unravel the edge of the narrower unfolded strips later,
creating a more rustic look to those flowers.
Again, I like to make each of the flowers look different.
Sewing the Flowers:
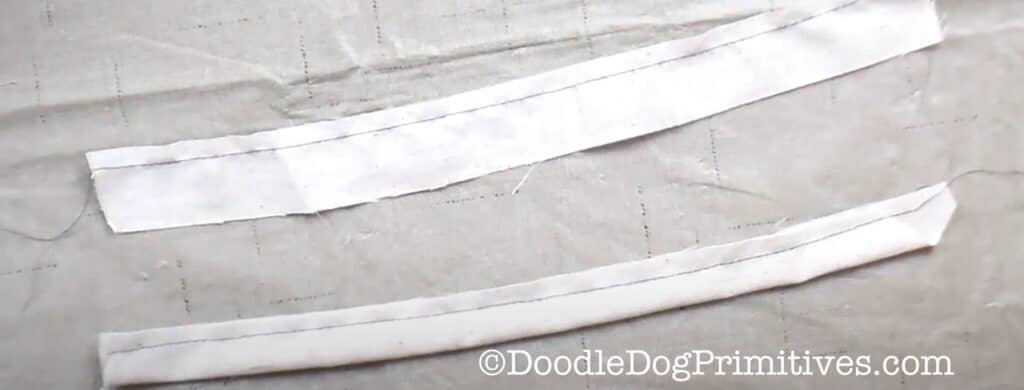
Sew a gathering stitch along the long raw edge side of the folded fabric strips.
On the unfolded strips, sew a gathering stitch along one long side.
The seam allowance doesn’t matter too much but I used 1/4″.
In the photos, I used a contrasting color thread so you can easily see the thread.
You will want to use a thread to match the fabric.
Use a needle or pin to unravel some of the strings on the long unsewn side of the unfolded strips.
Unraveling different amounts on each flower will give them different looks.
This is much easier to do on a loose weave fabric such as the osnaburg or drop cloth.
Lightly gather each fabric strip.
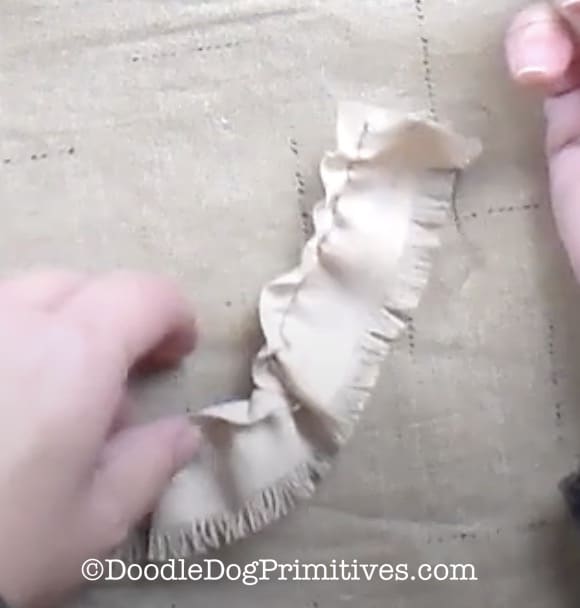
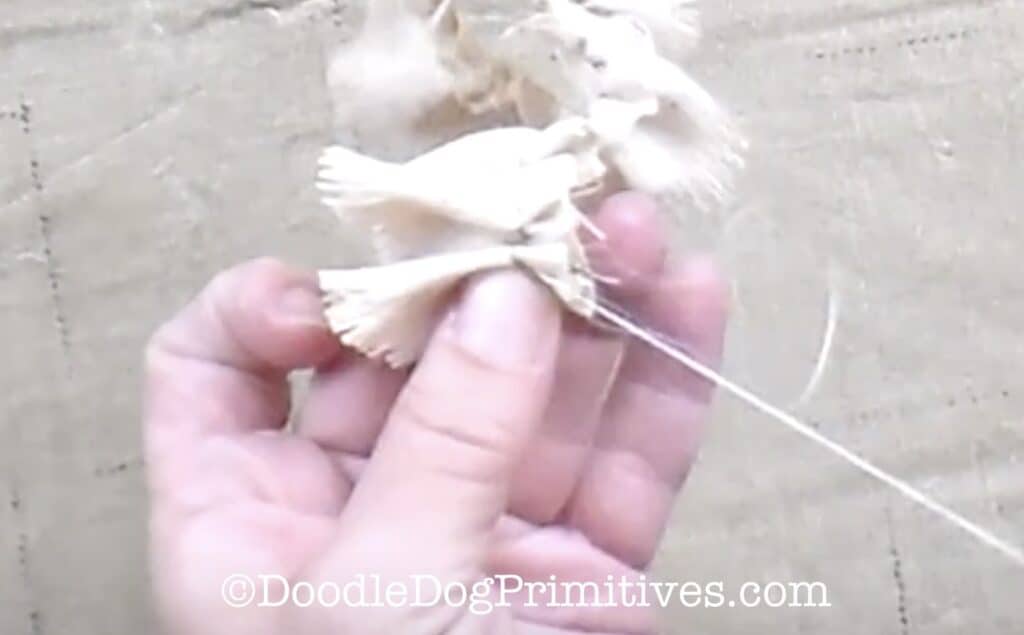
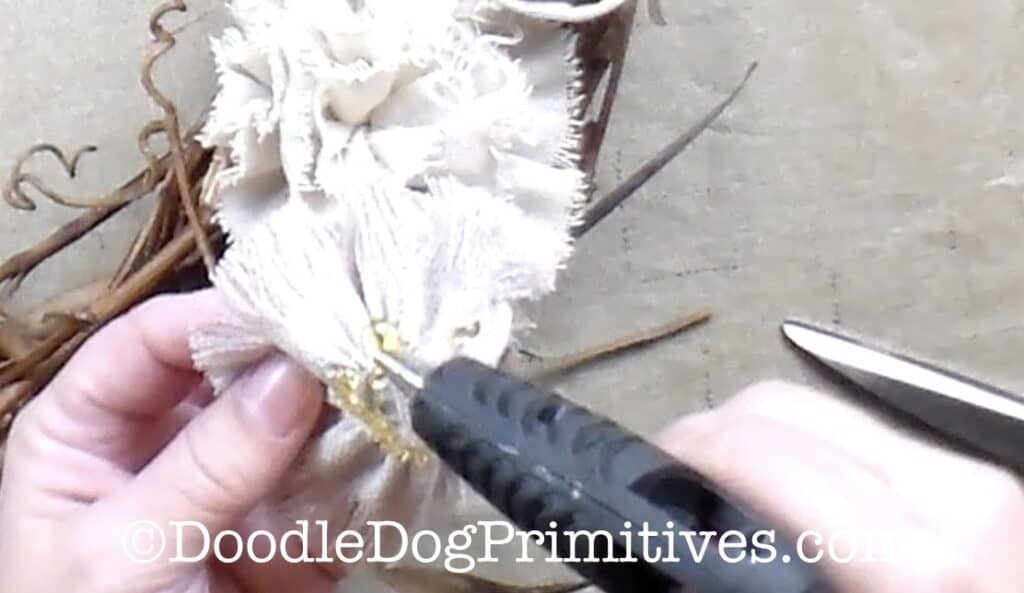
Start rolling a strip in a coil like you would roll a jellyroll cake.
As you roll, secure the roll with a needle and thread at the bottom every few turns.
It was hard to get a good picture of this process. If you are unsure what I mean, the video above should help.
This is where you can get creative.
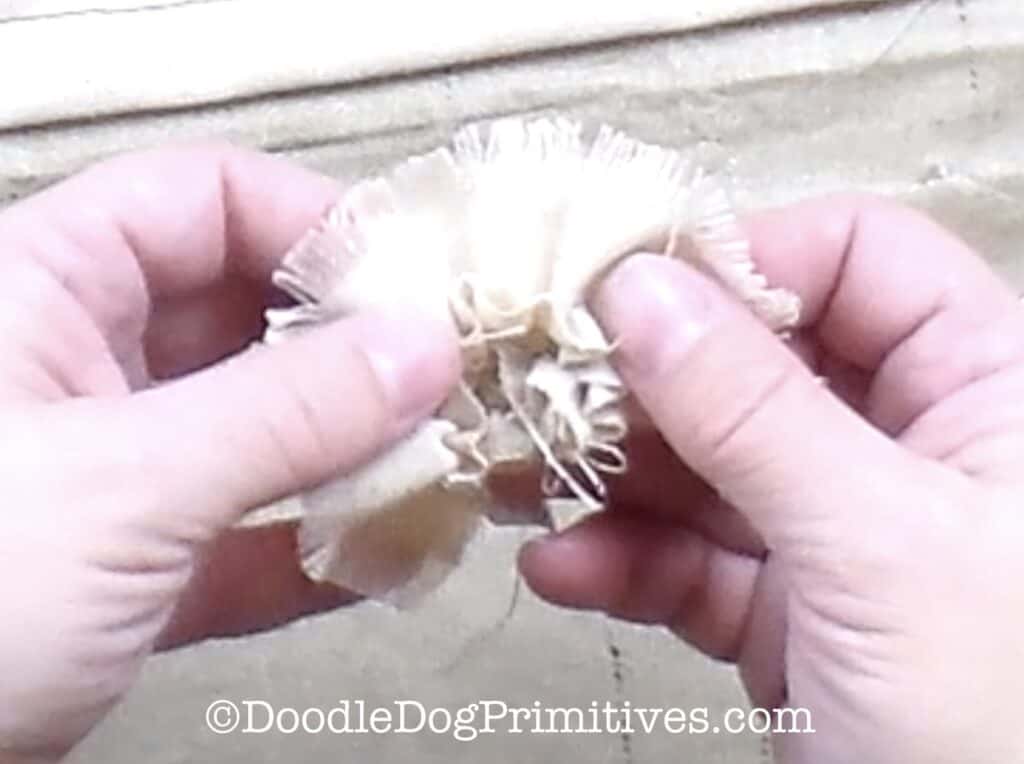
You can cut the strips off when the flower is large enough.
You can combine different strips to create a more interesting flower.
You can roll the strips tightly or more loosely.
Rolling the fabric strips in a tight coil produces a nice upright flower.
Holding the flowers upside down and attaching the strips
so they are somewhat laying down makes a flatter looking flower.
Attaching the Rustic Flowers to the Wreath:
Arrange the flowers on the wreath.
After you have them in an arrangement you like,
use hot glue to attach the flowers to the grapevine wreath.
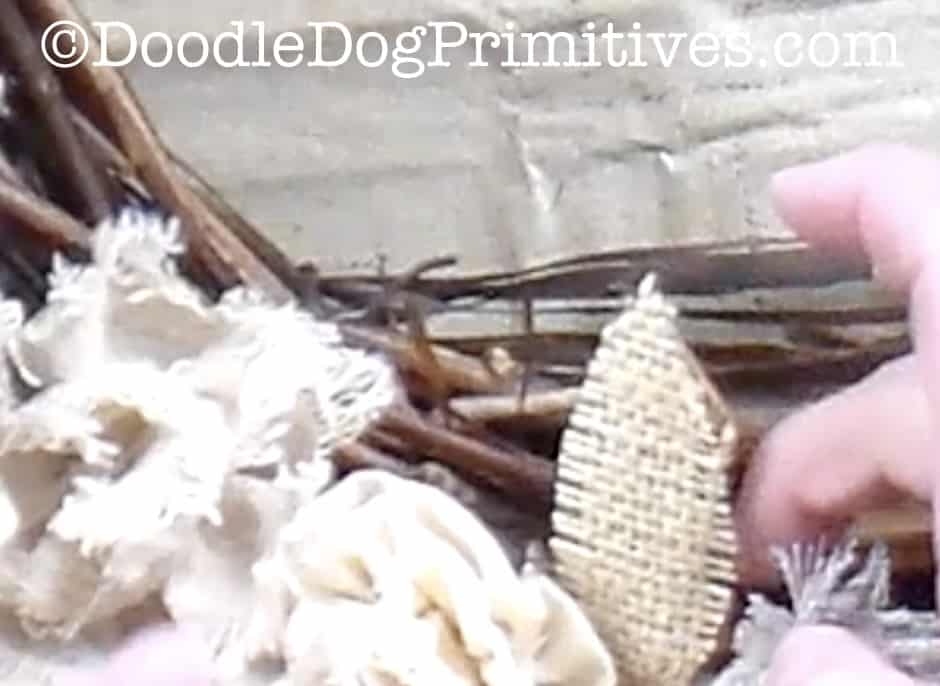
Flower Leaves:
You can cut some leaves out of burlap fabric,
unravel the edges of the leaves a little,
and hot glue them under some of the flowers.
I added three leaves.
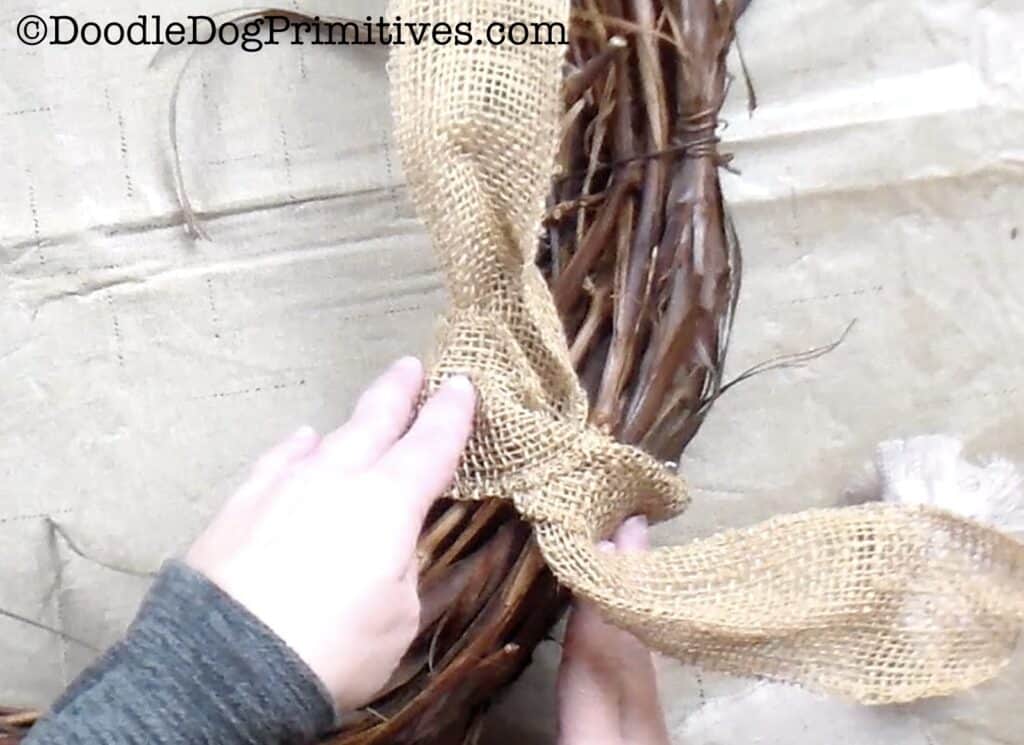
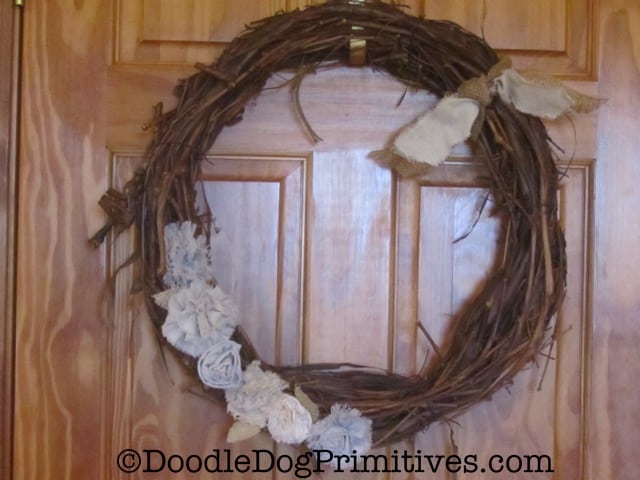
The Ribbon:
I tied a 2-1/2″ wide strip of burlap ribbon into a knot on the wreath.
I cut a strip of osnaburg fabric around 2″ wide and frayed the long edges.
I wrapped that over the top of the burlap ribbon and tied it in place.
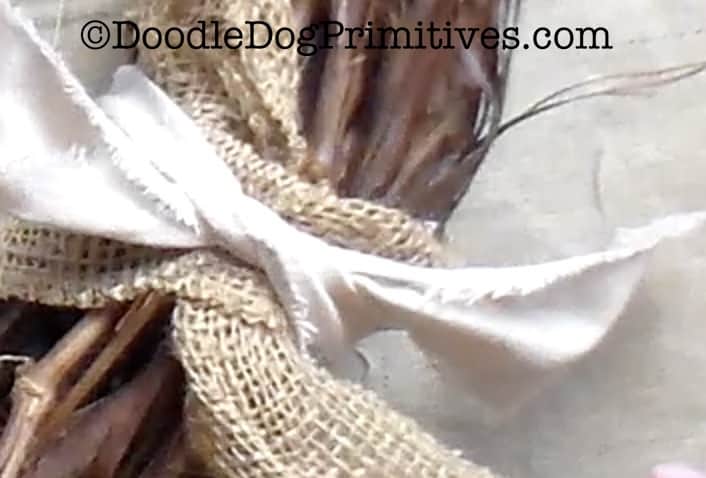
I then tied the burlap ribbon again over the top of the osnaburg.
Cut each end of the burlap ribbon at an angle in the length you like.
Bring the osnaburg fabric around to the front of the burlap ribbon.
Cut it a little bit shorter than the ribbon at the same angle as the ribbon.
Fray the ends of the osnaburg ribbon.
You might have to hot glue the osnaburg to the ribbon to keep it in place.
I would love to see what you create!
Blessings~
Amy
Be sure to Pin this Farmhouse Tutorial: