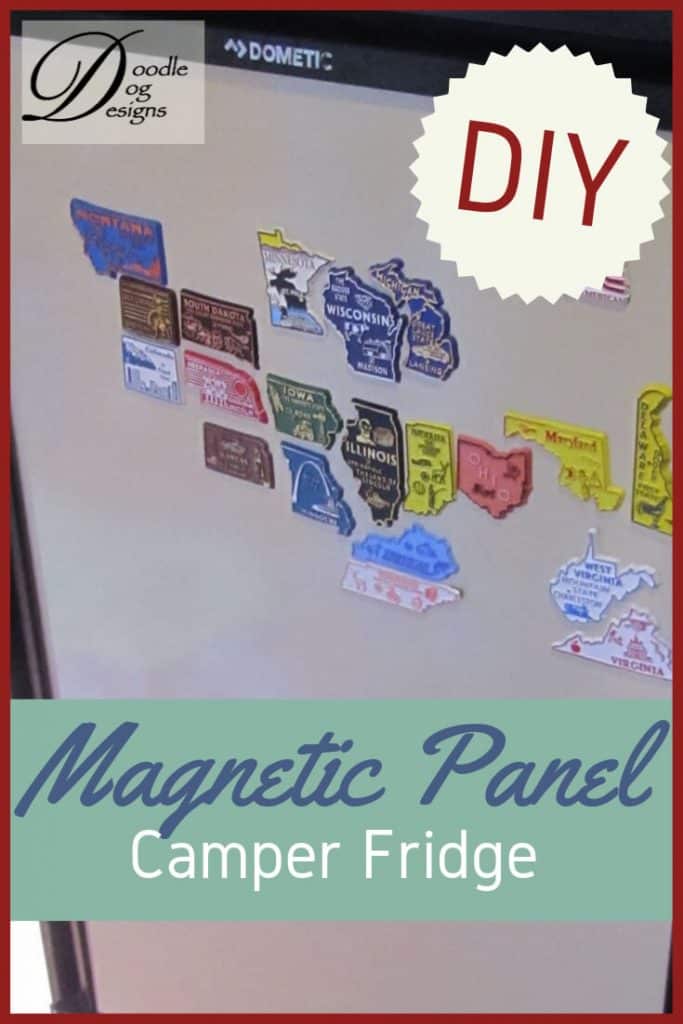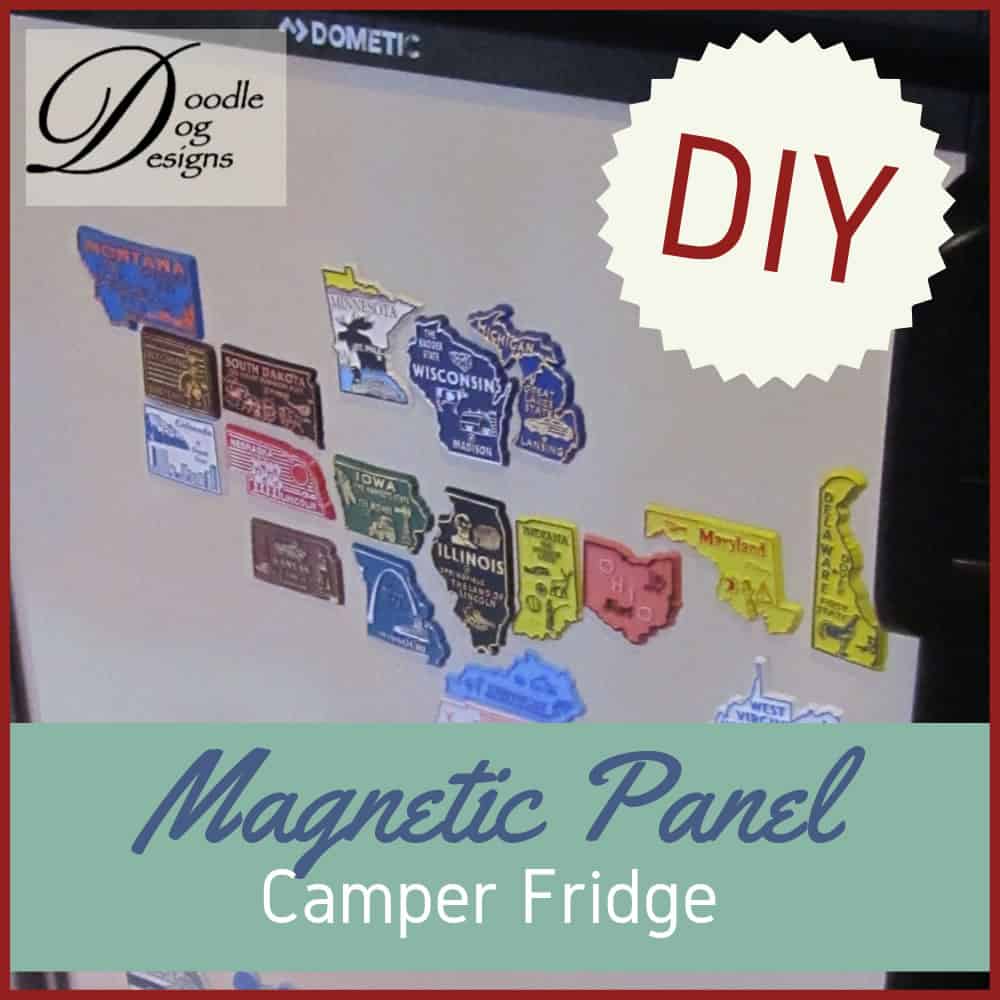
After living many years with
an electric-only refrigerator in our vintage camper
we needed to upgrade.
We decided to take the plunge and upgrade to an electric/propane fridge.
We were told we could get a wood grain panel or a black panel –
neither of which were magnetic.
The problem was – we had been collecting state magnets
from every state in which we camped.
And, we enjoyed having those magnets displayed
IN the camper ON the refrigerator.
So, we ordered the RV refrigerator without any panels
and made our own magnetic panels for our camper fridge.
This post may contain affiliate links for your convenience, which means if you make a purchase after clicking a link I will earn a small commission but it won’t cost you a penny more. For more information, please visit our Privacy Policy.
Supplies for Camper Fridge Magnetic Panels:
- Sheet Steel – for fridge and freezer
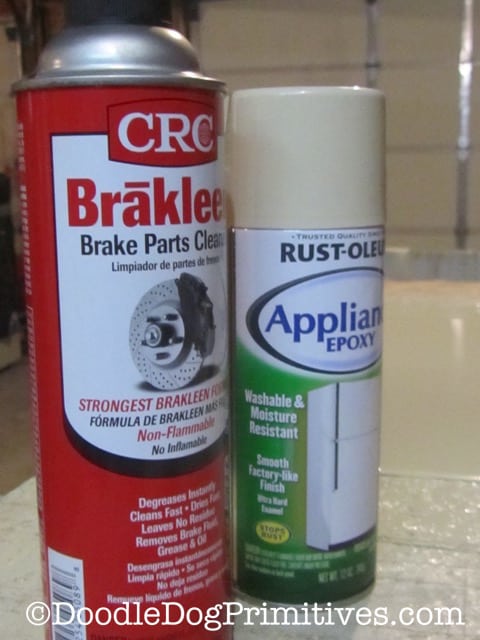
- Brake Parts Cleaner
- Appliance Epoxy
- Steel Cutting Shear
Cutting the Panels:
First, cut the sheet steel to size.
We used this shear to cut the steel because we had access to it.
A cheaper tool might work just as well,
but we haven’t tried anything else
so I don’t want to recommend something that might not work.
You might also visit a HVAC shop and have them cut panels to size.
How to Measure for your Refrigerator Panels:
If you already have refrigerator panels,
just remove the top plastic piece from the fridge door
and slide out the panel.
Measure the panels to know how large to cut your new magnetic panels.
If you are like us and don’t have old fridge panels,
here’s how we measured our brand and model of fridge.
Yours might be different.
Remove the top plastic edge that would hold the panel in.
With it removed you can look down and see the slots in the plastic edge pieces on the sides of the fridge door that hold the panel in place.
Measure the width from the inside of one slot to the inside of the other.
To measure the height, take a scrap of paper and slide it into the plastic edge piece that forms the bottom of the door.
Mark how far the paper goes into the slot and then add that much to the distance from the top of the door to the bottom plastic edge.
Again, this method worked for our fridge – yours might be different.
After you cut your panels,
it is a good idea to slide them into the refrigerator
to make sure they fit before you paint.
Preparing the Fridge Panels:
The sheet steel we purchased had been treated
with an oil to prevent rusting in the store.
The oil needs to be removed before painting.
A spray on brake parts cleaner took the oil right off –
just follow the instructions on the can.

Following the instructions on the appliance epoxy paint can,
paint the sheet steel.
We chose almond color because it matches our stove and stove hood.
After it has dried, it is time for installation!
Installing the Magnetic Panels on Camper Refrigerator:
Slide the panels in from the top.
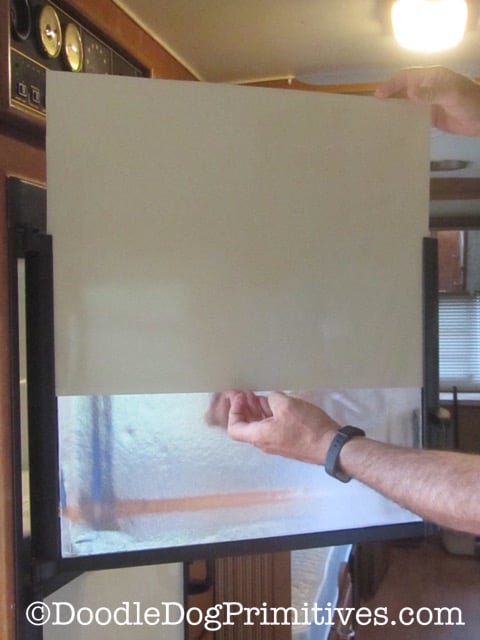
After they are installed,
snap on the top plastic cover.

That’s it! Here’s my fridge all finished.
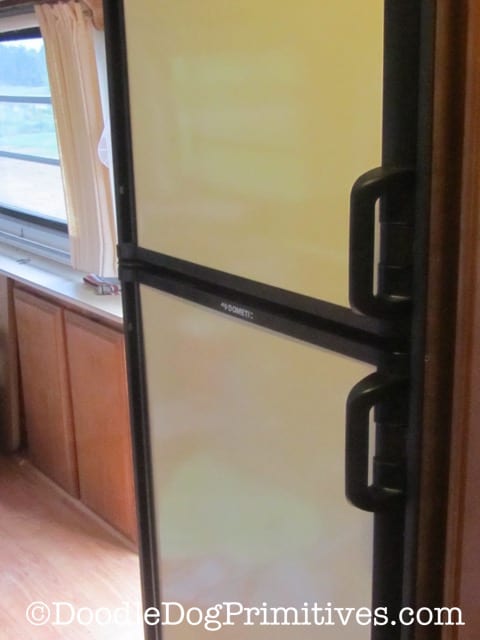
We did wait a few days to make sure the paint was cured
before adding our magnets.
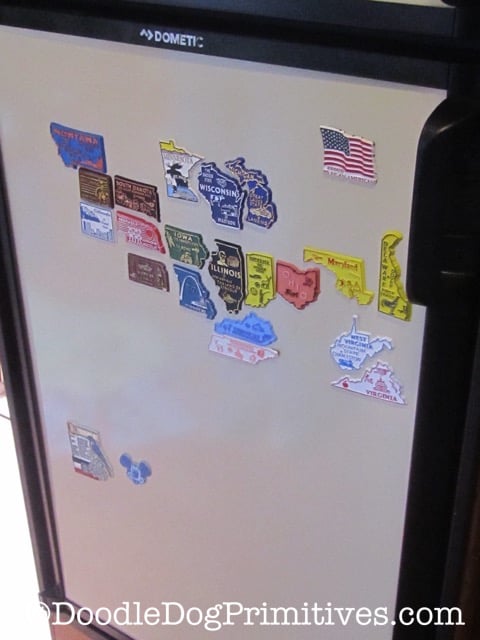
We don’t have all the states visited yet,
but we are working on it!
Blessings~
Amy
