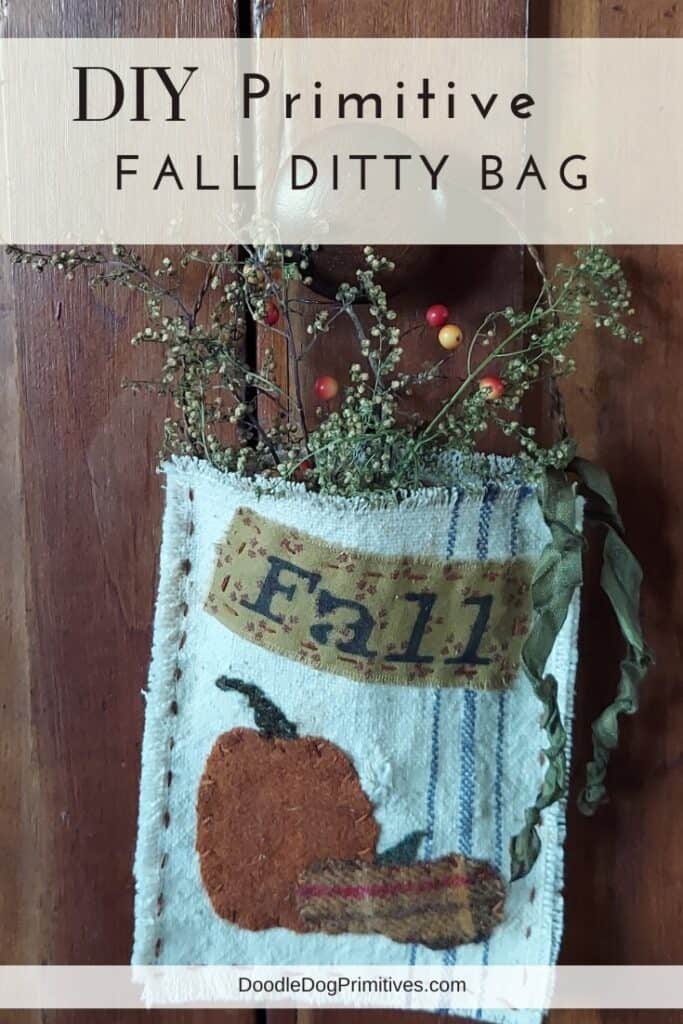
I have some scraps of an antique feed sack that I decided would be perfect for a DIY primitive fall ditty bag. The feed sack has some wonderful old stains, amazing ticking stripes, and an authentic hole.
When it is finished, I will add some fall ‘greenery’ such as bittersweet and some sweet annie and hang it from the knob of my pie safe.
Watch the Video Tutorial:
This post may contain affiliate links for your convenience, which means if you make a purchase after clicking a link I will earn a small commission but it won’t cost you a penny more. For more information, please visit our Privacy Policy.
Cutting the Bag:
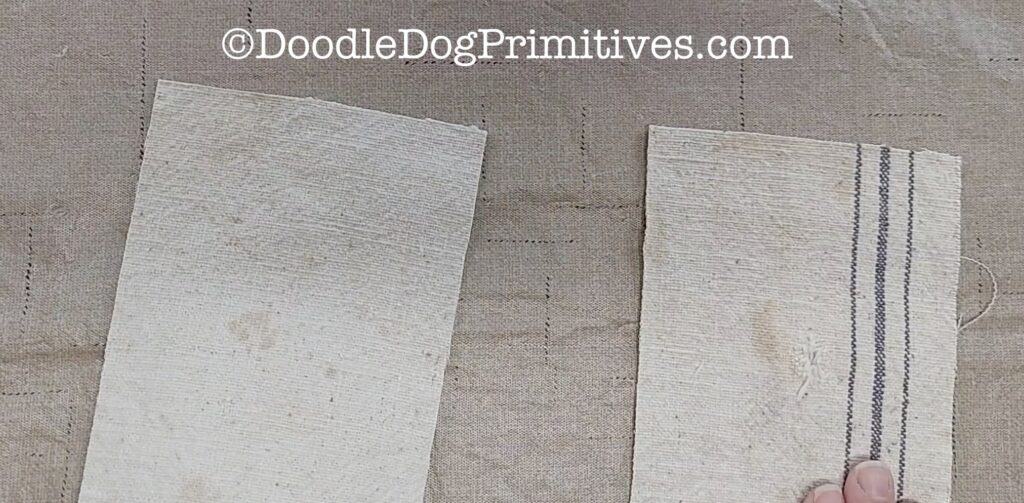
I cut two pieces of the feed sack, each 4-1/2″ x 6″. The piece I will use for the front of the ditty bag has the hole and stripes. The back piece is plain feed sack so I can save the pin striped areas of the feed sack for another project.
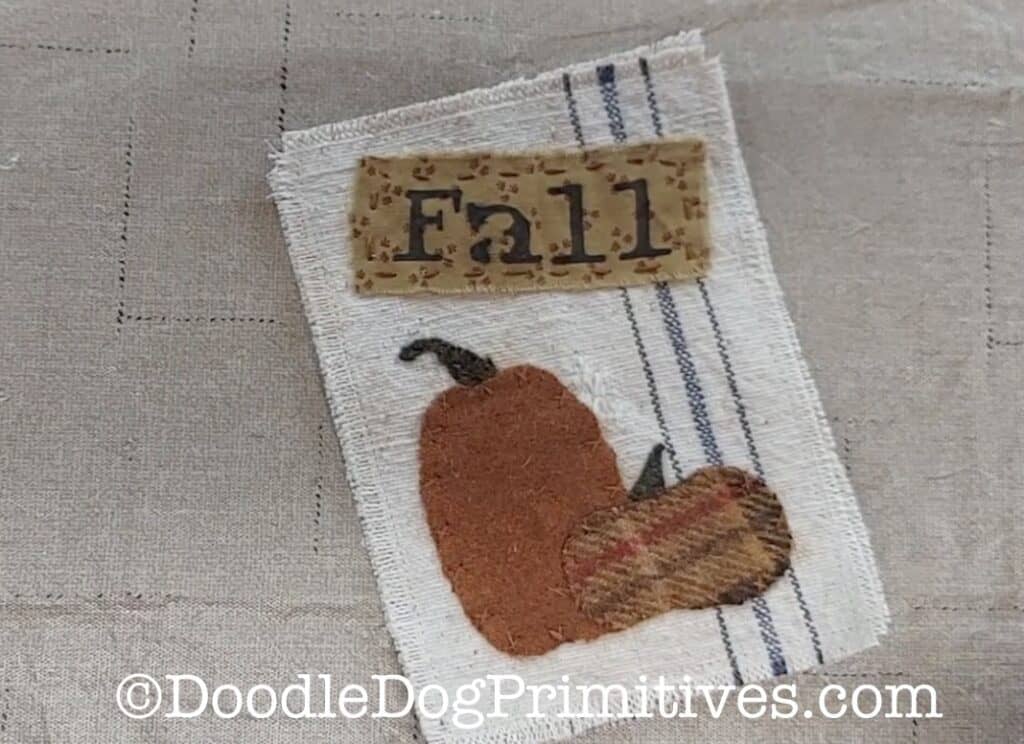
Adding the Pumpkins:
My plan is to add some felted wool pumpkins but I don’t want to waste any of the felted wool. Since craft felt is so much cheaper than wool, I experimented with craft felt to find a good combination of pumpkin sizes for the ditty bag.
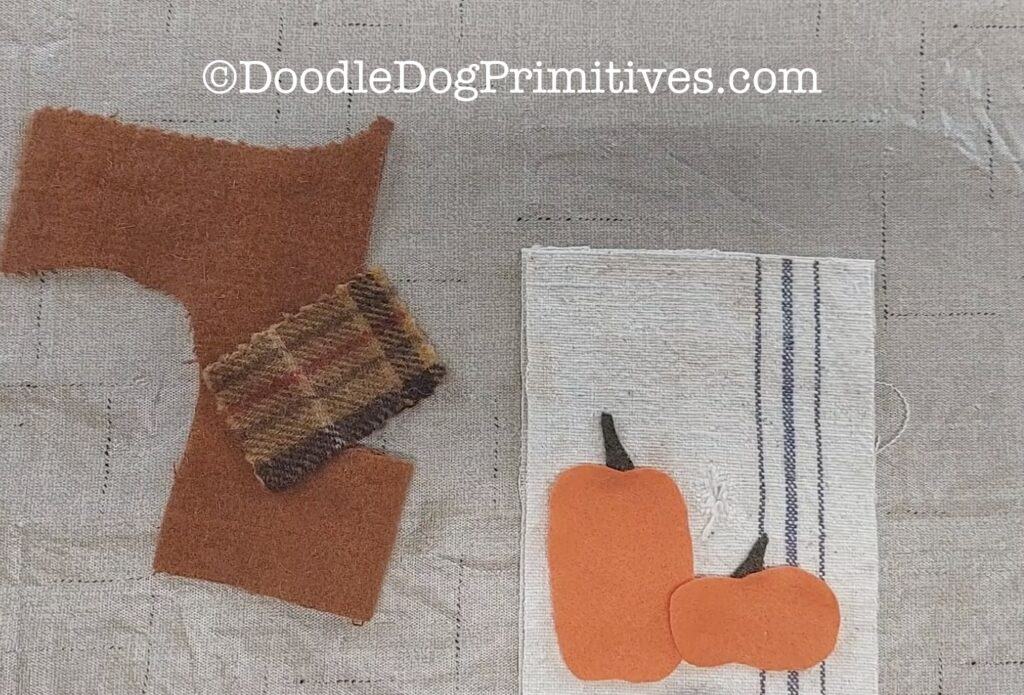
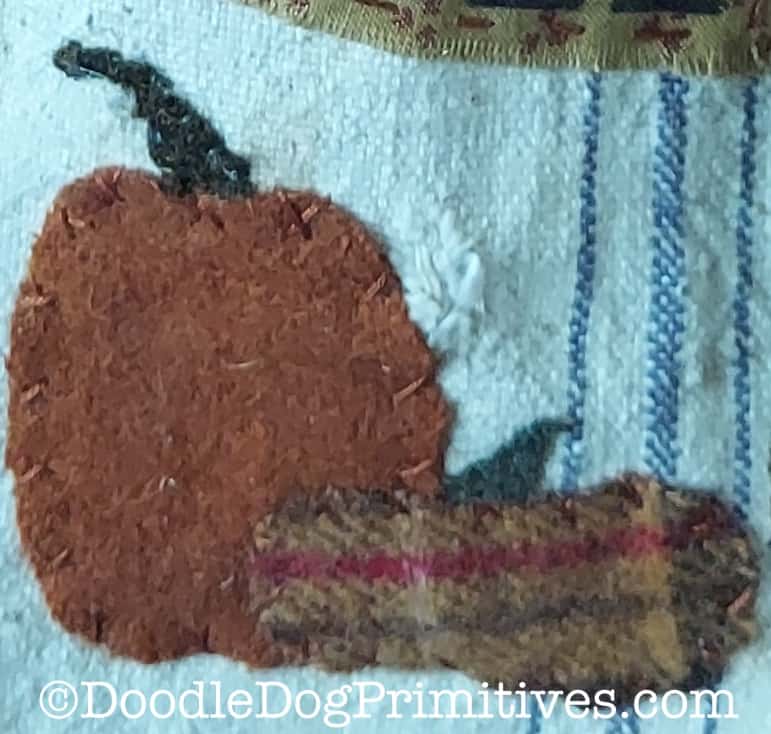
Once I had some pumpkin patterns that I liked, I cut the pumpkins and stems from felted wool using the felt as patterns. If you want to use my pumpkin patterns, you can find them here.
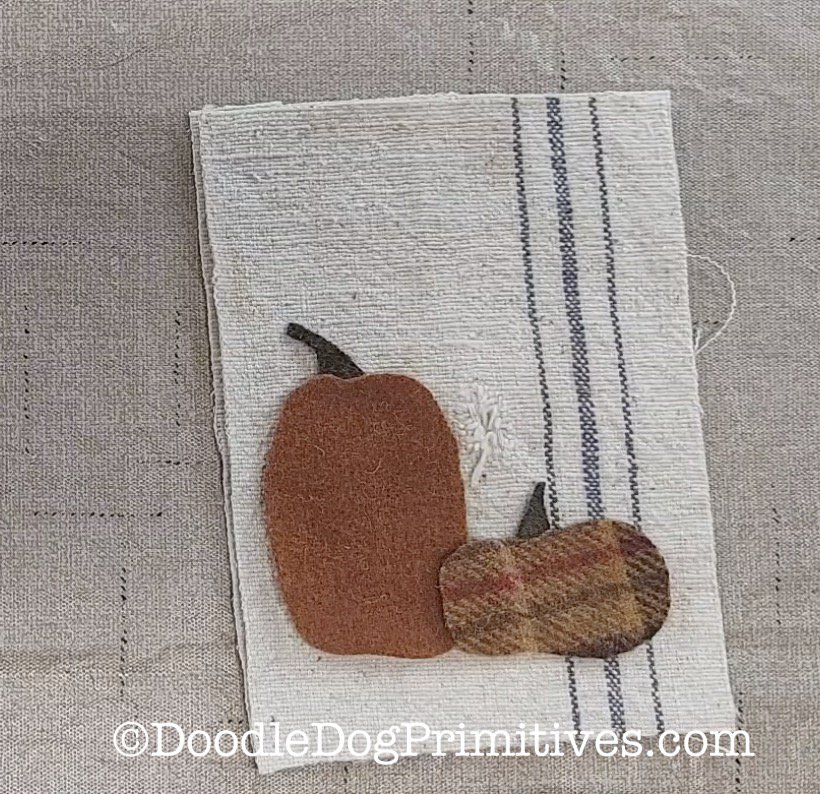
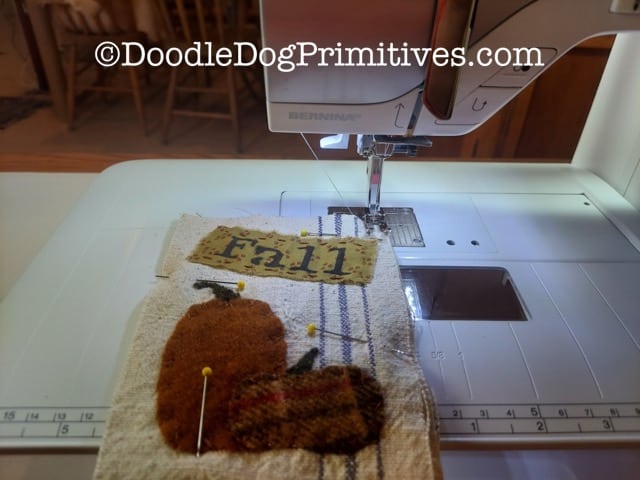
I used a small amount of craft glue to tack the pumpkins into place while I sewed them onto the bag.
Make sure to leave enough room on each edge for a quarter inch seam. I had to move the tall pumpkin over AFTER I had sewed it on.
I used 2 strands of a matching DMC embroidery floss to sew the pumpkins onto the ditty bag. I used large x’s all the way around each pumpkin.
After a little trial and error, I used 1 strand of a green DMC embroidery floss to sew the stems onto the ditty bag.
Adding the Fall Sign:
I tore a piece of cotton fabric 3-1/2″ x 1-1/4″ and raveled the edges.
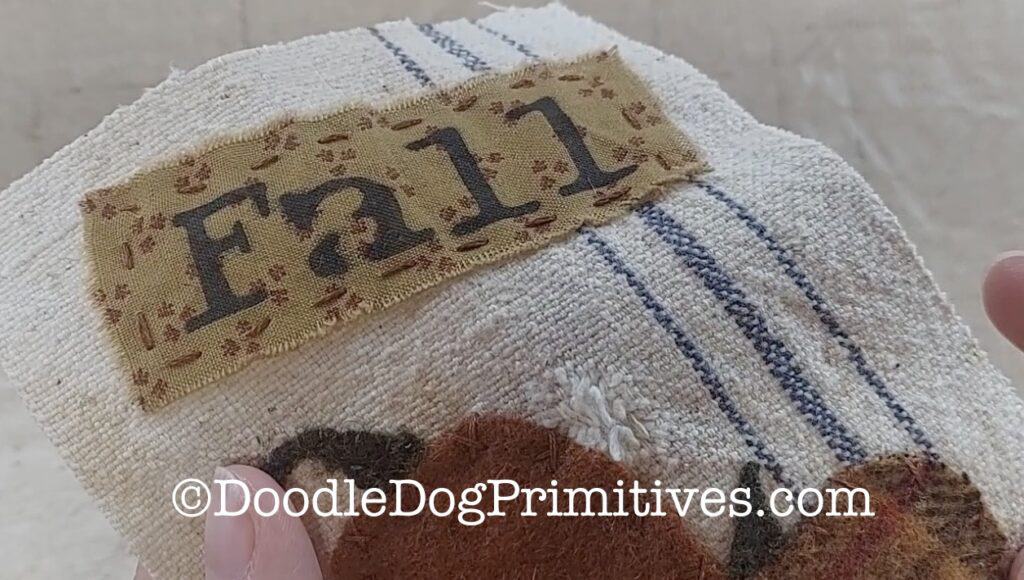
I used a black permanent marker and some stencils I have to stencil the word Fall onto the cotton fabric.
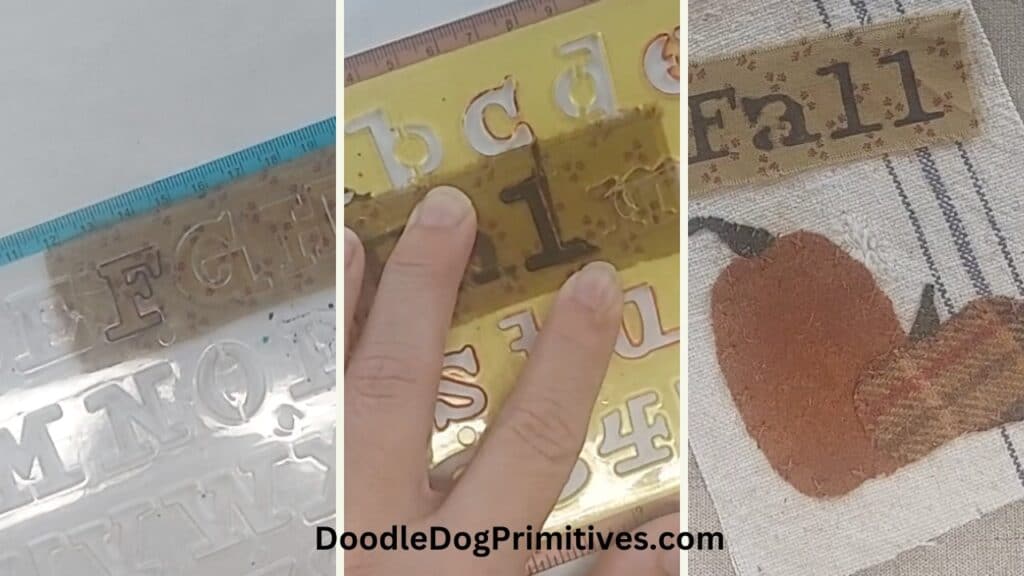
Using 3 strands of the same orange embroidery floss I used before, I stitched a running stitch all the way around the Fall cotton fabric.
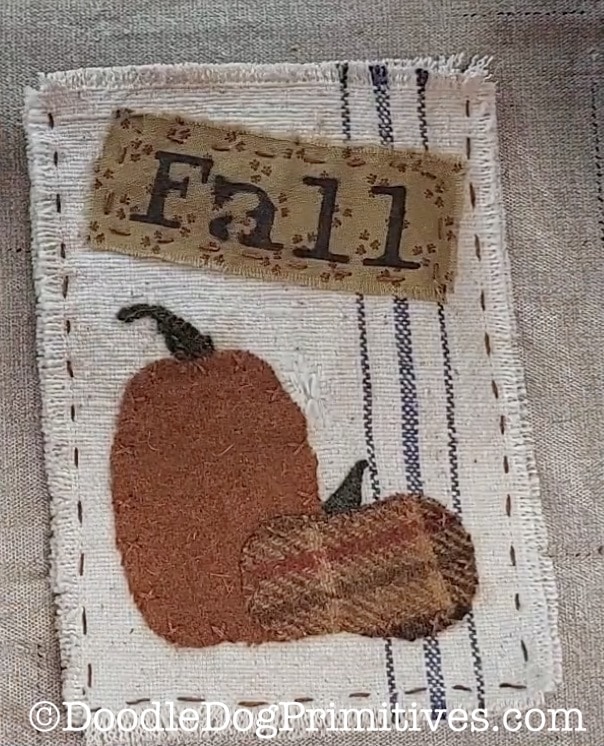
Assemble the Primitive Ditty Bag:
I want the edges of the bag to unravel, but not too much. To keep things in check, I stitched 1/4″ from the top edge on both the front and back pieces of the ditty bag.
I stacked and pinned the front and back pieces of the bag, wrong sides together. I stitched along the sides and bottom of the bag using a quarter inch seam.
After sewing, I started unraveling the seam allowances to give the ditty bag a frayed appearance.
Once again, using three strands of the orange embroidery floss, I stitched a running stitch around the sides and bottom of the ditty bag. I stitched this right along the machine stitched line.
This stitching is to make the bag look like it was hand sewn in a primitive way.
Finishing the Ditty Bag:
I cut an 11″ piece of rusty 20 gauge twisted wire to make a handle. I bent both ends of wire at around one inch from the ends.
On each side of the ditty bag at the top, I poked the ends of the wire onto the inside of the bag and through the back of the bag.
Then I twisted the bent over portion of the wire onto the rest of the wire.

I added some sweet annie and bittersweet berries to the bag and some dark green crinkly ribbon tied onto the handle.
Be sure to check out our other primitive craft tutorials.
Be sure to Pin this Primitive Fall Craft Tutorial: