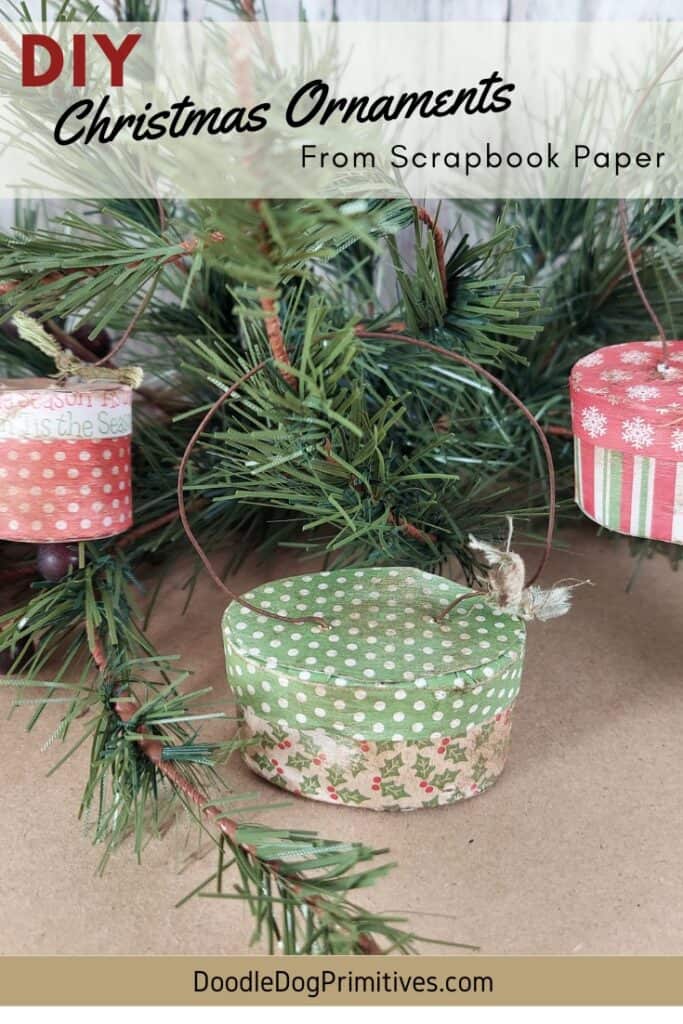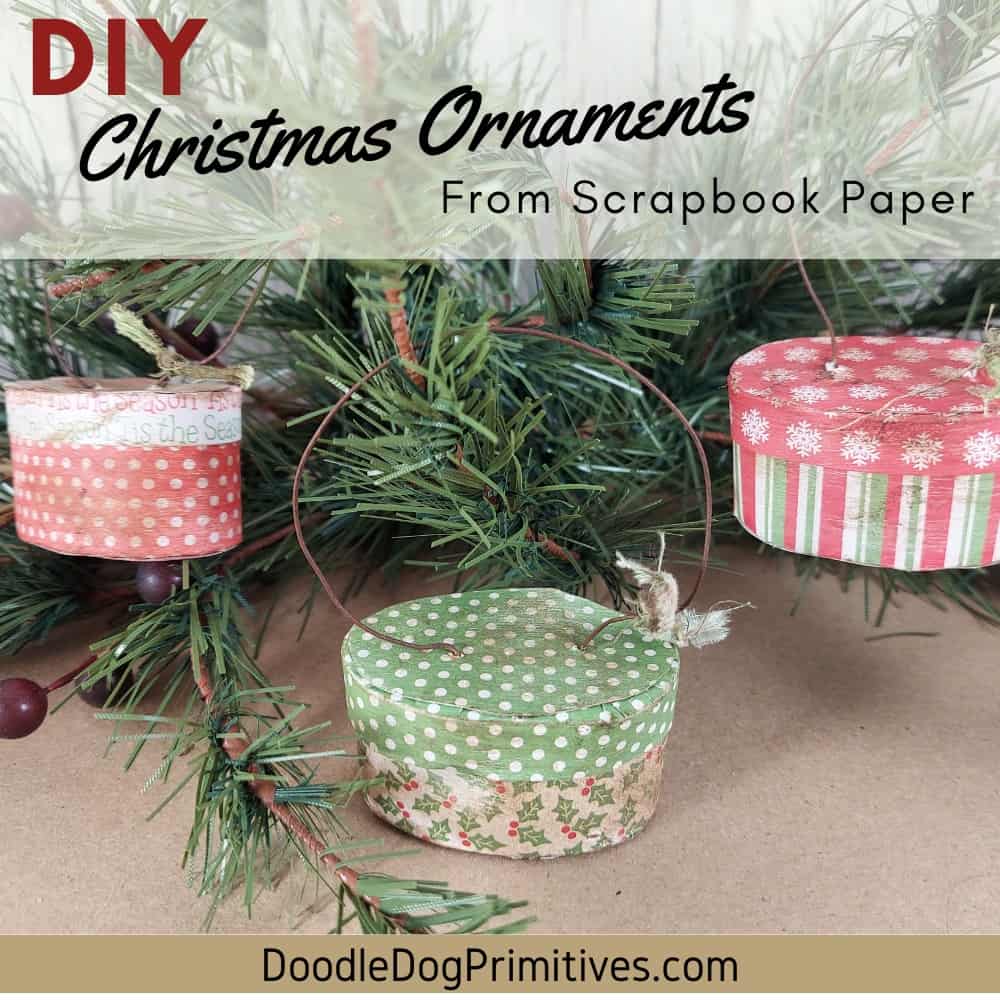
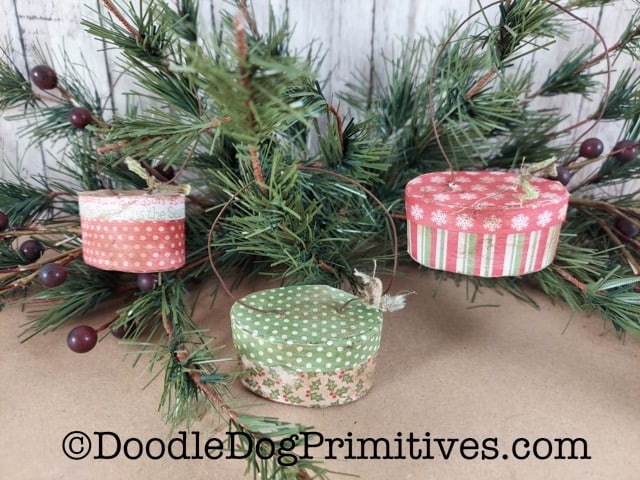
These primitive ornaments are fun to DIY with just scrapbooking paper, glue, and rusty wire. You can hang them from the top as I have done or hang from the side and affix a decorative element to the top of the little box.
I made all of mine in an oval shape. These would also be cute made as circles – perhaps even taller ornaments to look like an antique hat box.
Read on for an easy to follow tutorial and free printable ornament template.
Watch the Video:
This post may contain affiliate links for your convenience, which means if you make a purchase after clicking a link I will earn a small commission but it won’t cost you a penny more. For more information, please visit our Privacy Policy.
Choose the Scrapbooking Paper:
These boxes are very inexpensive to make since the box part is made from scrapbooking paper.
Pattern of the Paper:
When choosing scrapbooking paper to use for the boxes, keep in mind the size of the boxes. The finished ornaments are only about two inches wide so small prints are best.
I chose a Christmas paper pack with a small print so it would be easy to mix and match the papers for the tops and bottoms of the box.
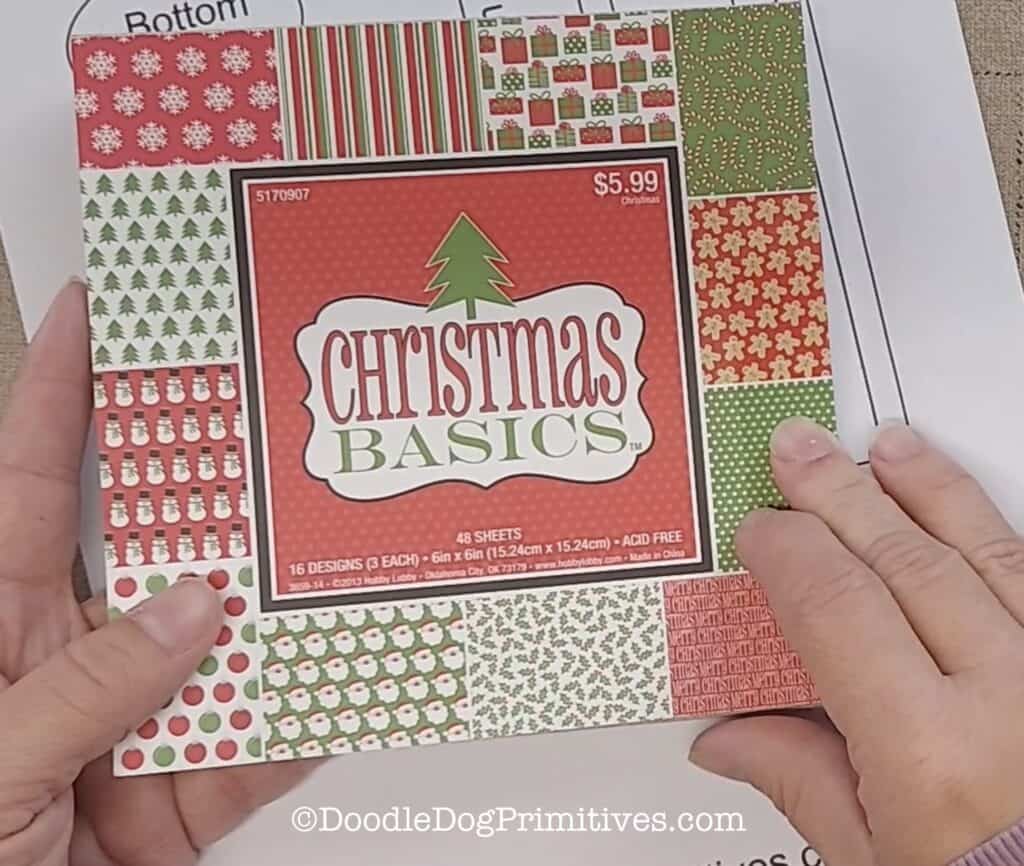
Some scrapbooking papers are designed to have an aged look. Those are going to be the easiest to use because you can skip the aging step. But if you choose new looking scrapbook papers like I did, it is not hard to give them a distressed look.
Thickness of the Paper:
Choose paper that is thicker than notebook paper but thinner than cardstock.
Other Supplies:
You will also need some thin cardboard (cereal box weight), rusty wire, fabric scraps to match the paper, antique wax, a scoring tool, and fast grab glue.
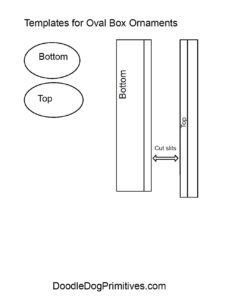
You will also need the Christmas ornament templates. You will find them here.
Cut out the Ornament:
Print out the ornament template page. Notice the oval for the top is slightly larger than the oval for the bottom. This will allow you to slide the top (lid) over the bottom when the box is assembled.
Cut out the rectangles along the outer lines. The inside line is a scoring line.
Cut from the thin cardboard food box: one oval for the top and one oval for the bottom.
Cut from the scrapbook paper for the top of the box: one top oval and the top rectangle.
Cut from the scrapbook paper for the bottom of the box: one bottom oval and the bottom rectangle. If you want your ornament to be taller, you can adjust the size of the bottom rectangle.
It is a good idea to label all of these parts on the back sides because the ovals are easy to mix up.
Age the Paper:
If you want to make the boxes look old, you can lightly sand the scrapbook paper with a fine sandpaper (180 grit).
Assemble the Ornament:
On each rectanglar piece, score 1/4″ away from one of the long edges and fold the paper to the inside. If your paper is directional, score from the bottom of the paper on the bottom rectangle and from the top of the paper on the top rectangle.
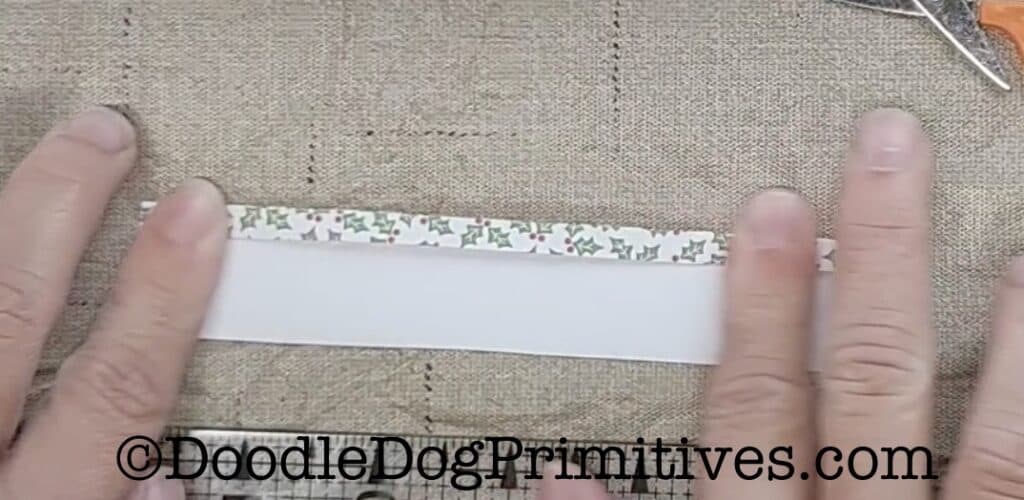
On the folded over edge of the papers, cut 1/8″ wide fringe up to the fold line all the way across.
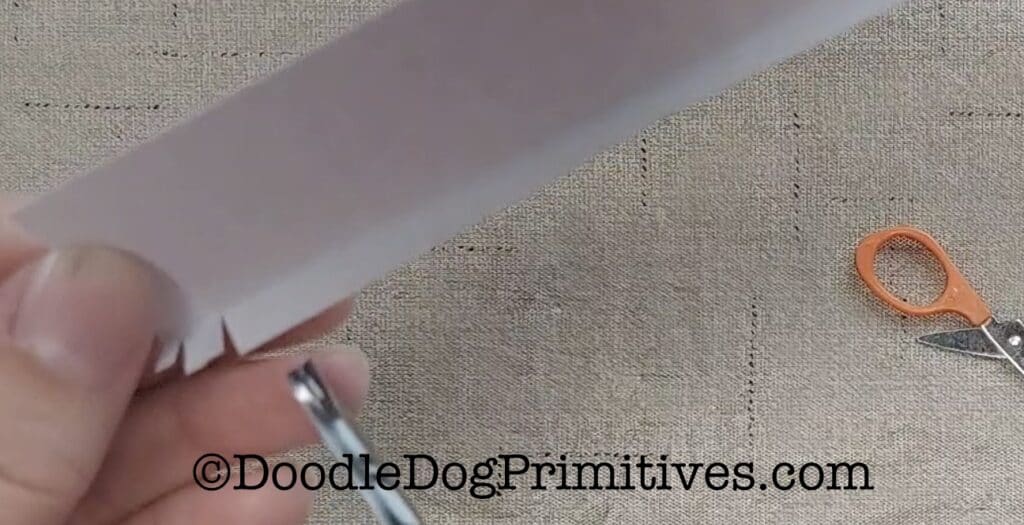
Apply glue to the fringed area of one rectangle on the back side of the paper. I used a wooden skewer to do this to have better control over the glue. Fast grab glue is extremely useful for this craft. If you don’t have any, you will end up holding the parts together much longer.
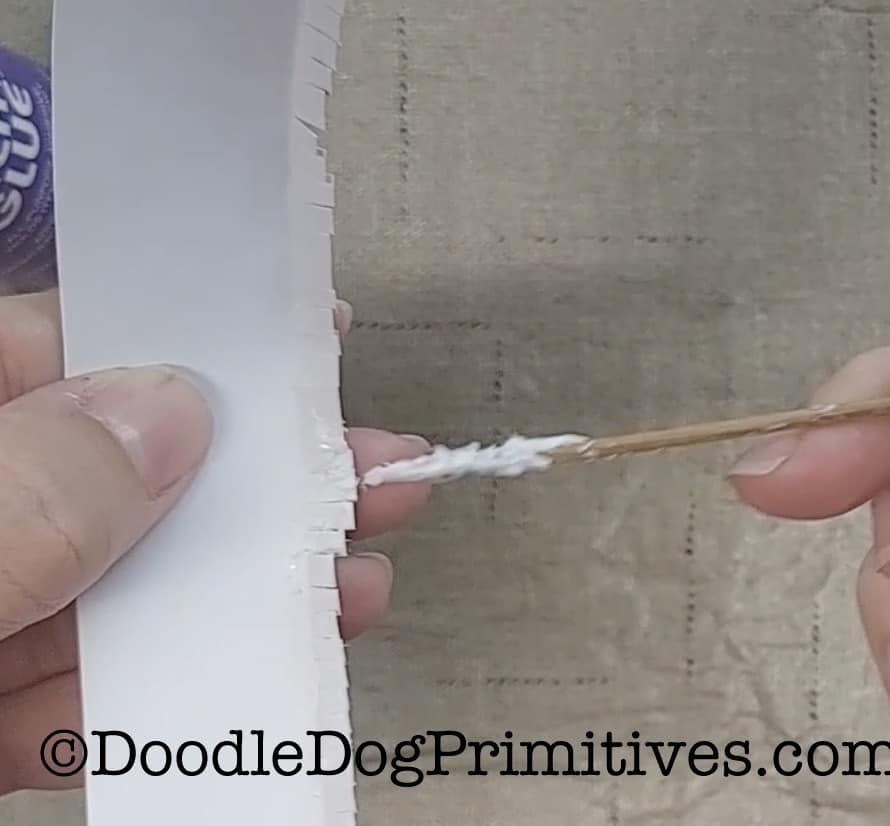
Starting in the middle of one of the long sides of the corresponding cardboard oval, glue the fringe to the oval, curving the paper around the oval. The oval is the bottom and the rectangle is the side. Glue the overlapping ends of the rectangle together.

Glue the corresponding scrapbook oval to the outside of the box. Trim oval first if necessary.
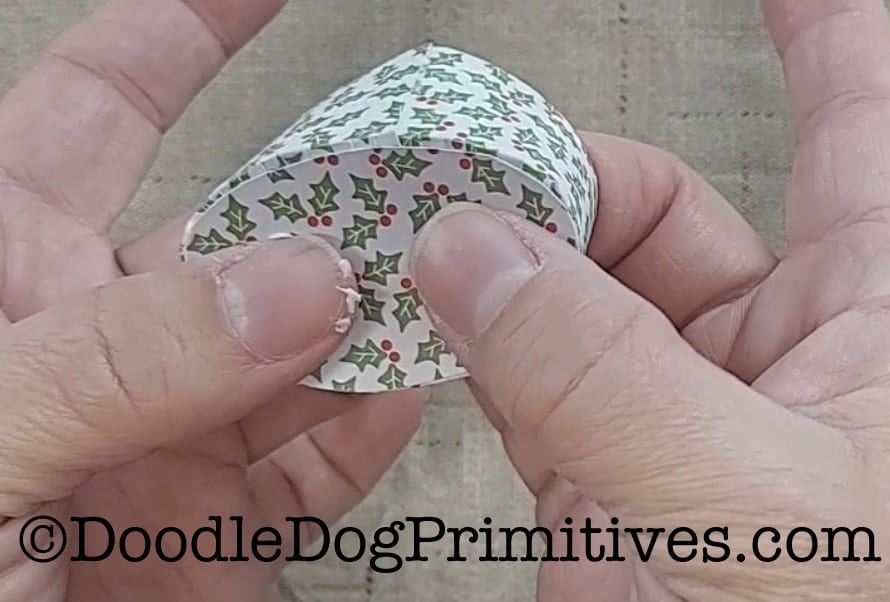
Repeat for the top of the box.
Distress the Box:
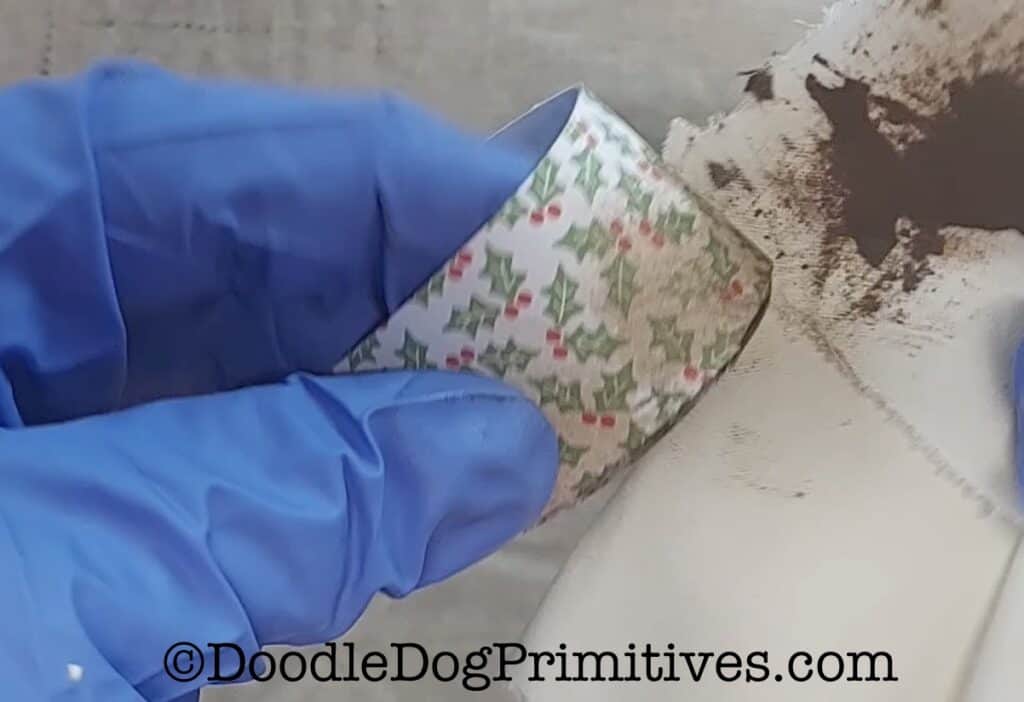
If you want the boxes to look a little grungy, you can add a little bit of antique wax to them. Be careful with this as a little goes a long ways!
Finish the Primitive Ornaments:
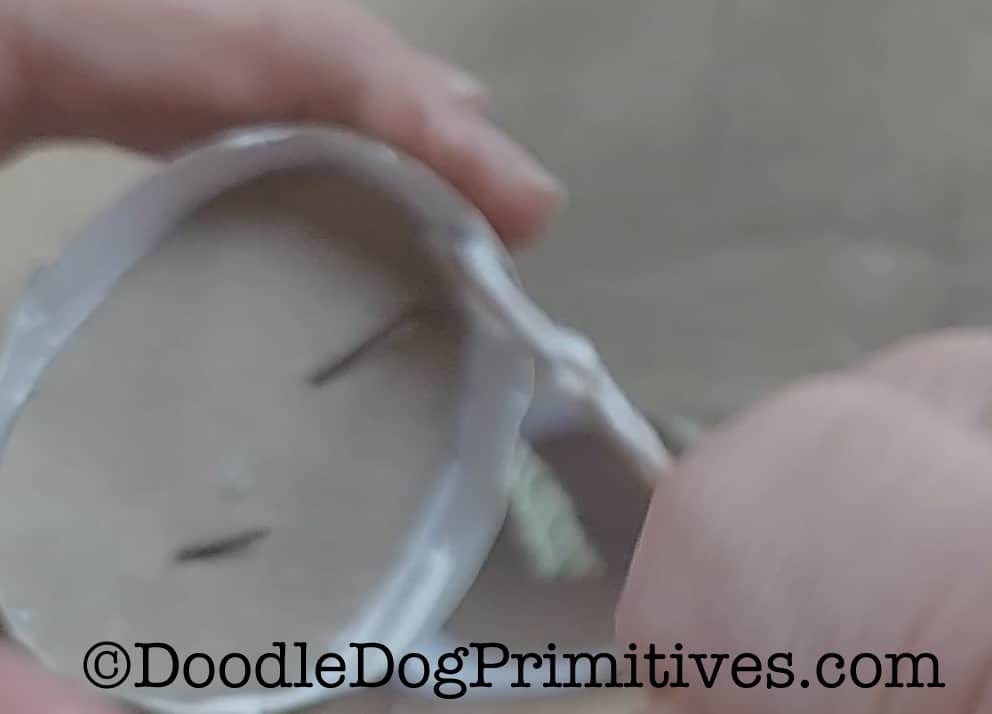
Cut a 7″ piece of rusty wire. Poke two holes though the box where you want the hanger. Put the wire through the holes and fold the ends of the wire over on the inside of the box to hold it in place.
If desired, tear a strip of coordinating fabric and tie it onto the handle. You can also grunge the fabric with the antique wax first.
Finally, glue the top of the box to the bottom. Make sure you put both of the seams on the same side of the box. Apply glue to the inside rim of the top and then place it on the bottom of the box.
I hope you enjoyed learning how to DIY these Christmas primitive ornaments.
You might also like our other primitive craft tutorials.
Be sure to Pin this primitive craft tutorial:
