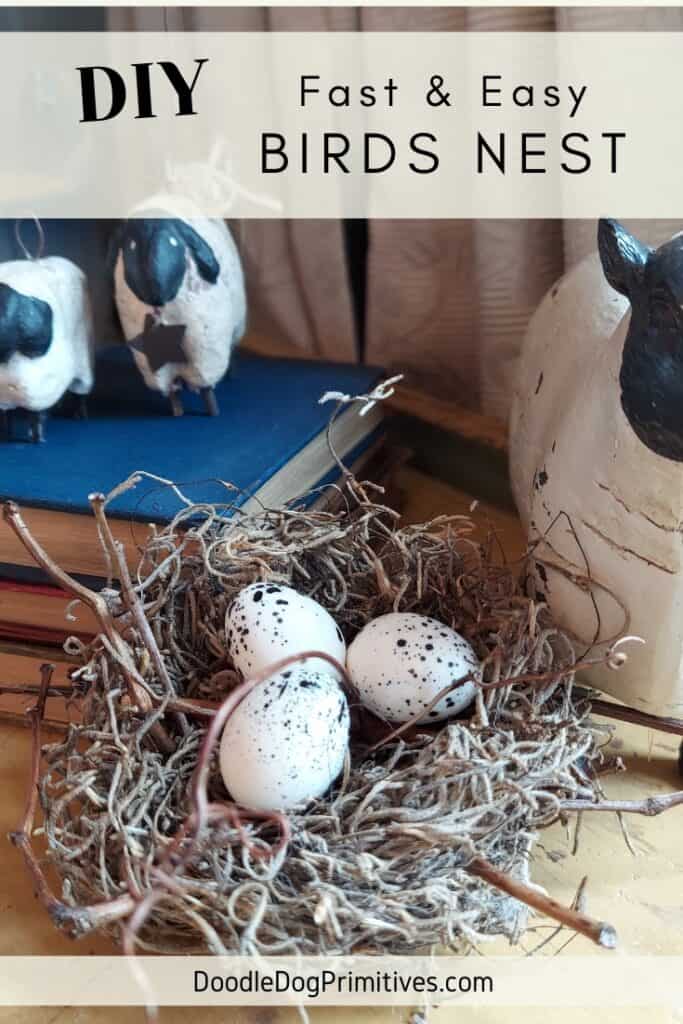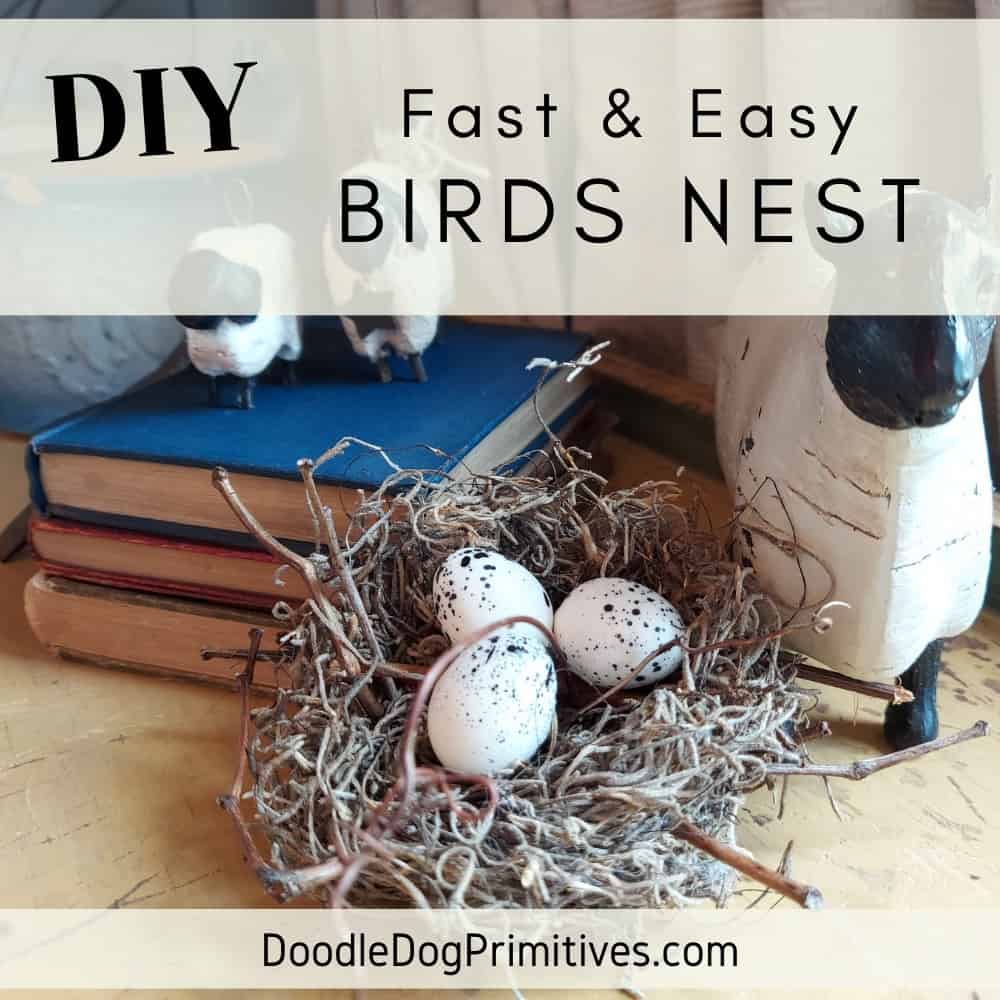
It is fun to use nature inspired items in your home. I designed this fast and easy to make bird nest tutorial to be able to add a little bit of nature to my primitive farmhouse decor.
This bird’s nest only takes a few supplies and can be made in under 20 minutes. So, let’s get started!
This post may contain affiliate links for your convenience, which means if you make a purchase after clicking a link I will earn a small commission but it won’t cost you a penny more. For more information, please visit our Privacy Policy.
Supplies for Bird’s Nest:
Watch the Video:
Prep and Gather Supplies:
This is a craft project that should be completed outdoors. Both the spray adhesive and sealer have strong odors.
Lay down some newspapers or other disposable papers on your work surface so you don’t get any spray residue on anything important.
Have all of the supplies gathered before starting because the glue will dry fast.
Shape the Bird’s Nest:
Wearing some rubber gloves, pull out a chunk of Spanish moss. Arrange it into the shape of a nest.
Add or remove moss to get the correct size. It is helpful to have the eggs on hand that you plan to use in the nest in order to correctly gauge the size of the nest.
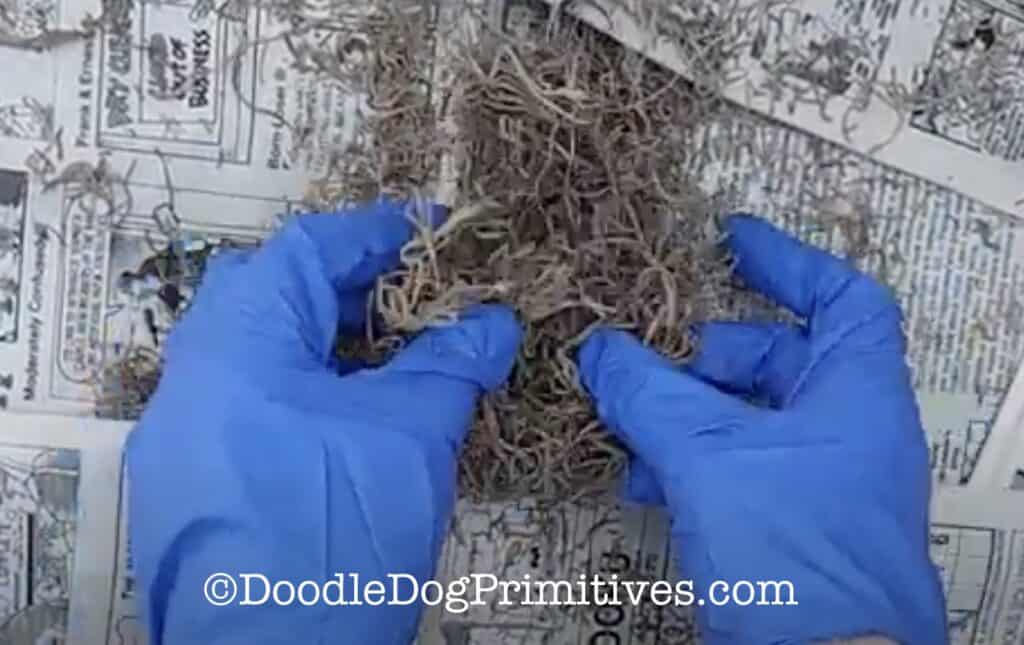
Once you have the Spanish moss into a nest shape, spray it all over with the spray adhesive.
Continue shaping it with your hands into the shape of a nest. Really massage the Spanish moss to get the spray adhesive into the entire nest.
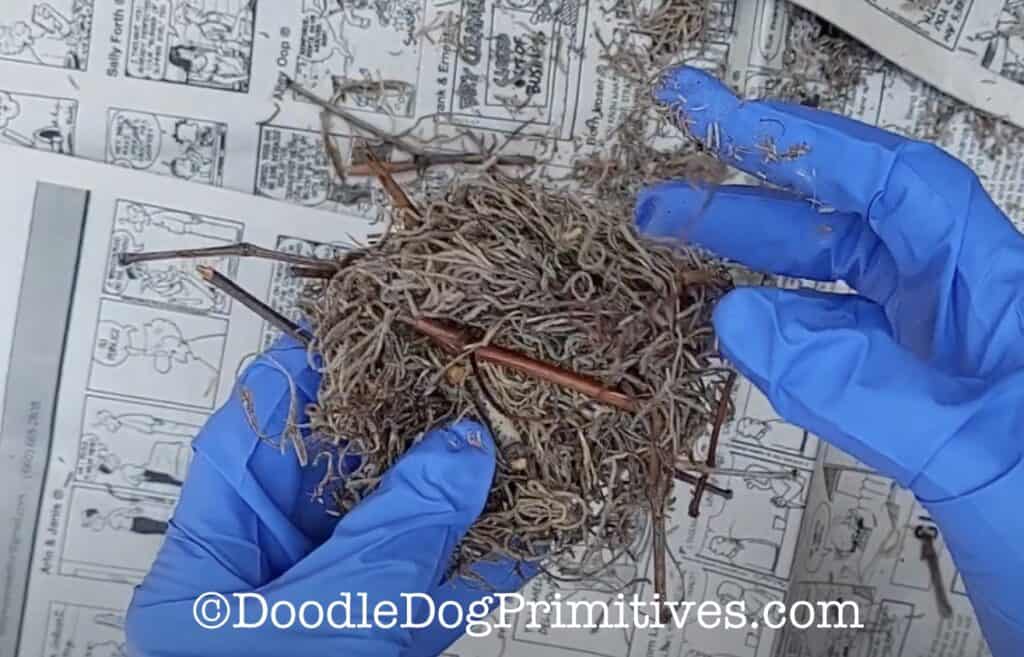
Add Twigs to the Nest:
Use the pruners to cut grapevine or twigs into small pieces to add to the nest. Some of the wild grapevine that grows in one of our trees had fallen out during a recent storm, so I used that.
You could also add other elements to your nest.
Re-apply the spray adhesive as necessary to make sure everything sticks together.
Let the adhesive in the nest dry.
Seal the Nest:
The last step is to seal the nest with a clear matte spray sealer. Spray on all sides of the nest and allow to completely dry.
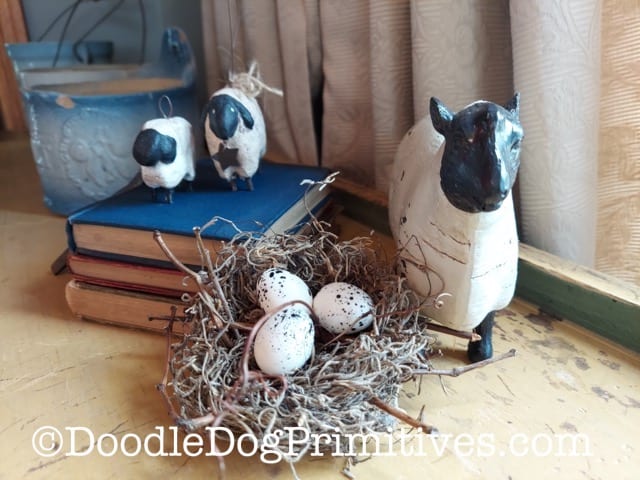
Enjoy your bird’s nest!
Be sure to check out our other craft tutorials.
Be sure to pin this easy bird nest tutorial: