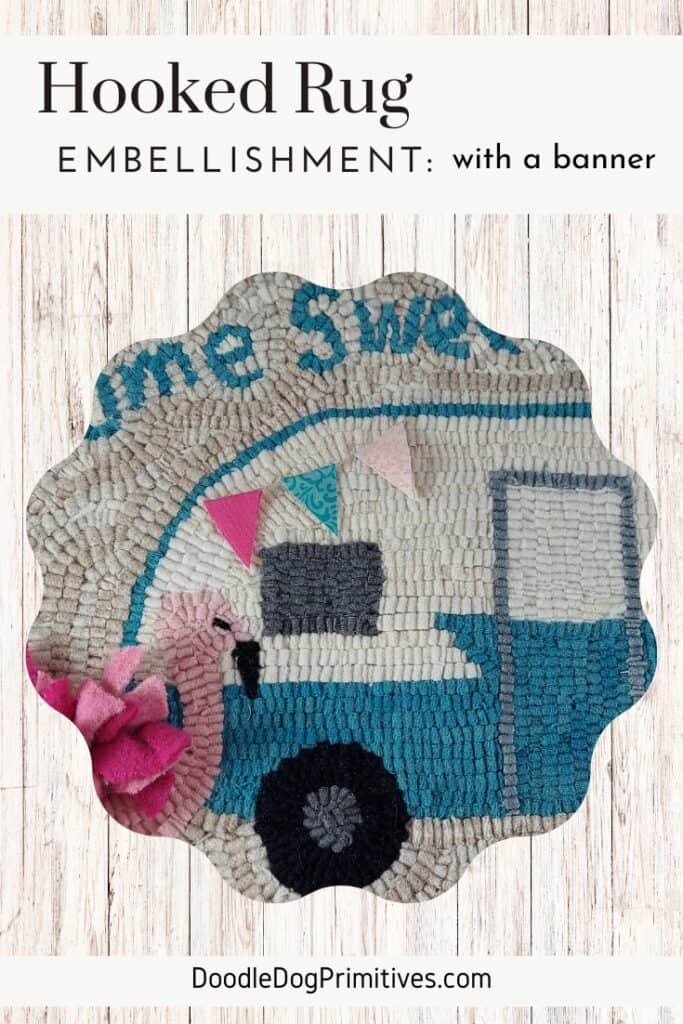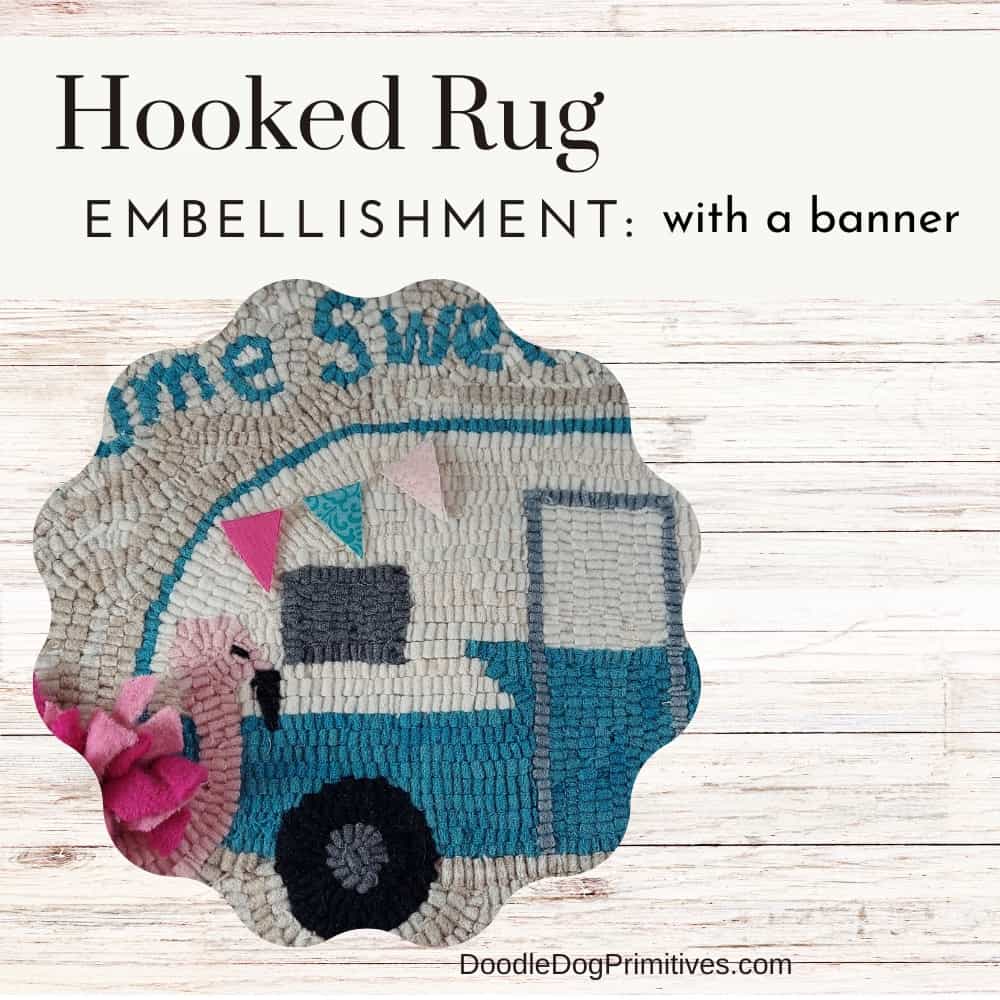
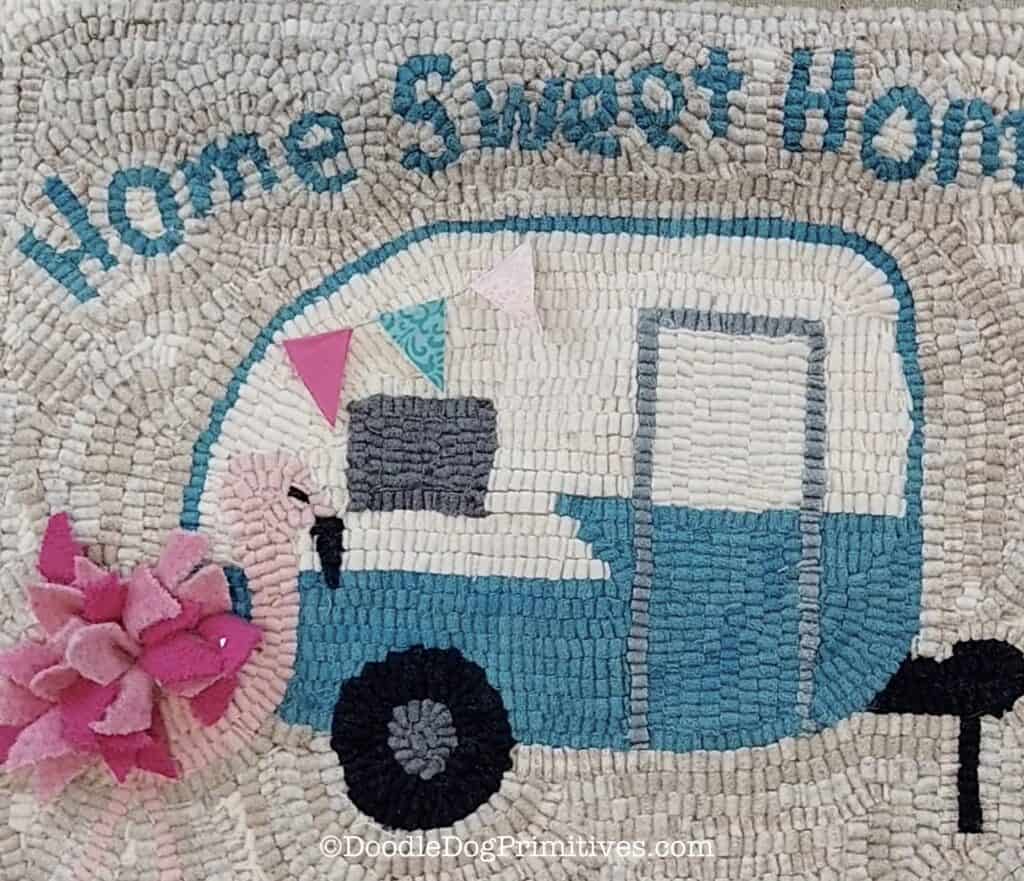
Since I was FINALLY getting ready to hang this camping themed hooked rug in my vintage camper, I was looking at other camper decorating ideas to add to my camper wall to make a little collage. I noticed that a lot of the vintage campers have a banner hanging on them. So I decided to try embellishing this camper hooked rug by adding a 3D banner.
Watch the Video:
This post may contain affiliate links for your convenience, which means if you make a purchase after clicking a link I will earn a small commission but it won’t cost you a penny more. For more information, please visit our Privacy Policy.
Supplies for Hooked Rug Banner:
For this project, I chose scraps of 3 coordinating cotton print fabrics, Heat n Bond lite, and some thick linen thread.
Make the Banner:
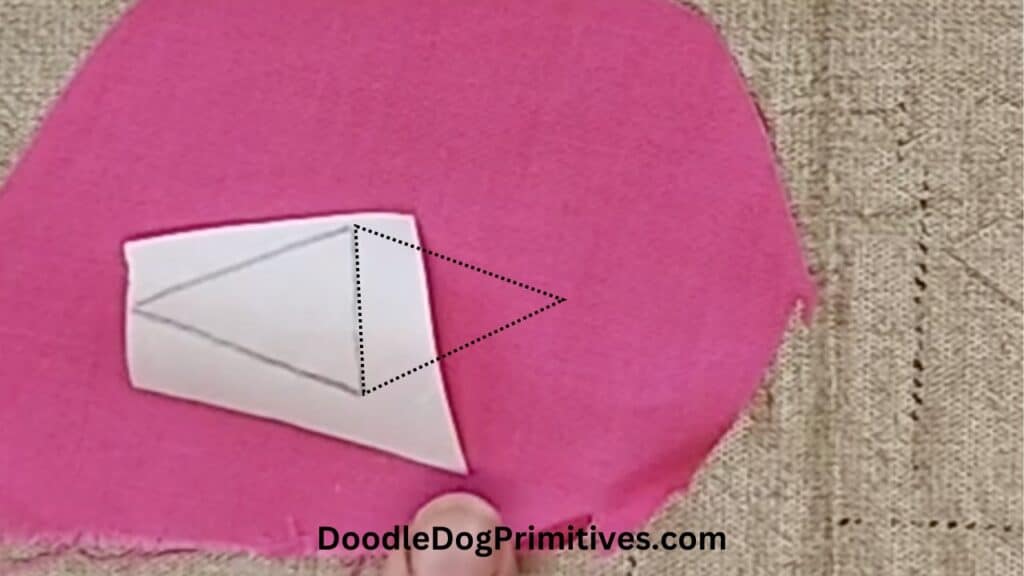
I drew a triangle on a piece of paper the correct size. The size will vary based on your project.
I wanted my banner to have 3 triangles so I traced the triangle onto the Heat n Bond three times.
Following the instructions for the Heat n Bond, I pressed one triangle onto each of my cotton fabrics. I left enough room to be able to fold over the triangle at the top to make a folded over double layer of triangle.
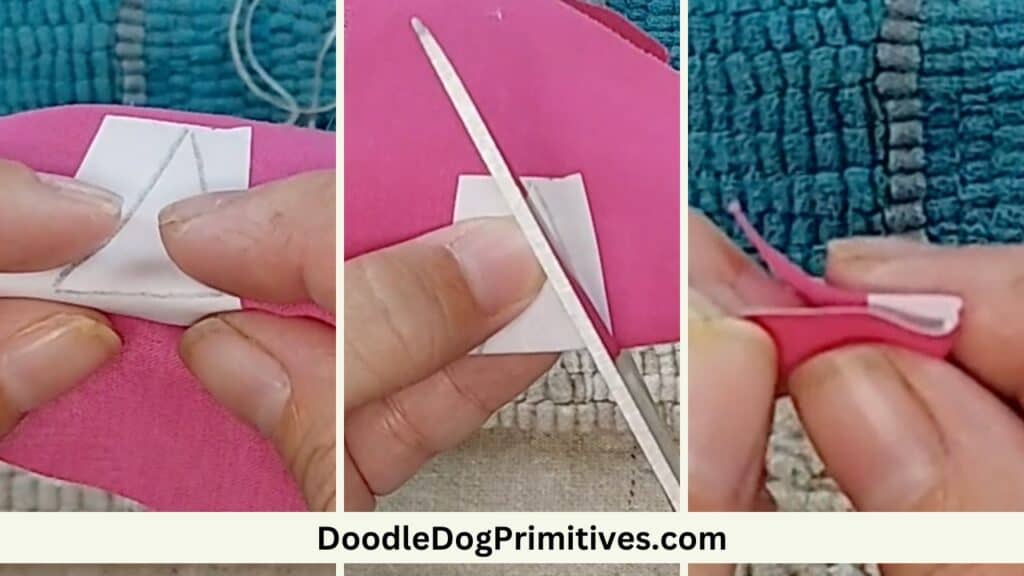
After pressing the Heat n Bond onto each triangle, I folded it on the top line with the Heat n Bond to the outside. I cut out the double layer of triangle, refolded the triangle so the paper was in the middle, and then peeled off the paper.
Please forgive my fingernails. I have been putting up lots of tomatoes and peaches and the stains just won’t come out!
I cut a length of linen thread that was long enough for the banner plus plenty to sew onto the back on both ends of the banner.
I arranged the triangles onto the linen thread and then pressed the triangles onto the thread with the thread right at the top fold and the sticky Heat n Bond to the inside.
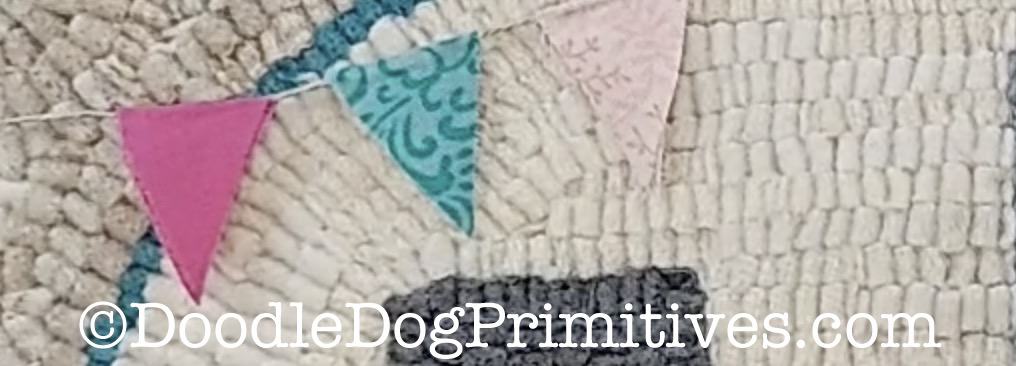
Finally, I used a needle to sew the ends of the linen thread to the backside of the hooked rug and tied it off.
Be sure to Pin this Rug Hooking post:
