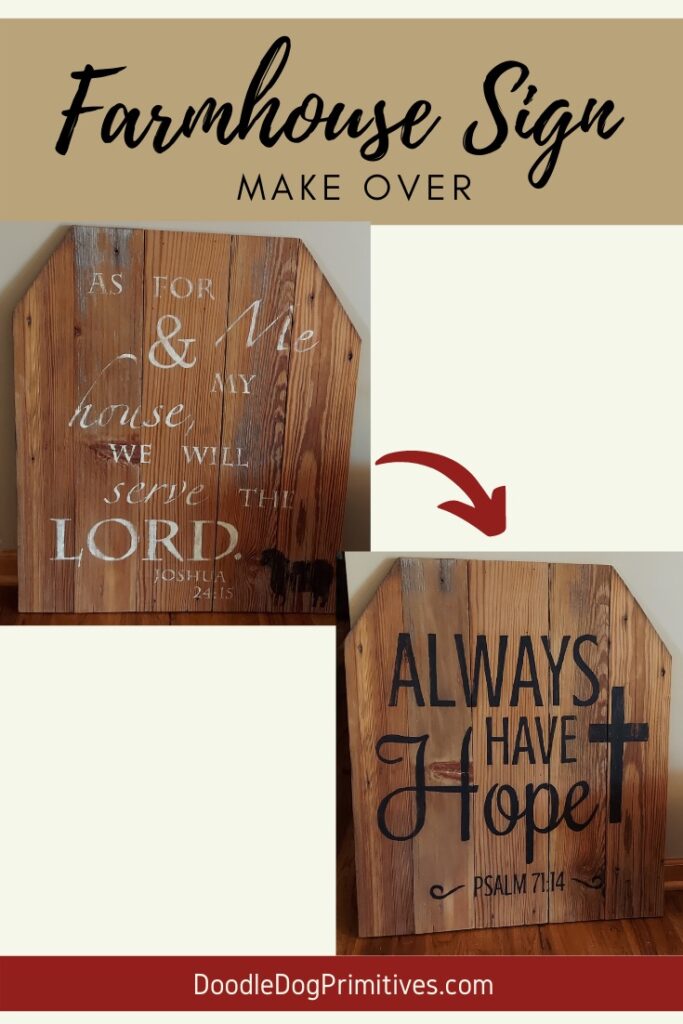
I have had this wooden sign for several years hanging in my entry way. I recently found a cabinet to hang there instead so I needed to re-home the sign. I decided it would be the perfect time to make over my farmhouse style wooden sign with a new verse and different coloring and then find a new place for it in my home.
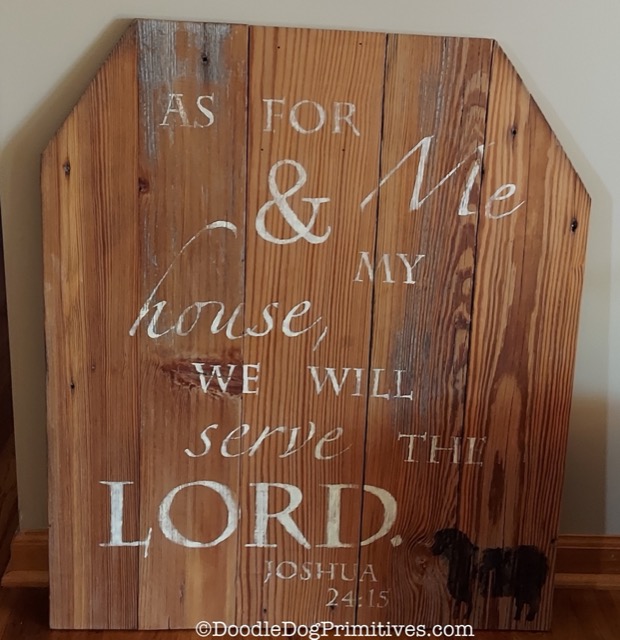
I was never super happy with the way the sign had turned out the first time. The white letters didn’t stand out well against the color of the wood, making it hard to read. I decided to try remaking it using black painted letters this time.
This was a sign that my dad put together for me, so I knew it was made out of good solid boards (old barn boards, actually).
This post may contain affiliate links for your convenience, which means if you make a purchase after clicking a link I will earn a small commission but it won’t cost you a penny more. For more information, please visit our Privacy Policy.
Watch the Video:
Prep the Wooden Sign:
The sign has a wax finish on the top, so my first step will be to sand off the wax and all of the painted letters. I will do this using my Black & Decker hand held sander by sanding with the grain of the wood. Once the sign is sanded, the new paint to be able to adhere to the sign.
Use a rag to get all of the sanding dust off the wooden sign.
Choose new Verse:
Perhaps the hardest part of this whole project was choosing what the sign should say.
I found some great free downloadable designs at Sun Catcher Studio. I chose one that would work with my sign’s shape and made some slight modifications in my image editing program.
If you aren’t sure how to scale the image to fit your sign’s dimension, they have directions about resizing and printing the images on their website.
You can print the design on regular printer paper.
Transfer Design to Sign:
If you have multiple pages, cut each page right along the edge of the printing.
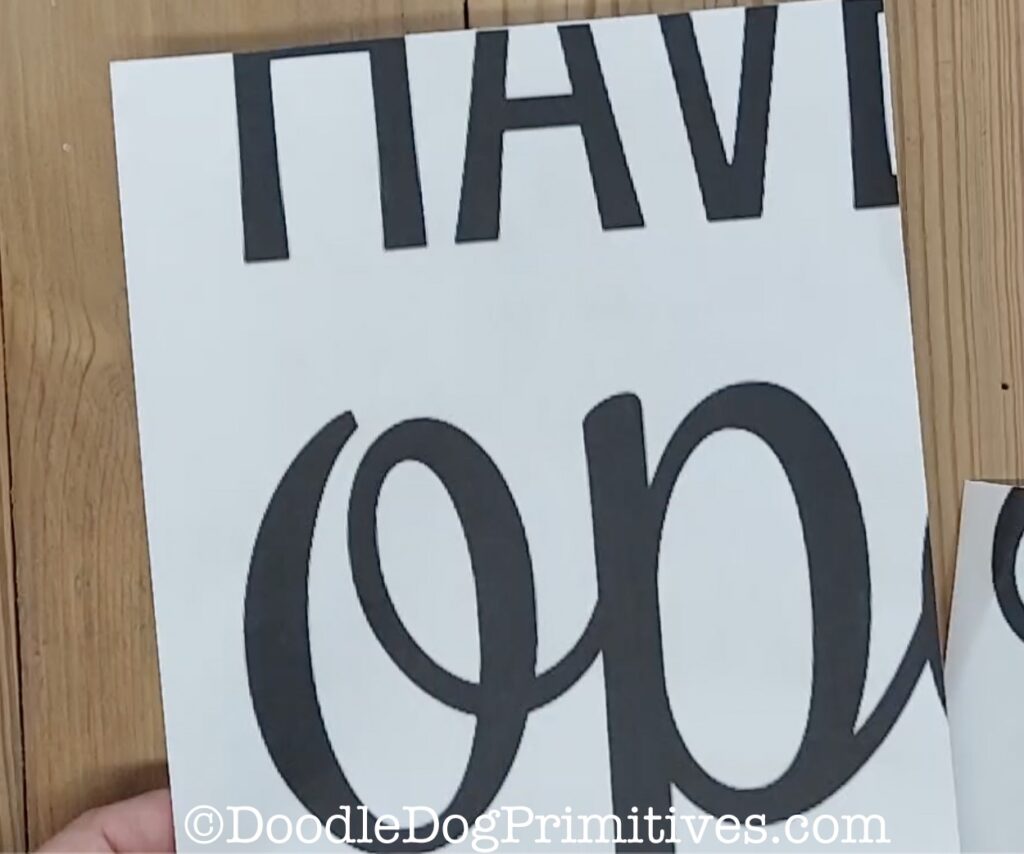
Use masking tape to tape the pages together. Be careful to not tape over the letters.
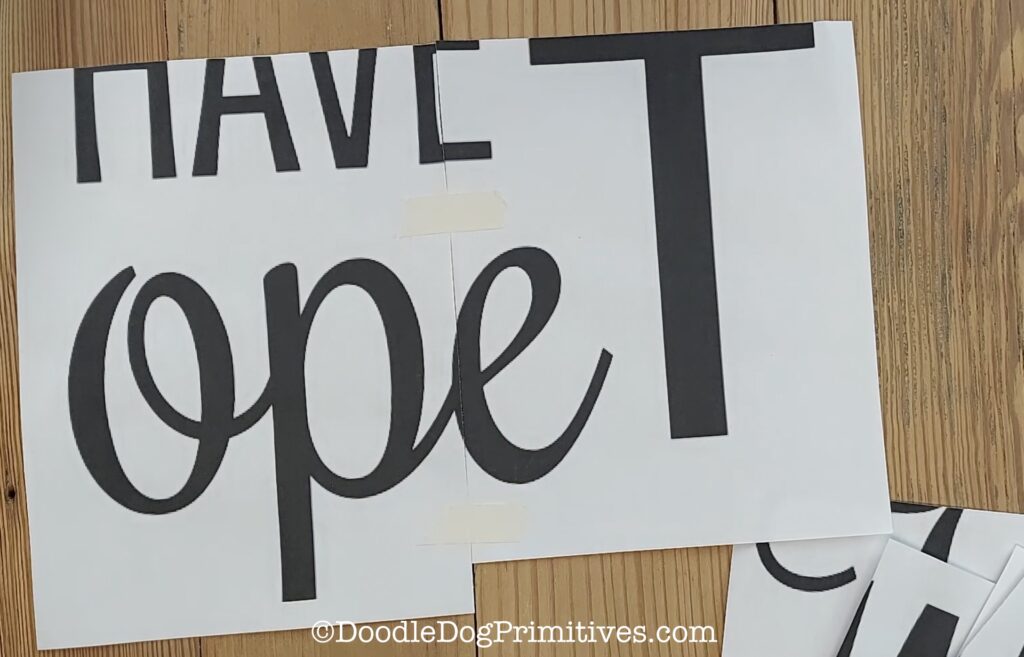
Arrange the words on top of the sign as you like them and tape them to the sign. Use a ruler to make sure the letters are straight on the sign.
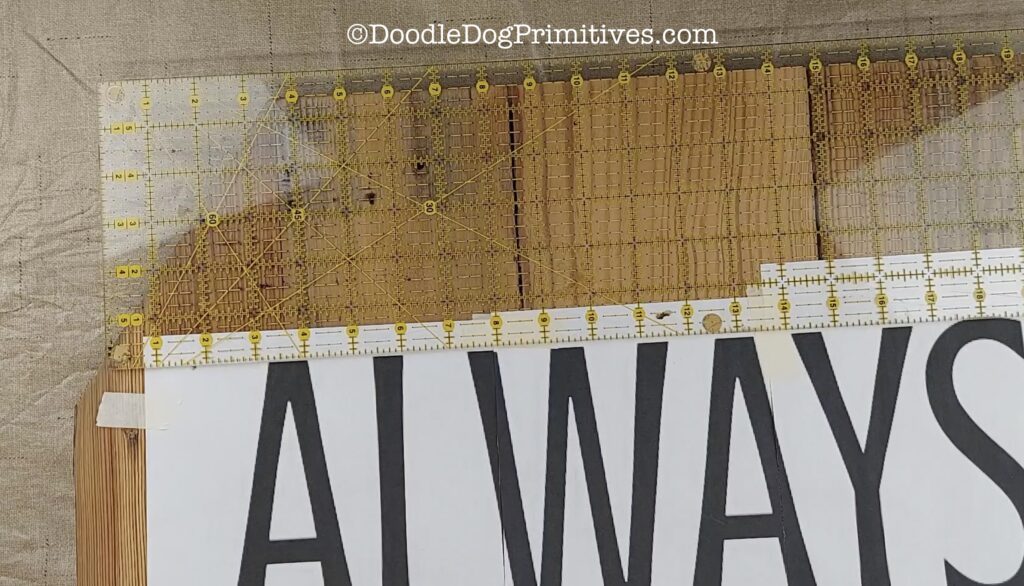
Slide some carbon paper underneath the paper. Trace the outline of the letters that have carbon paper underneath them using a pencil. You should be able to see the pencil marks on the paper so you will know which letters are transferred.
Move the carbon paper as needed. You can re-use the same sheet multiple times. Before you completely lift off the paper, peek under a corner to make sure everything got properly transferred.
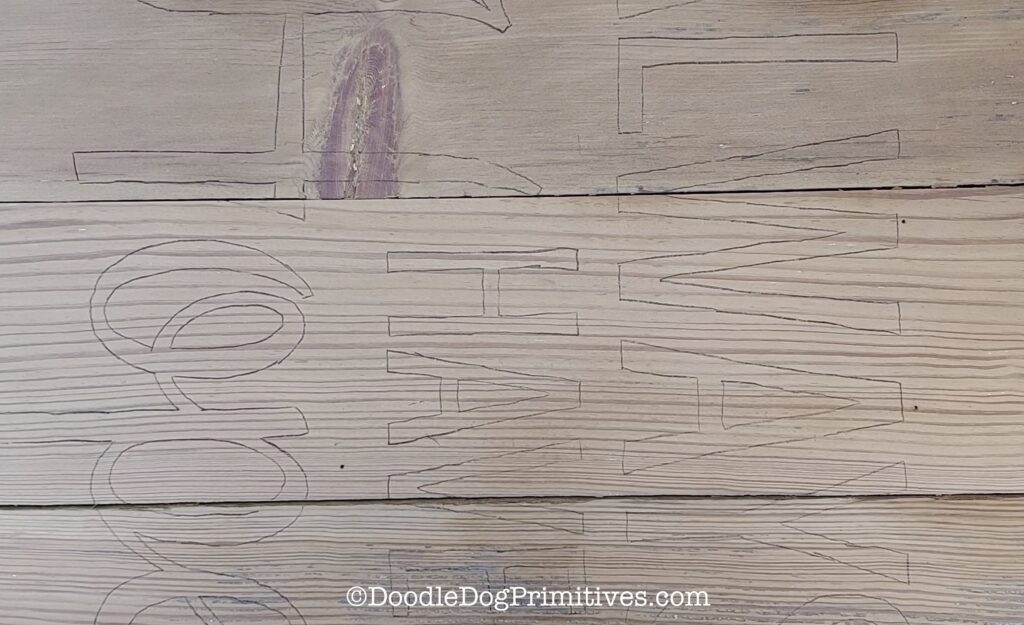
Paint the Wooden Sign:
I painted the letters using Anita’s black craft paint and a small angled brush.
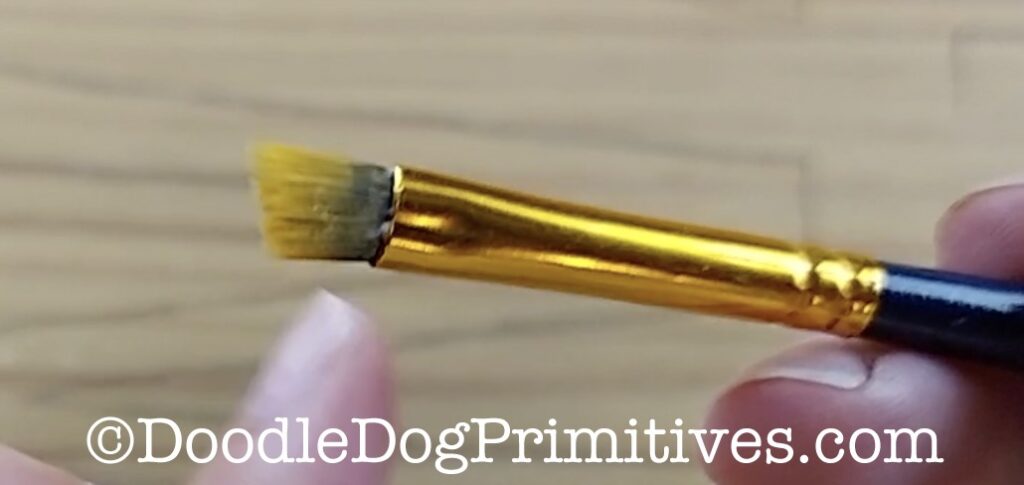
It works best to start painting in the middle of the sign and work out so you don’t accidentally get your arm in the paint! Make sure to cover up the carbon paper lines with paint.
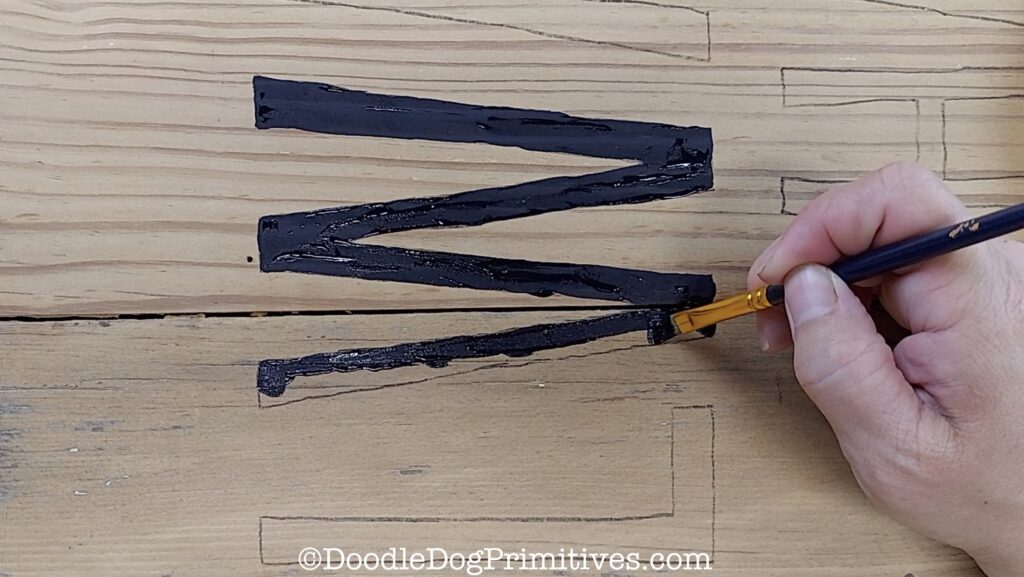
Let the paint dry thoroughly – overnight is best.
Age the Sign:
If you want, you can age the sign by sanding the letters with a fine grit sandpaper.
I am using a 220 sanding sponge to lightly sand just the painted letters. This will make the hand lettering look aged and not freshly painted.
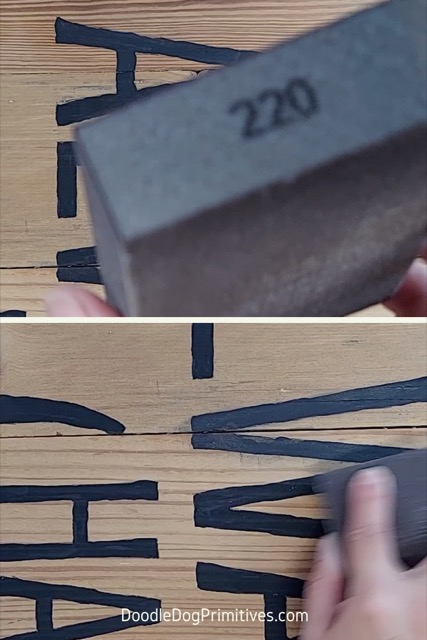
Use a rag to wipe away any dust and residue from the sanding.
Seal the Farmhouse Sign:
It is a good idea to seal the sign. You could use a spray on sealer or a wax. I am going to use Johnson paste wax.
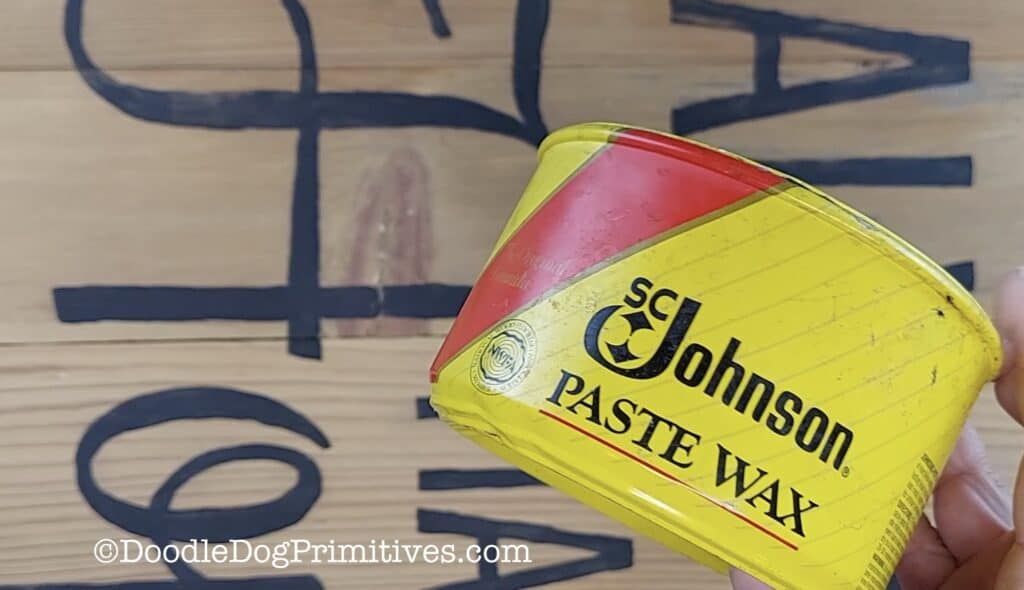
It is a simple wipe on – buff off type of wax. Whatever you choose, follow the instructions on the label for that product.
You can really see what a difference the wax makes in this next photo. It has been applied to the top right of the photo.
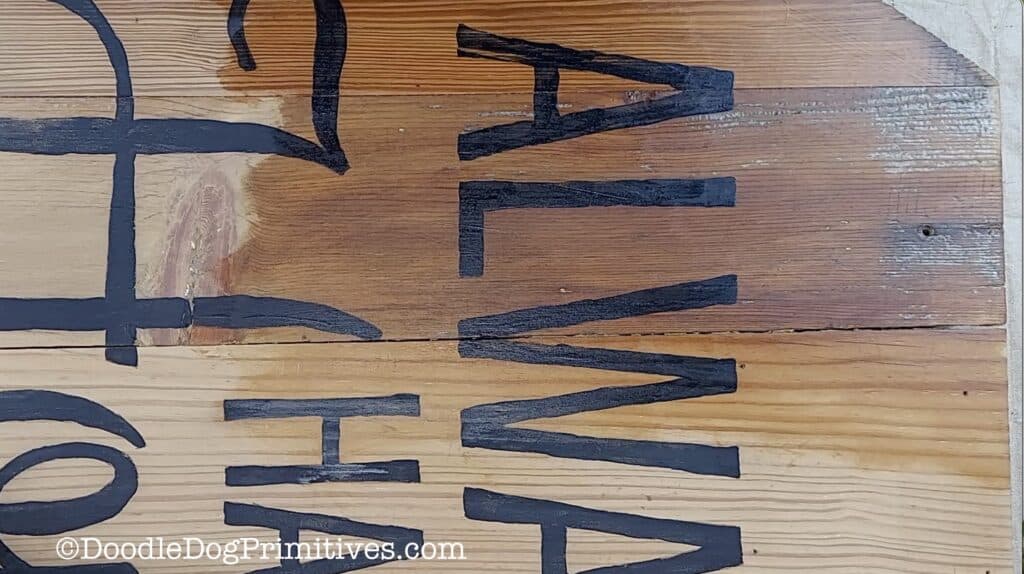
What’s great about this process is that I can do another farmhouse sign make-over if I get tired of this verse in a few years.

I hope you enjoyed that tutorial. Be sure to check out our other farmhouse primitive tutorials.
Be sure to pin this farmhouse sign make-over:
