After our oldest child moved out and took her bedroom furniture with her, we decided to replace her bed with a queen size bed. The only problem with that is we prefer antique furniture to new furniture. And, there aren’t queen size antique beds – at least none we could find.
So, we attached a full size headboard and footboard onto a queen size bed frame. This was a pretty easy DIY project that we completed in one afternoon.
Here’s how we converted a full size antique headboard and footboard to fit a queen size mattress:
This post may contain affiliate links for your convenience, which means if you make a purchase after clicking a link I will earn a small commission but it won’t cost you a penny more. For more information, please visit our Privacy Policy.
Supplies to Convert Full Size Bed to Queen:
- Queen Bed Frame
- Bed Frame Extensions for attaching footboard
- Full Size Headboard & Footboard
- 2 Boards – minimum of 1 x 6 (We used 1 x 10 to accommodate leg design)
- 5/16 x 2-1/2 inch lag screws
- Adhesive (We used Shoe Goo)
Tools Used:
- Cordless Drill & Reciprocating Saw
- Drill Bit Set
- 7/16″ and 1/2″ wrenches or socket set
- Wood Rasp
- Safety Glasses
- Tape Measure
How Much Bigger is a Queen Bed than a Full Size Mattress:
A full size mattress is 54″ x 75″ and a queen mattress is 60″ x 80″ so some extensions must be added in order to attach the full size headboard and footboard to the queen mattress.
A queen headboard is only around 6 inches wider than a full size headboard, so that just leaves three inches empty on each side of the bed. I was afraid it might look strange, but it doesn’t. In fact, I think it looks great!
Add Full Headboard & Footboard to Queen Frame:
Start with a Queen Size Bed Frame:
We started out with a queen size mattress and box springs in this simple queen size bed frame.
I am now turning this over to my husband to explain what he did.
Bed Frame Extension:
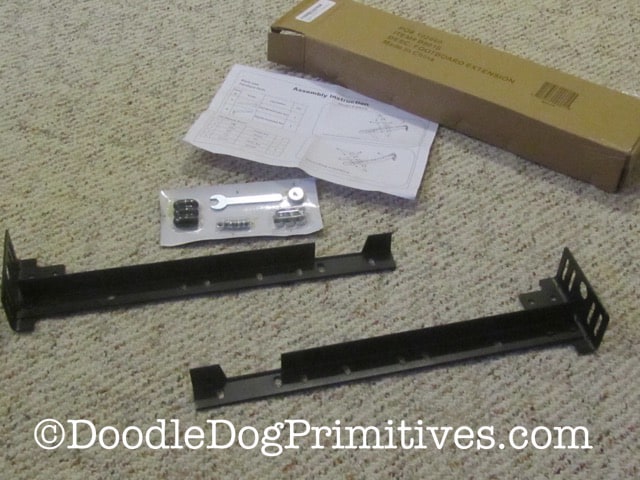
The first step in making an adapter to fit a full size headboard and footboard to a queen size frame is to attach extension pieces to the bed frame for the footboard.
The extensions can be ordered online and come with all the parts to attach them to the frame as shown in the picture.
Start with the mattress on the frame.
Make sure the distance between where the mattress is sitting and where the headboard will bolt on is suitable to you.
I find it irritating when my pillow falls into the gap between the mattress and the headboard.
Here is what the footboard end will look like with the mattress sitting on the frame.
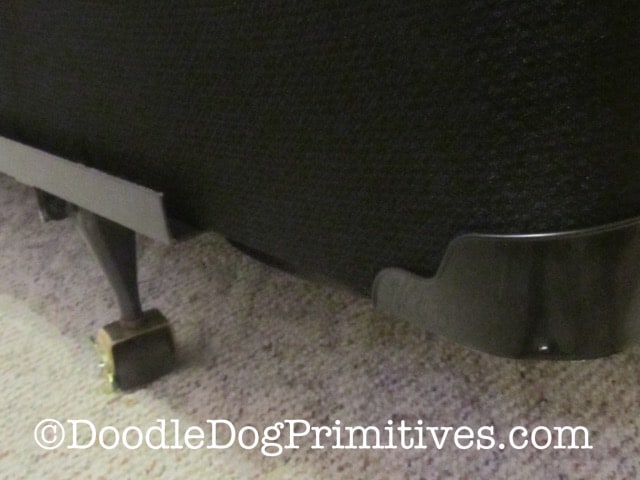
Next slide the extension pieces for the footboard in place and mark them where you want the footboard to be sitting.
Too close to the mattress makes it hard to get the sheets on.
Too far away looks funky.

Now move the mattress out of the way so you can attach the extensions with the bolts that are supplied with the kit.
Place a mark on the rails of the mattress frame where the holes on the extensions are located.
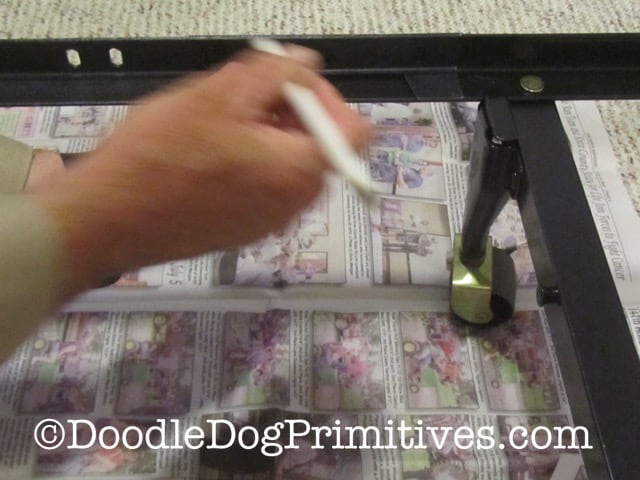
Drill the Holes in the Bed Frame:
It is now time to drill the holes in the frame.
You will need to put 3 holes in each side of the bed frame.
I used a small cordless drill and a drill bit kit.
Always use safety glasses when using power tools.
Since washers were included in the kit, I drilled 3/8 inch holes for the 1/4 inch bolts to go through.
Some times drill bits are prone to wander when I drill so making the holes extra large gave me enough room to get the holes to line up.
Notice that I put some newspapers under the frame to catch the metal shavings.
Metal shavings in your bare feet are very uncomfortable.
Trust me on this one.
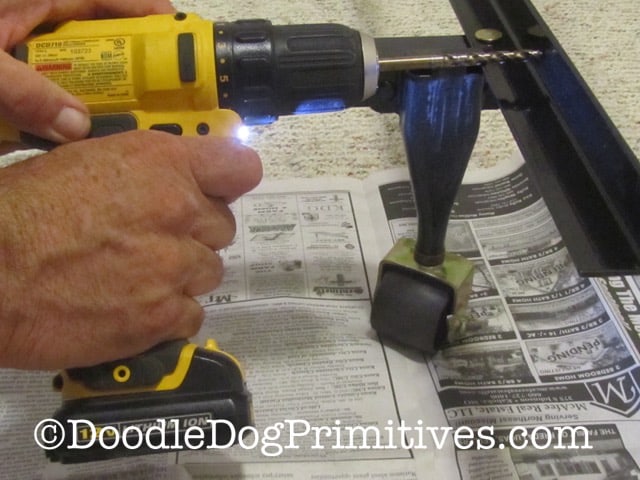
After the holes are drilled, insert the bolts through the holes in the frame and extension piece.
Put on a washer and attach the nuts to the bolts.
These nuts are called nylock nuts because they have nylon inserts in the ends to lock the nuts in place.
Make sure to put the nylon insert away from the bolt when trying to get the nut started on the bolt as shown in the picture.
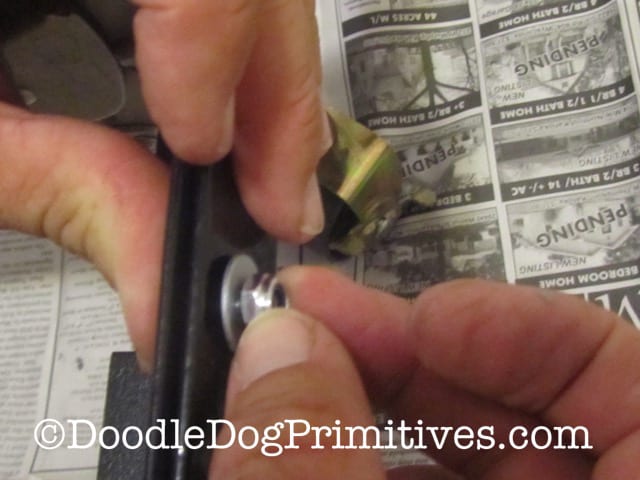
Tighten the nuts with the little wrench that is included in the kit.
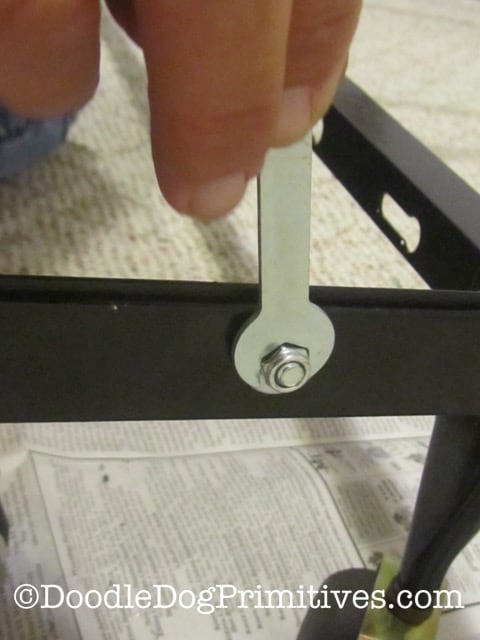
It should look like this when you get done.
I added some adhesive to the inside of the little black plastic protectors that go over the nuts.
They felt like they would come off easily otherwise.
I used Shoe Goo because it is what I had laying around.
I have also used Shoe Goo for repairing our refrigerator drip pan, but that is another story…
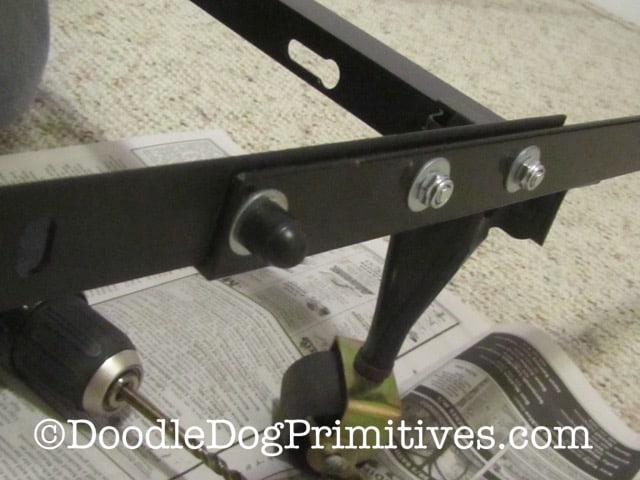
Attach the Full Size Bed’s Headboard and Footboard to the Queen Size Frame:
It is now time to attach a board across the frame to attach the headboard and footboard.
The following steps apply to both the headboard and footboard.
You could use 1X6 boards for this but I had to use 1X10 boards because the legs of my headboard were round part of the way down.
I wanted the bolts that go into the headboard and footboard to be on the flat parts.
Cut the length of the boards to match the width of the bedframe.
Drill 1/4 inch holes in the boards to match the slots in the frame.
I used carriage bolts to attach them because the heads on the carriage bolts are rounded and will not stick out.


You can see in the picture above that I measured and marked where I want the centers of the legs to be on the boards.
I drilled two 5/16 inch holes in the board only (do not drill into the legs yet) at each leg location to accommodate a 5/16 lag screw.
Then I switched to a 1/4 inch drill bit to drill the pilot holes for the lag screws in the legs.
I just held the headboard and footboard in place and drilled through the 5/16 inch holes I made in the boards to make sure they would match up.

Now you can use the lag bolts to attach the headboard and footboard to the frame.
I used a ratcheting socket wrench to tighten them up.
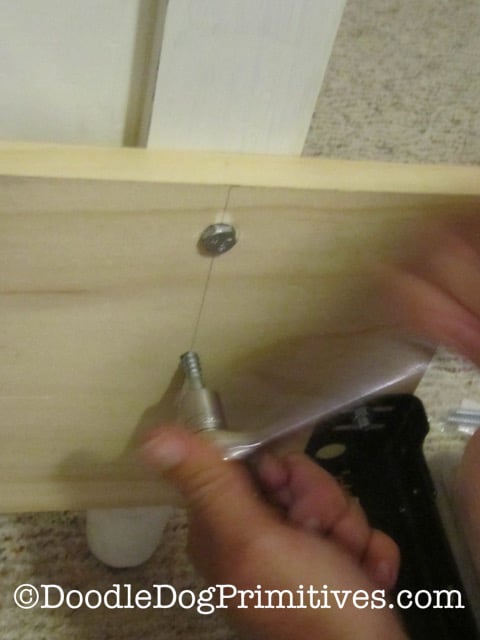

Round the Board’s Corners:
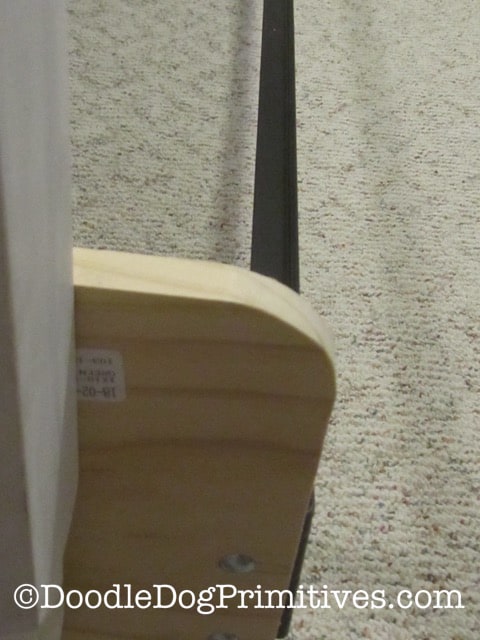
I didn’t care for the board having a sharp corner on top so I decided to cut a small radius in it with a reciprocating saw.
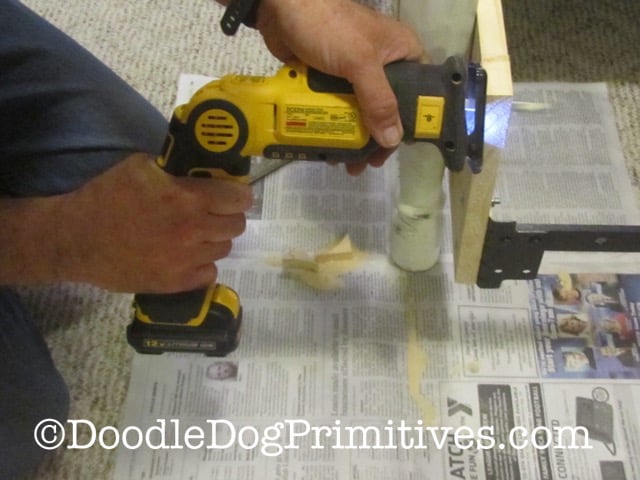
Then I used a wood rasp to smooth off the edges.
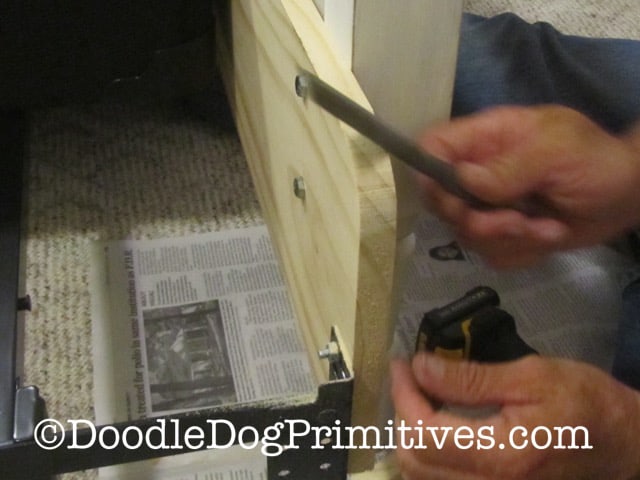
You could skip over cutting the radius if you do not have a saw available and just smooth the edges up with the rasp.
That completes the Full Size Bed to Queen Bed project.
Put the mattress back in place and enjoy.
Thanks, for the detailed instructions, hubby!
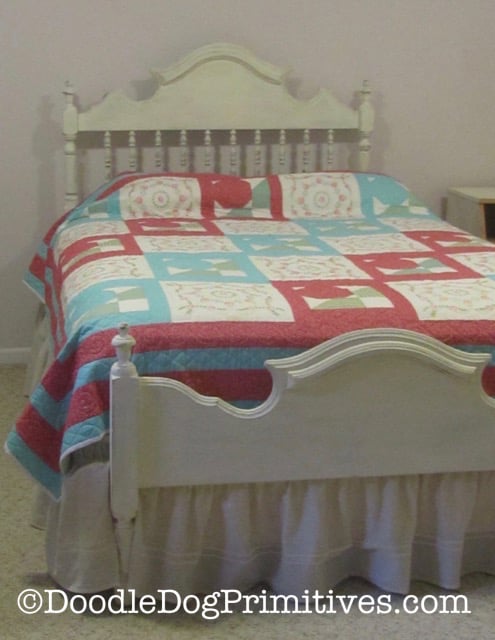
I added this dust ruffle and a handmade quilt and we are now ready for our daughter to come visit!
Blessings~
Amy
