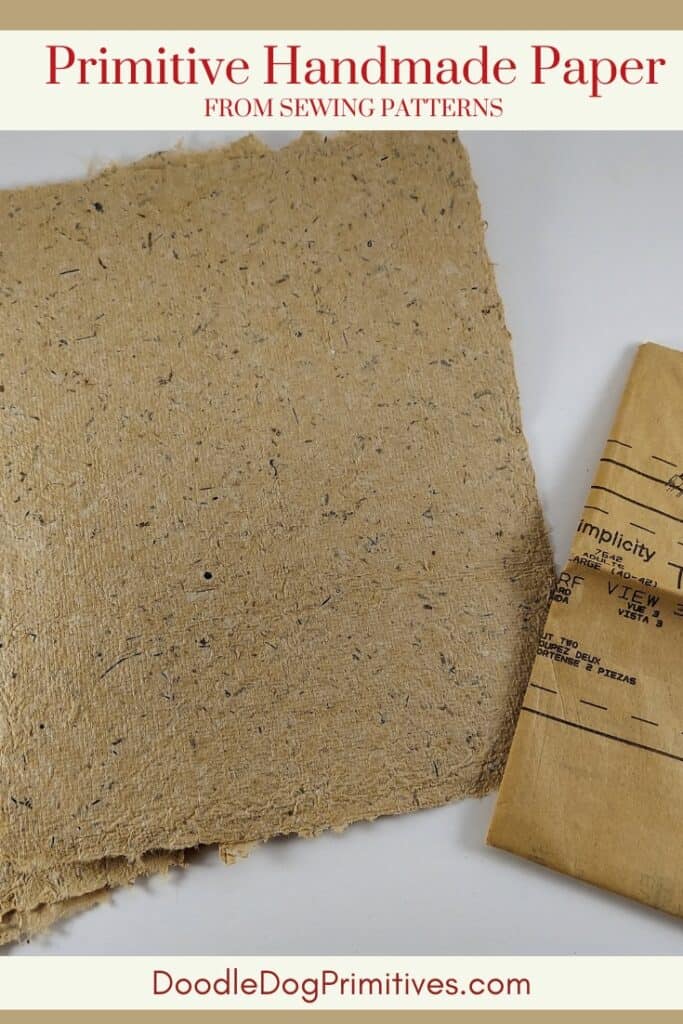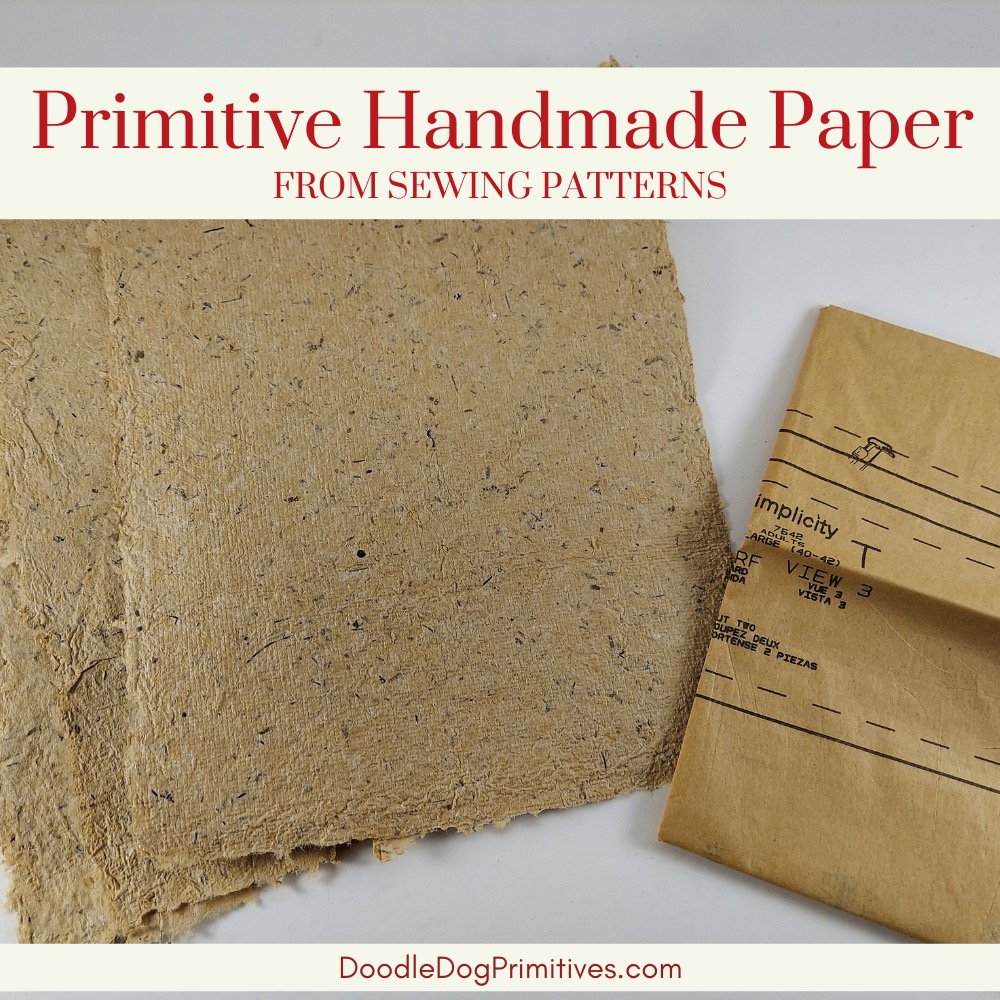
I recently went to a folk art center where they had lots of amazing craftsmen and women making and displaying their crafts. I always love paper crafting and I noticed they had some handmade primitive looking paper made from sewing patterns.
I have made paper before, so I have the paper making supplies and I have lots of old sewing patterns laying around, so I decided to try making some. If you haven’t made paper before, stay tuned. It really is pretty easy!
Watch the Craft Tutorial Video:
This post may contain affiliate links for your convenience, which means if you make a purchase after clicking a link I will earn a small commission but it won’t cost you a penny more. For more information, please visit our Privacy Policy.
Prepare the Pattern Paper:
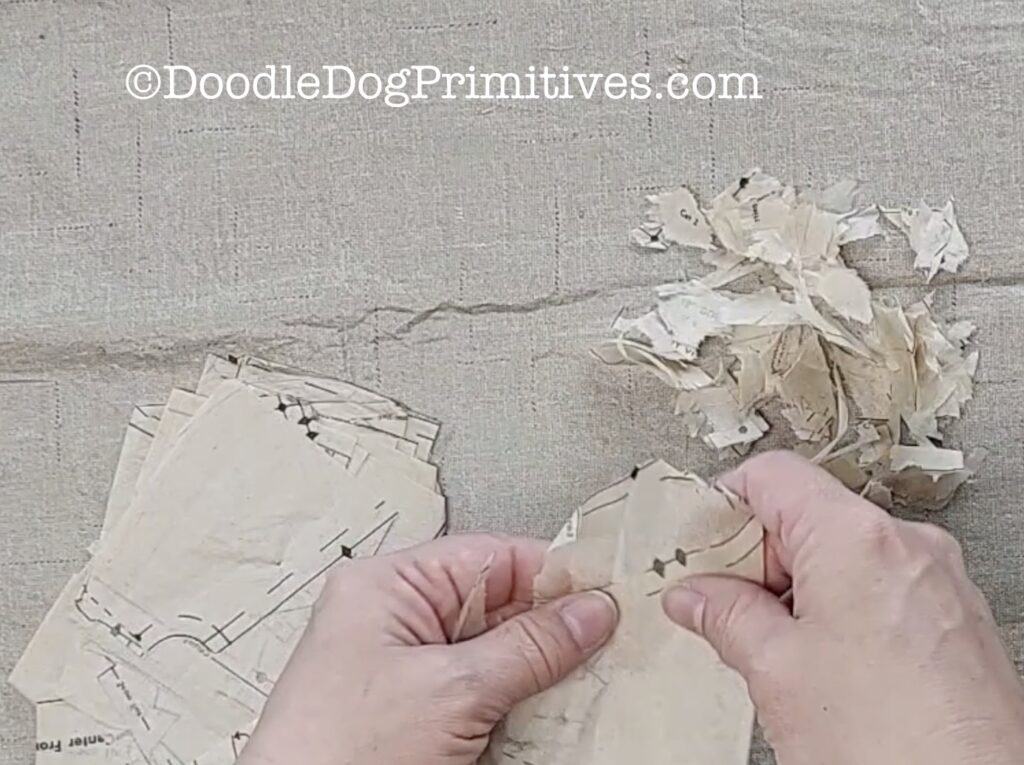
I started by tearing up the pattern pieces from a couple of old patterns. If you have a paper shredder, that would work even better!
If you are not a sewer and don’t have old patterns laying around, you can usually find them at thrift stores or garage sales. Look for large sizes and fatter envelopes – those will usually have more pattern paper.
Blending the Paper:
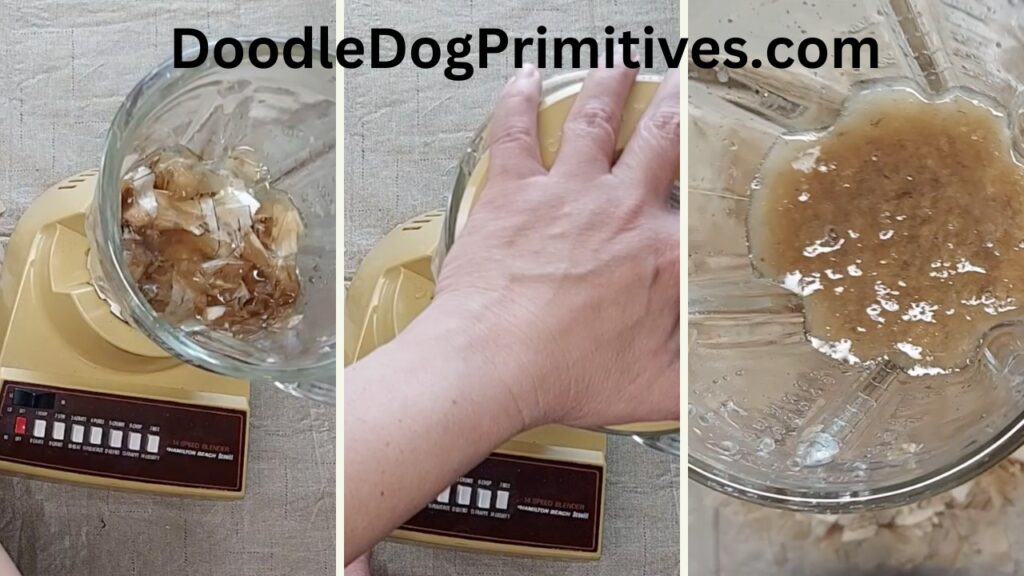
I have an old blender that I only use for crafts (another thing to look for at the thrift stores!)
Fill the blender about 1/3 full with water and then added some torn paper. You want to be able to push all of the paper down into the water so it can get saturated.
Put the lid on the blender and turn it on. When it is finished blending, the paper will look like mush.
Pour a few inches of water into a large plastic tub. Pour the blended paper pulp into this tub.
Blend more paper and keep adding the pulp to the water until the water looks “full”.
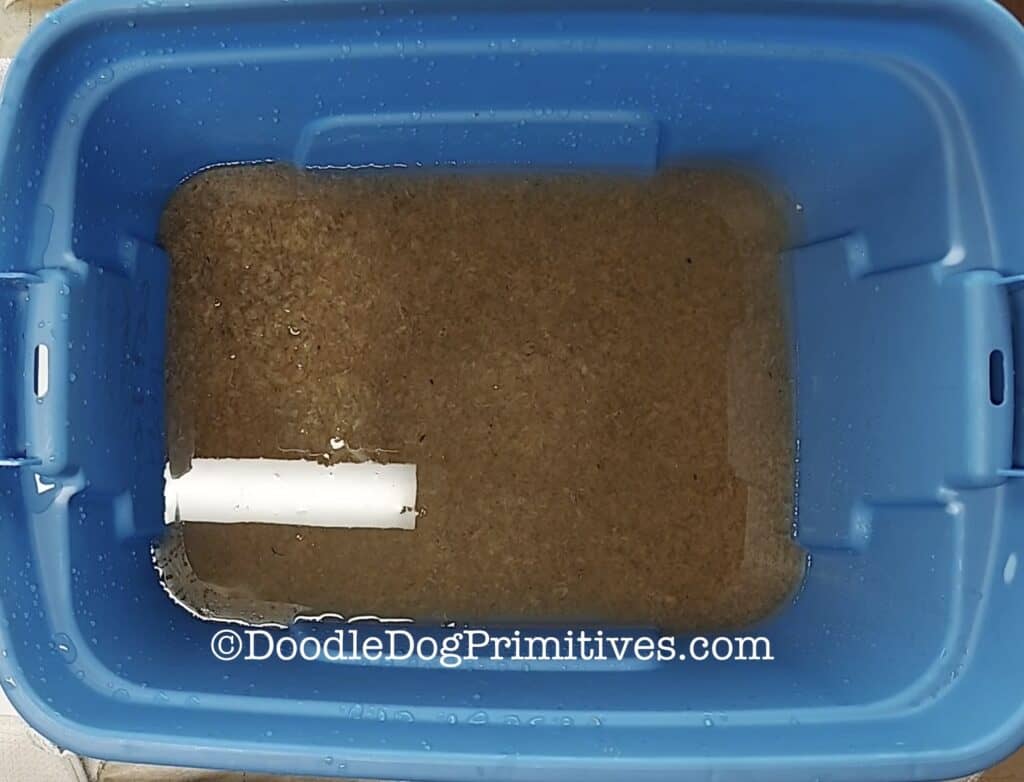
Making the Primitive Paper:
To make the paper, you will need a mould and deckle. They are two same sized frames. One has screening on it. Mine are handmade. You can also find them in craft supply stores.
Lay down an old towel (to soak up excess water) with a piece of white cotton fabric on top (I use an old sheet) This will be where you lay the paper to dry.
Layer the mould and deckle together with the screened frame on the bottom and the empty frame on the top. The screen itself should be in the middle.
Stir the paper water. Hold the two frames together and dip them into the tub. My tub really was just BARELY large enough for this process. I would recommend a larger tub. While the frames are in the water lift the frame back and forth to evenly distribute some of the paper pulp onto the screen.
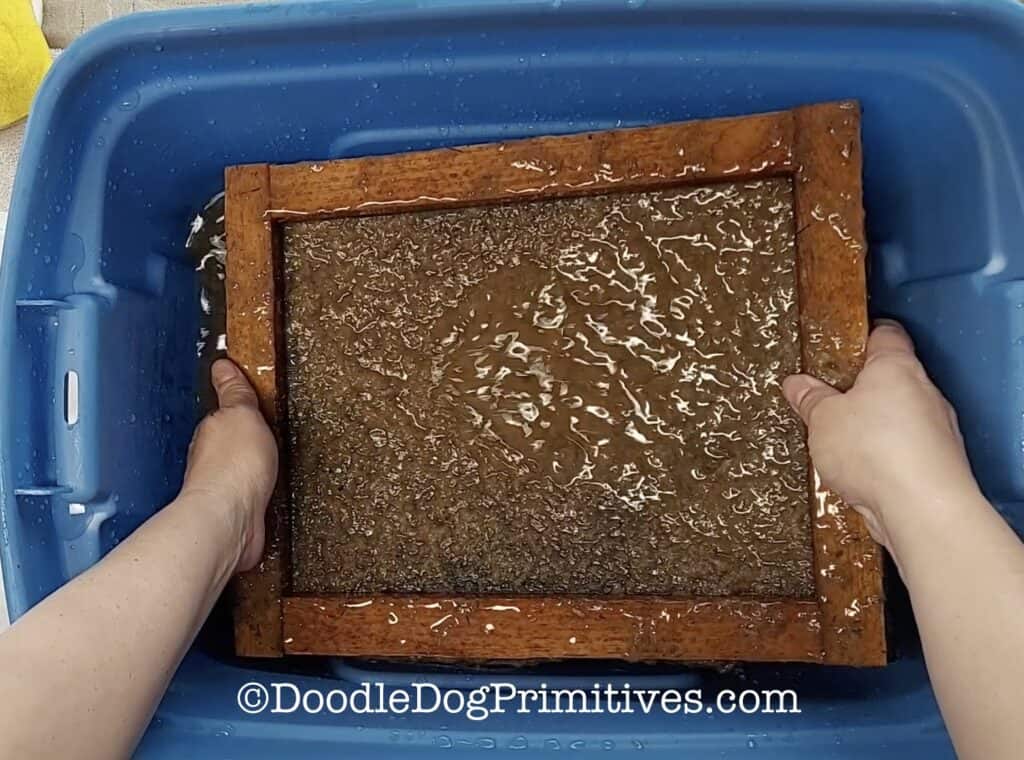
Let the water drip off and remove the top frame. You can see that this top frame shapes the paper.
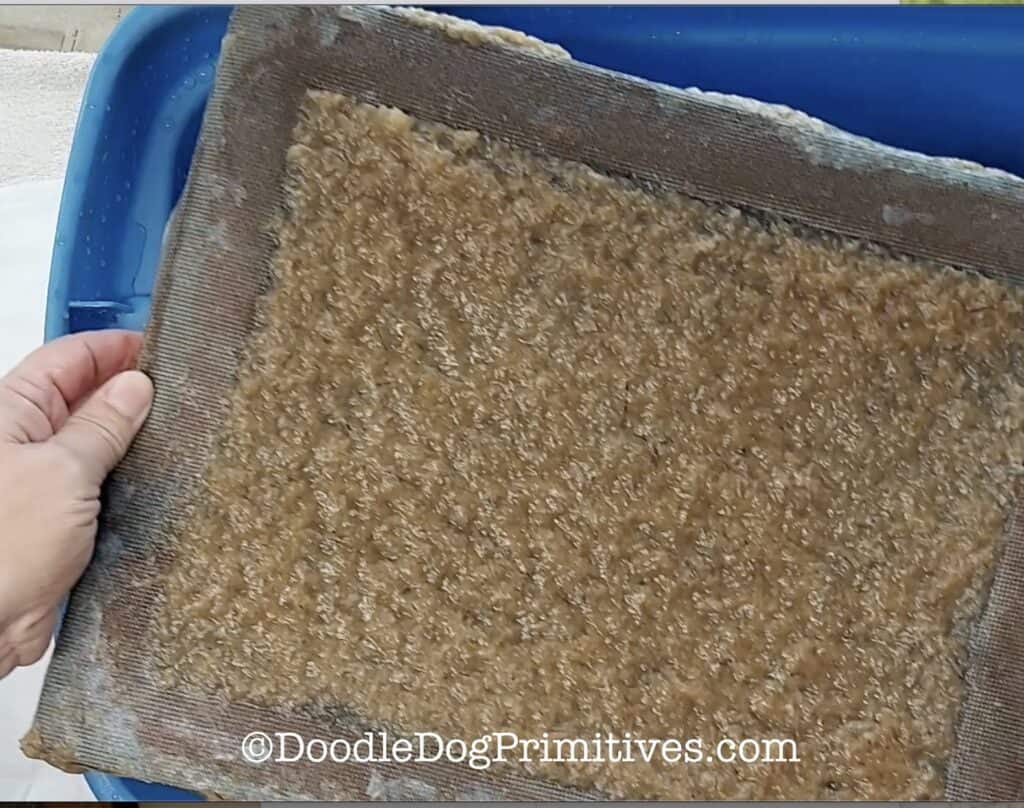
Flip the screen over onto the prepared cotton fabric. The paper pulp will be touching the cotton fabric with the screen on top of the paper.
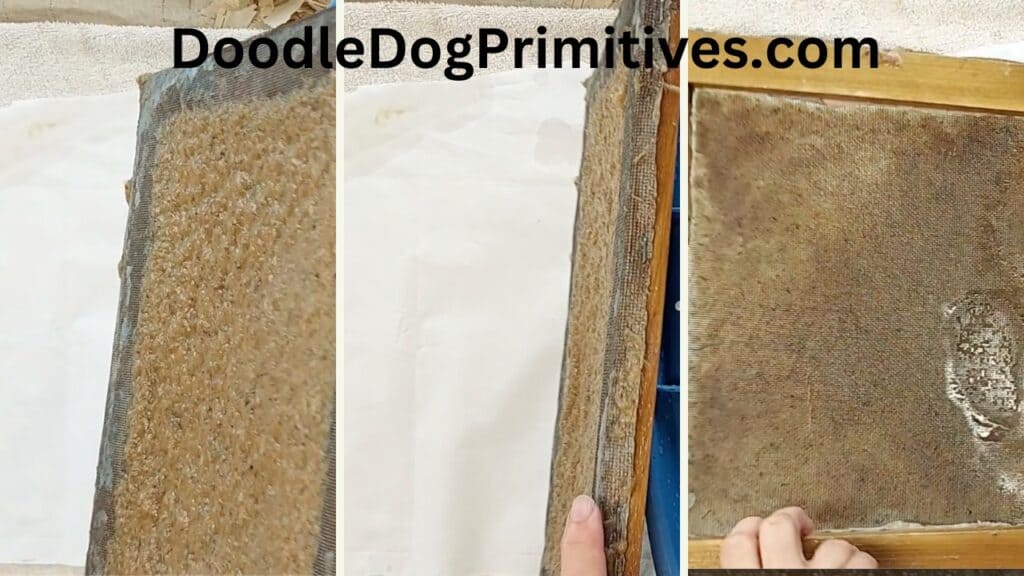
Use a sponge to dab the entire piece of paper and soak up some of the excess water. You can squeeze the water from the sponge into the tub of water and pulp.
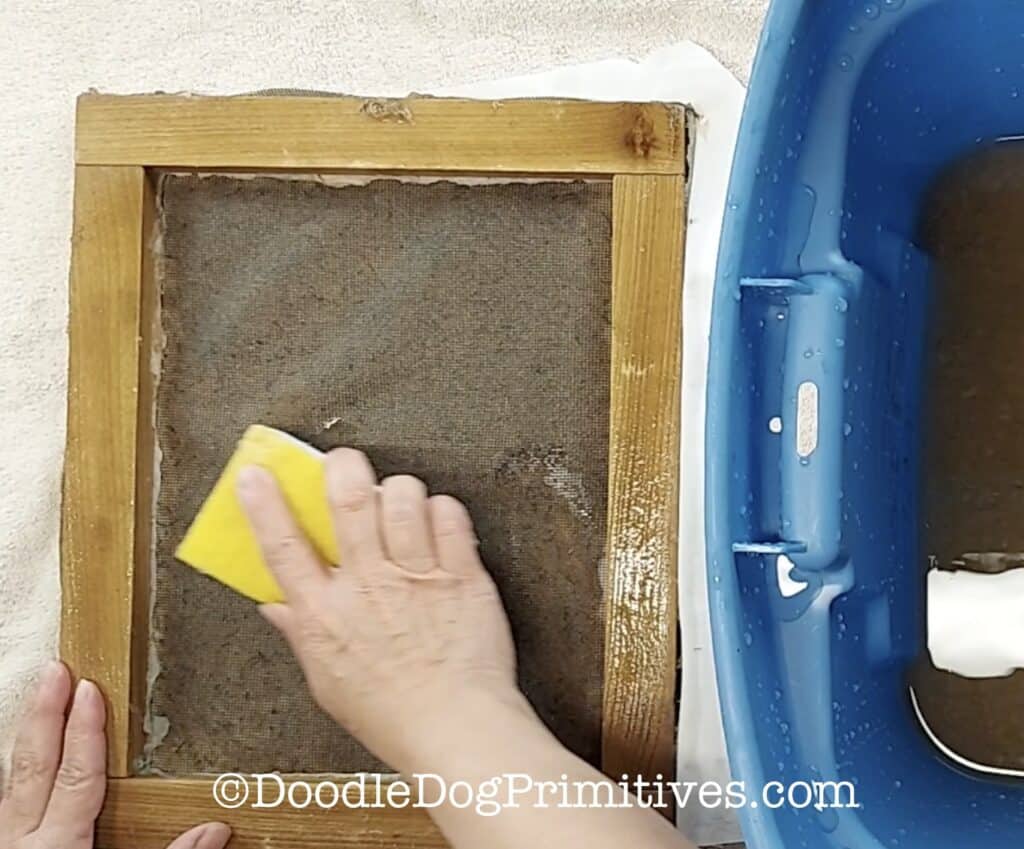
Carefully lift up one side of the frame while holding the fabric down. If the paper is sticking to the frame on that side, try it from the other side. Set this aside to dry.
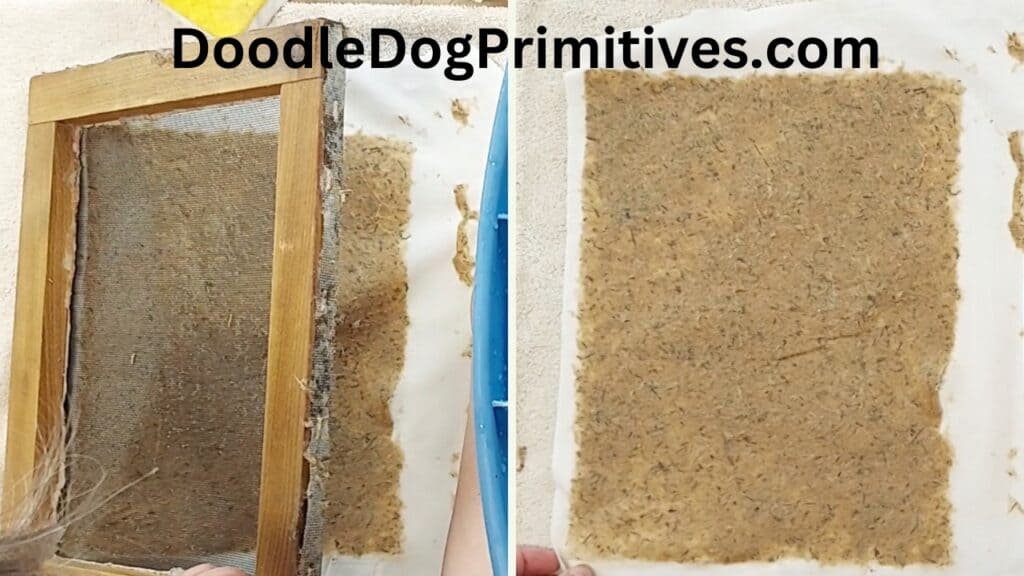
You can keep making more paper out of the tub until you run out of pulp.
If you have trouble and the paper won’t come off the screen or it tears, you can scrape it all off and put it back into the tub to try again!
Once the papers are dry, you can peel them right off the cotton fabric. You can place them under a pile of books to flatten them.
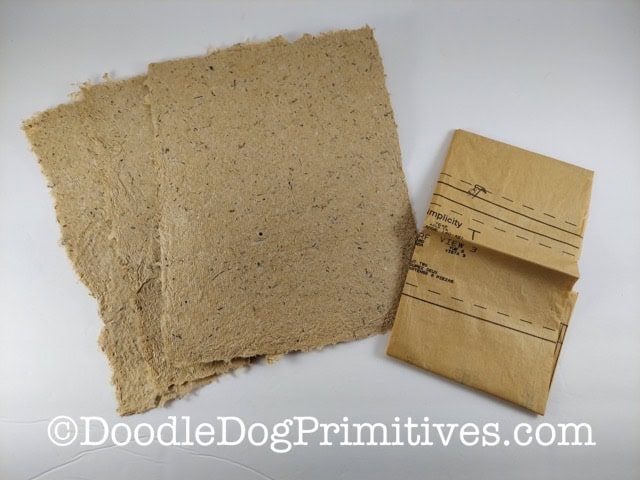
These are great for making cards or journal pages!
Be sure to Pin this Primitive Handmade Paper Tutorial:
