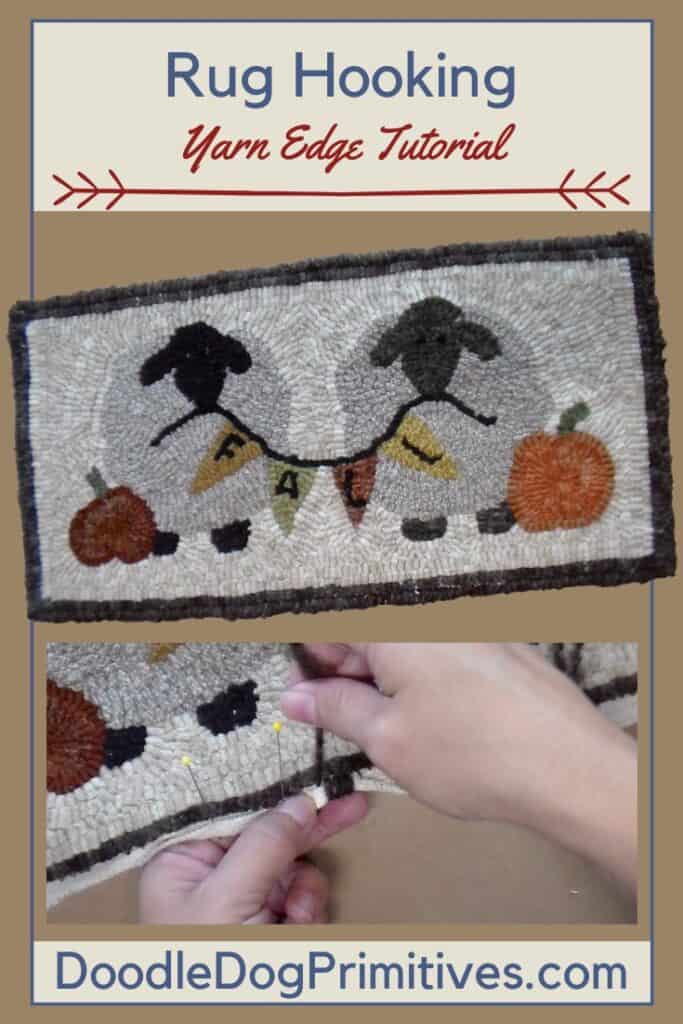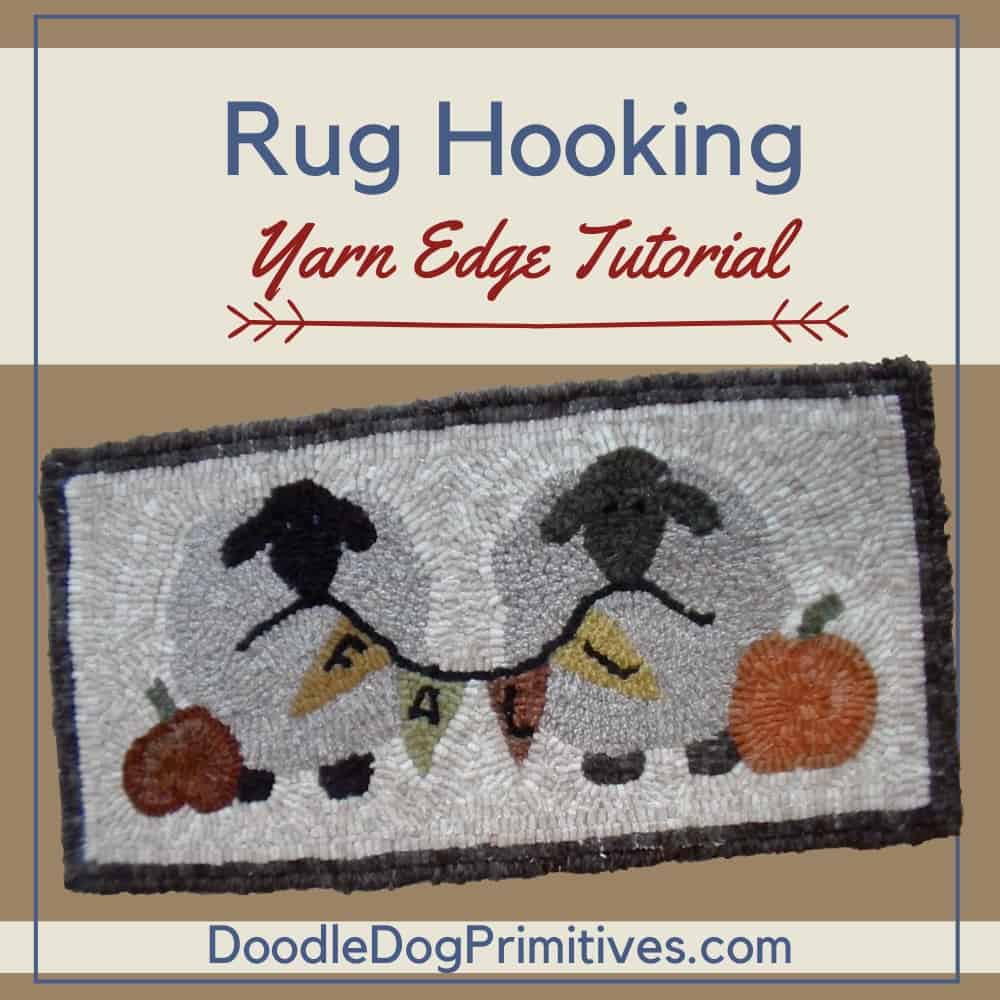
Today, my Mom is going to show us how to add a yarn edge to a hooked rug project.
This process adds a finished edge to the rug hooking project
on both the front and the back.
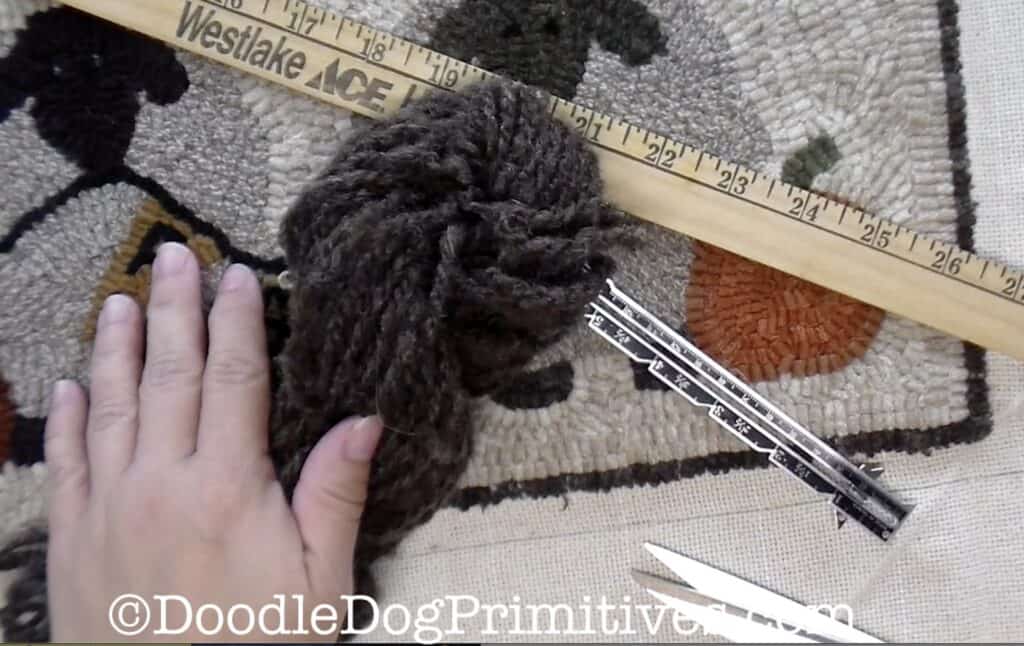
It works best to use a 100% wool yarn or wool blend yarn.
Supplies Needed for Yarn Edge:
This post may contain affiliate links for your convenience, which means if you make a purchase after clicking a link I will earn a small commission but it won’t cost you a penny more. For more information, please visit our Privacy Policy.
Supplies for Yarn Edging:
- Finished hooked rug
- Yardstick
- Pencil
- Scissors
- Wool or Wool Blend Yarn
- Yarn Needle
Watch the Video:
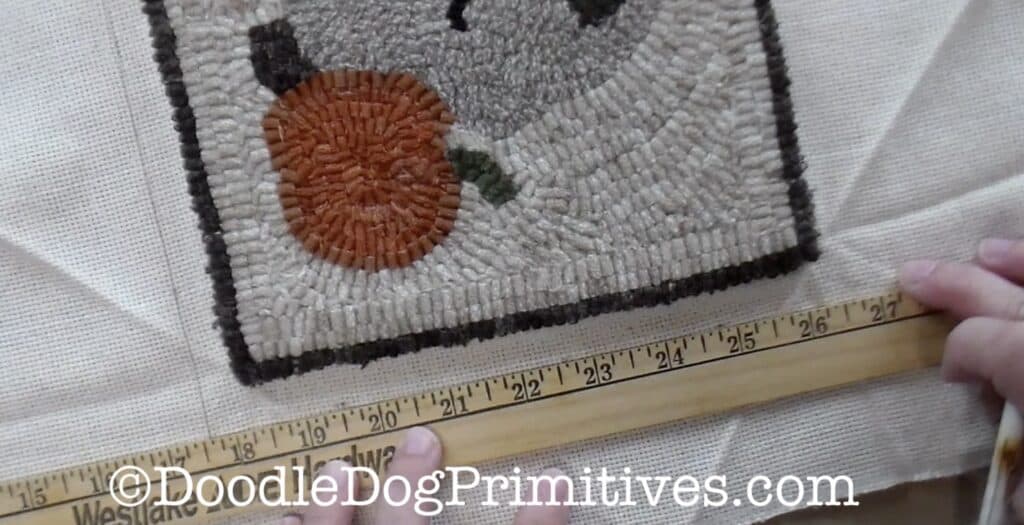
Preparing the Foundation Fabric:
Measure one half to three fourths inch from the edge of the hooked piece.
Mark this measurement with a pencil in several places across each side.
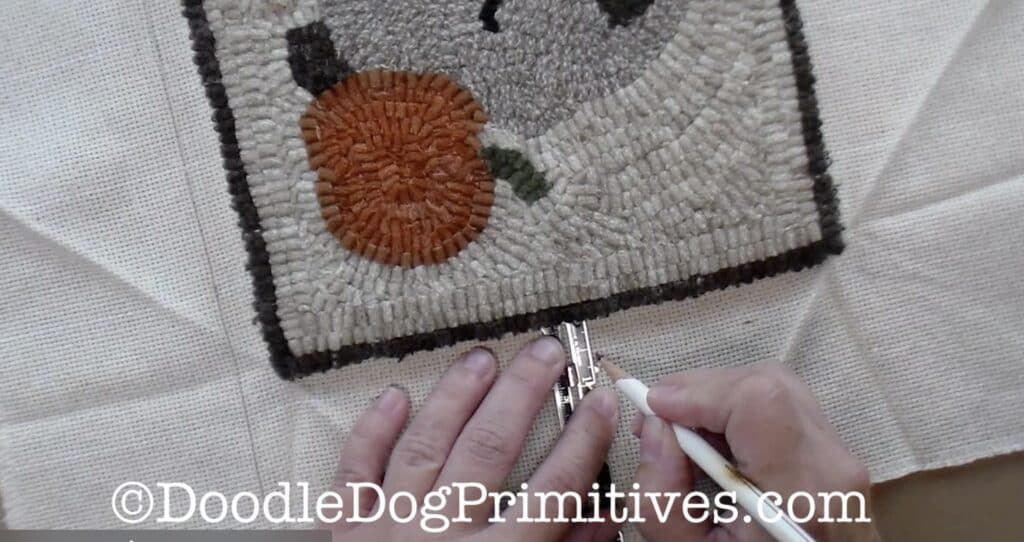
Use a yardstick to draw a line across each side connecting the marks.
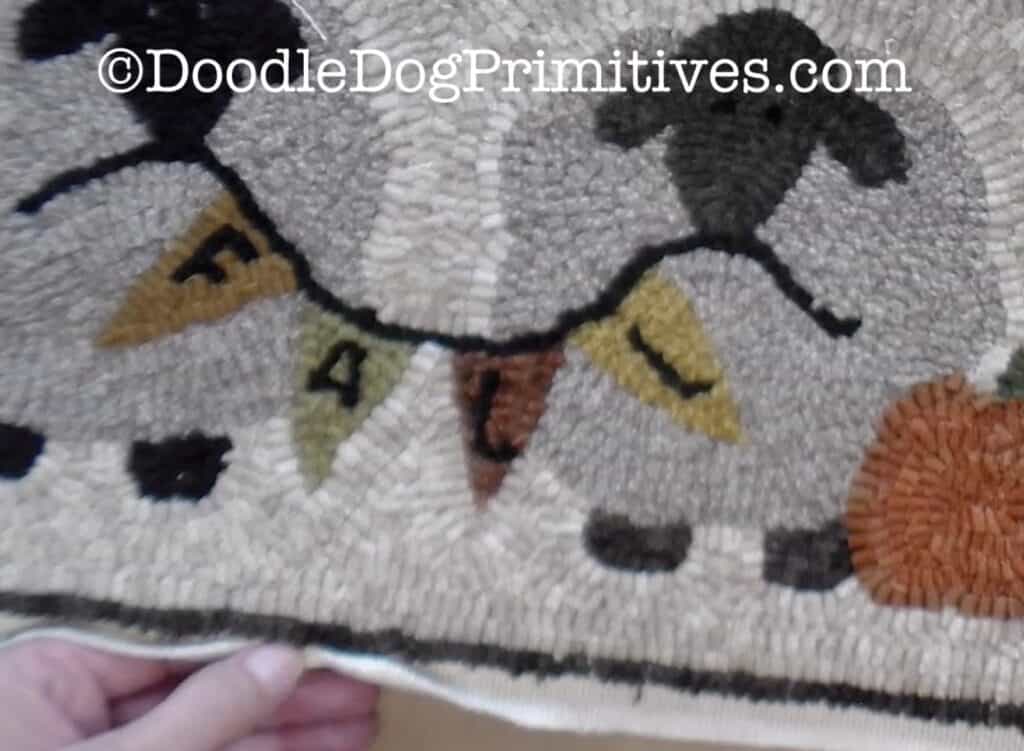
Cut on the line all the way around and serge the edges.
If you don’t have a serger, you could also zig zag stitch along the edges.

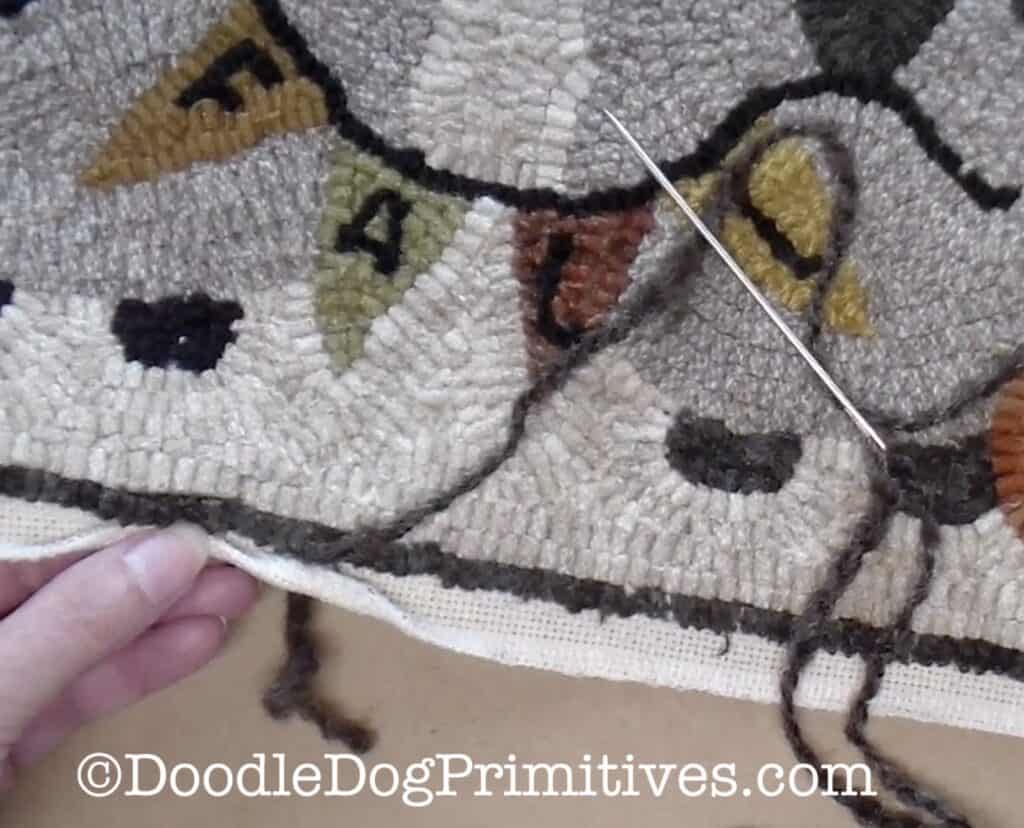
Starting the Yarn Edge on the Hooked Rug:
Cut a piece of wool or wool blend yarn about 36 inches long.
Thread the yarn onto a yarn needle.
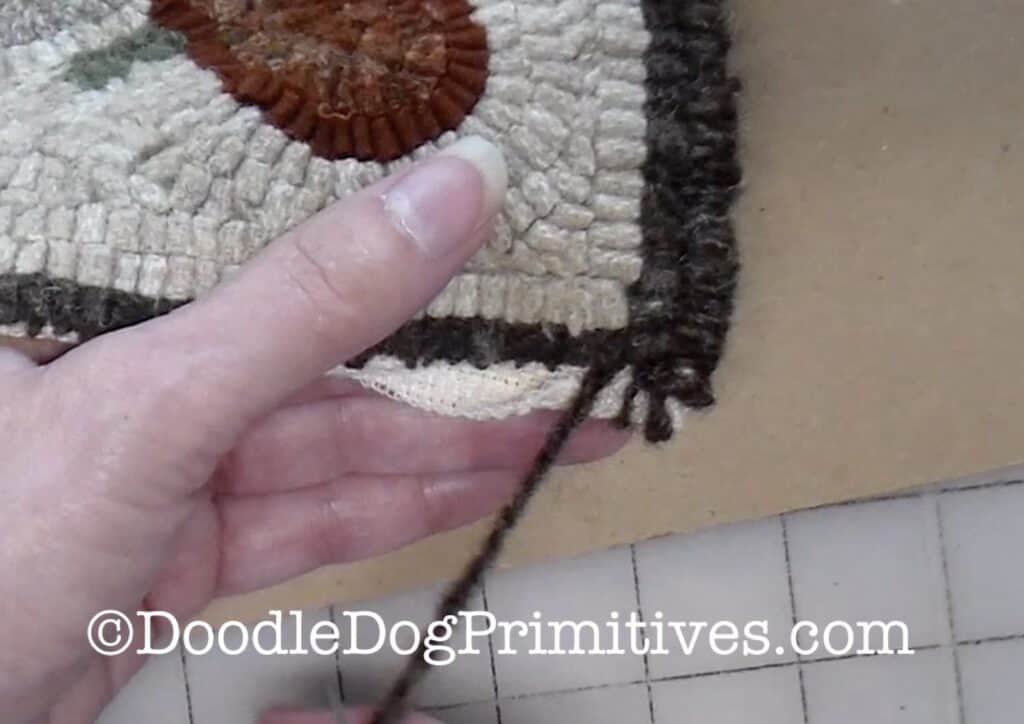
Start in the middle of the bottom of the hooked rug.
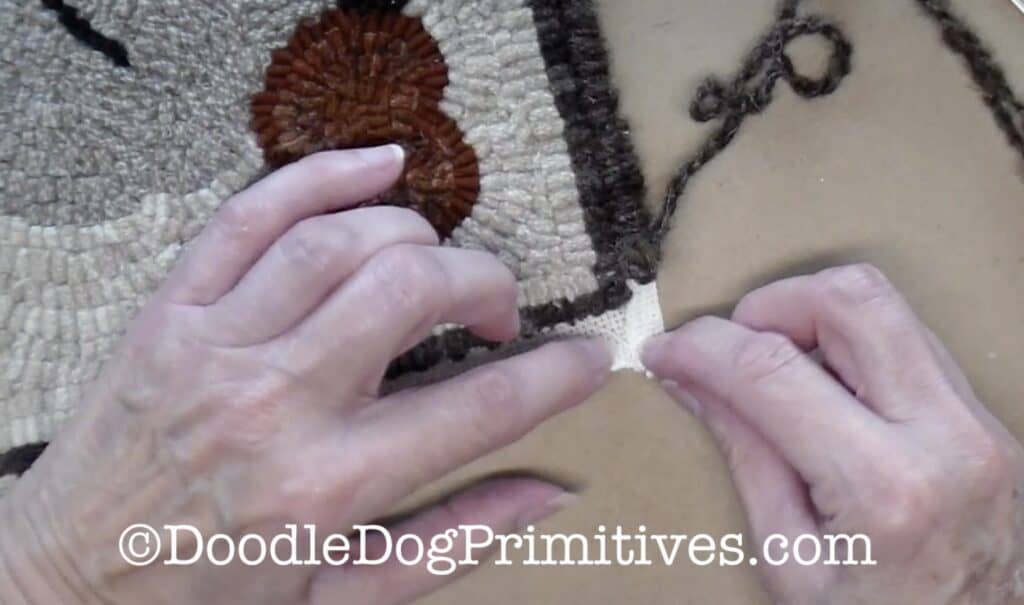
Roll the empty foundation fabric over towards the front.
You can pin it or just roll as you go.
From the back, insert the needle right up next to the hooked edge.
Pull the yarn through, leaving a tail of yarn in the back.
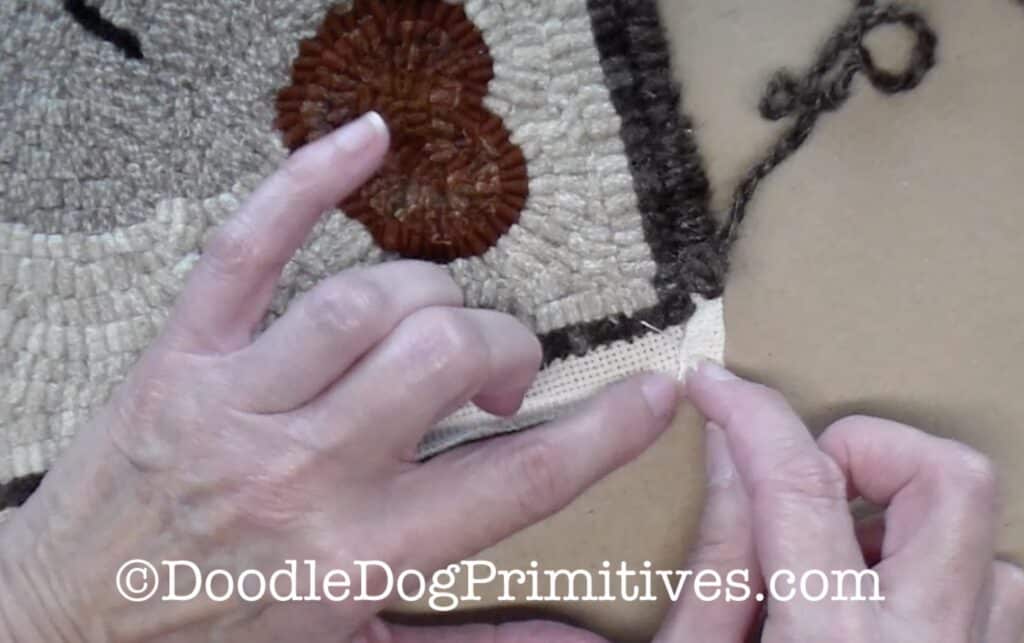
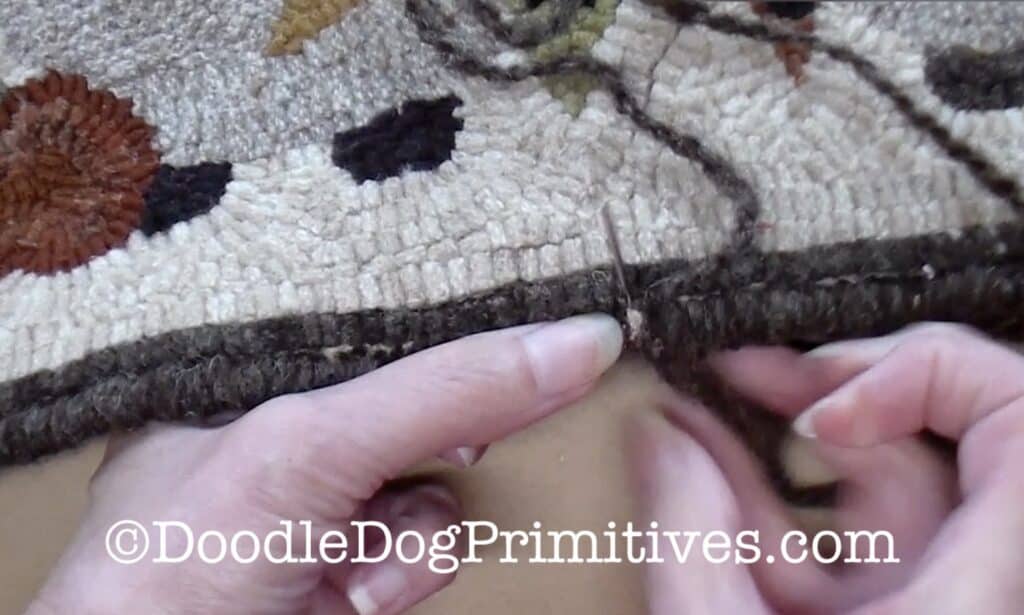
Bring the yarn over the rolled edge of foundation fabric
and from the back, insert the needle right up next to the hooked edge
very close to where you inserted it before.
When you pull the yarn through, make sure the loop of yarn
encases the yarn tail you left in the back in the first stitch.
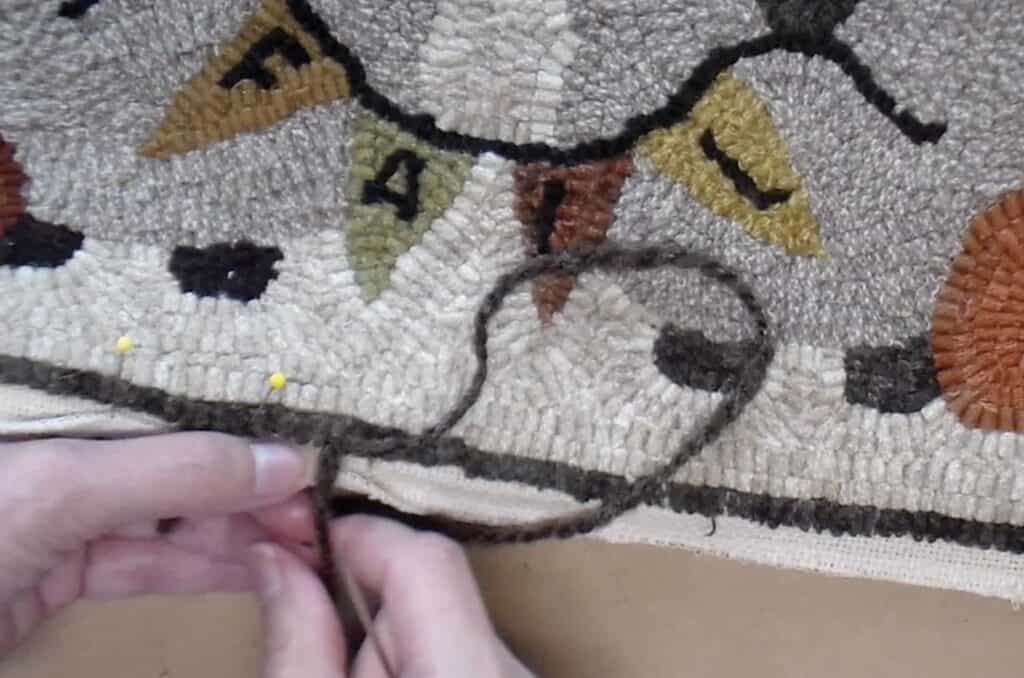
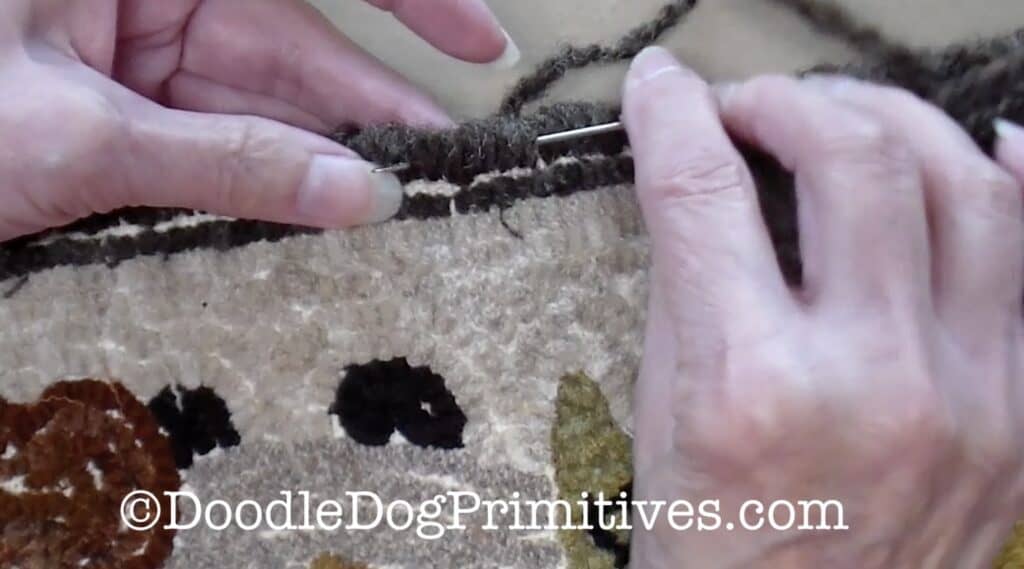
Continue the process of rolling the fabric and stitching all the way around.
When you run out of yarn, leave a short tail from the yarn you are using.
Cut a new piece of yarn and repeat the beginning process,
leaving a tail and encasing both tails as you stitch.

Finishing the Corners of the Hooked Rug with Yarn:
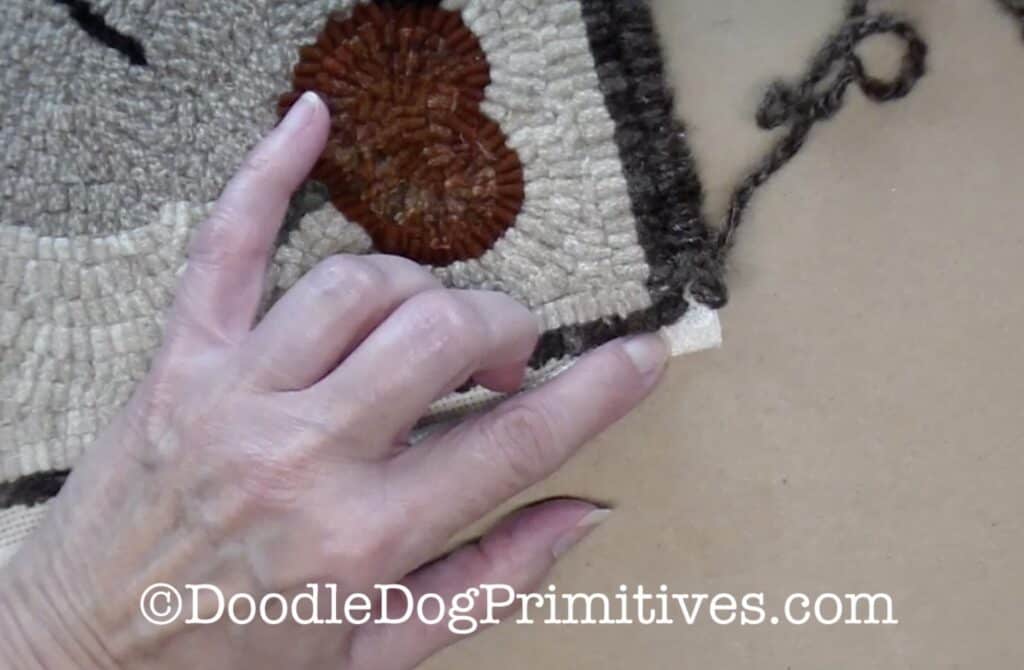
When you have stitched up close to the corner,
press the empty foundation fabric over with your finger
and then turn in the edge just a little bit more.
Next, turn up the other side to make a corner.
Pin this in place.
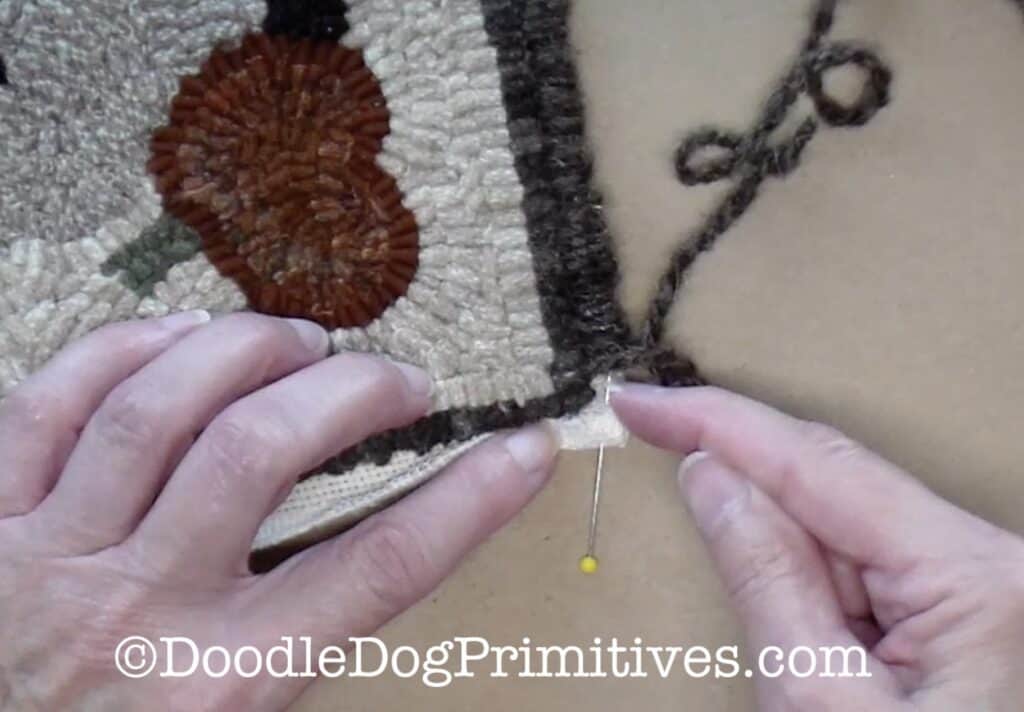
Continue stitching until you get to the very corner.
At the corner, stitch from the corner of the hooked rug
to the turned over corner of the foundation fabric.
This will leave an empty hole that doesn’t have yarn yet.

Place another stitch in the hole
and then place a stitch on the other side of the corner stitch.
Continue stitching on alternate sides of the corner stitch
until the corner is completed covered with yarn.
Finishing the Yarn Edge on a Hooked Rug:
When you get back around to where you started stitching,
add an extra stitch or two at the very end if needed
to completely cover up the foundation fabric.
Turn the hooked rug over.
Pull the yarn to the back
and run the needle through some of the stitches.
Cut off the extra yarn
and the hooked rug is finished!

Blessings~
Amy
Pin this Rug Hooking Tutorial: