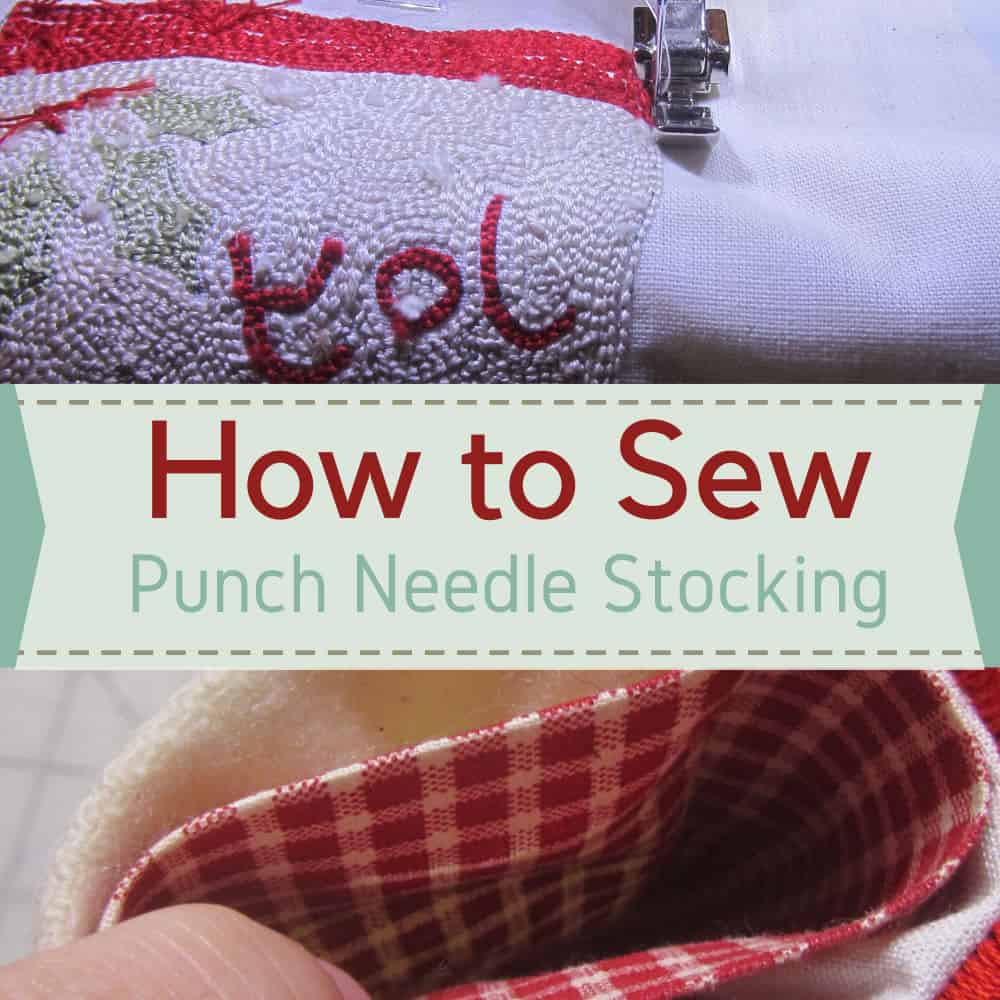
Since I just released a new punch needle Christmas stocking pattern,
I wanted to show you how easy it is
to sew a punch needle project into a stocking.
Supplies to Sew a Punch Needle Stocking:
- Punch Needle Stocking
- Felted Wool for the back
- Cotton Fabric for the lining
- Sewing machine with a zipper foot
- Basic Sewing Supplies
Sew Back on the Stocking:
Cut a strip of felted wool for the stocking’s tag.
Pin the stocking to the felted wool right sides together.
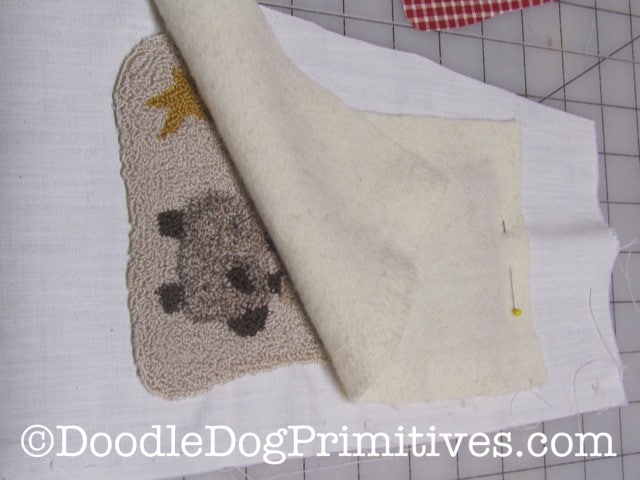
Have the stocking on the top so you can see its outline.
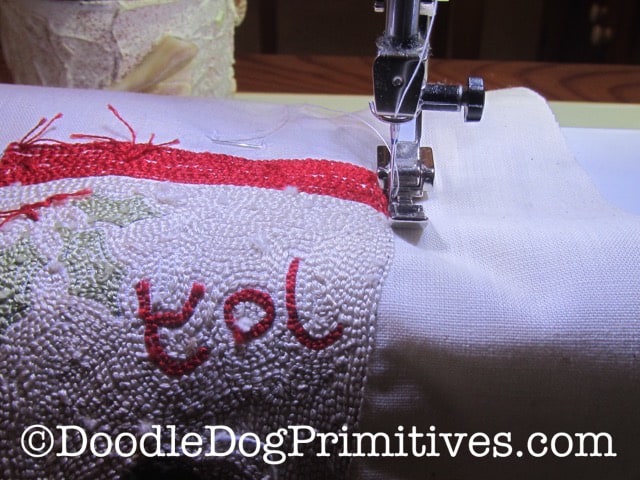
Using a zipper foot,
stitch around the stocking
as close to the edge of the punch needle stitching as possible,
leaving the top open.
Trim edges 1/4” from seam around the stitched lines.
Leave the top slightly longer – around 1/2”.
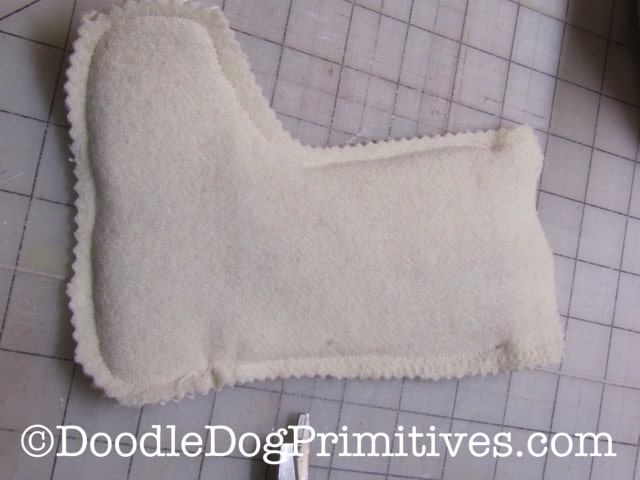
Turn and press using a pressing cloth.
Press the extra top fabric to the inside on both the weavers cloth and wool.
Sewing the Stocking’s Lining Fabric:
Trace the outline of the stocking punching pattern
onto some tracing or tissue paper.
Cut out this pattern.
Fold the cotton lining fabric in half right sides together.
Place the stocking pattern onto the fabric.
Trace around the pattern but do not cut.
Sew along the traced line, leaving the top open.
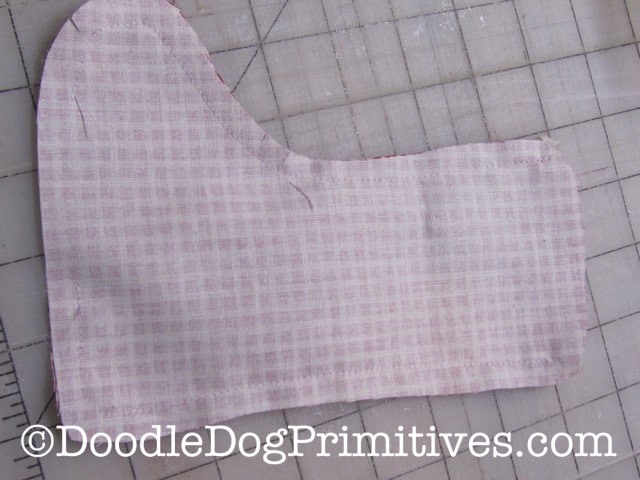
Trim edges 1/4” from seam around the stitched lines.
Leave the top slightly longer – around 1/2”.
Press the extra top fabric to the wrong side.
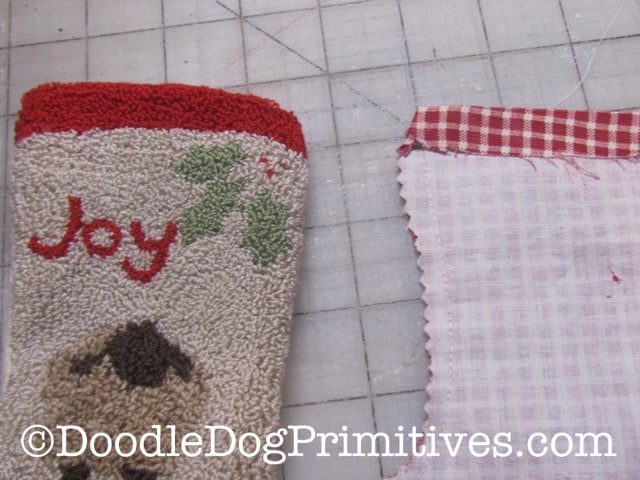
Place the lining inside the stocking, matching the seams.
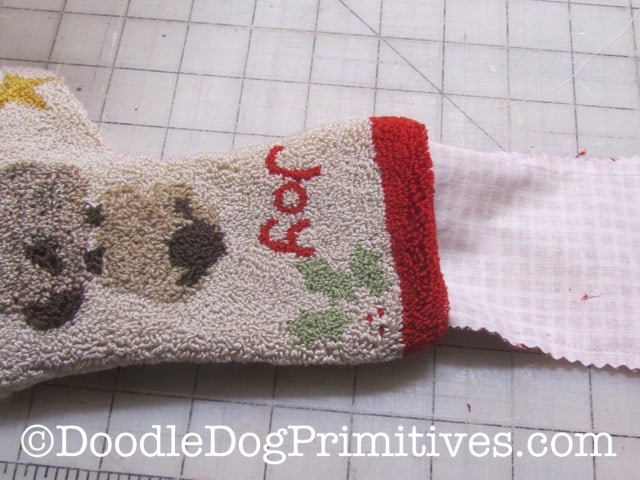
Fold the stocking tag in half and place inside the heel end of the top.
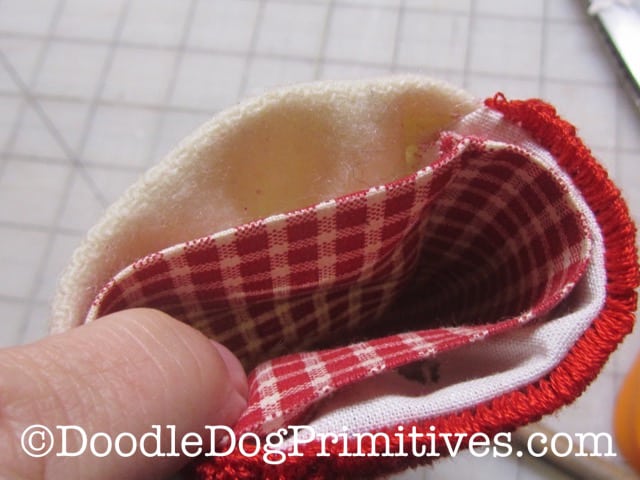
Pin and hand stitch the lining to the stocking along the top of the stocking.

I hope this helps you feel inspired to create your own punch needle Christmas stocking!
Blessings~
Amy


