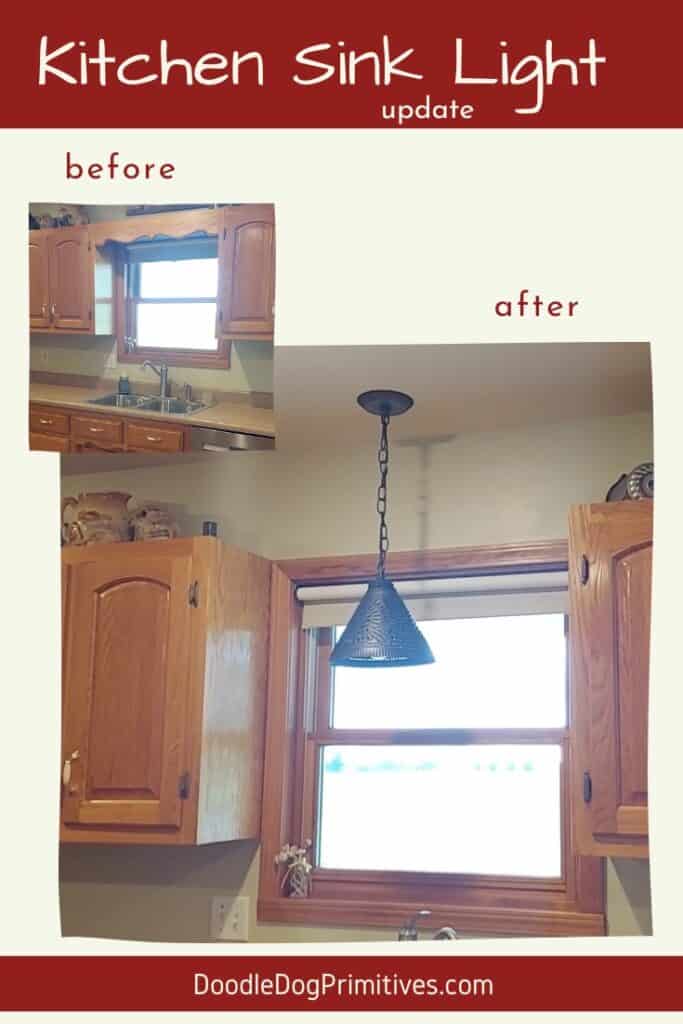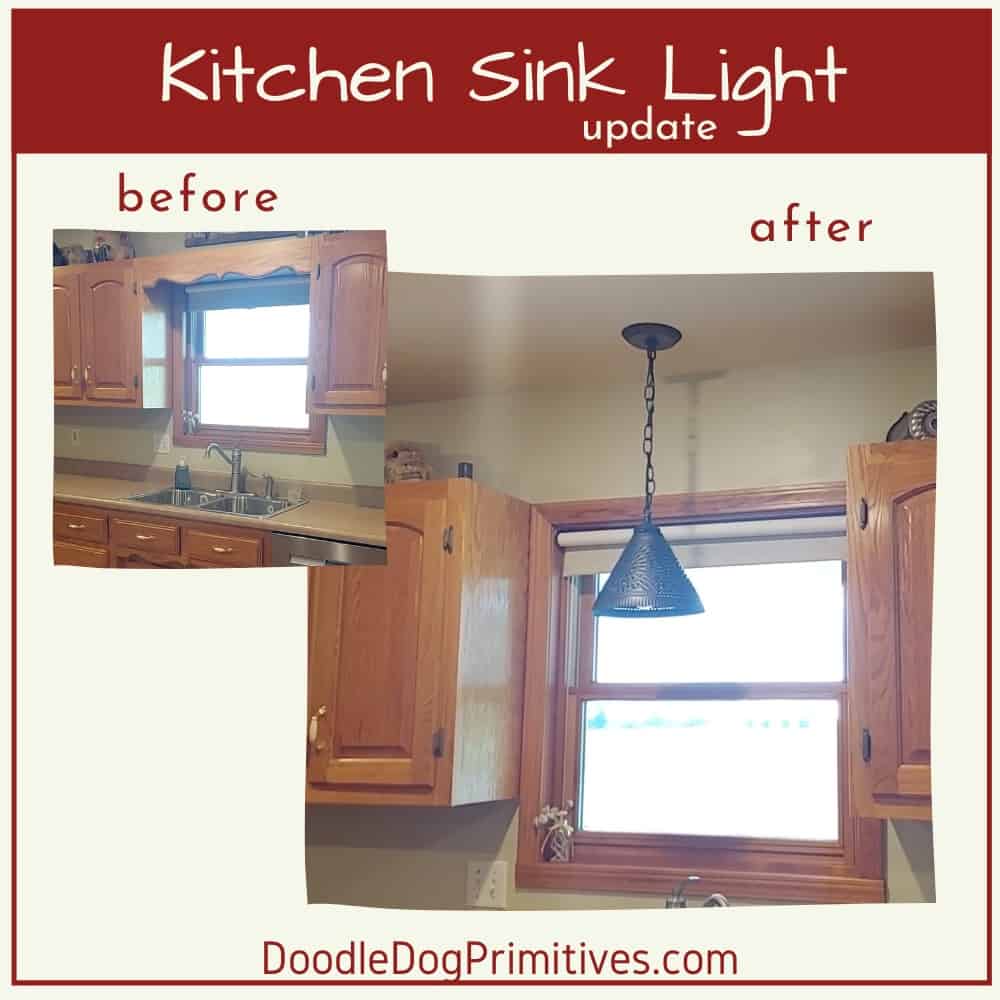
The light above the kitchen sink in our house was a fluorescent light with a shelf above the light. It was definitely functional but very dated looking. We decided to do a mini makeover and remove the boards and light and update the look by adding a pendant style light.

This post may contain affiliate links for your convenience, which means if you make a purchase after clicking a link I will earn a small commission but it won’t cost you a penny more. For more information, please visit our Privacy Policy.

The part of this makeover that took me the longest was choosing a new light! I like a primitive, country style look so I chose this punched tin pendant light.
I love it because it reminds me of antique punched tin lights
Watch the Video:
Removing the Old Kitchen Sink Light & Shelf:
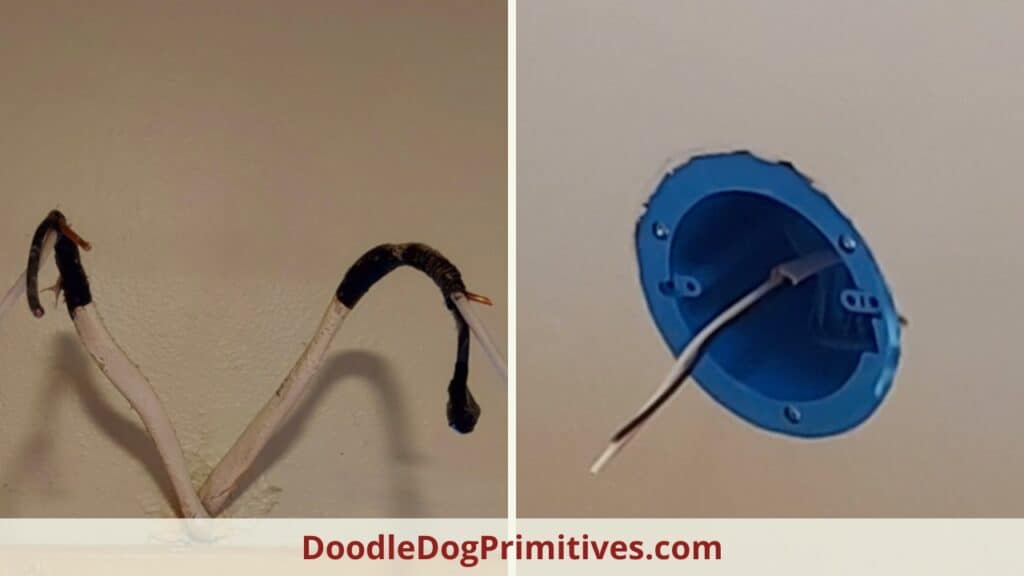
The first thing we did was to turn off the breaker for the light and remove the wires from the light fixture.
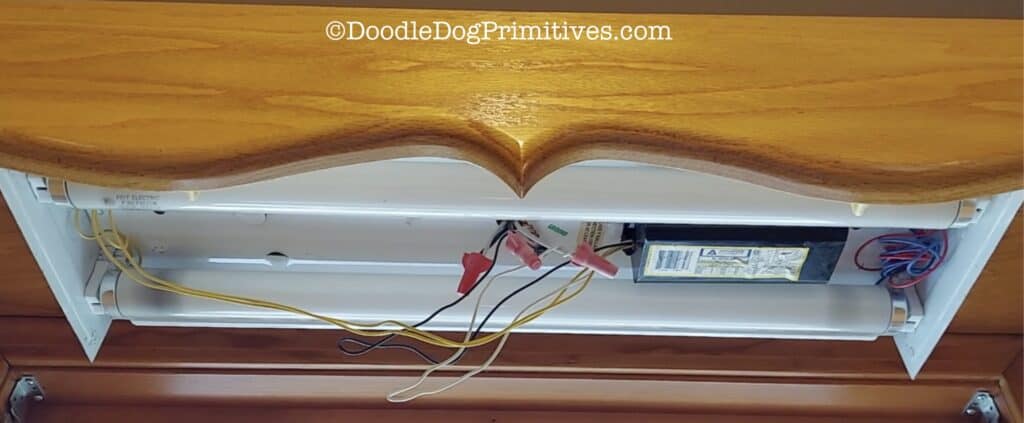
Next, we inspected the construction to see how the shelf and front board were attached. On both sides, finish nails angled through the front board and into the cabinets. On the topside, there were screws attaching the shelf to the cabinets on either side.
Since we didn’t want to tear up the cabinets, my husband used a reciprocating saw to cut through the front boards on both sides. He was extra careful to not cut through the sides of the cabinets!
Then, he removed the screws holding the shelf on and removed it all in one piece.
Electrical Work:
Our next step was to install an electrical box in the ceiling for the pendant light. We held the light up above the sink and drew a mark on the ceiling to indicate where we wanted it to be. Then he installed an electrical box in the correct location.
The old light had not been installed properly with an electrical box – it just had wires coming out of the wall. So I am doubly glad now that we did this project! However, that did make this process a little bit easier.
He was able to go into the attic and pull the wires out from the wall and install them into the new box in the ceiling.
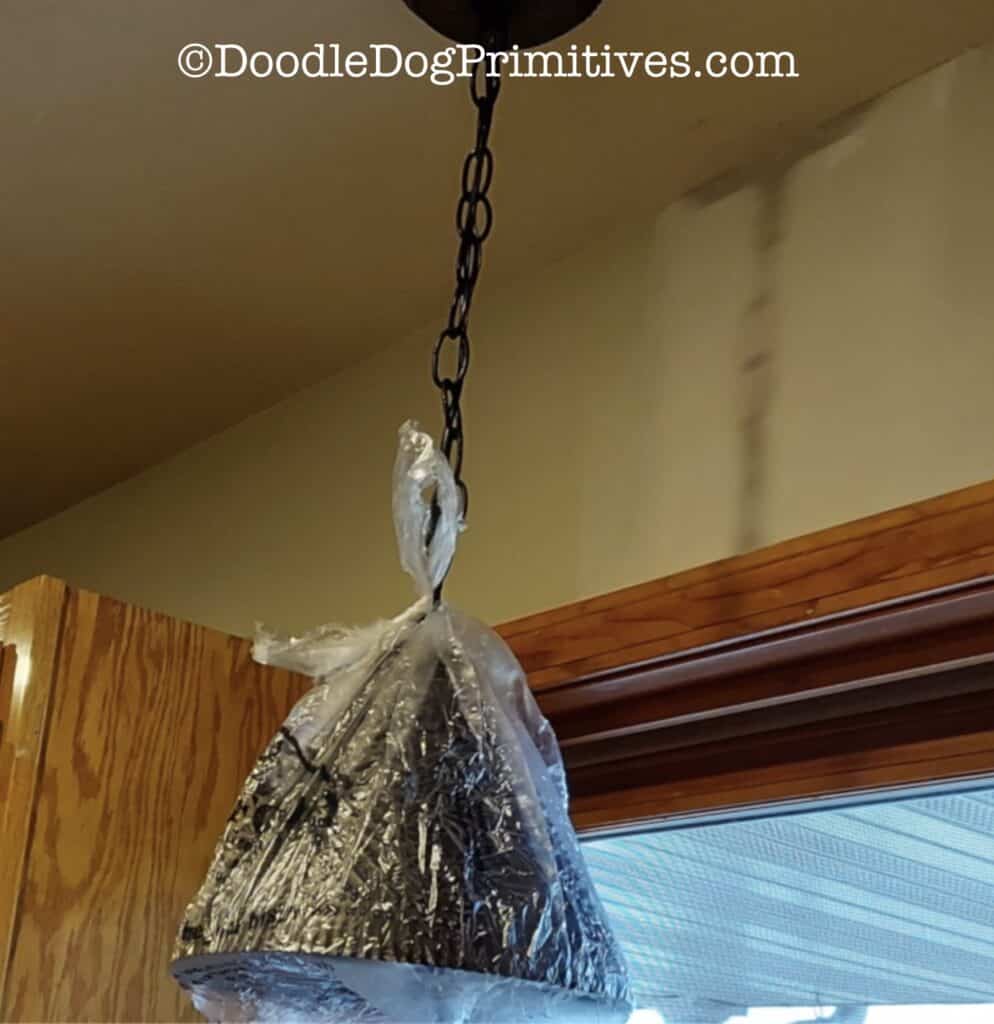
And then, the exciting part – he hung the light!
Fixing the Wall:
To protect the light from getting mud, dust from the sanding, or paint on it, we covered it with a plastic shopping bag.
He repaired the wall with a scrap of drywall and some drywall mud, sanded it, and then it was time for me to paint.
We found the paint can from when we had painted the kitchen last. I was a little nervous when I saw the date on the can was 11 years ago! Luckily, the paint was still good and matched quite well.
Repairing the Cabinets:
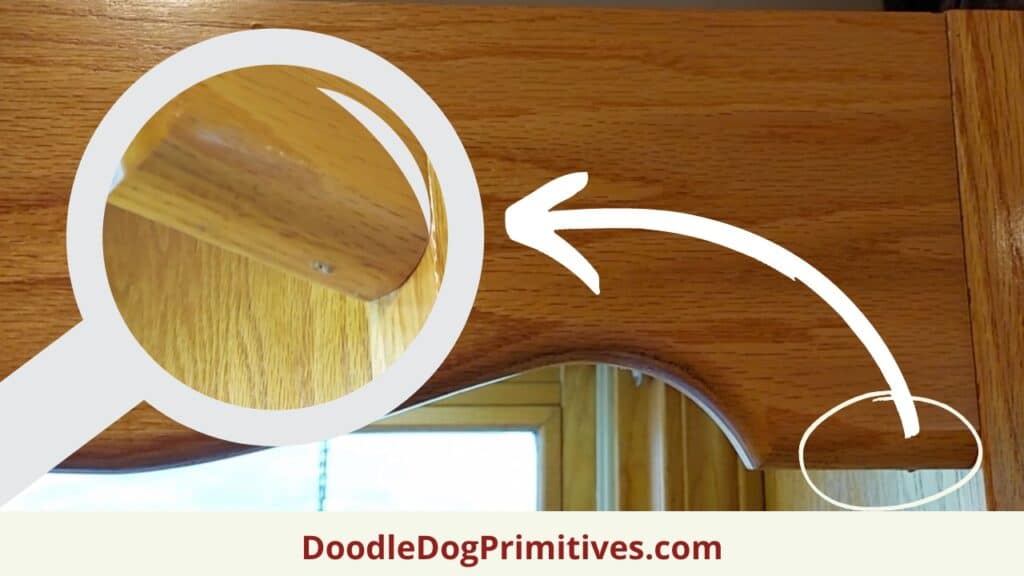
There were holes in the cabinets from the screws and the finish nails. Also, the very top of the cabinets were a different shade of color where they were covered up by the shelf.
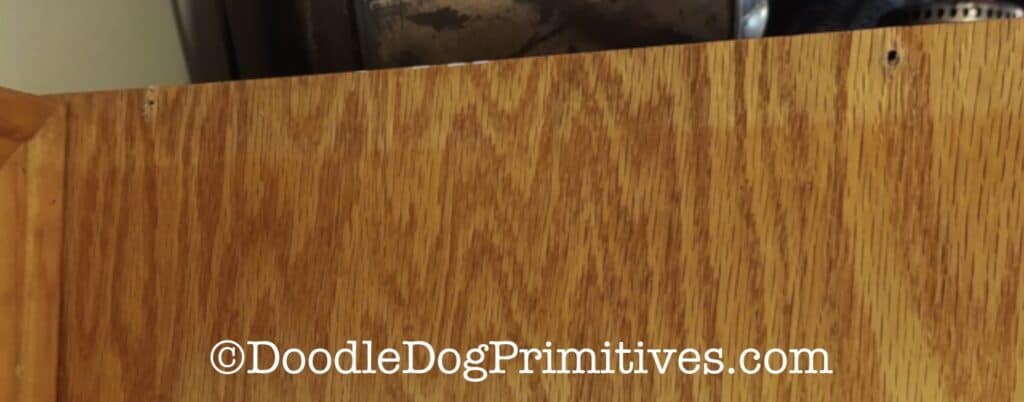
We got some wood filler in golden oak to match the cabinets and filled the holes.
We used Restor-a-Finish in Golden Oak to blend out the mismatched wood.
If you look close, you can still see the repairs that were made, but you have to know to look.
I am very pleased with the finished look of my kitchen sink light update and my new punched tin pendant light!

Be sure to Pin this Kitchen Makeover: