I used to use A LOT of paint when I was trying to paint a distressed look on things.
First, I painted on a SOLID base color,
then I painted a SOLID top coat.
This resulted in TONS of sanding to get a distressed, primitive look on my projects.
Then, one day, I happened to be visiting my mom
while she had a distressed painting project in the works
and I learned the EASY way to paint a primitive, distressed look.
You will love this –
you can spend more time creating projects instead of sanding and sanding and sanding…
The Supplies:
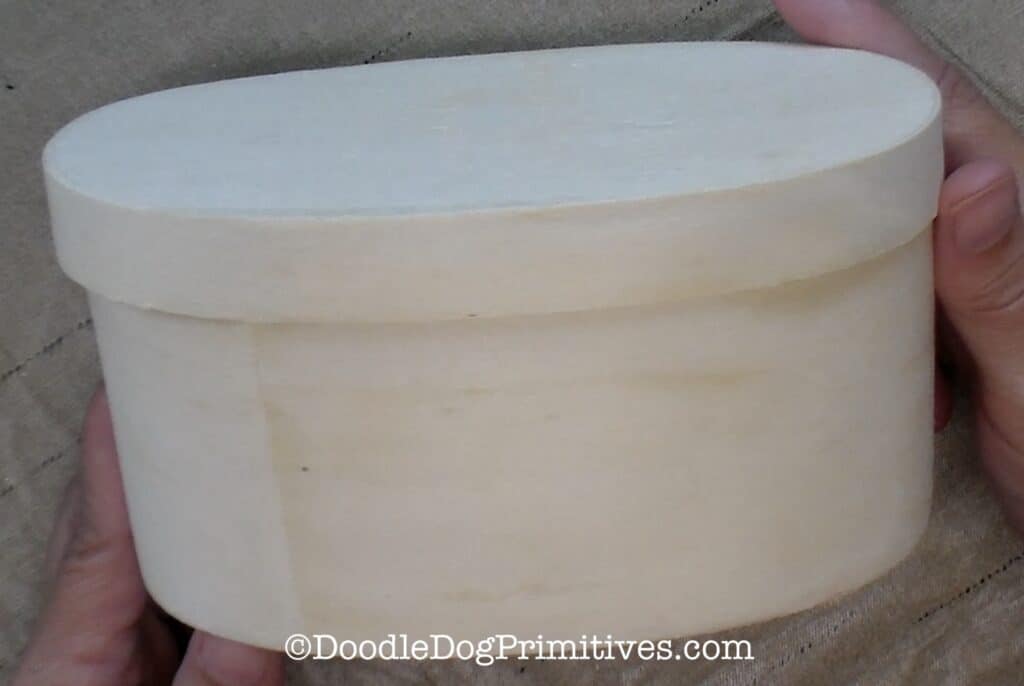
I found this wooden box at a flea market
and thought it would be a perfect addition to my stack of pantry boxes.
This post may contain affiliate links for your convenience, which means if you make a purchase after clicking a link I will earn a small commission but it won’t cost you a penny more. For more information, please visit our Privacy Policy.
I am going to use two colors of paint – black for the base layer and a colonial red for the top layer.
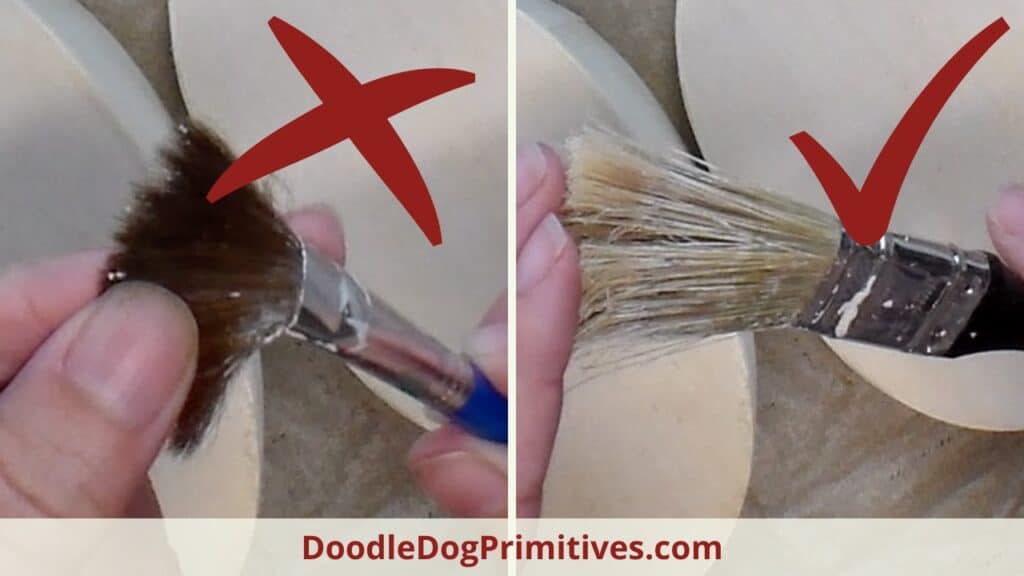
The paintbrush needs to be somewhat stiff – a floppy paint brush won’t work well for this.
You will also want a rag or paper towel for the painting process.
Even with this process, you will still need to use some sandpaper.
I used a P180 grit sandpaper.
To finish the project, you can use a clear wax such as Johnson’s Paste Wax
or a dark colored wax such as Minwax Special Dark or Cottage Paint Umber Wax.
Watch the Video:
Painting the Base Coat:
Dip the dry brush into the base layer color of paint just enough to get a tiny amount of paint on the brush.
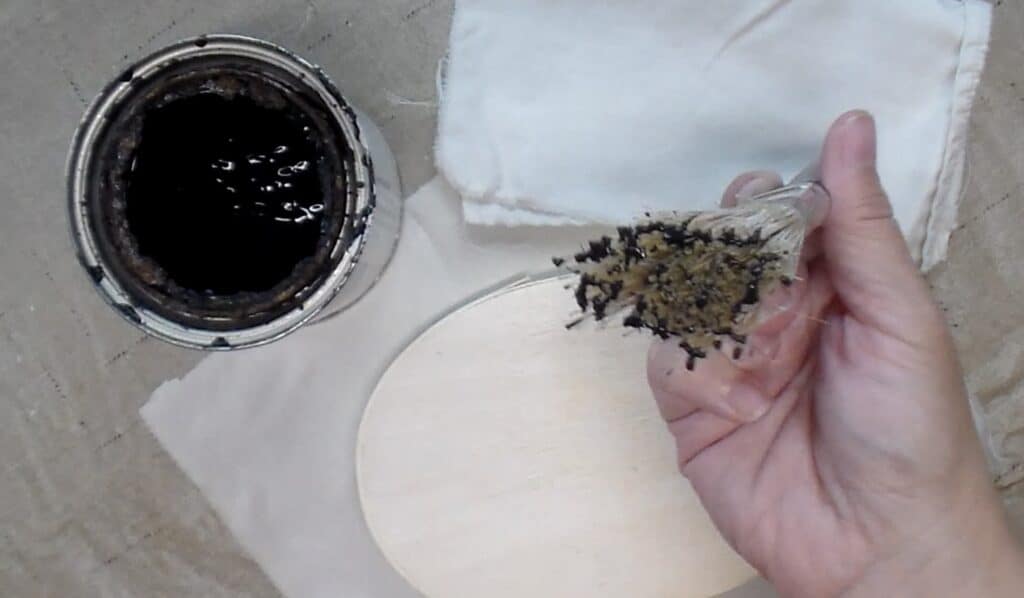
Dab some of the paint off onto the rag or paper towel.
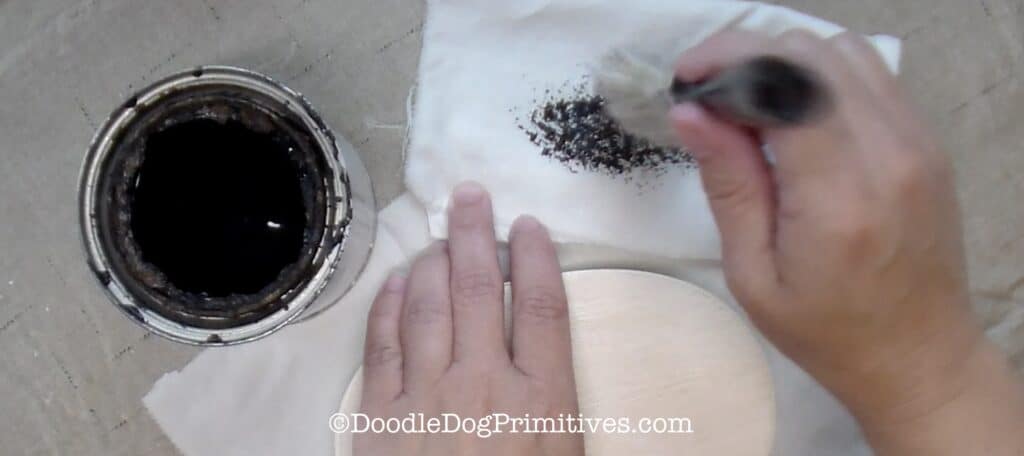
Lightly brush the paint onto the project.
Don’t cover it entirely with paint – just add some color to it.
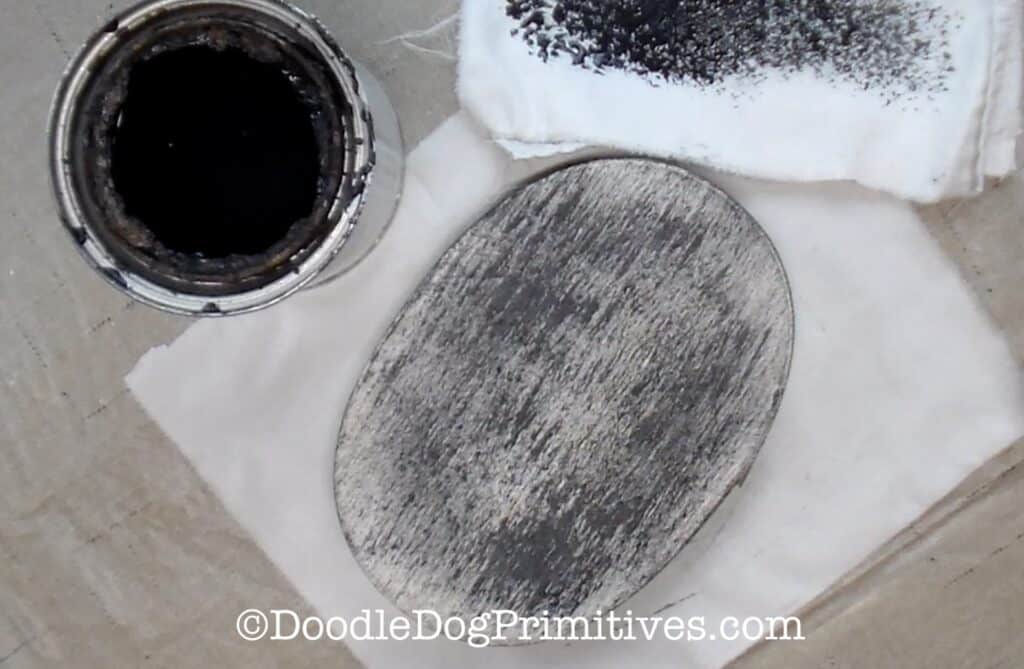
There should still be plenty of the wood showing through.
Be sure to paint with the grain of the wood.
If you forget to dab the brush on the paper towel, as I did on the bottom of the box,
just spread the paint out as best as you can. It will still turn out ok.
Clean out the paintbrush and let the paintbrush and paint completely dry.
Finish Painting:
If you want to have more than two colors to make the prim piece look like it has been painted with many layers,
you can repeat the process of the base coat with a middle layer(s).
Make sure that some of each color still shows through.
I am just going to use two colors in this project, so I am ready to paint the top layer.
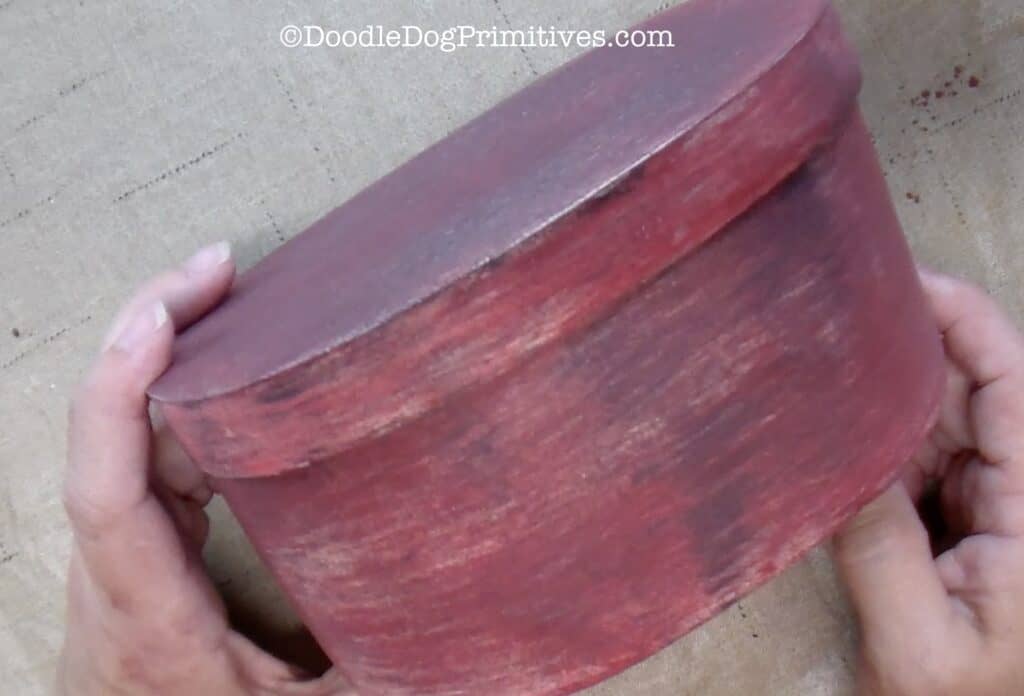
The top coat is put on the same way as the base coat.
You want to make it a light, thin coat so the other layer(s) of paint show through.
I also like to have a little bit of the original wood showing through.
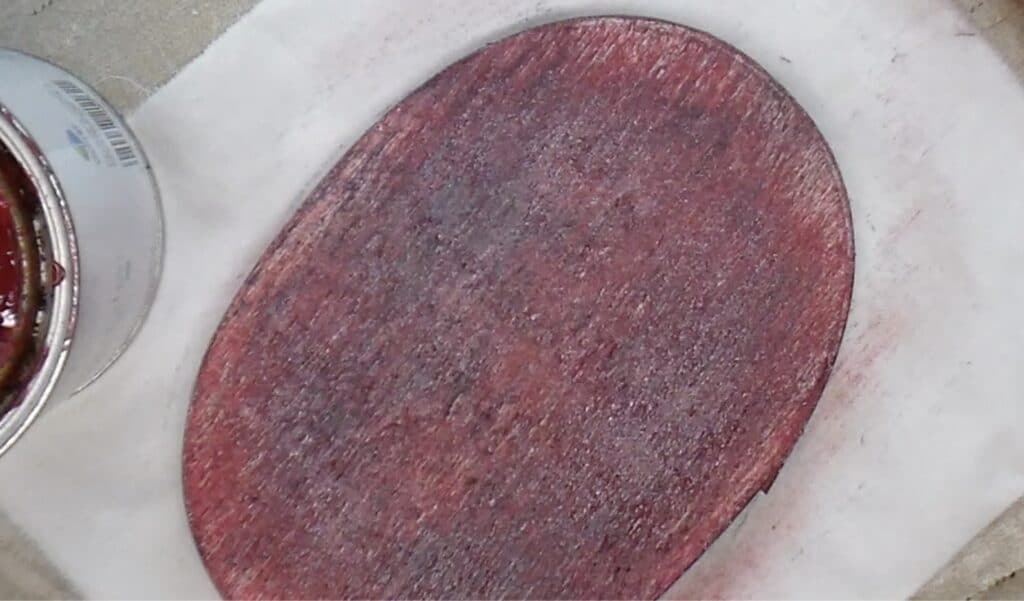
Let the paint completely dry.
The light coats of paint are the secret to easily creationg a distressed look
because there will be a lot less sanding in the end!
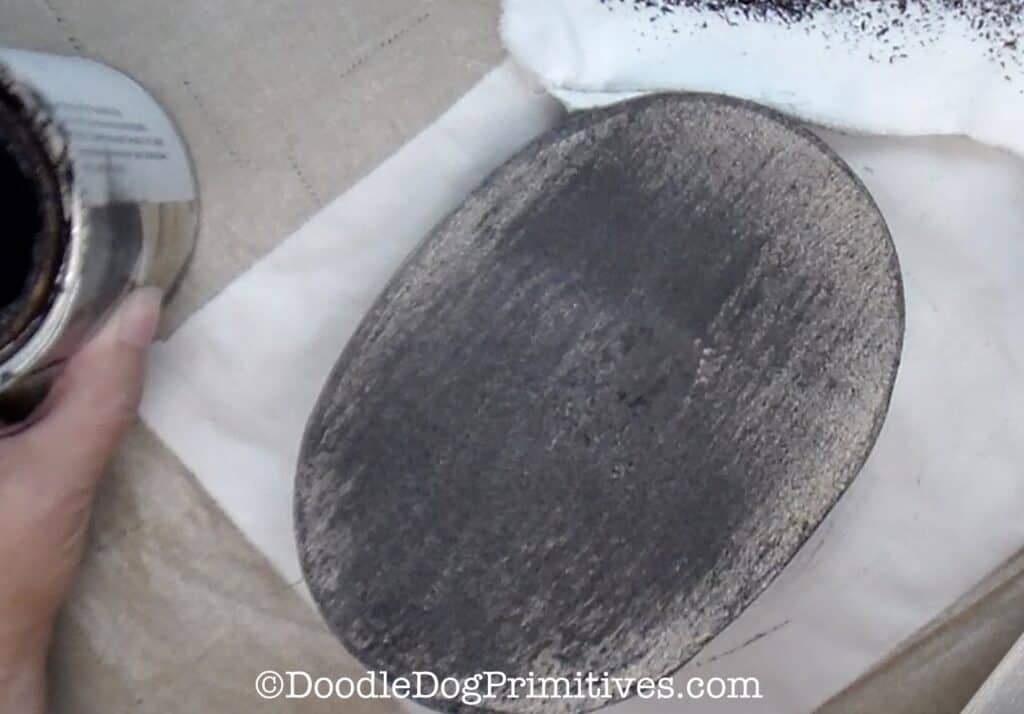
Sanding the Project:
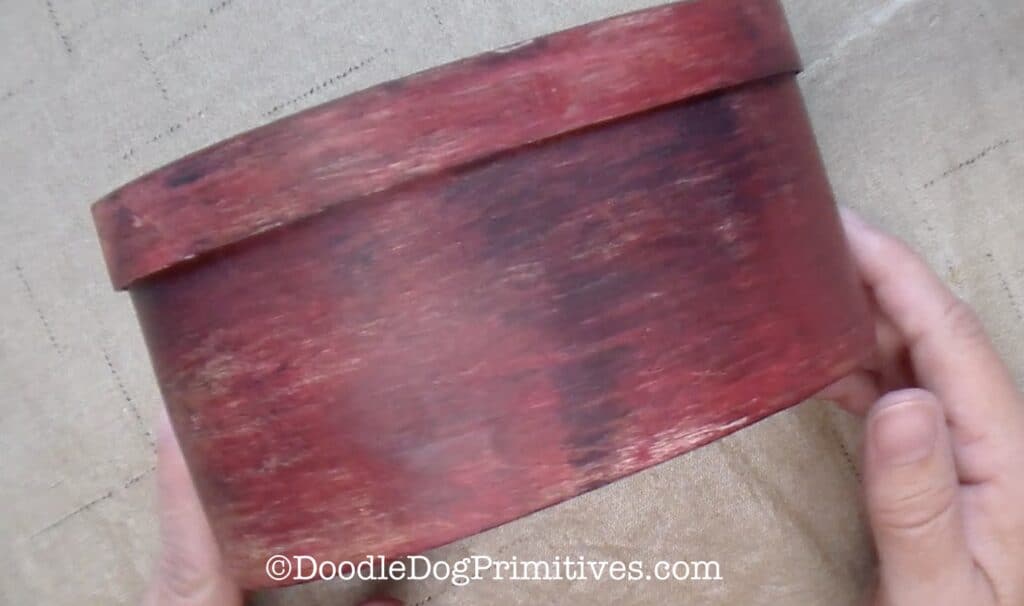
Lightly sand the project to get rid of any brush strokes and make the paint look smooth and worn.
You can sand extra around places that would have extra use such as around handles.
In the following photo, the top of the box (which is at the bottom of the photo) has been sanded
while the bottom of the box (top of the photo) is unsanded.
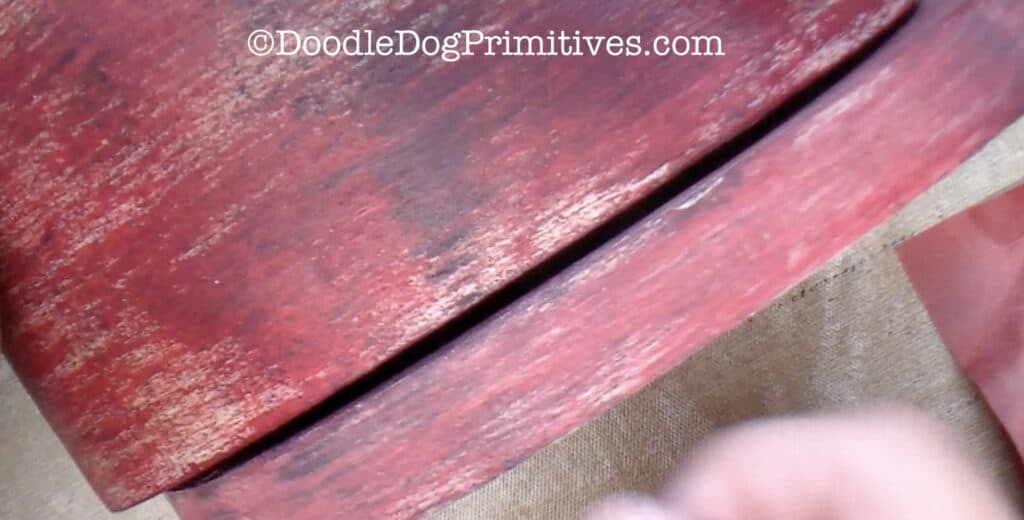
Continue sanding until you are happy with the way it looks.
Finishing Wax:
The last step is to apply a finishing wax.
The wax protects the finish of the project and can make it look darker if you choose a dark wax.
If you like the color of the project as it is, choose a clear wax such as Johnson’s Paste Wax
If you want to make the project darker or more antiqued,
use a dark wax such as Minwax Special Dark or Cottage Paint Umber Wax.
Follow the manufacturer’s instructions for the wax.
Normally, the process is to apply a light coat of wax to the project and then buff with a clean cloth.
Let the wax completely dry.
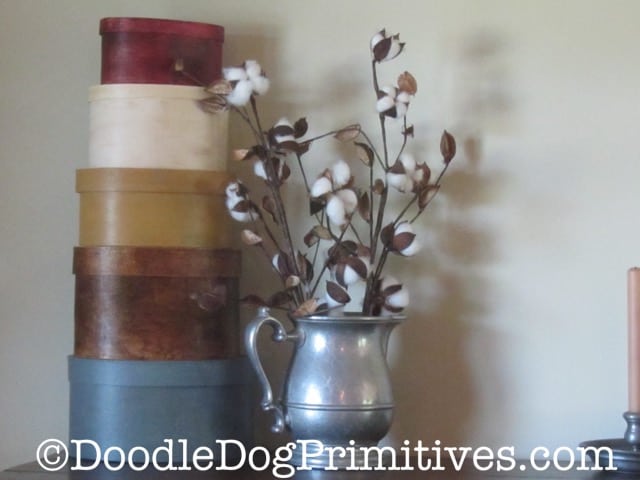
I think this painted box is a perfect addition to my stack of pantry boxes.
Confession: None of them are actually old!
Be sure to check out our other primitive crafting tutorials!
Blessings~
Amy
Be sure to Pin this Prim Painting Tutorial: