I have decided to display one of my latest punch needle bunnies on a paper mâché box with a little vegetable garden. A picket garden fence would be a perfect backdrop to the scene. It was really easy to make the fence, so I am sharing with you the primitive fence tutorial.
This mini fence decoration would also be a great addition to a holiday display or table centerpiece. An even longer fence would be perfect around a primitive Christmas tree! It would also make a wonderful fairy garden fence.
This post may contain affiliate links for your convenience, which means if you make a purchase after clicking a link I will earn a small commission but it won’t cost you a penny more. For more information, please visit our Privacy Policy.
Supplies for Primitive Picket Fence:
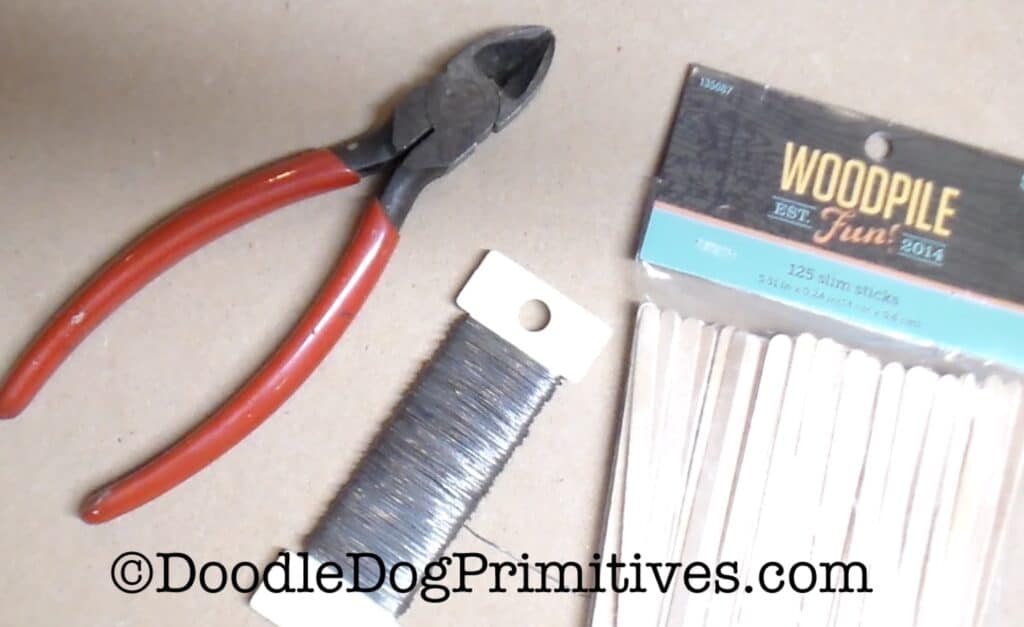
- Slim Craft Sticks – 1/4″ wide
- Craft Glue
- Wire
- Wire Cutters
- Spray Paint
Watch the DIY Picket Fence Video:
Cut the Wire for the Fence:
Decide how long you want the finished fence.
Multiply that length by three.
Use the wire cutters to cut two pieces of wire that length.
For example: I wanted my finished fence to be 10 inches long.
I multiplied 10 x 3 = 30.
I cut two pieces of wire – each 30 inches long.
Fold each piece of wire in half.
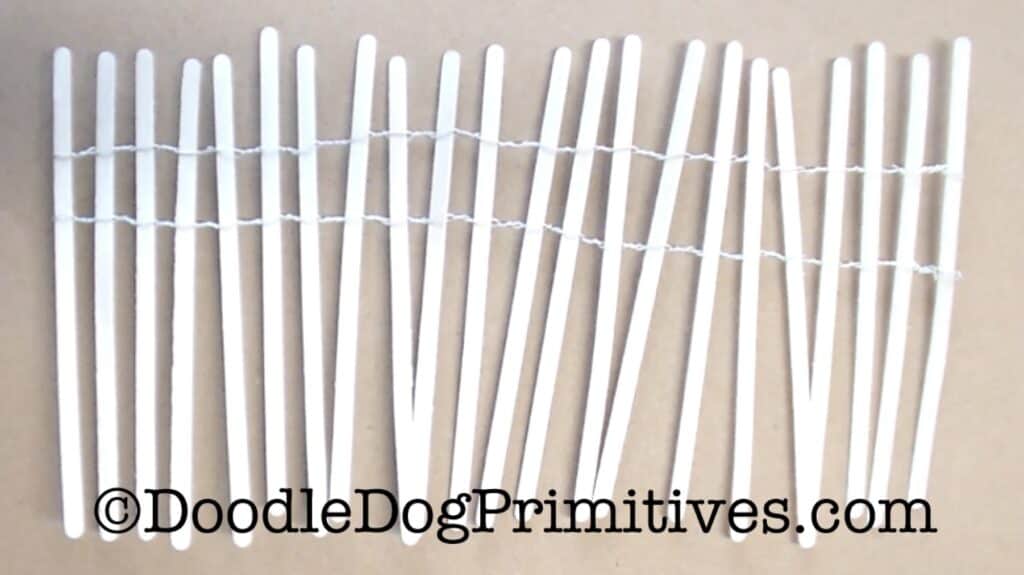
Build the Fence:
The Slim Craft Sticks that I used are taller
than I want the finished fence to measure.
But it is easier to work with the longer sticks
than with short sticks so I will cut them later.
Determine approximately how tall you want the finished fence.
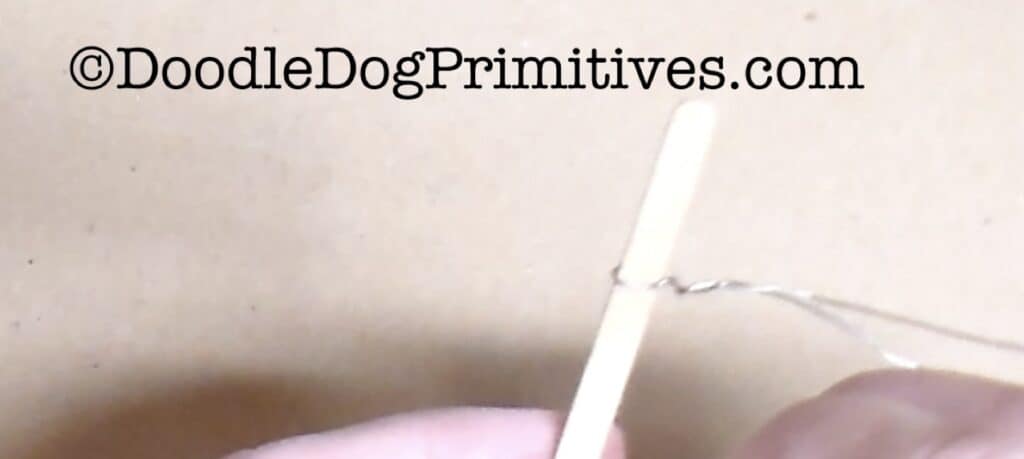
Place the folded edge of one wire around one craft stick.
Position it about a third of your desired fence height down from the top.
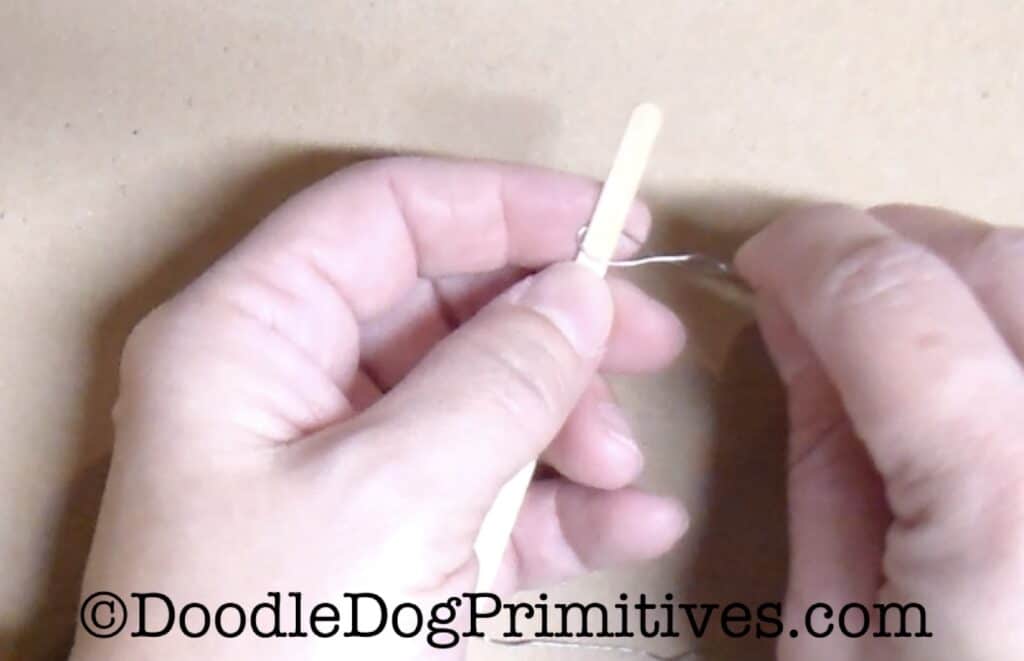
Twist the wire two or three times close to the stick.
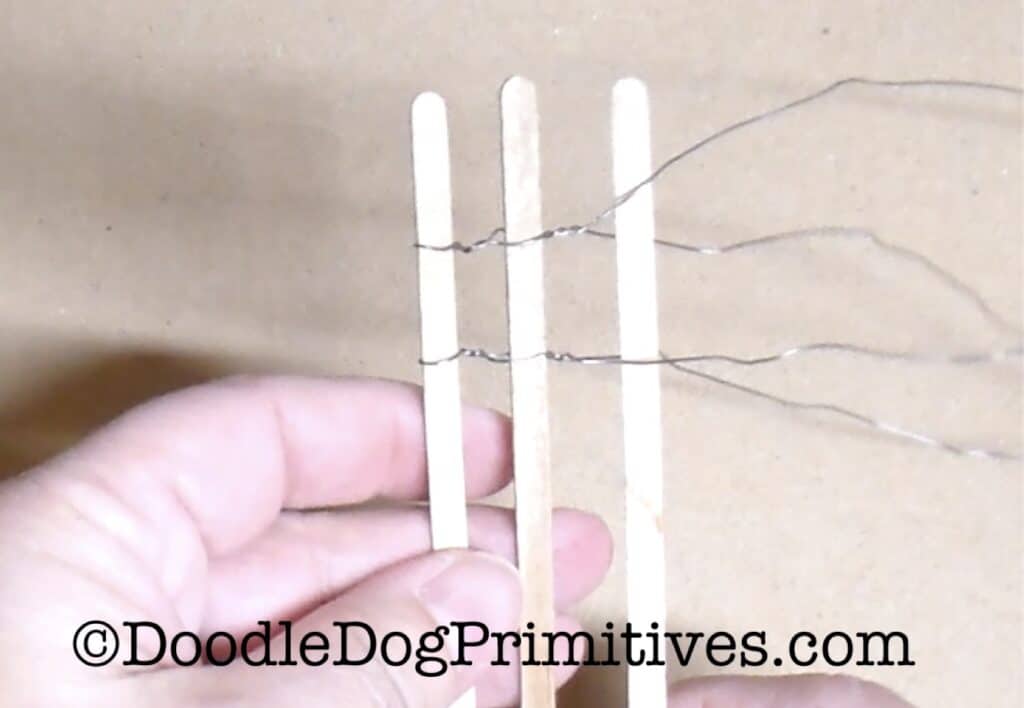
Repeat with the second wire,
placing it another third of the desired fence height
down from the first wire.
Twist this wire two or three times close to the stick.
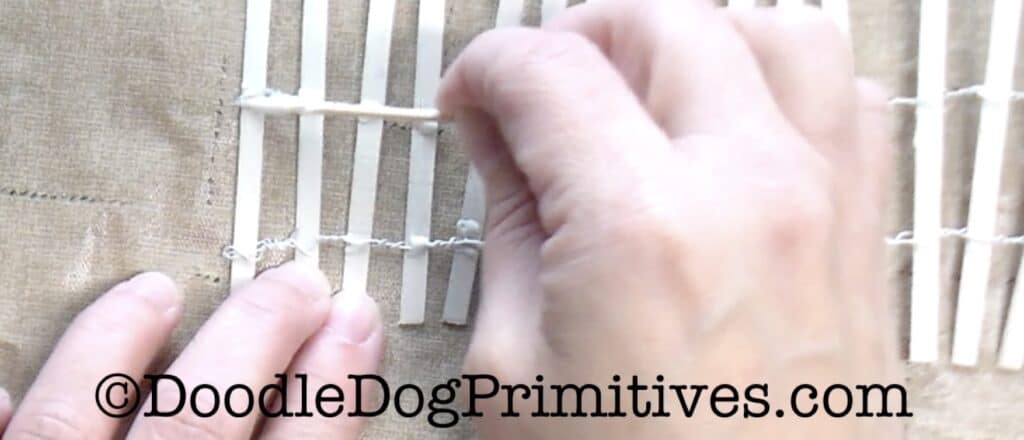
Add another stick between the wires.
Make sure to get it tight up against the twists in the wire.
Twist each wire two or three times.
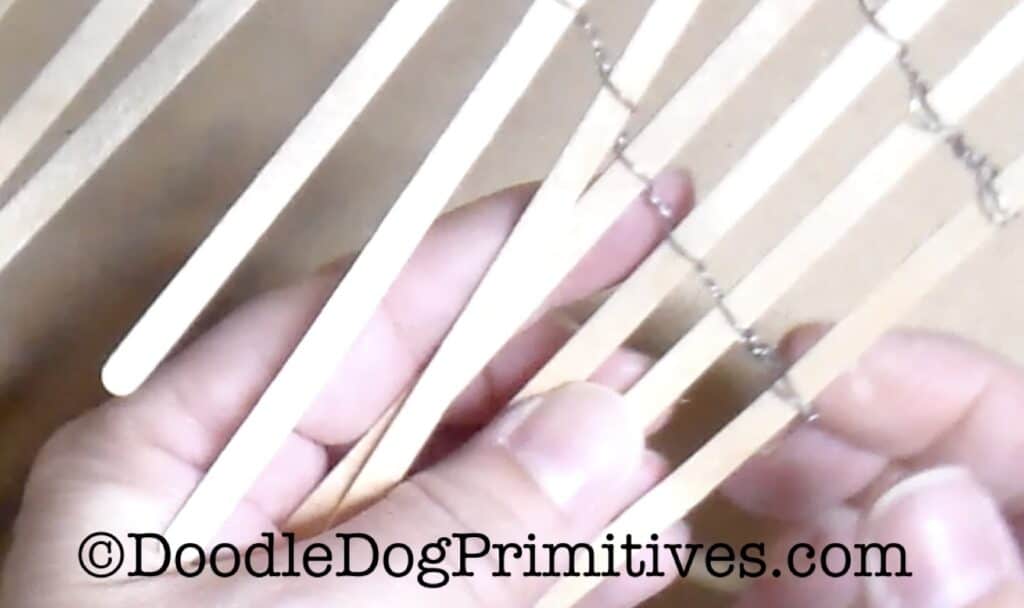
Add another stick and repeat.
Keep adding sticks until you have your desired length.
The sticks will still be able to be adjusted
so don’t worry about getting them just right yet.
After adding the last stick, just twist the wires one time.
Cut the extra wire to about 3/4 inch.
Weave the extra wire back around the last stick and into the last twists.
Paint the Fence:
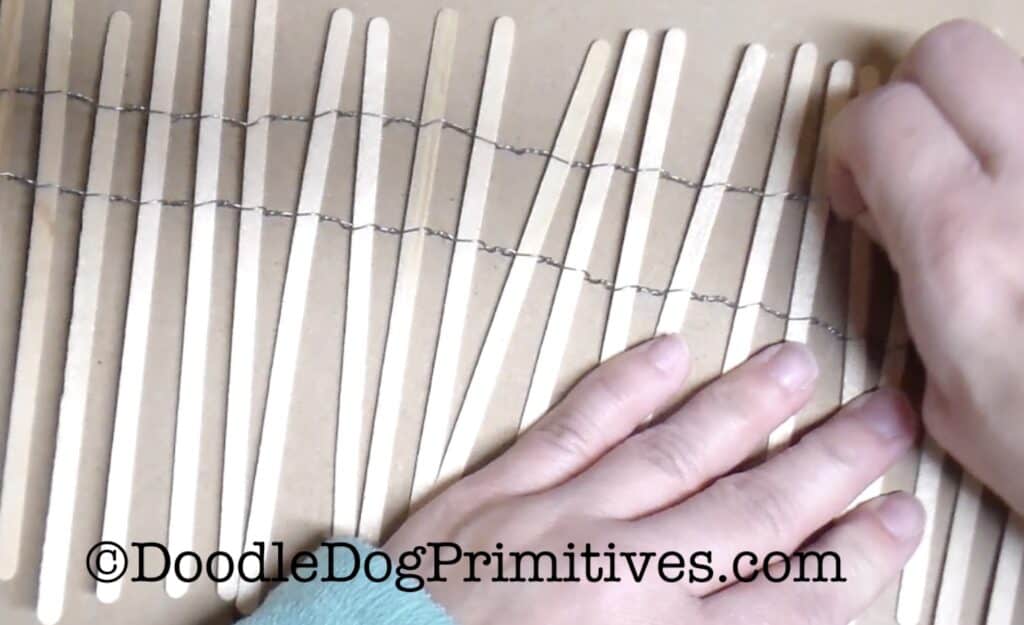
If necessary, take some time to straighten
the wires and align the fence posts.
I want a primitive looking fence, so want a fair amount of unevenness
but mine did get REALLY uneven as it was being built.
Once you are happy, spray paint both sides of the fence.
I did a light coat on each side
so the paint would look whitewashed and faded.
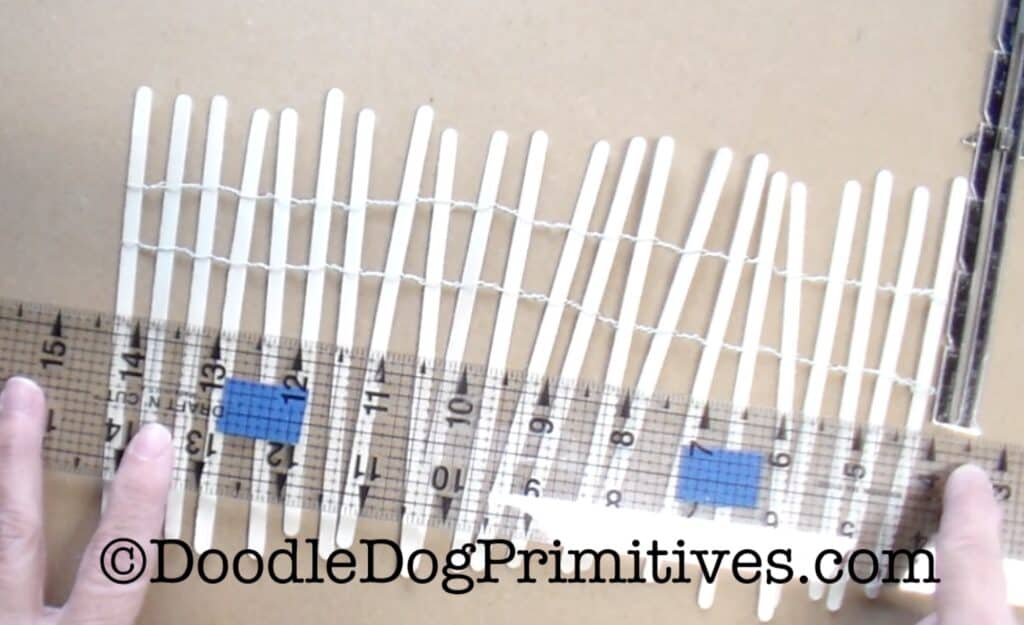
Cut the Fence:
Before measuring to cut the fence, make sure it looks like you want.
I like the uneven primitive look of this fence.
If that is not the look you desire,
make sure all of your fence posts are even before proceeding.
Place a ruler across the bottom of the fence.
Measure down from the top on each side the desired height of your fence.
I made my fence a little more than 3 inches tall.
Use a pencil to mark each of the fence posts along the edge of the ruler.
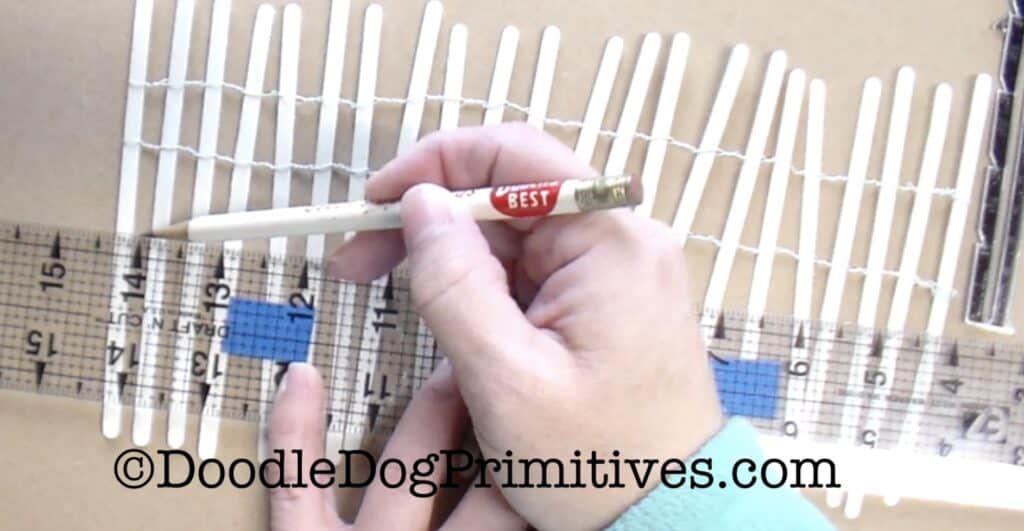
Cut each fence post on the mark.
You could use a saw.
The sticks I used were thin enough
I was able to snip them with my wire cutters.
(This probably isn’t good for the wire cutters.)
Use sandpaper to lightly sand each cut edge.
Glue Fence Posts to the Wire:
To make sure the fence posts stay in place and don’t shift,
there is one final step.
Make sure all of the fence posts are level at the bottom of the fence
by placing a flat surface against the bottom of the fence.
Adjust the fence posts as necessary.
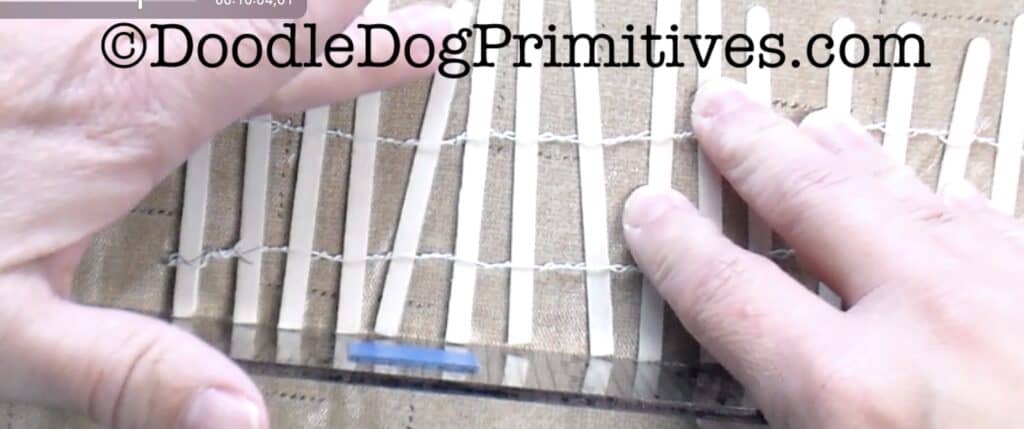
Use a toothpick to dab a bit of tacky craft glue
everywhere the sticks and wires touch.
Blot off any excess glue so you don’t have big globs of glue on the fence.
Set the fence aside until the glue is dry.
Enjoy your fence!
I hope you enjoyed this primitive fence tutorial.
You might also like some of our other tutorials.
Blessings~
Amy
Pin this Primitive Fence Tutorial: