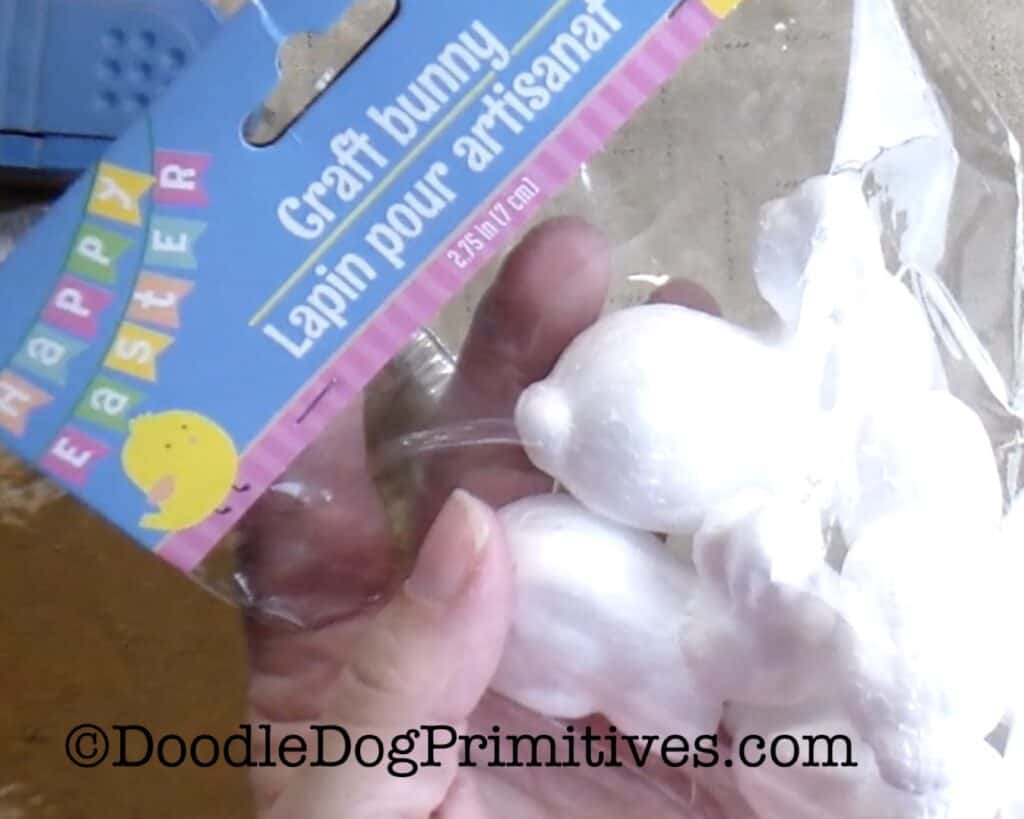
I like to go to the Dollar Tree and look through their seasonal section occasionally. Sometimes, I find a treasure that I can turn into a primitive craft. In their Easter decor, I came across a package of styrofoam bunnies that I thought would make cute beeswax bunnies. I will show you how we made them in this primitive wax bunnies tutorial.
Since my dad raises bees, my parents have a nice supply of beeswax. So, I took my styrofoam bunnies over to their house and had a fun and productive craft-er-noon with my mom.
This post may contain affiliate links for your convenience, which means if you make a purchase after clicking a link I will earn a small commission but it won’t cost you a penny more. For more information, please visit our Privacy Policy.
Supplies for the Primitive BeesWax Bunnies:
- Styrofoam Bunnies
(the ones from the Dollar Tree are about 2″ tall x 2-1/2″ long.)
If you can’t find them at the Dollar Tree, these bunnies are similar. - Bamboo Skewers
- BeesWax
- Something to melt the wax in
- Brown and cream craft paint
- Stiff paint brush
- Cinnamon
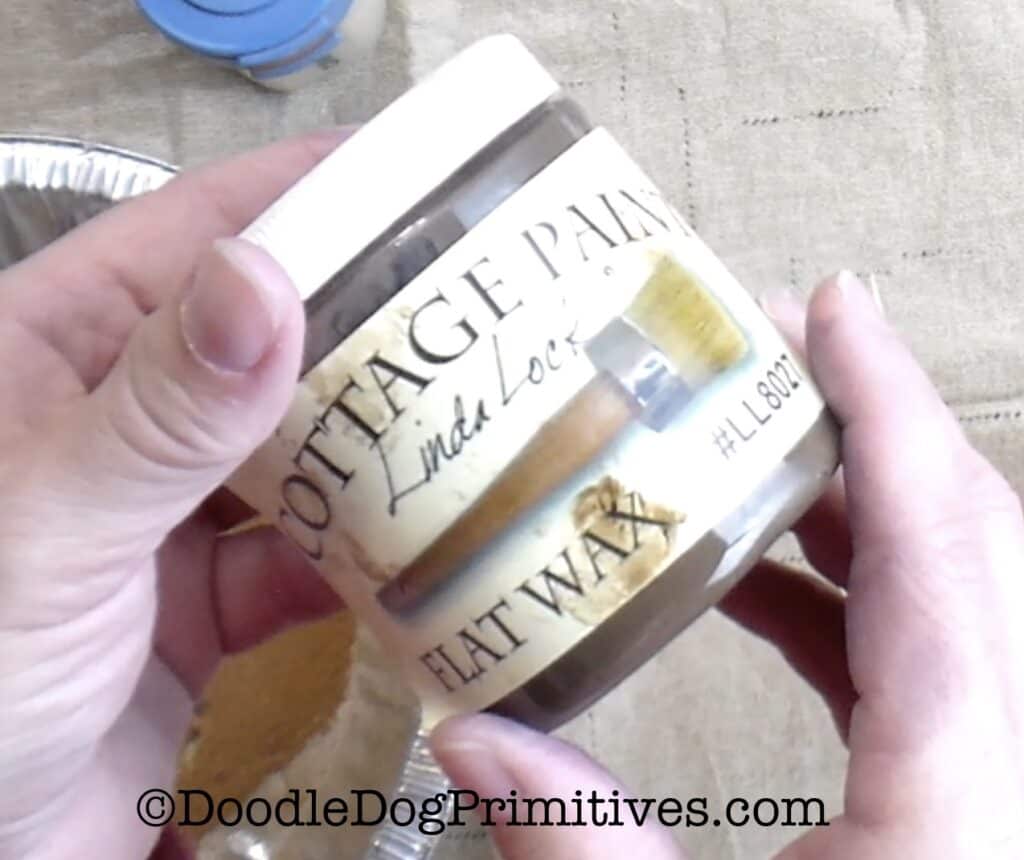
- Finishing Decorative Wax
(such as Cottage Paint Flat Wax)
Watch the DIY Prim Bunny Tutorial:
Prepare the Bunnies:
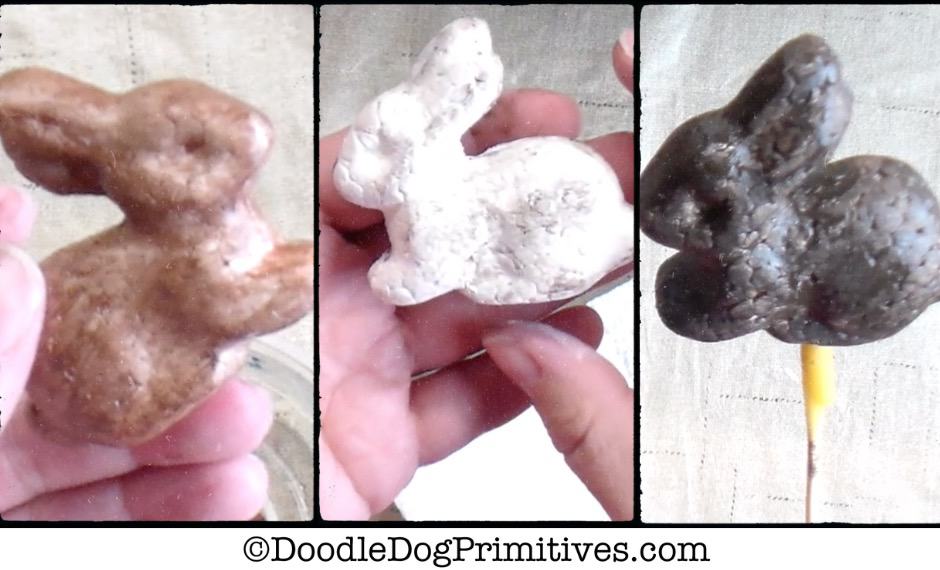
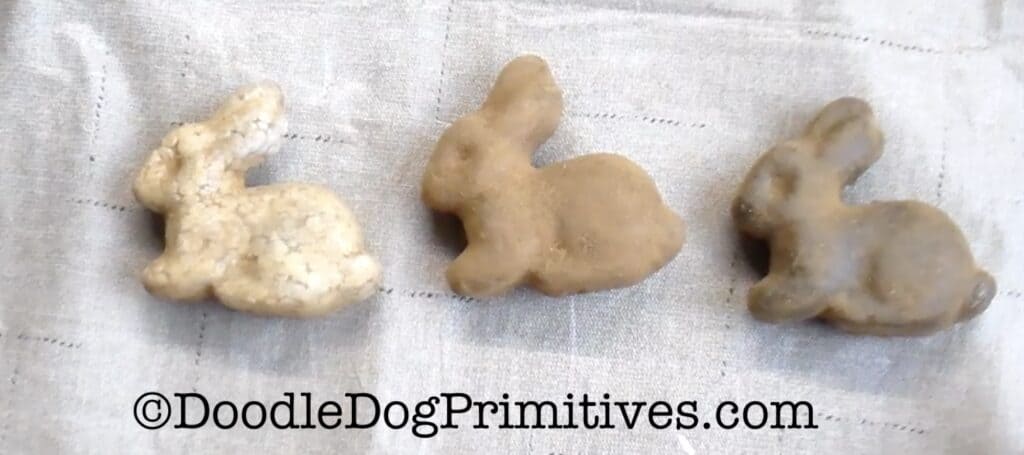
We decided to try to create a white chocolate bunny,
a milk chocolate bunny, and a dark chocolate bunny.
Milk Chocolate Bunny:
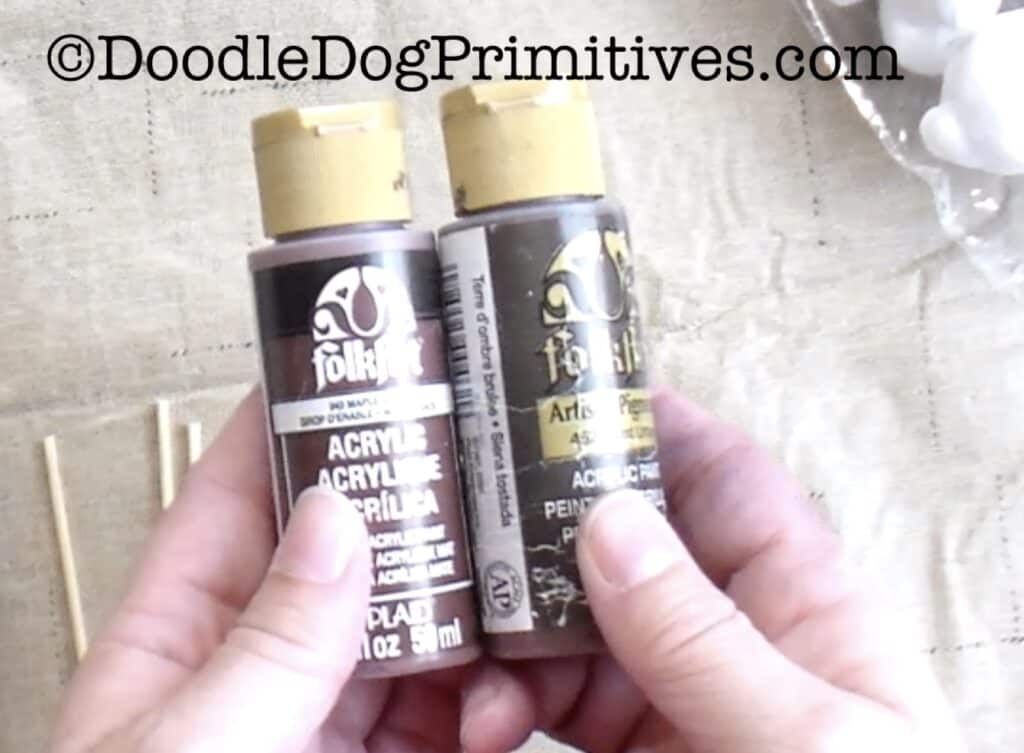
We painted the milk chocolate bunny with
two shades of medium brown paint.
(We used Folk Art Maple Syrup and Folk Art Burnt Umber paints.)
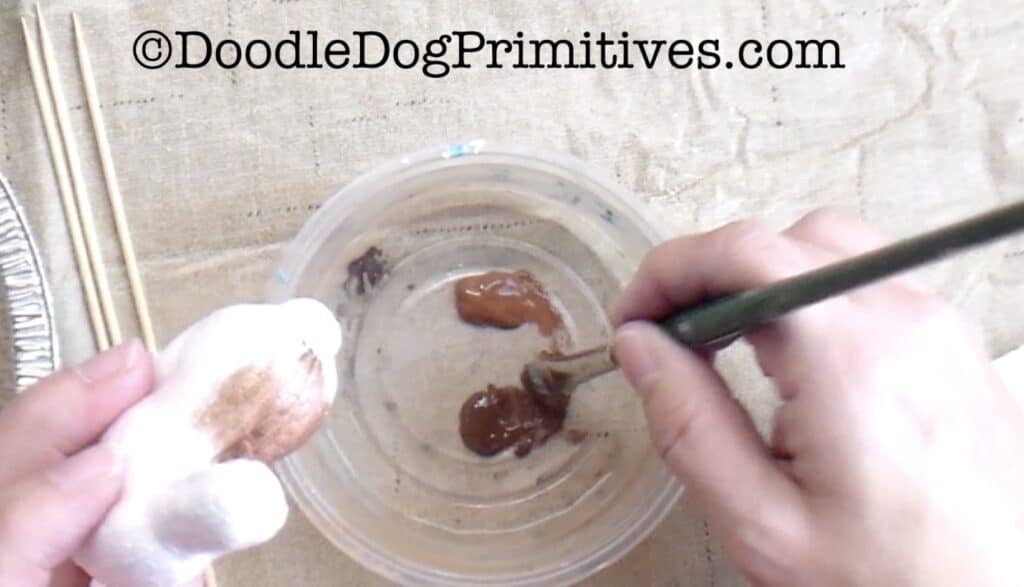
We used a dry paint brush and alternated
between the two shades of brown, blending between each color.
White Chocolate Bunny:
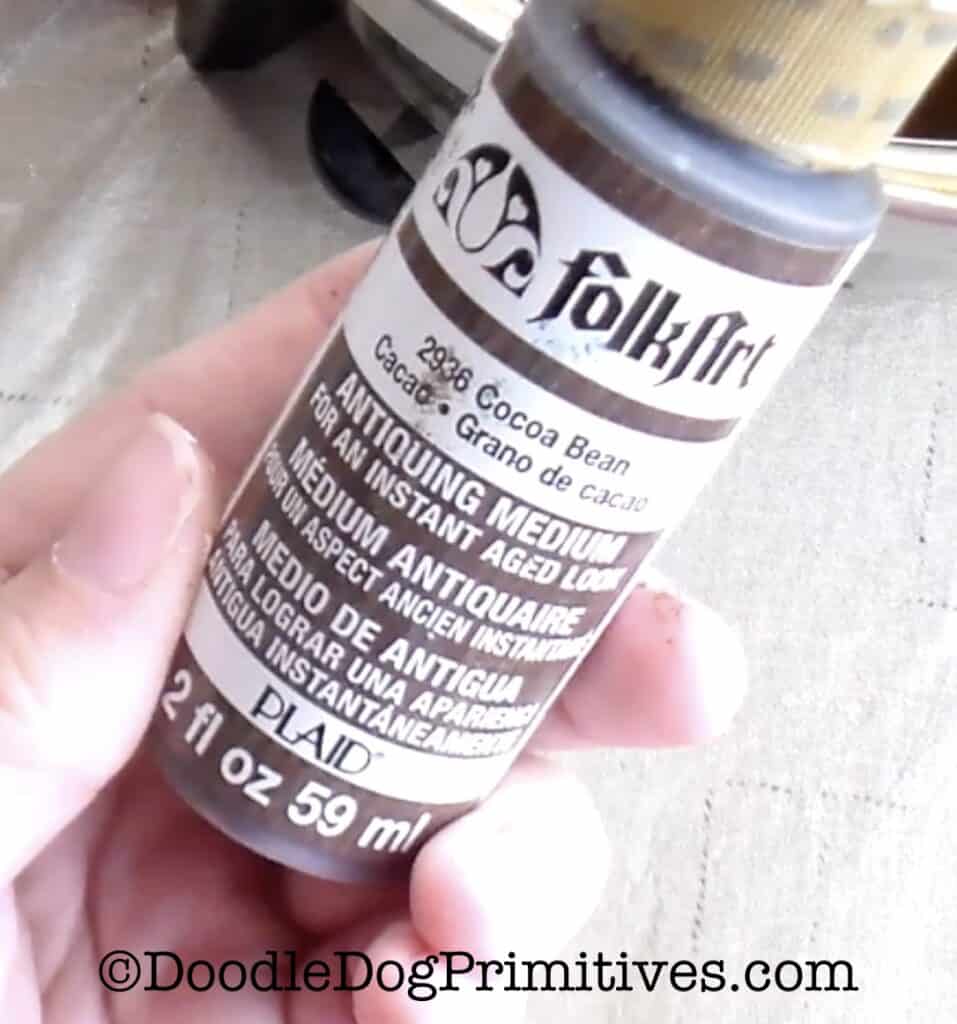
First, we painted random dark spots on the white chocolate bunny
with a dark brown paint.
(We used Folk Art craft paint in the Cocoa Bean color.)
Then we dry brushed cream paint over the top,
leaving some of the dark paint showing.
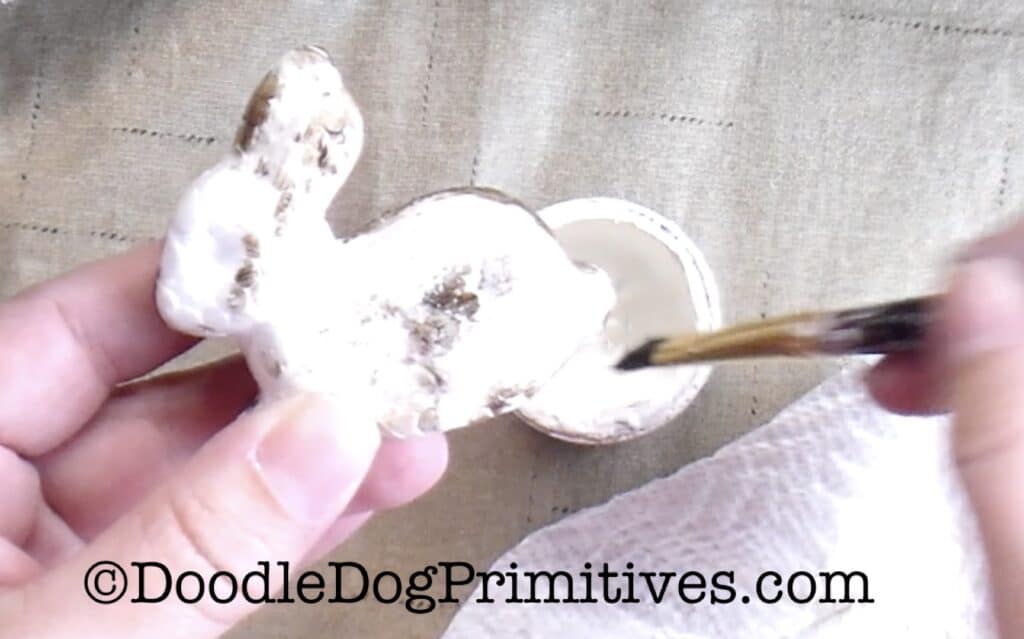
We then waxed this bunny with a dark finishing wax,
(We used this Cottage Paint Flat Wax.)
I am not sure this finishing wax added much to the look,
but it is what we did.
Dark Chocolate Bunny:
We painted the dark chocolate bunny with a dark brown paint
until it was thoroughly coated.
This took three coats of paint for us.
(We used Folk Art craft paint in the Cocoa Bean color.)
Let the paint thoroughly dry.
Dip the Bunnies into BeesWax:
Prepare the bees wax by melting it in a safe way.
We used an old electric fry daddy that is now only used for wax.
You could also use a double boiler.
Whatever you use, be extremely careful as the wax gets VERY HOT and can burn you!
Poke a skewer into the bottom of each bunny.
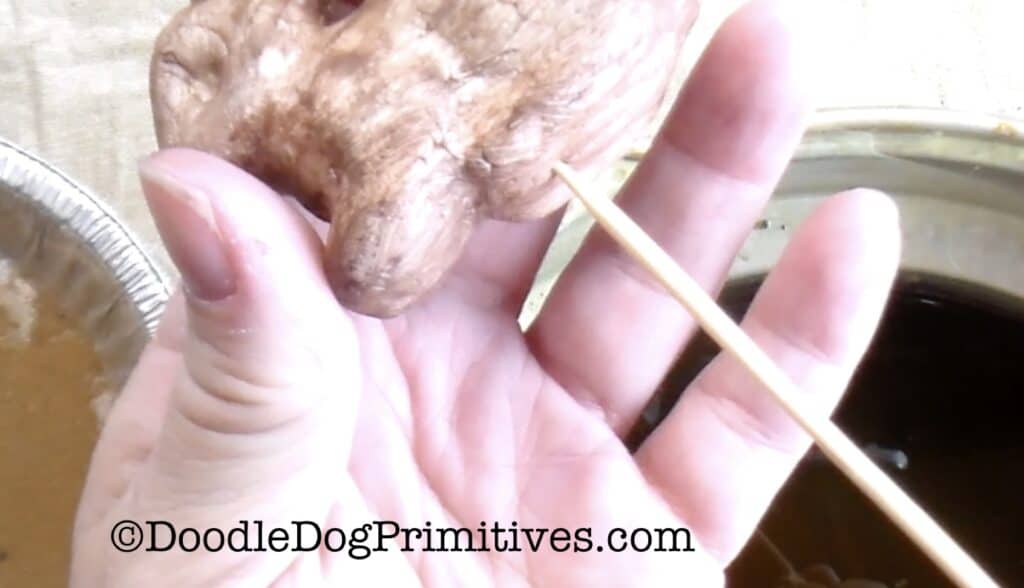
The skewer will be your “handle” for the bunny
so you can dip the bunny into the wax
without having to get close to the beeswax with your hands.
Dip one bunny into the beeswax and quickly bring it back out.
Hold the bunny over the beeswax and let it drip off excess wax.

If you get any runs on the bunny,
you can scrape those off with a knife and dip again.
Dip the bunny as many times as desired.
The more times you dip the bunny,
the less the paint will show through
because you will have a thicker coat of wax.
We dipped the milk chocolate bunny four times.
We dipped the white chocolate bunny
and the dark chocolate bunny each one time.
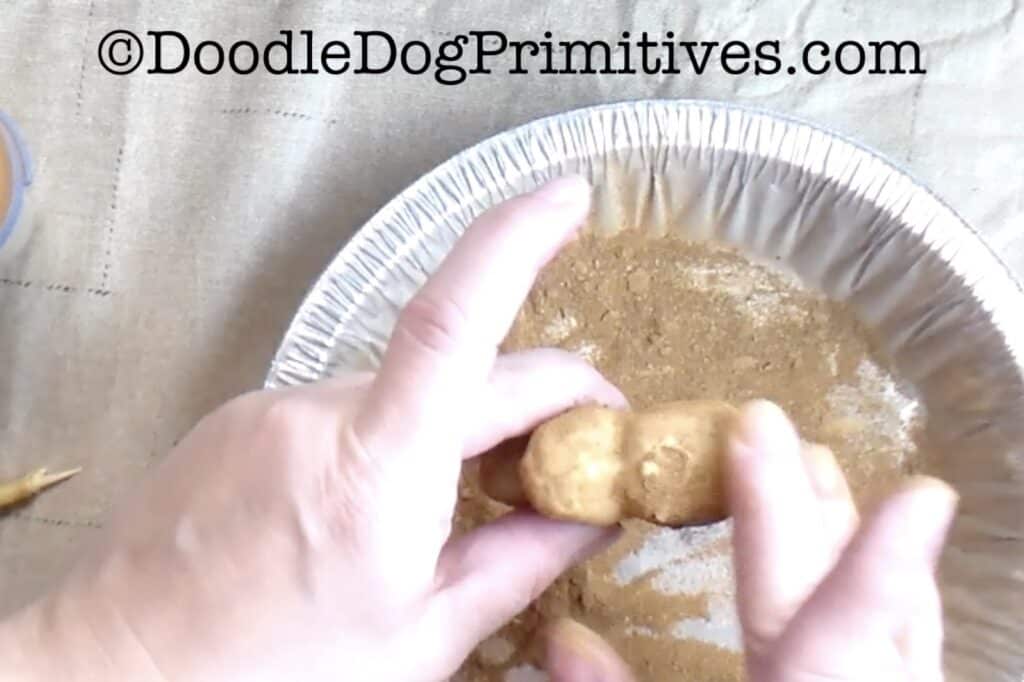
Regardless of how many times you dip the bunny in the beeswax,
be prepared with the cinnamon.
As soon as you dip the last time,
hold the bunny over something to catch the excess cinnamon.
Sprinkle the bunny all over with cinnamon.

As soon as the beeswax is cool enough to touch,
start rubbing the cinnamon into the wax.

Remove the skewer and rub cinnamon around the hole to cover it up.
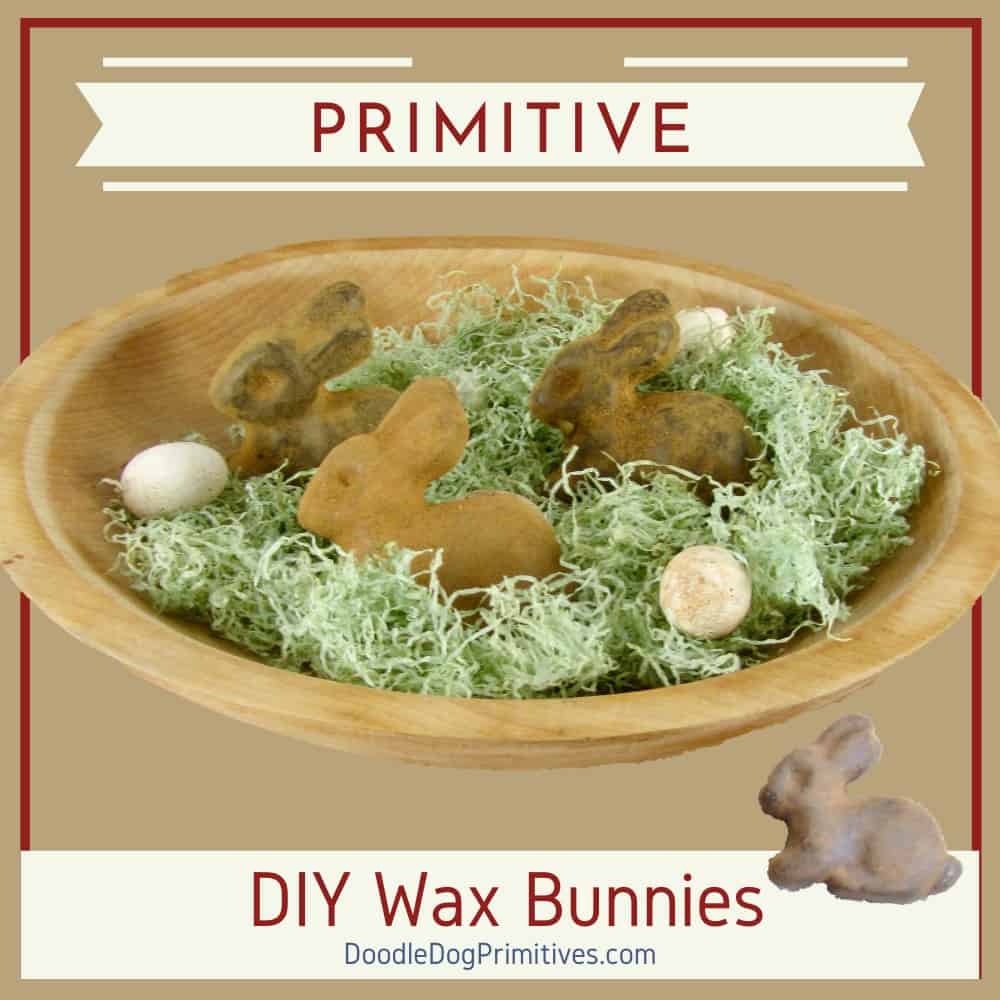
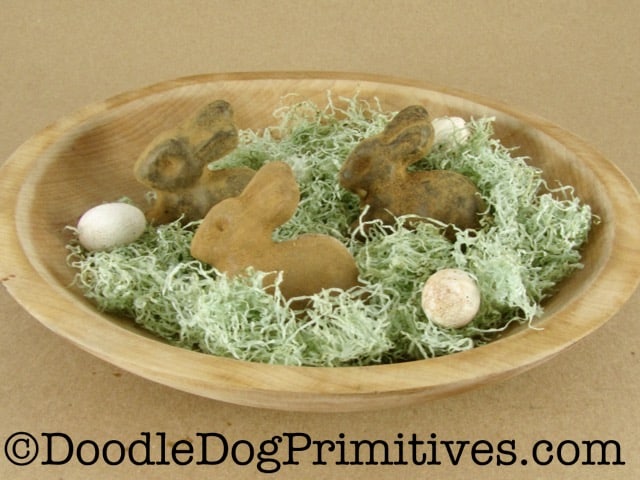
Here’s how the beeswax bunnies look when finished.
We ended up making just the one white chocolate,
two milk chocolate, and five dark chocolate bunnies.
I hope you enjoyed this. I’d love to see what you create!
Blessings~
Amy
Be sure to pin this primitive wax bunnies tutorial
