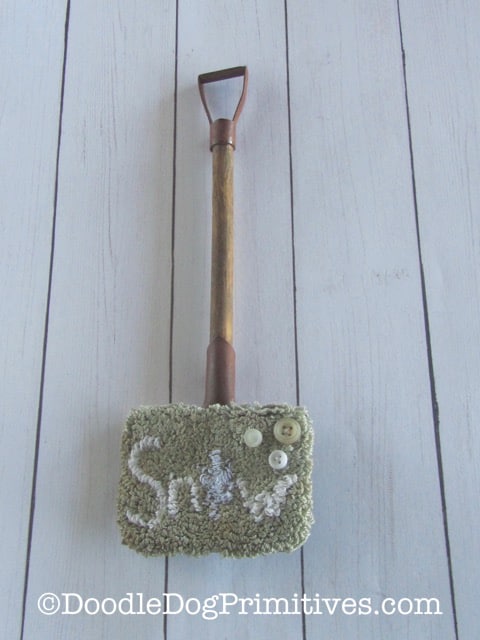
I acquired this cute little snow shovel last summer

thinking it would be fun to add a punched design to the scoop.
I sketched out a simple little “Snow” design for it
but felt it needed something more exciting than just regular floss.
This post may contain affiliate links for your convenience, which means if you make a purchase after clicking a link I will earn a small commission but it won’t cost you a penny more. For more information, please visit our Privacy Policy.
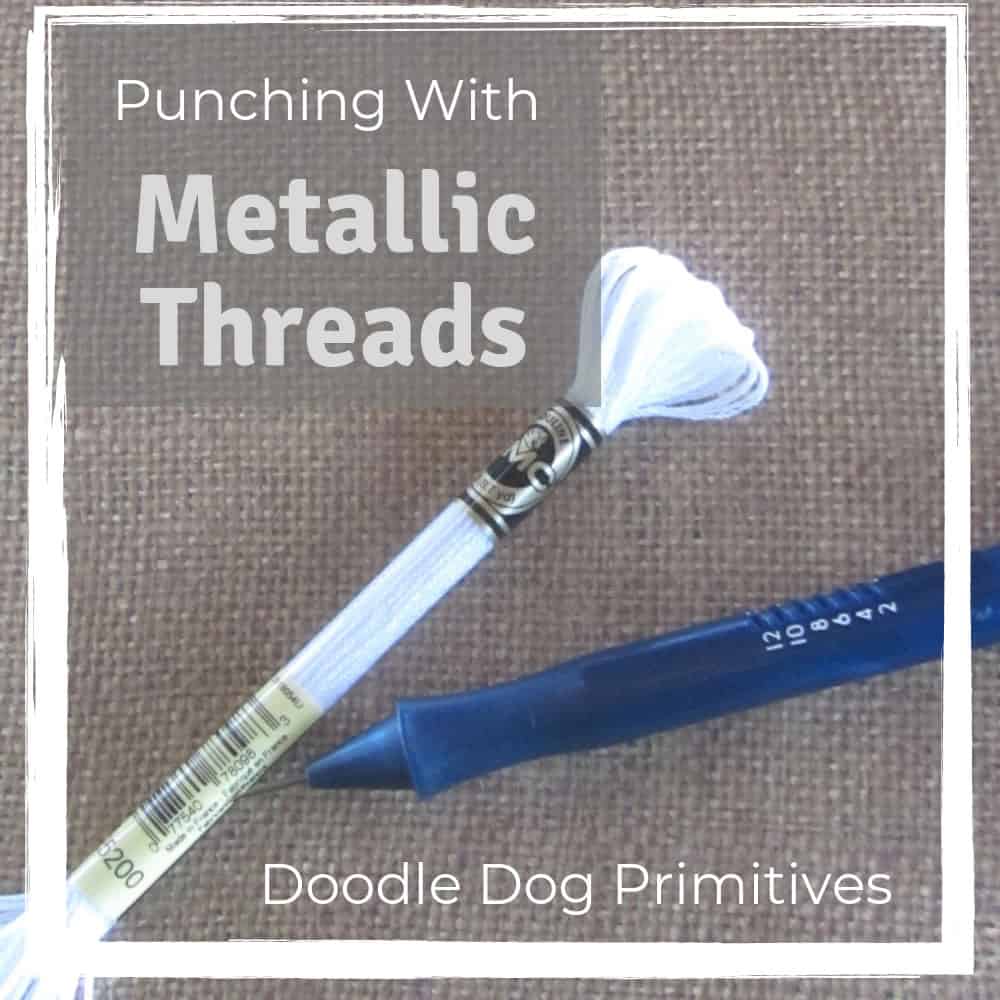
For some time, I have been eyeing the DMC Metallics-Light Effects floss
and wondering if it could be punched.
So I decided to give it a try.

Yes, you can punch with metallic threads!
I used a light blue DMC 162 for the background,
DMC white for the letters,
and the Metallics-Light Effects in white for the snowflake.
I punched the background first
and then coffee dyed the piece before punching any white.
I had read that it is easier to sew with the metallic thread
if you run it through wax first.
That turned out to be a bad idea for punching!
I tried several methods of punching with the metallic threads
before settling upon an effective way.
The easiest method for punching with metallic threads:
I found the best way to punch the metallic threads
was to separate all of the threads completely before punching
and punch in a larger needle than you would regularly use
for that number of strands.
For example, I used 3 strands of the metallic floss
and punched with a 6 strand needle.

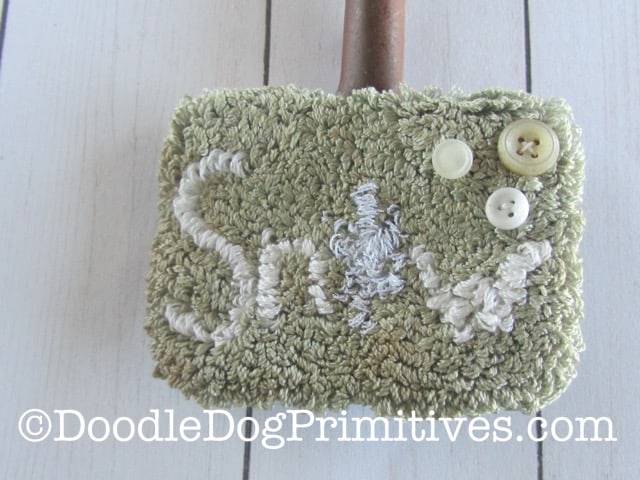
You can tell here the snowflake is different than the letters,
but I wasn’t able to capture the glittery effect of the threads
with the camera.

I wouldn’t want to punch a large section with this floss,
but it makes a nice accent.
I hope this inspires you to create something new!
Blessings~
Amy


