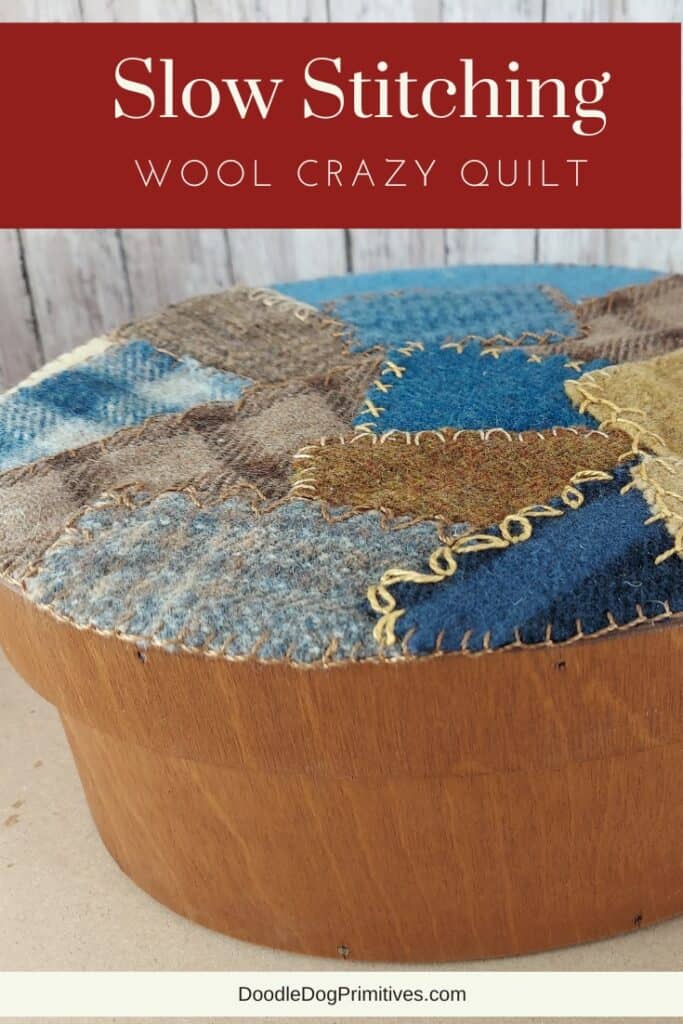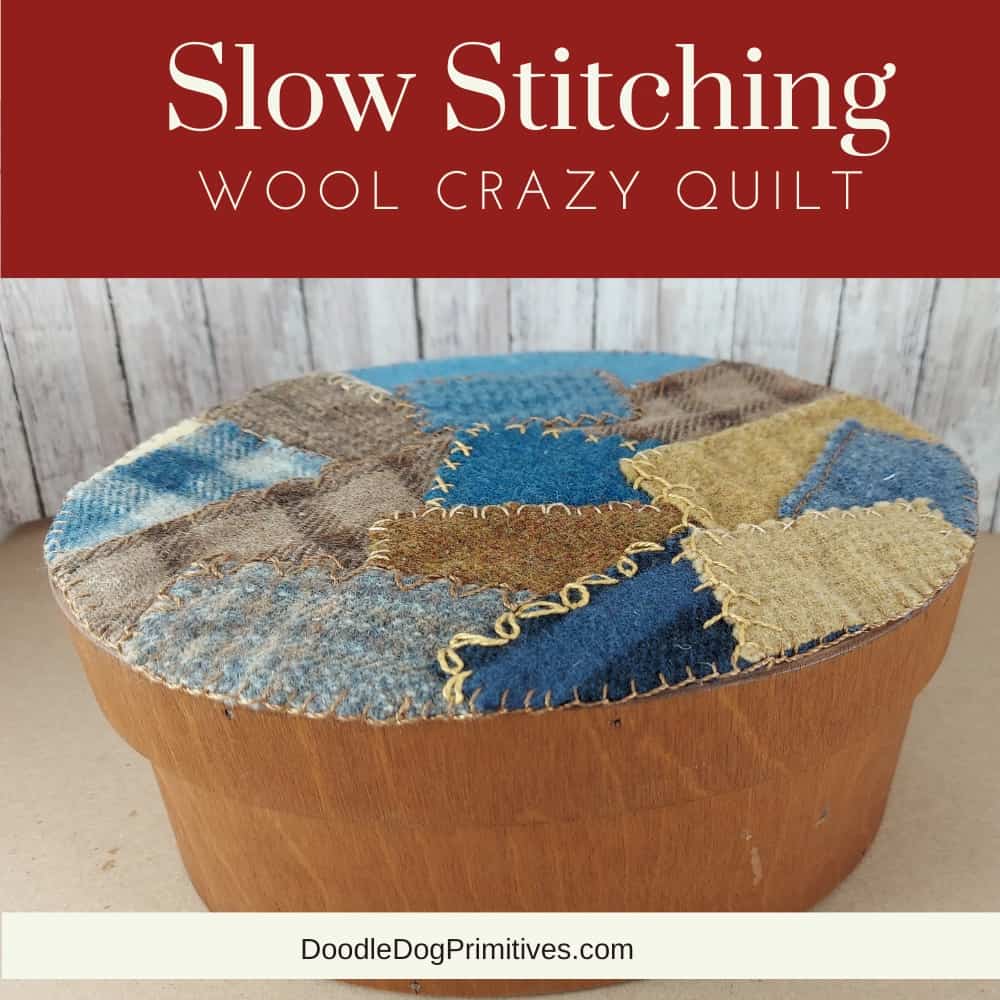
After snagging a vintage wooden box at an auction last summer, I finally decided what to do with it! I am adding a wool crazy quilt to the top that I am going to slow stitch with pretty embroidery stitches.
The box had a “lovely” floral design painted on the top of it that I sanded off. (I wish I would have taken a picture of it to show!) I was able to look past the flowers because it is a nice sturdy wooden box. It is hard to find good solid pantry style boxes so I grab them when I can.
Watch the Video:
This post may contain affiliate links for your convenience, which means if you make a purchase after clicking a link I will earn a small commission but it won’t cost you a penny more. For more information, please visit our Privacy Policy.
Designing the Wool Crazy Quilt:
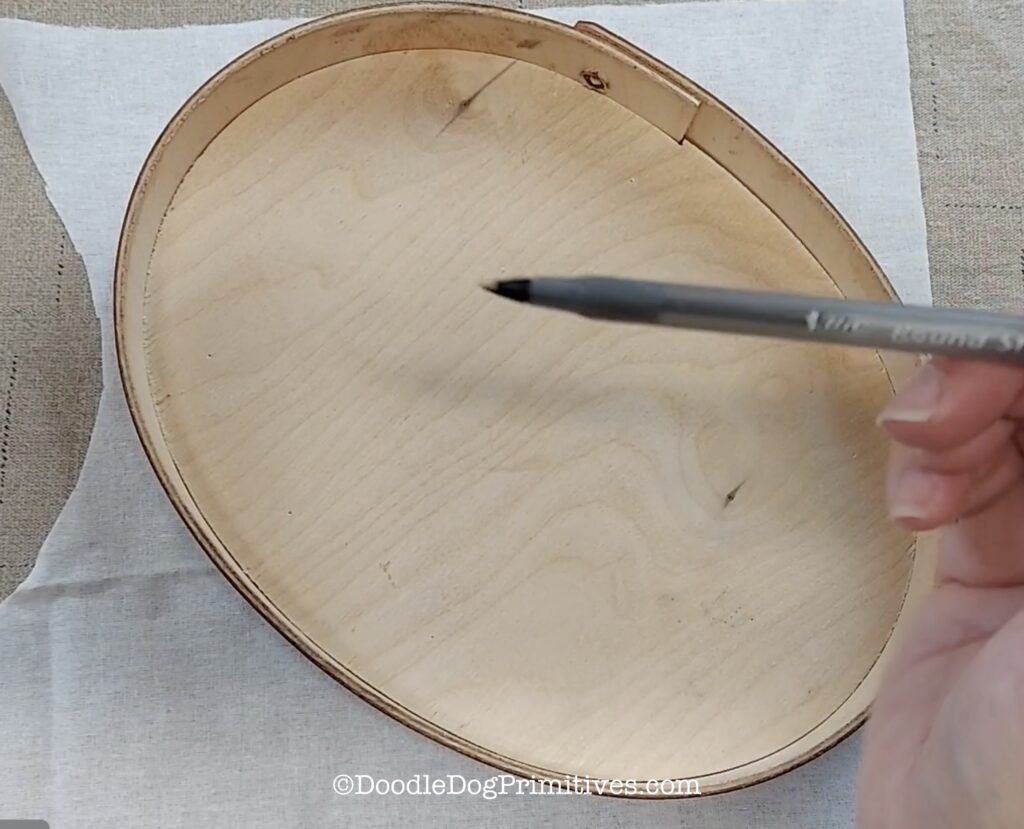
I wanted to add the wool crazy quilt to the top of the box so I used the top of the box as a pattern. I placed it on top of a piece of fusible interfacing, traced around it, and cut out the oval.
You could also use a thin fabric for the base – it just needs to be something you can sew through that will help hold everything together.
Then I took scraps of felted wool and randomly arranged them on top of the interfacing oval – be sure to have the fusible side up.
I used an iron to press the wool onto the interfacing. This didn’t completely attach everything since there were a lot of overlaps on the wool pieces.
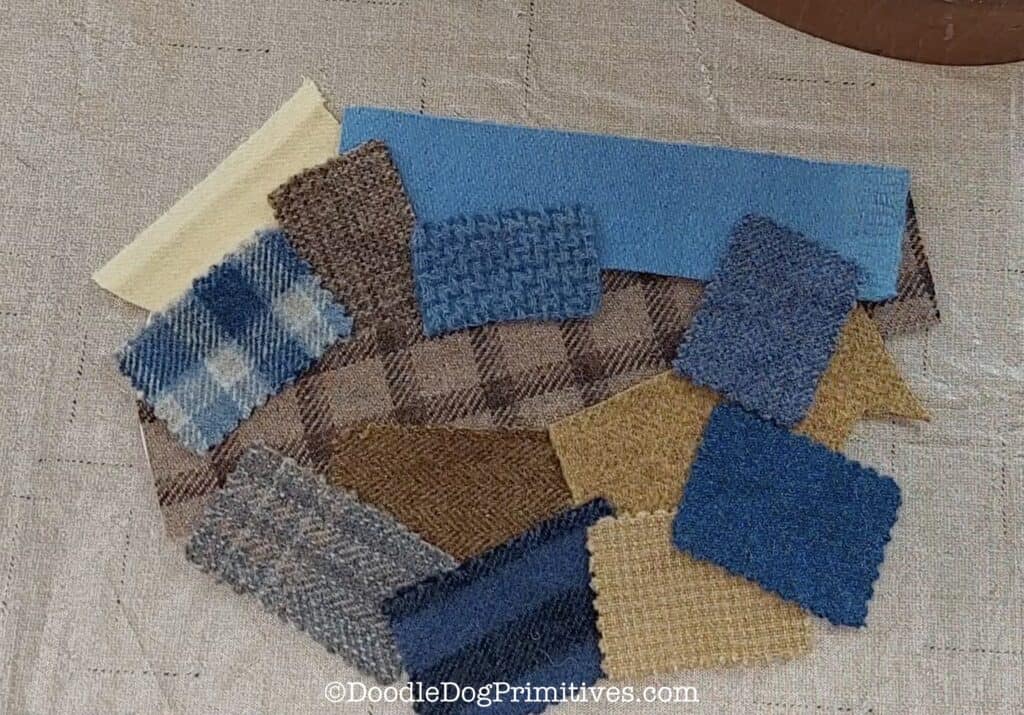
Next, I pinned the felted wool pieces onto the pattern and turned it over to trim off the edges.
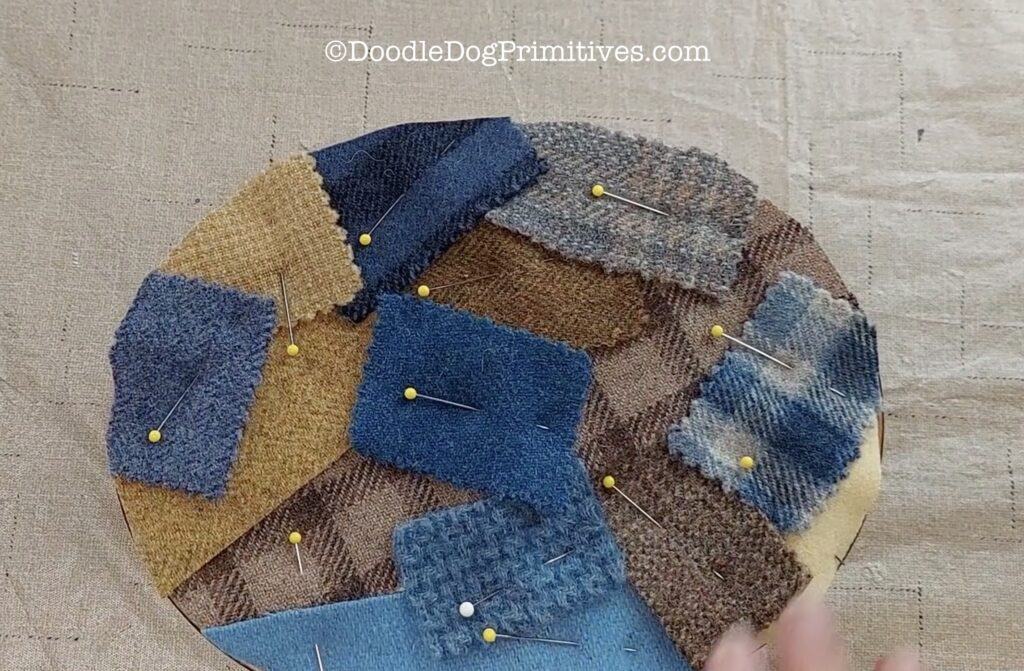
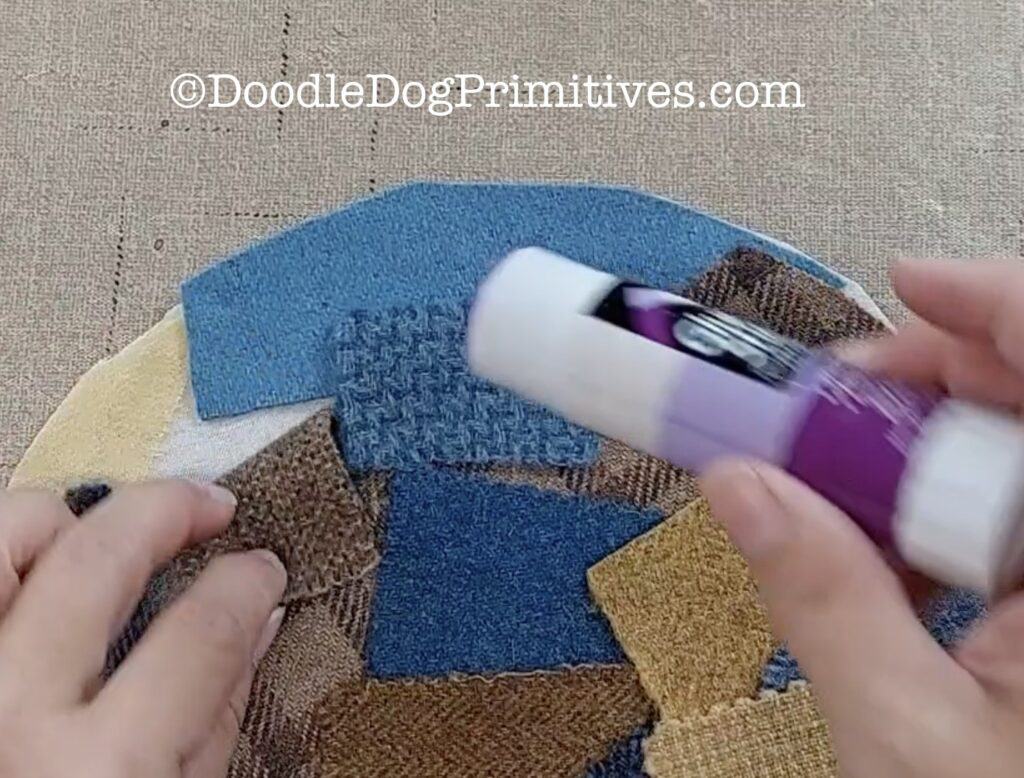
The last step before starting the embroidery stitching was to add some stick glue to hold the pieces in place so I could remove the pins. Stick glue works great for this because it will help hold the pieces in place without being hard to stitch through.
Slow Stitching the Quilt:
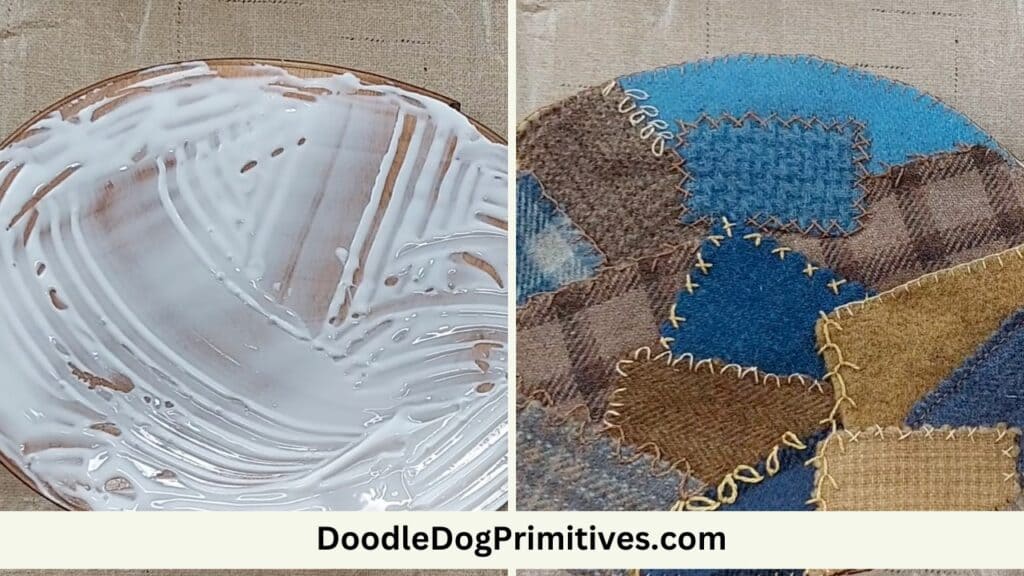
With pearl cotton and thin crochet cotton floss, I stitched around each wool piece using a variety of decorative embroidery stitches. For inspiration, I used my trusty vintage Reader’s Digest Complete Guide to Needlework and chose several stitched I liked (and thought I could do). I did not stitch around the outside edge yet.
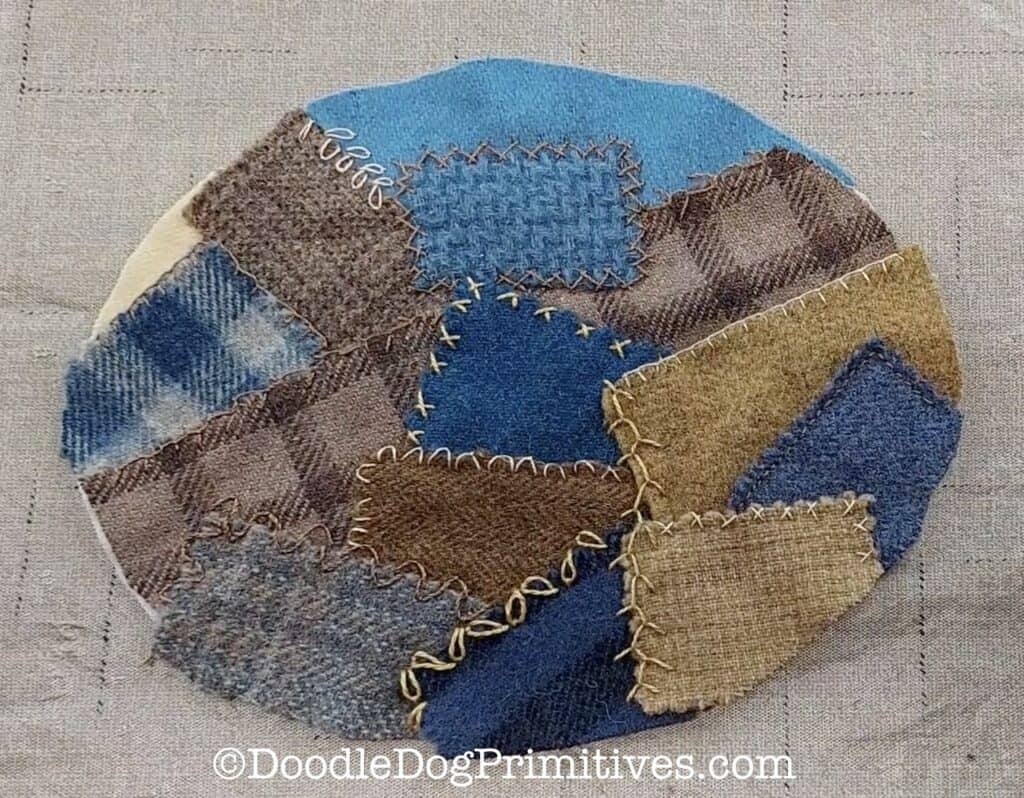
I trimmed around the edges again and then did a blanket stitch all the way around the outer edge.
Preparing the Wooden Box:
Since I sanded the finish from the top of the box, it didn’t match the rest of the box. I decided to add a light coat of watered down brown paint to the top of the box just in case some of it showed after adding the wool crazy quilt.
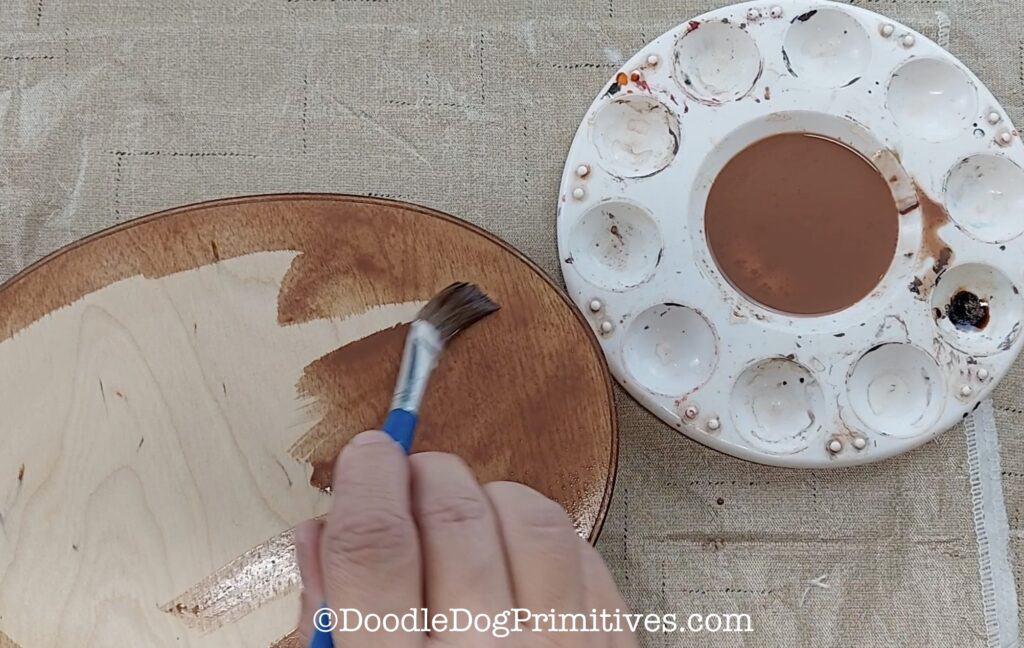
After the paint was dry, I adhered the wool crazy quilt to the top of the box using craft glue.
Pin this Slow Stitching Tutorial:
