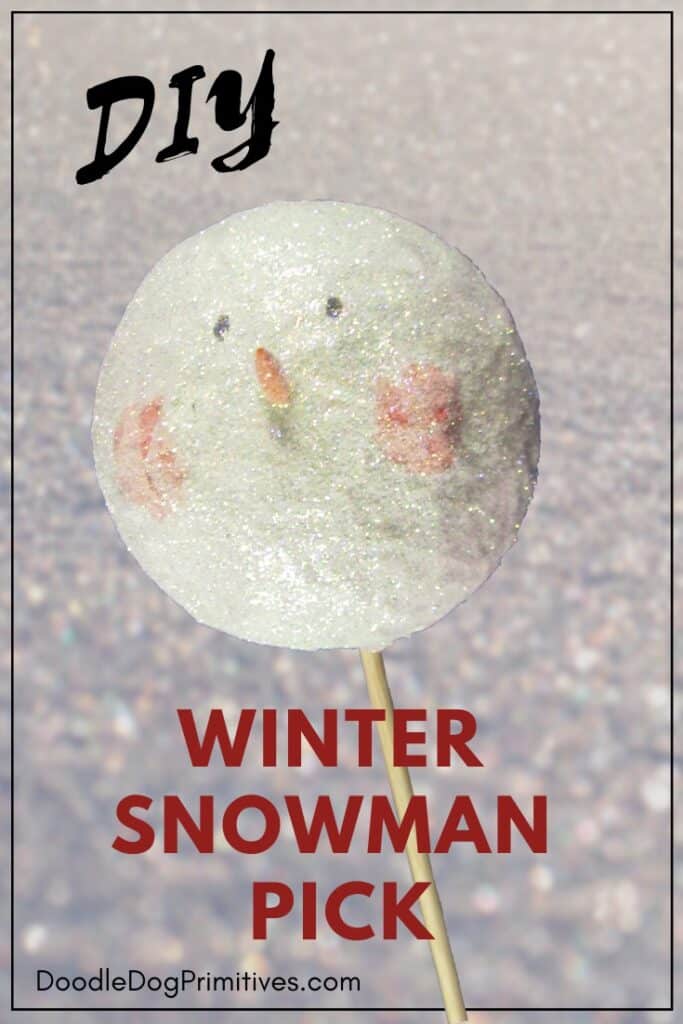
In this tutorial, learn the easy process to make your own snowman pick,
perfect for winter decorating,
from start to finish.
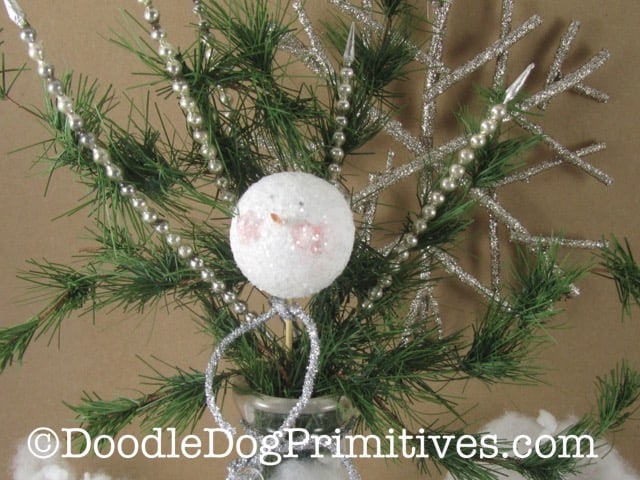
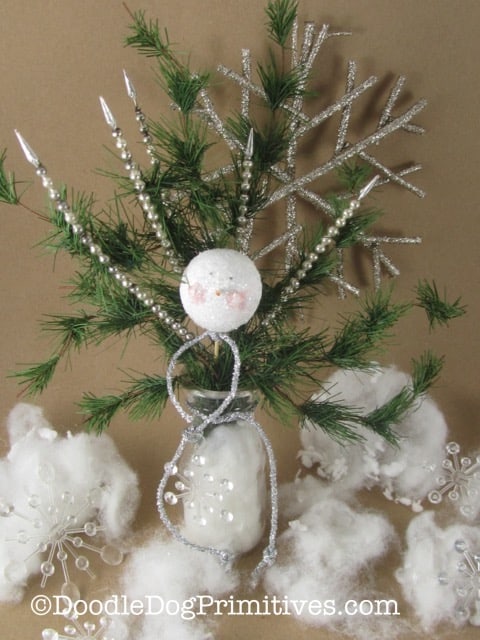
This is perfect to poke in with some winter greenery or icicles.
This post may contain affiliate links for your convenience, which means if you make a purchase after clicking a link I will earn a small commission but it won’t cost you a penny more. For more information, please visit our Privacy Policy.
Supplies for the Snowman Pick
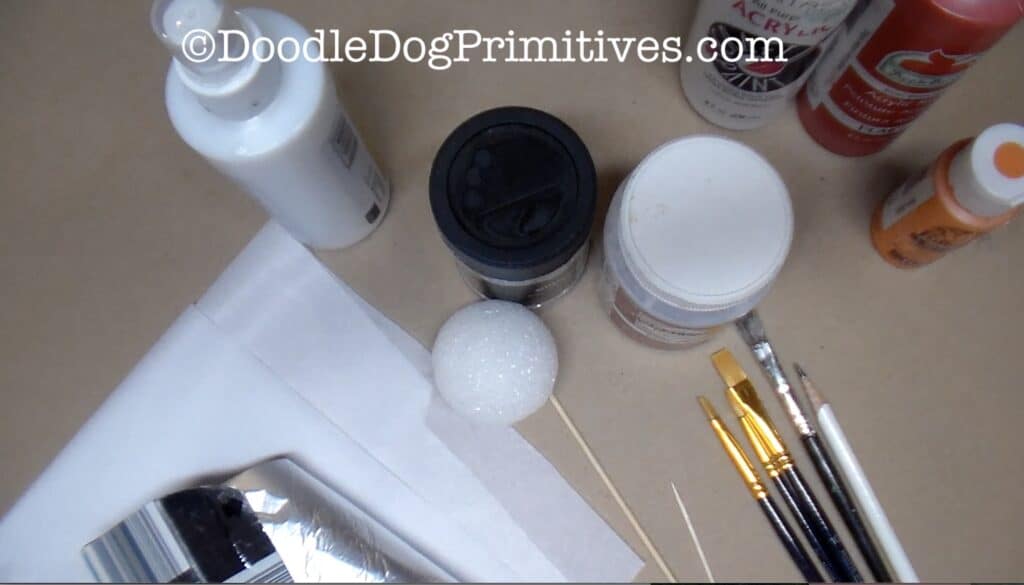
- Aluminum foil
- Bamboo kabob skewers
- 2″ styrofoam ball
- White, red, black, and orange craft paint
- Paint brushes
- Pencil
- White tissue paper
- Decoupage Finish – Matte finish
- Mod Podge Matte Spray on
- Craft Glitter
- Craft Glue
Watch the Video Tutorial:
Plan the Snowman’s Face:
The first step is to plan the face
so you can figure out where to put his cheeks.
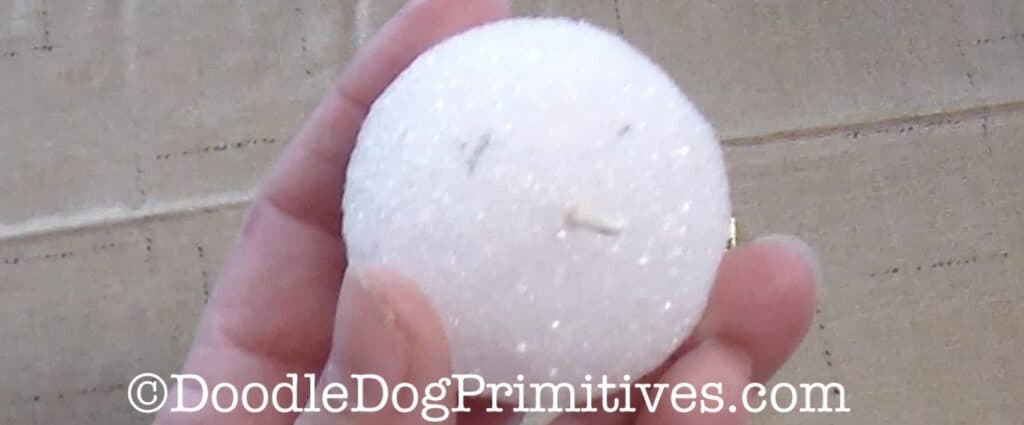
Start by drawing eyes onto the styrofoam ball with a pencil.
These will be covered up later so if you don’t like the placement,
you can turn the ball and try again.
Then break off about 1/2″ to 3/4″
off the pointy end of a toothpick or skewer.
Poke into the ball for a nose.
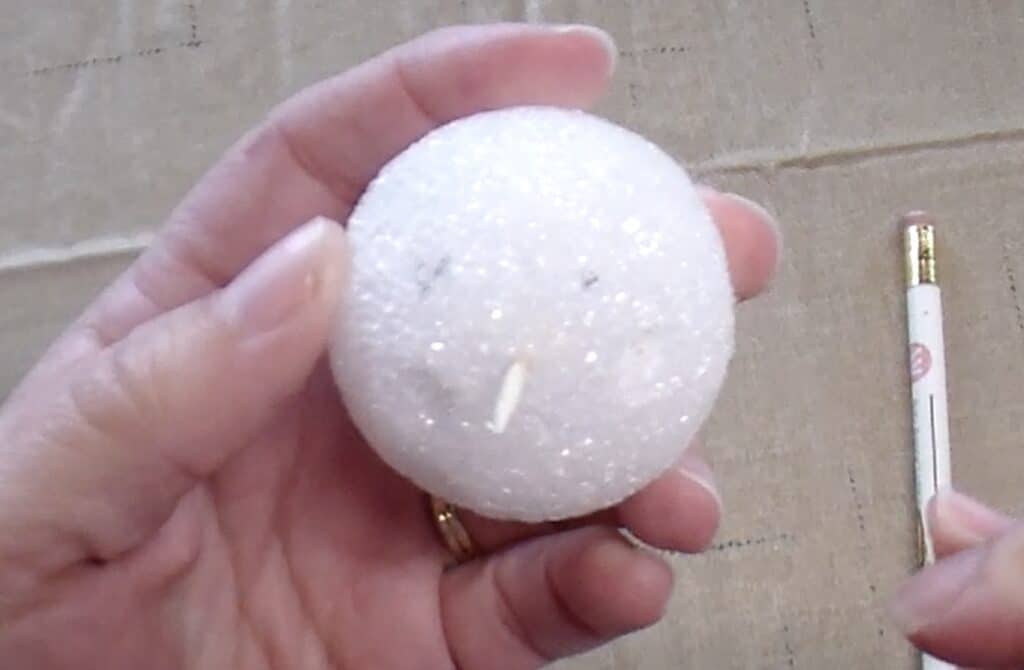
Using the eraser end of a pencil,
press small indentations into the area where his cheeks will go.

Cut a small piece of aluminum foil.
I used a piece that measured about 1-1/2″ by 2-1/2″.
Roll it into a small, tight smooth ball.
Place it in one of the snowman’s cheek indentations to check for fit.
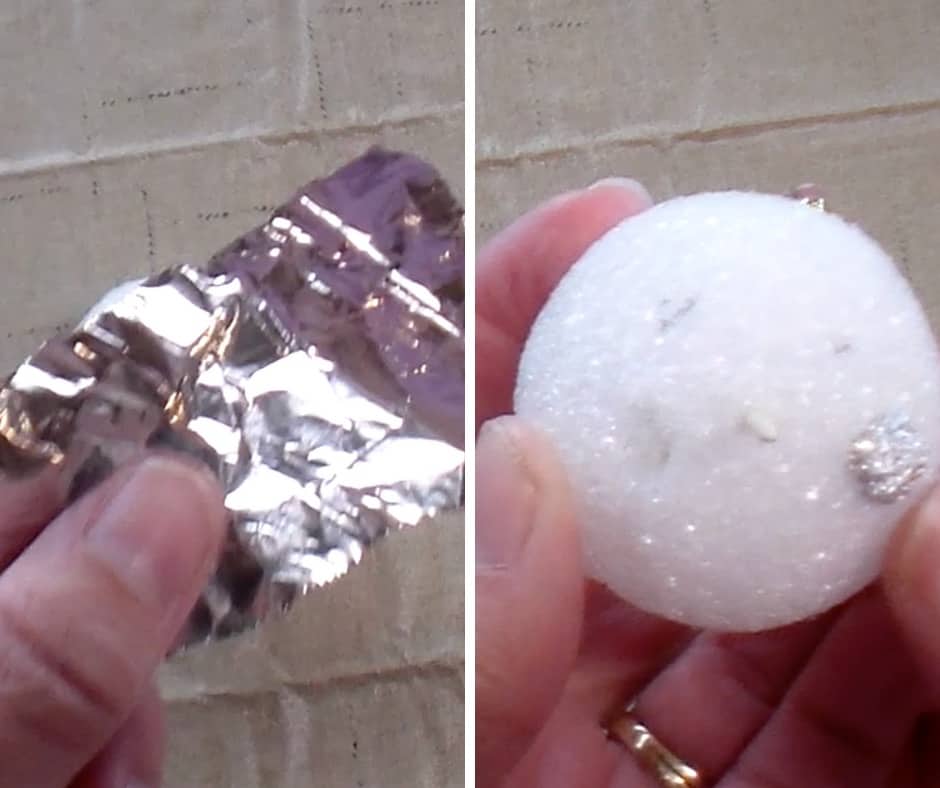
If you are happy with the size of the cheek,
make another one the same size.
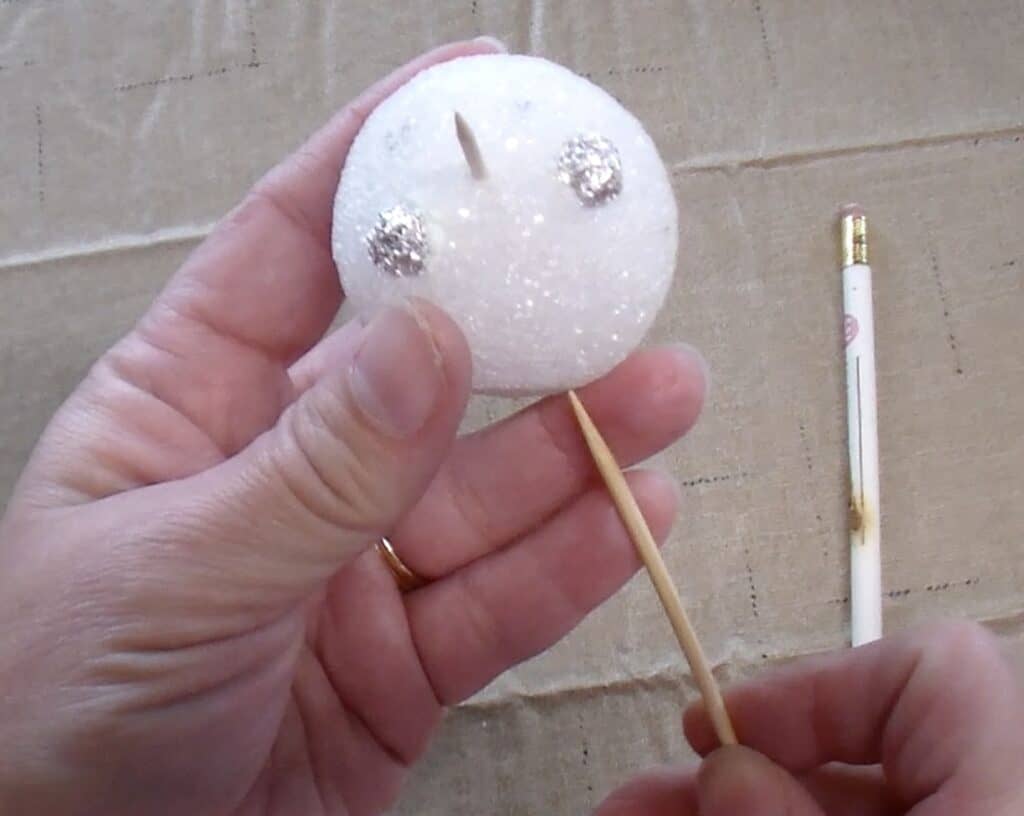
Place some craft glue in the styrofoam ball’s cheek indentations
and press the aluminum foil balls into the holes.
Poke a bamboo skewer into the bottom of the snowman’s head.
This will make it easier to work with the snowman in the next steps.
Paper Mâché the Snowman:
While the glue dries, set the snowman aside
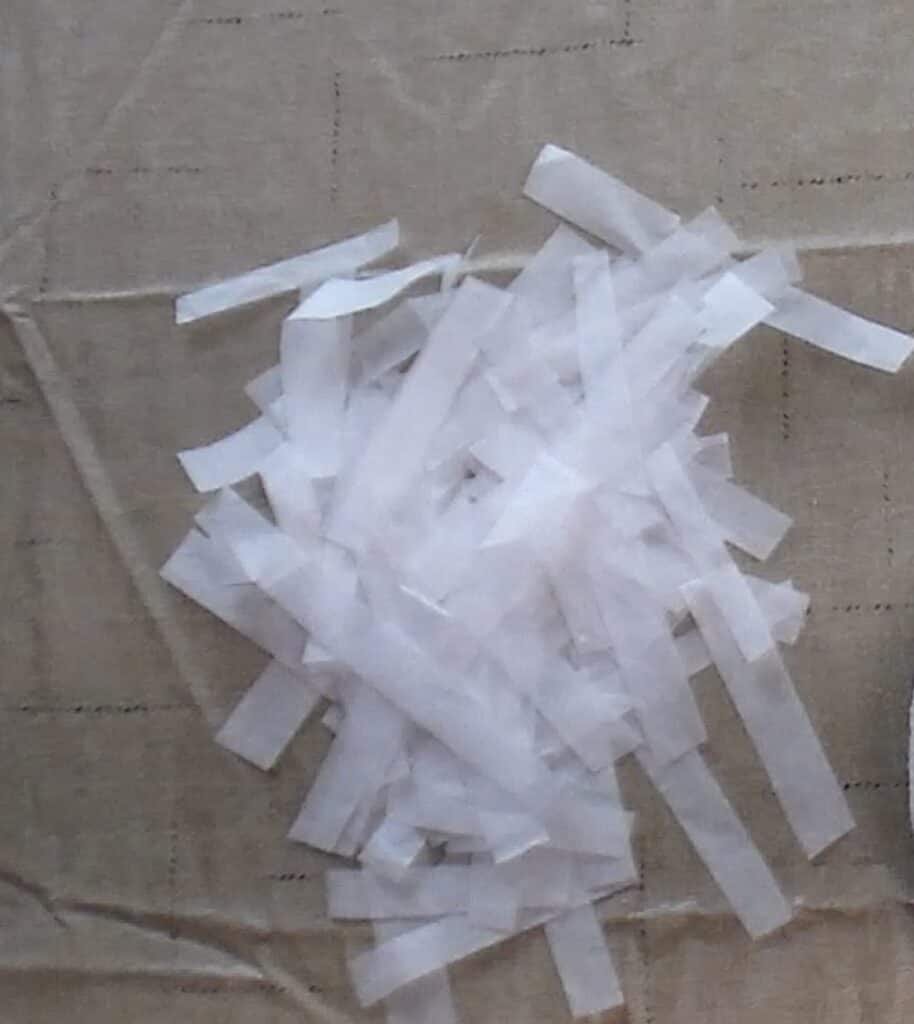
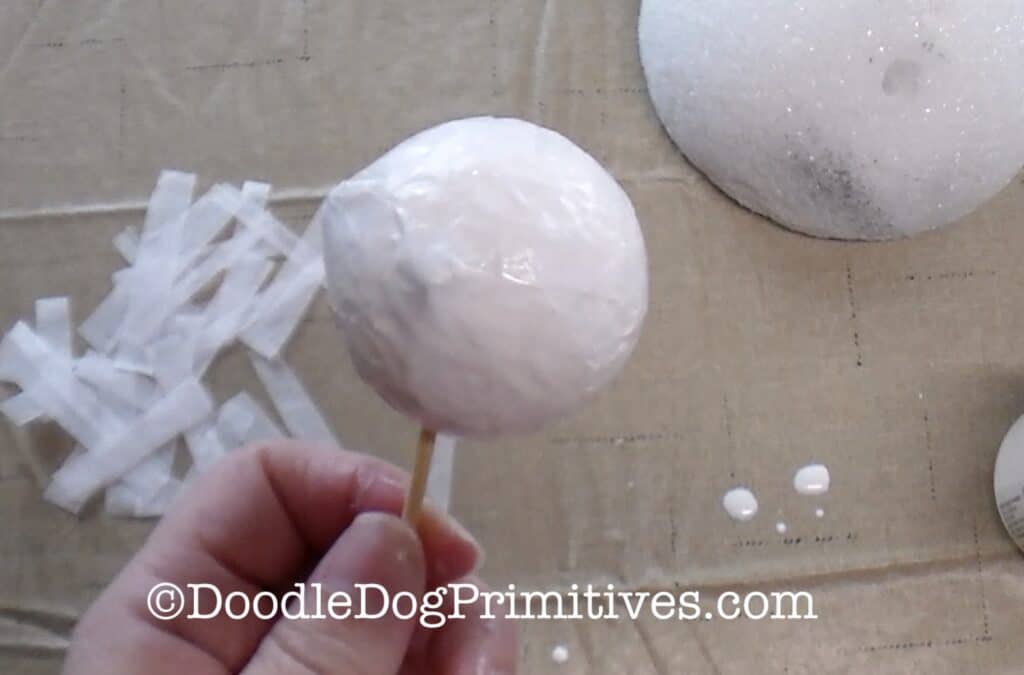
and cut strips of white tissue paper
about 1/2″ to 3/4″ wide.
Cut the strips into 1″ to 3″ long pieces.
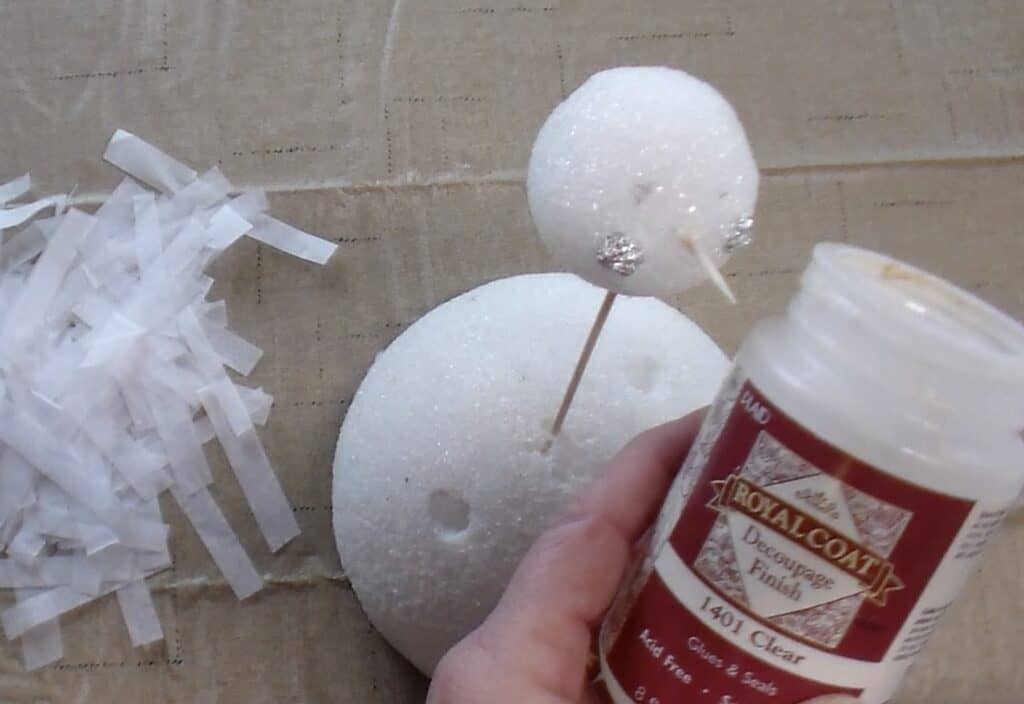
Take the nose out of the snowman and set aside.
Use an old paint brush to brush the decoupage medium all over the head.
Don’t worry about covering up the pencil marks made for the eye positions.
You will re-do those later.
This is a messy process,
so be sure to lay something down that can be easily wiped off.
I am using a plastic tablecloth.
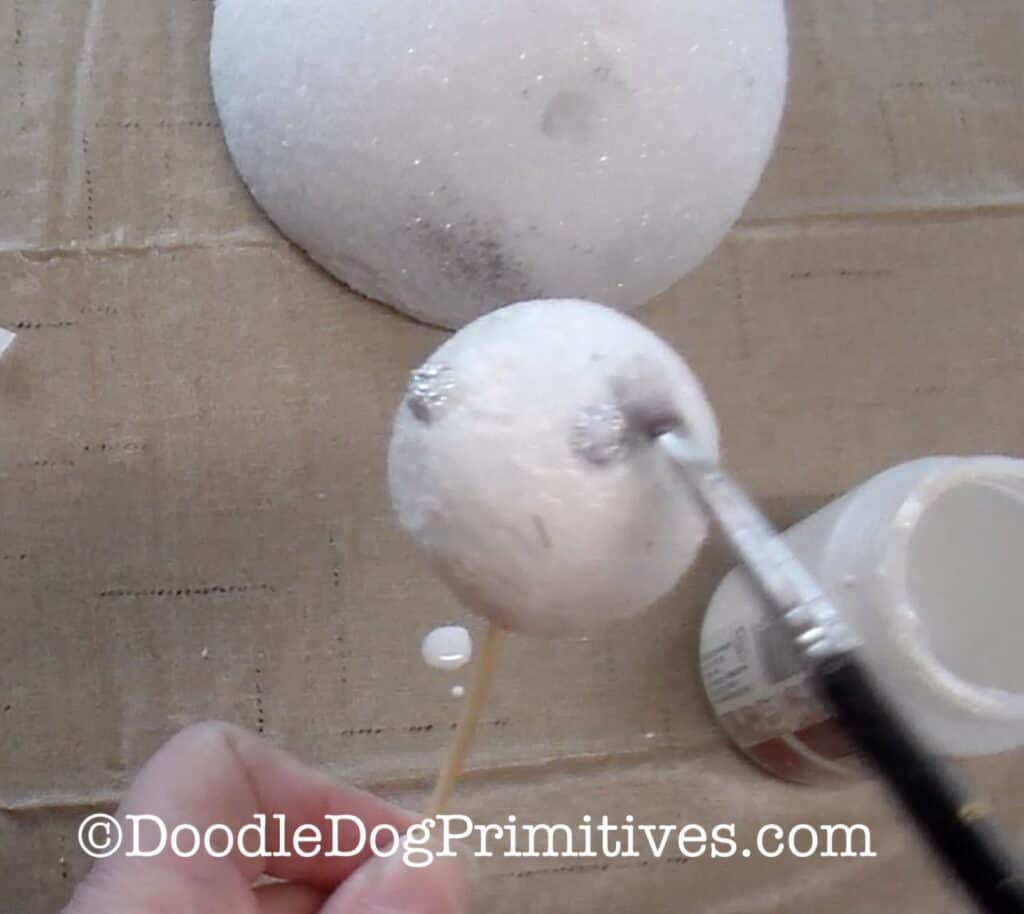
Once the entire ball is covered,
start placing the tissue paper strips over the styrofoam ball.
Cover everything, including the cheek balls.
Make sure you place the tissue paper strips in all different directions.
As you progress, you will need to continue brushing on more decoupage
and keep smoothing everything down with your fingers.
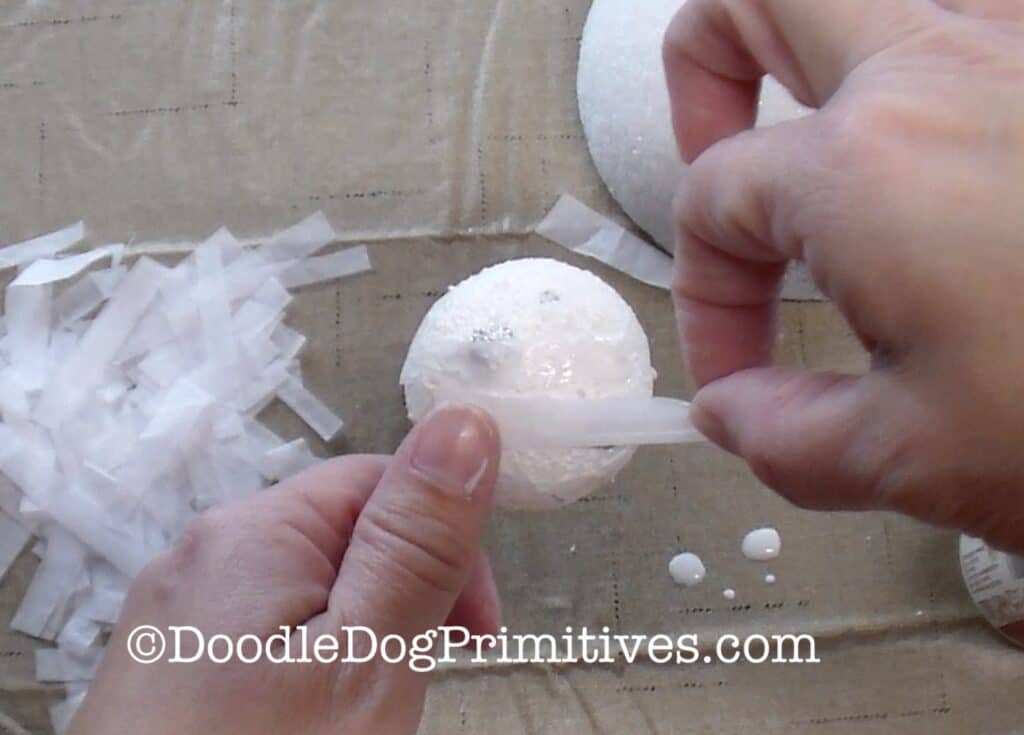
Keep adding until the entire ball
is covered with several layers of tissue paper.
Set it aside to dry.
Paint Snowman Pick:
Once the snowman pick is completely dry,
paint the snowman head with white craft paint.
It took two coats of white paint for my project.
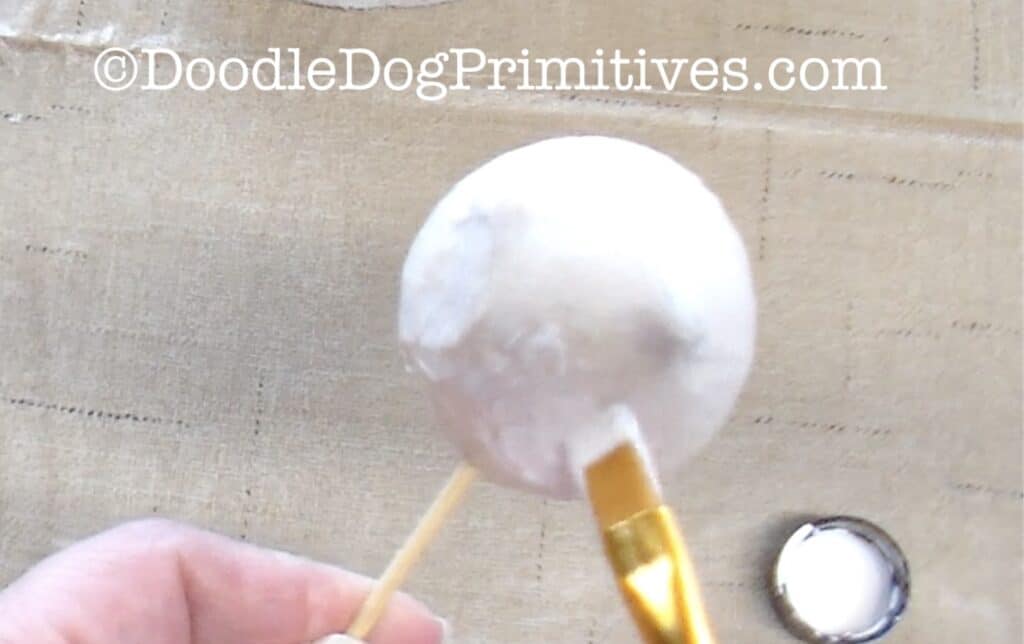
Paint the nose orange.
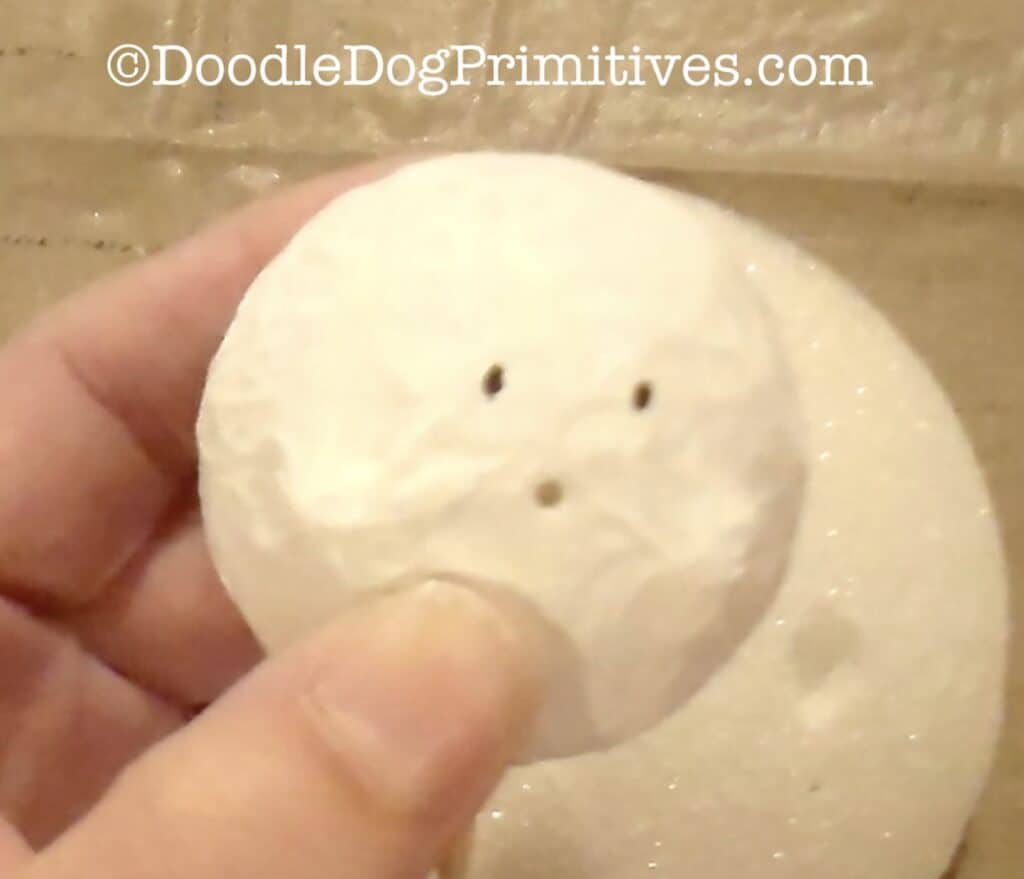
After the paint is dry, use a pencil to again mark where you want the eyes.
The pencil is easier to paint over
if you get the eyes in the wrong position than black paint would be.
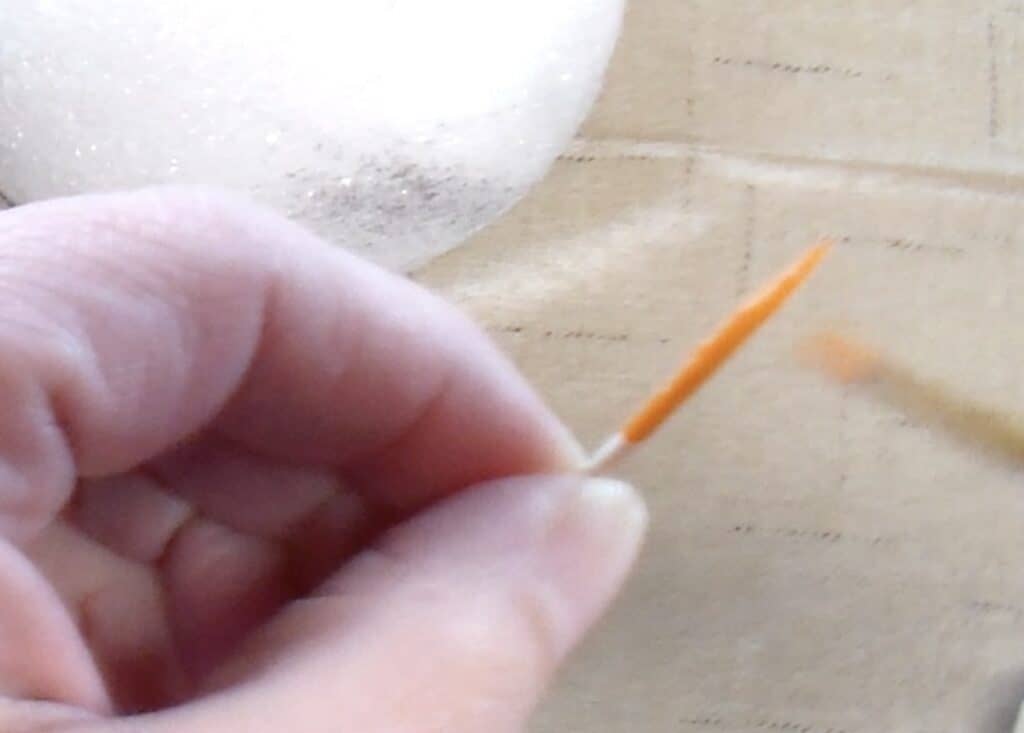
Use the pointy end of a toothpick to make a hole for the nose.
Place the nose in the hole.
If you are happy with the look, take the nose back out.
Paint the eyes black using a toothpick.
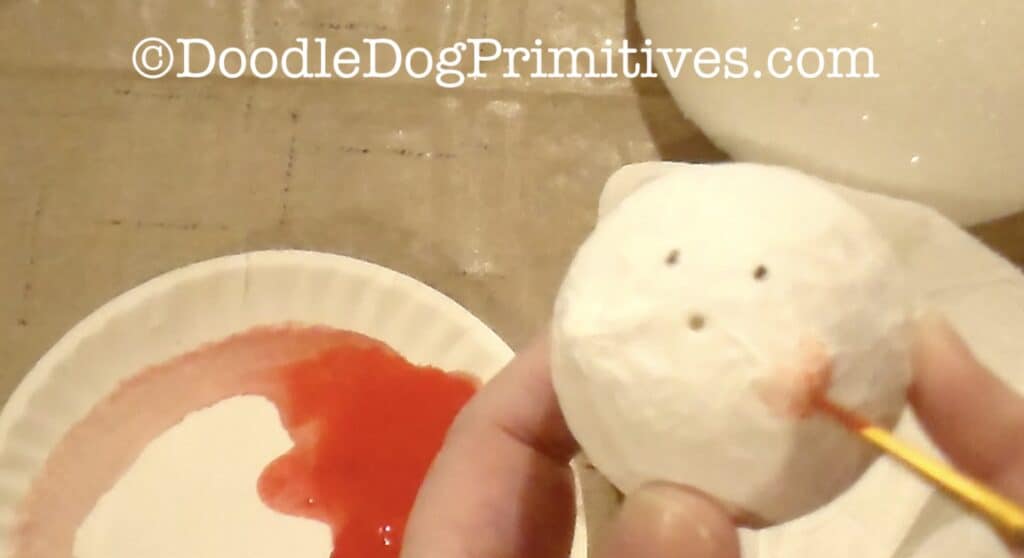
Take a small dab of red paint and water it down
until it looks like red water.
Using a small paintbrush, dip the paintbrush into the watered down paint,
then dab it onto a paper towel.
Then, paint it onto the cheek balls.
Put craft glue on the broken off side of the nose
and place the nose in the nose hole.
Wipe off all the extra glue that comes out of the hole.
Set aside the snowman pick to dry.
Glitter the Snowman Pick:
Glittering the snowman is especially messy,
so I laid down a piece of wax paper.
Spray on Mod Podge Matte Spray all over the snowman’s head
while holding the head over the wax paper.
Remove the wax paper.
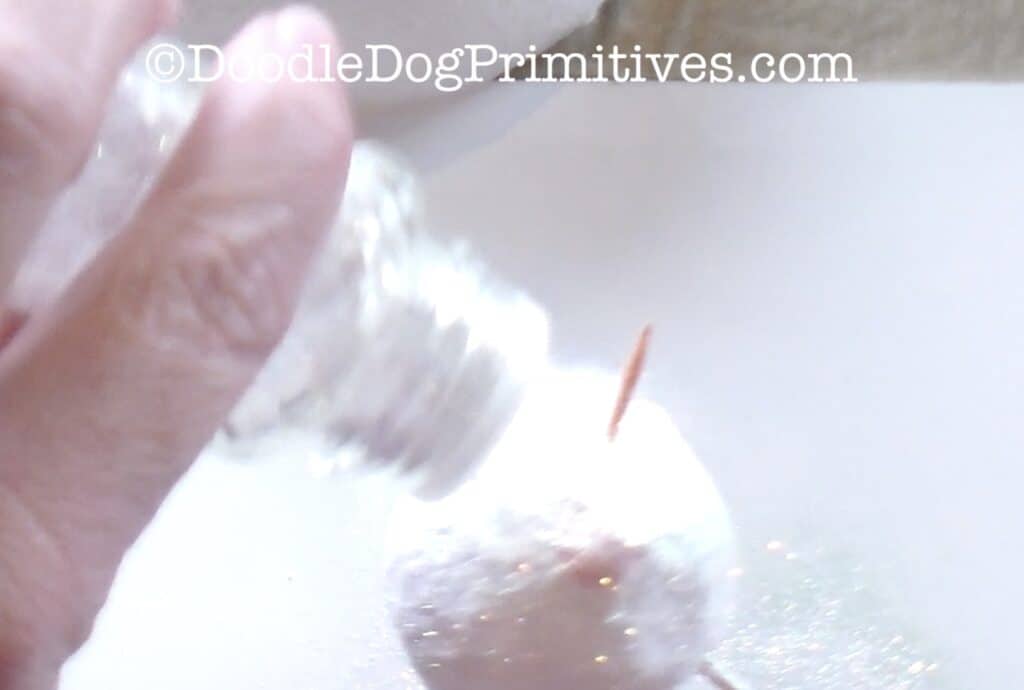
Place down a sheet of paper to capture the extra glitter.
Sprinkle glitter all over the snowman’s head.
Allow to dry.
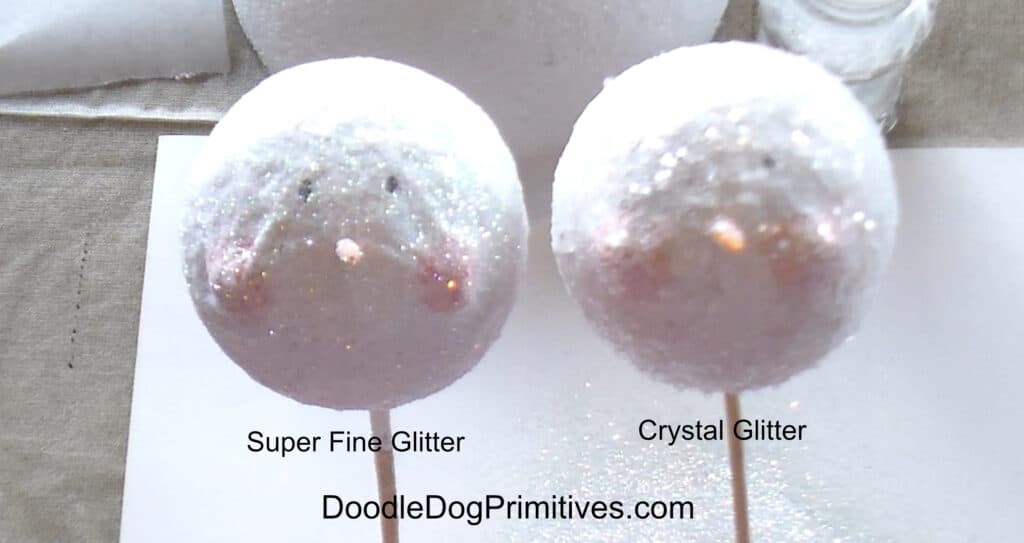
I did one snowman pick with super fine white glitter
and another one with crystal glitter.
If you are like me, you got a little paint and glitter on the skewer.
If you want, you can carefully remove the skewer
and replace it with a nice clean one.
I hope you enjoyed this tutorial.
Blessings~
Amy
Pin this Snowman Pick Tutorial:
