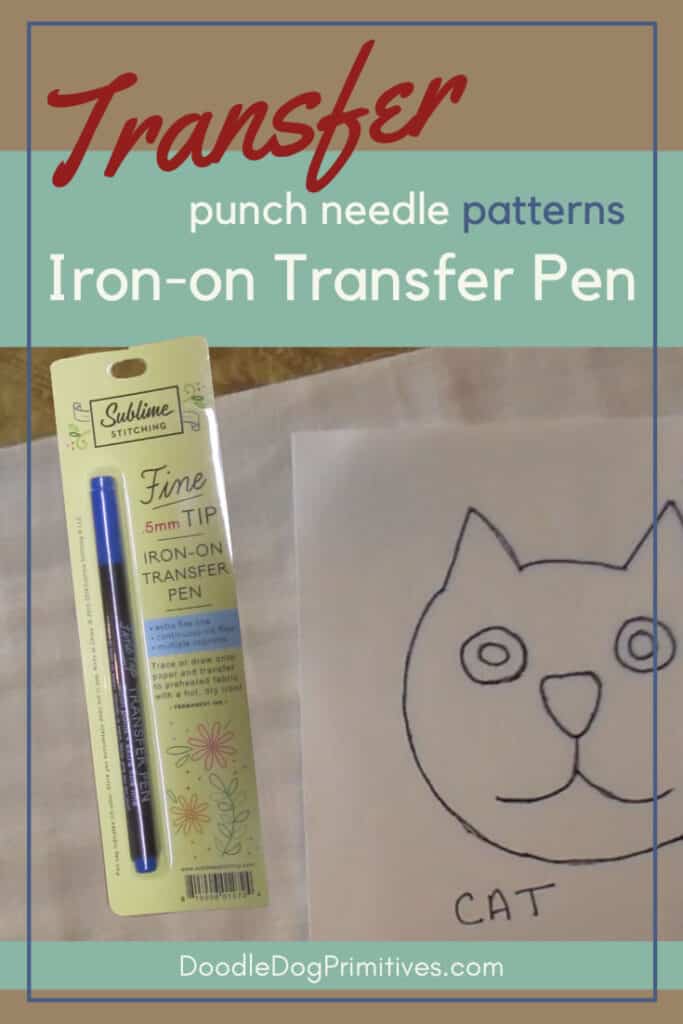
Today I am going to show you how to

transfer punch needle patterns with an iron-on transfer pen.
Recently, I came across Sublime Stitching’s iron on transfer pens.
They are made for transferring embroidery patterns
so I wondered how they would work
for transferring punch needle patterns.
I contacted Jenny Hart at Sublime Stitching to enquire
and she was kind enough to send me a transfer pen to try.
(While I received the pen from Sublime Stitching,
the opinions here are entirely my own.)
Trace the Punch Needle Pattern:
First, use the fine-tip iron on transfer pen
to trace the punch needle pattern
directly onto the paper pattern.
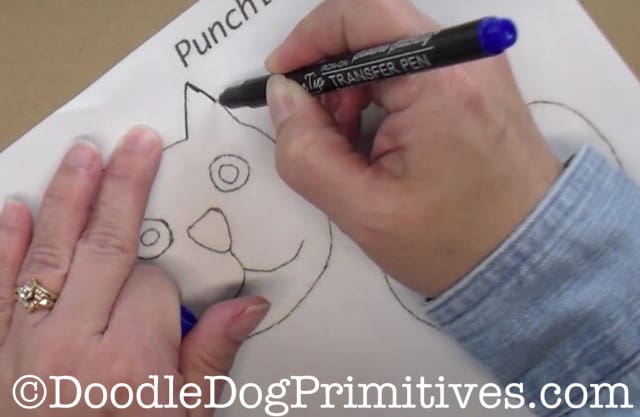
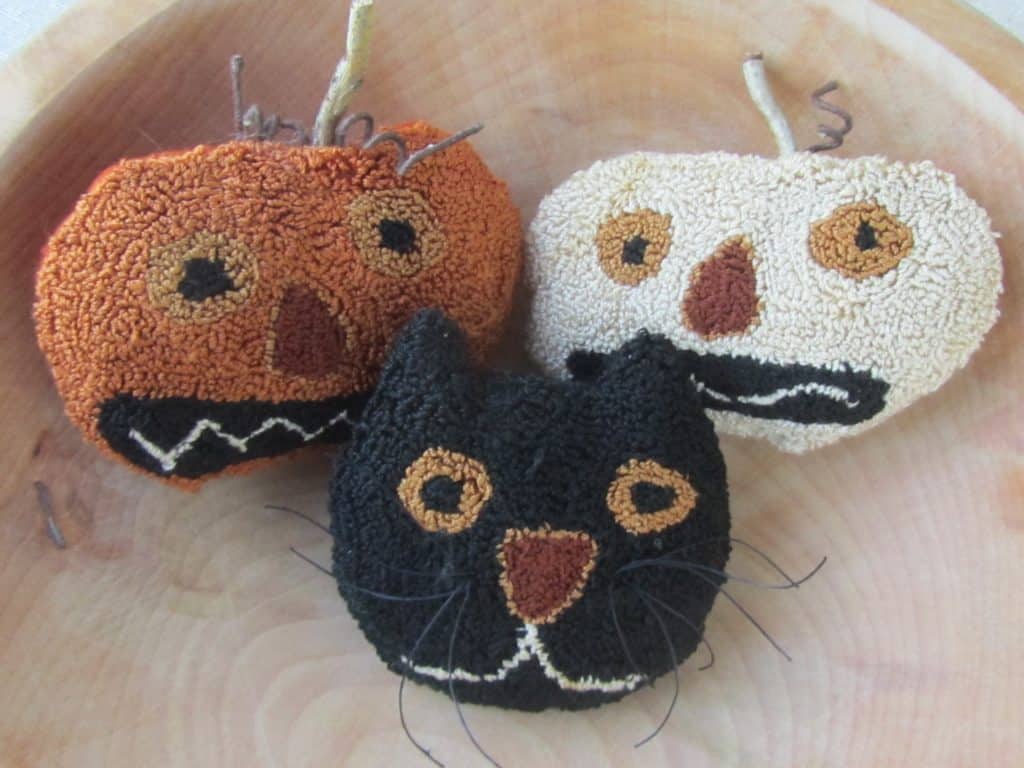
I am tracing the black cat
from my Spooky Trio punch needle pattern.
Watch the Video:
Iron the Pattern onto the Weavers Cloth:
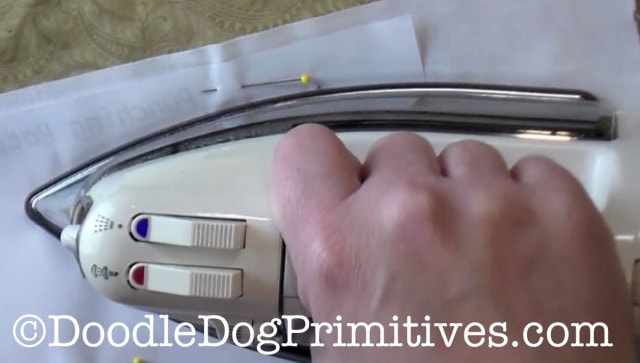
Use a hot dry iron to press the weavers cloth to heat up the fabric.
Place the pattern in the middle of the weavers cloth,
traced side down.
Pin into place.
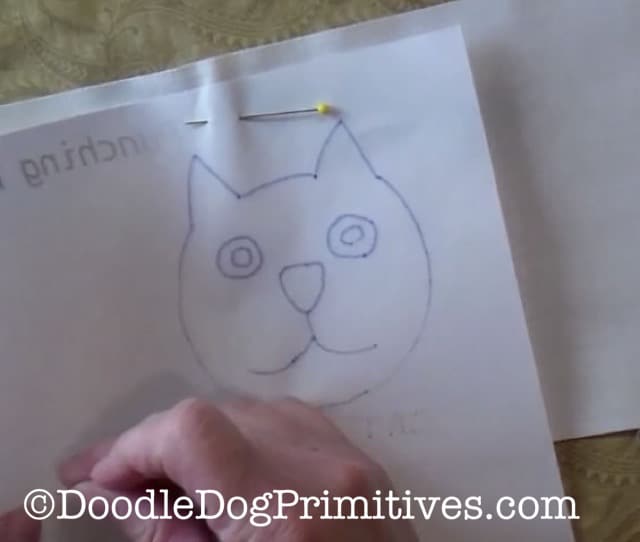
Iron the paper to transfer the pattern to the fabric.
Lift up a corner of the paper pattern to make sure
the whole pattern was transferred.
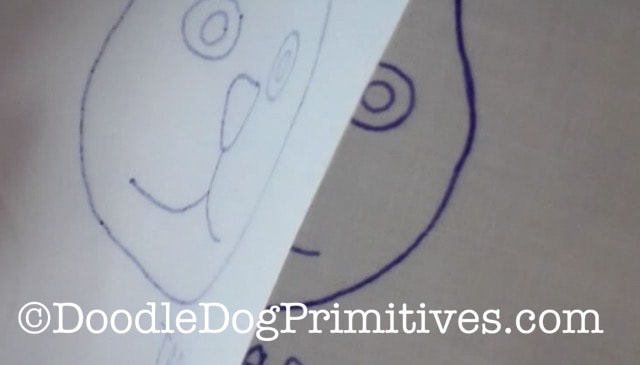
If it is all transferred,
remove the pins.
No Reversing of the Pattern Necessary:
Since you punch from the backside of a project,
you want the pattern on the weavers cloth to be backwards.
When you transfer the pattern with the iron,
the pattern is reversed.
Therefore, you want to start with a pattern
that is going in the correct direction.

Transfer Multiple Times:
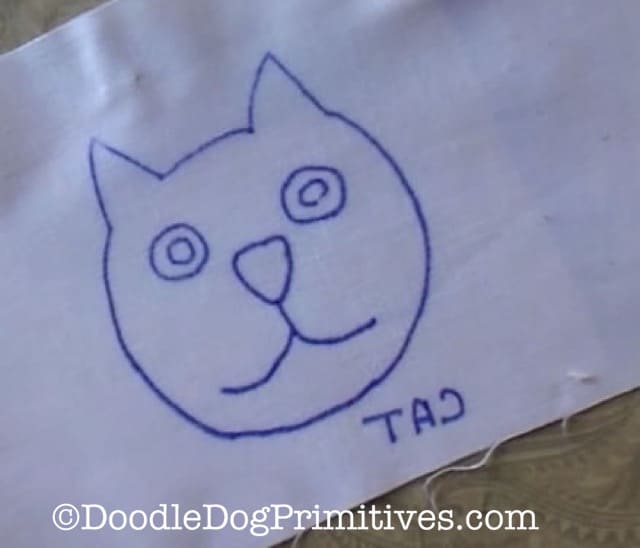
You can transfer the same traced pattern multiple times.
Here’s my second transfer of the cat pattern.
Punching the Transferred Pattern:
I have been successfully punching a different pattern
that I transferred with this method.
I haven’t notice any difference in punching
a pattern with the iron on transfer pen
and my regular method of transferring
with a thin permanent marker.
Concluding Thoughts:
This process is very easy to do.
It is a perfect solution for someone who wants to make
multiple projects from the same pattern
or for someone without access to a light source .
Blessings~
Amy
Pin this Punch Needle Tutorial Showing How to Transfer Punch Needle Patterns with an Iron-on Transfer Pen
