Surrounding the beds in our vintage Avion camper,
was country blue upholstery fabric.
While updating the camper,
it occurred to me that sleeping next to fabric that is 30+ years old
and never been cleaned is probably not great for our allergies!
My plan was to remove it
and replace with new fabric or clean the old fabric.
But, I put off the project because
I was afraid dust would be flying everywhere
as I tried to remove the old fabric.
Turns out, it was as easy as a few screws!
Removing the old fabric:
There were fabric covered buttons on the fabric

that just popped off to reveal screws.

I unscrewed these and whole fabric covered boards
came right off. Easy-peasy!
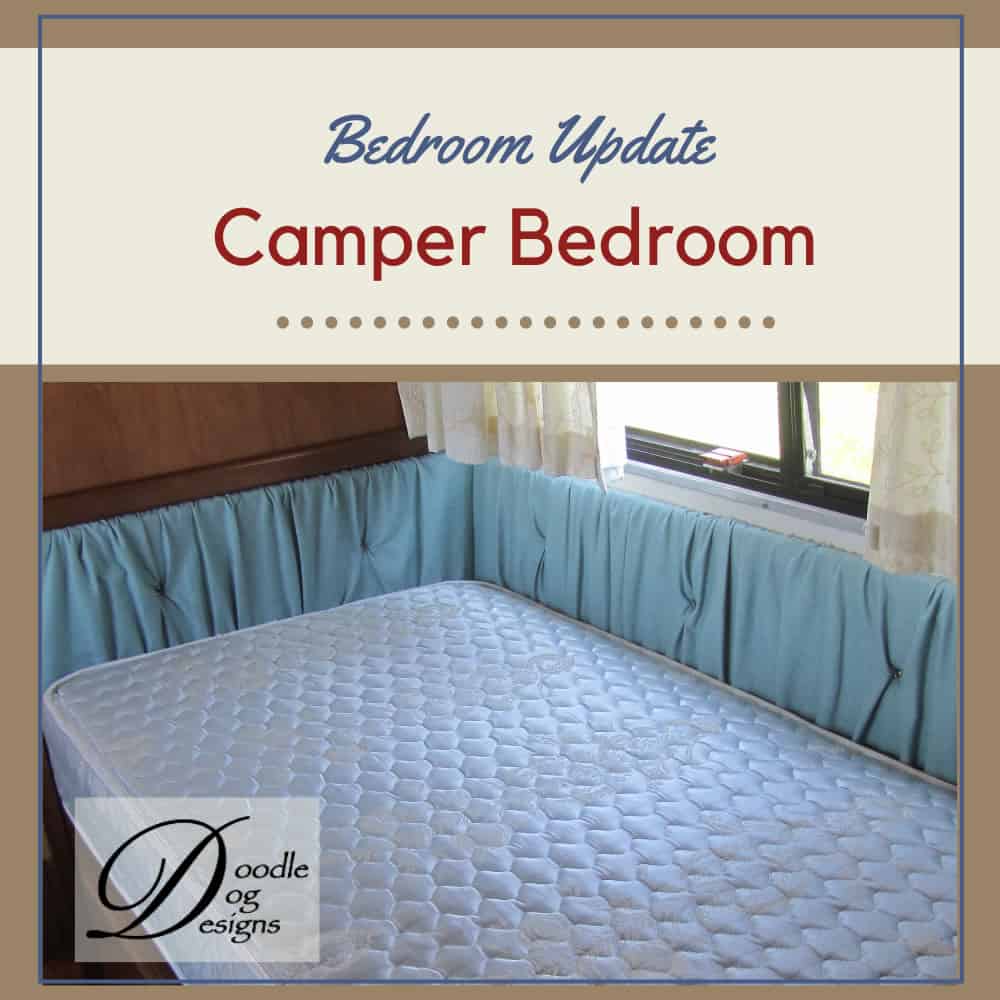
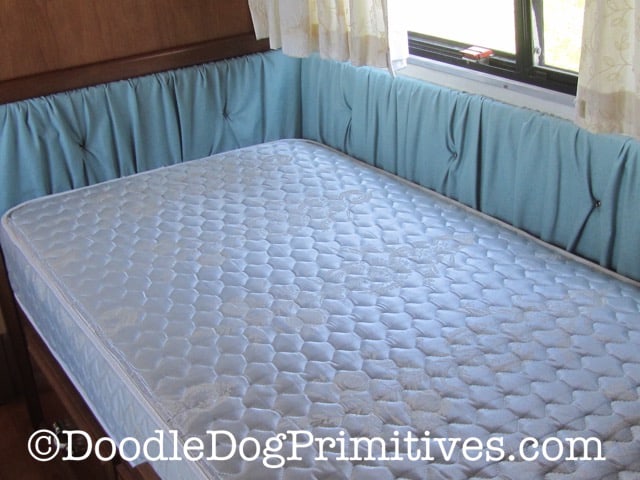
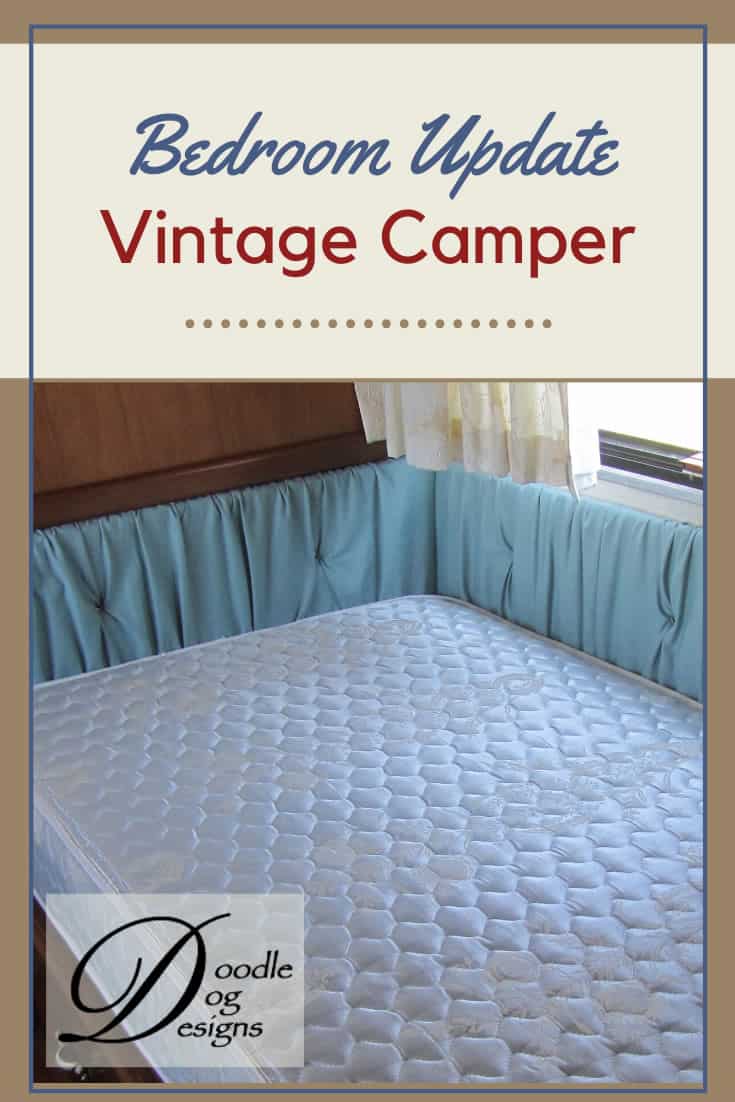
Here’s how it looked without the covered boards.

I liked the look, so we lived with for a while.
But it was cold
sleeping right next to the wall during the cooler weather.
So, we recovered the boards.
Recovering the Boards:
I didn’t take any pictures of the process,
but here’s what we did.
First, we removed the staples attaching the old fabric to the thin boards.
Then, we measured the fabric to know how much to buy.
There was thin foam under the fabric, so we decided to also replace that.
After purchasing the fabric and 1/4″ foam,
we used the old fabric and foam as patterns for cutting the new.
I serged all four edges of each piece of fabric.
The old fabric had elastic sewn directly
onto the back of the fabric to create the gathers.
I decided it would be easier to create a casing
to slide the elastic through.
I sewed 1 inch twill tape to the top and bottom of each fabric piece.
Then, I pulled the elastic through the twill tape casing.
I sewed the elastic down at one end
and pulled it from the other end to gather the fabric.
When the fabric was gathered enough to fit the board,
I sewed the other end of the elastic to the fabric.
Then, we stapled the foam to the front of the boards.
We pulled the fabric around the sides of the board
and stapled that to the back – just like the original had been done.
Then, we punched holes in the fabric for the screws
using the original screw holes in the boards as a guide.
The fabric we chose wanted to ravel,
so we added some fray check to the fabric at each screw hole.
Then, we screwed the boards back in to the wall of the camper.

I think it turned out pretty good.
The only thing left is covering the screw caps.
Blessings~
Amy

